


前言
-
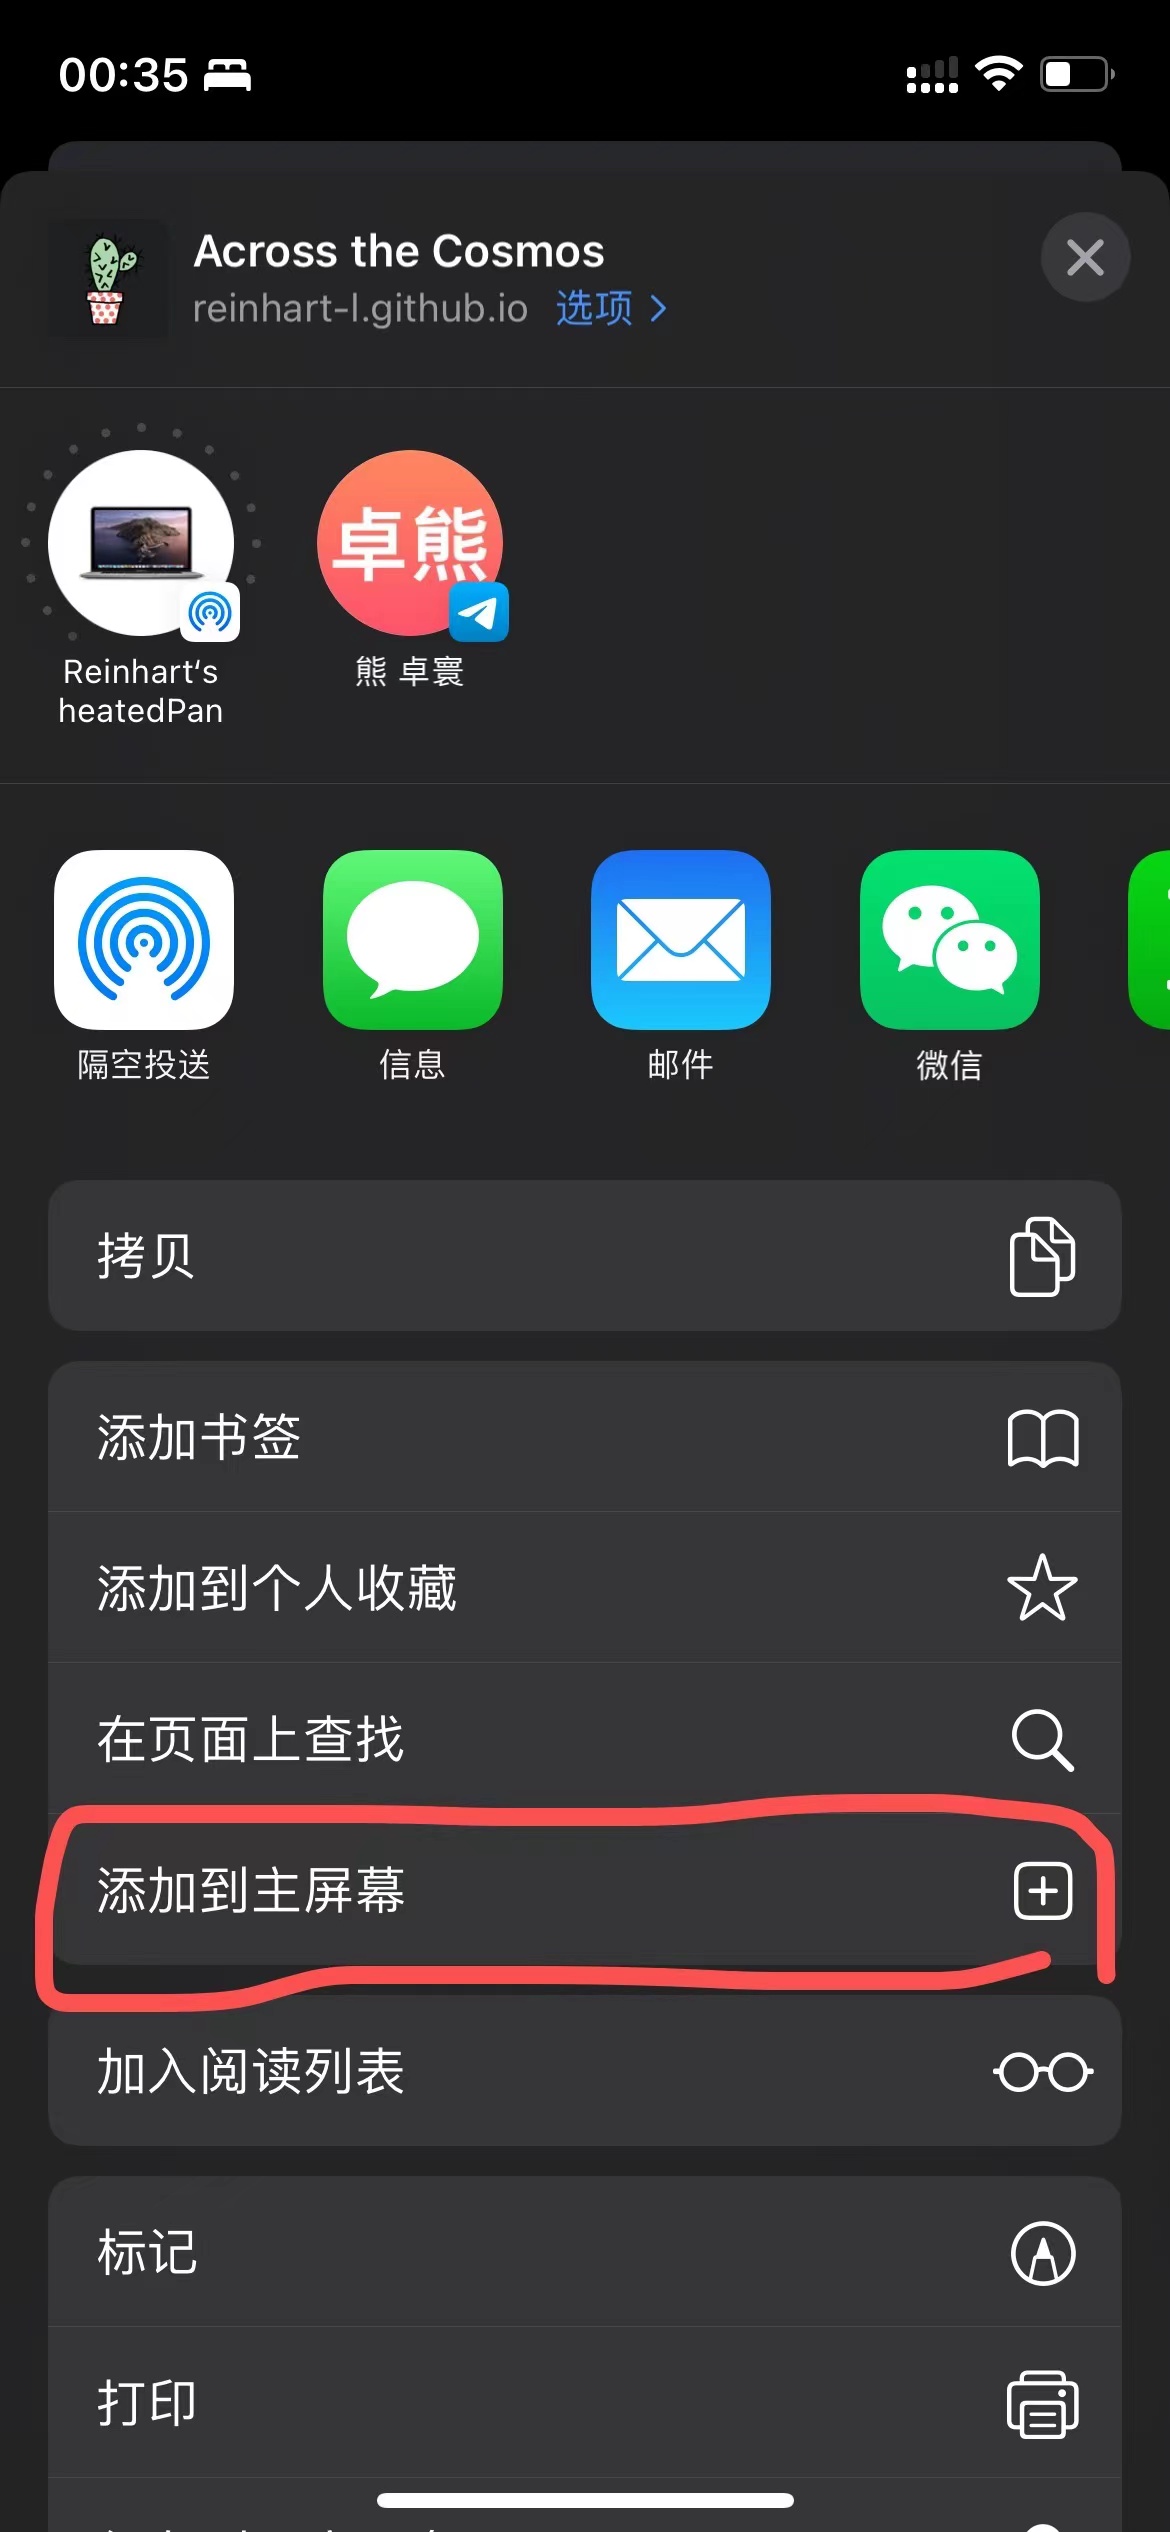
话不多说先上个自己的网站 Across the Cosmos,目前还是用的github page,域名已经购买了但还没有备案,后续打算自己买个服务器再将博客部署上去,之后有空也会更新一篇相关的教程。
-
最近无聊试着用hexo搭了一下个人网站,如果还不会使用和部署hexo,可以参考这篇博客,作者写得非常细致,从安装hexo一直到将自己的博客部署到github(不过作者用的主题是next),照着一步步做应该不会有什么问题。如果遇到问题可以参考一下我这篇问题日志,希望可以帮到你。
-
当我把我的博客部署好后,我陷入了选择困难症。好看的主题实在是太多了,不知道怎么选。虽然next、butterfly等主题网上教程很多,但是布局和功能我自认为稍微有点复杂,而且我实在不想和这么多人撞博客。几经波折我最终选择了cactus 仙人掌这个主题(github仓库,网站demo)。这个主题一共有四种风格。整体非常简洁大气。


- 你也许一开始也会跟我有意义的焦虑:这个博客太简约了,而且网上的教程又少,会不会很多自己想要的功能都没法实现?本篇博客就致力于教你用cactus最大化客制你自己的博客。
正文
安装cactus主题
-
进入hexo所在的文件夹(我是
cd ./Desktop/Blog) -
执行
git clone https://github.com/probberechts/hexo-theme-cactus.git themes/cactus。如果timeout就用ssh连接
git cline git@github.com:probberechts/hexo-theme-cactus.git themes/cactus -
然后在
./_config.yml中修改theme
# theme: landscape
theme: cactus
切换主题的风格
- 前面提到了cactus主题有四个风格,切换风格只需要进入
./themes/cactus/_config.yml中找到colorscheme修改就完事,注意每次修改完都需要hexo cleanhexo g才会生效
# Set the color scheme.
# Available color schemes are 'dark', 'light', 'classic' and 'white'.
# Alternatively, add your own custom color scheme to source/css/_colors.
colorscheme: dark
导航栏相关
新建一个导航栏的项

- 在
./themes/cactus/_config.yml找到nav
nav:
  home: /
  about: /about/
  articles: /archives/
  projects: http://github.com/probberechts
  LINK_NAME: URL
直接在nav下面添加就行,添加完这一项之后可以让它指向一个链接(例如projcets),也可以让它指向站内的一个页面。新建一个页面执行hexo new page xxx,然后这个页面的路径就是/xxx/
- 更新后会在
./themes/cactus/source中发现一个和page名称一样的文件夹
让导航栏中的某一项显示内容在首页

- 以project为例,只需在
./themes/cactus/source中创建/_data/projects.json,然后修改json文件为
[
    {
       "name":"Hexo",
       "url":"https://hexo.io/",
       "desc":"A fast, simple & powerful blog framework"
    },
    {
       "name":"Font Awesome",
       "url":"http://fontawesome.io/",
       "desc":"The iconic font and CSS toolkit"
    }
]
在导航栏添加搜索功能
- 在
./themes/cactus/_config.yml中找到nav新建search标签
nav:
  search: /search/
-
执行
npm install hexo-generator-search --save -
执行
hexo new page search -
进入
./themes/cactus/source/serch/index.md,修改md文件的头为
title: Search
type: search
---
- 更新之后进入网站,点击search就可以搜索了

新增标签功能
-
只需要在每篇文章的头部添加
title: Tags and Categories
date: 2017-12-24 23:29:53
tags:
- Foo
- Bar
就可以在首页看到

- 每篇文章可以有两个tag,tag的顺序影响其重要程度
开启评论功能
- cactus支持Disqus和Utterances两个平台的评论功能,只需要在
./themes/cactus/_config.yml分别找到它们就行。 - 以Disqus为例,把enable设置为true,然后再去Disqus官网注册个账号,认证邮箱后在
shortname处填上自己的昵称就行
disqus:
  enabled: true
  shortname: SITENAME

- 之后就能愉快的评论了,不过Disqus现在好像必须要梯子才能正常使用。

添加其他社交平台链接

- 在
./themes/cactus/_config.yml搜索Social media links
social_links:
  github: your-github-url
  twitter: your-twitter-url
  NAME: your-NAME-url
然后前面就是社交平台的名称,后面就是你该社交平台的url,注意这里只能选Font awesome上有的icon,才会显示对应的icon,进入网站搜索社交平台的英文名就能看到是否有这个icon了,这里列出几个比较常见的:weibo weixin zhihu rss。

增加数据分析
- 在
./themes/cactus/_config.yml中,搜索analytics,cactus支持以下几种数据分析功能,说白了就是后台管理。
google_analytics:
  enabled: true
  id: 'UA-49627206-1'

baidu_analytics:
  enabled: true
  id: 2e6da3c375c8a87f5b664cea6d4cb29c

cloudflare_analytics:
  enabled: true
  id: 0dabb6e21848405483a237e6a7b6ed04

umami_analytics:
  enabled: false
  id: e77e68be-f6e4-4br3-9365-2b76b57cd571
  host: https://analytics.domain.com
- 以百度分析为统计,先去百度统计官网注册一个账号,然后在网站列表点击
新增网站

- 填写相关信息

- 然后在
代码管理->代码获取页面复制这一段,这就是你的tracking_id

- 然后回到
./themes/cactus/_config.yml,修改这里的id,enabled设置为true
baidu_analytics:
  enabled: true
  id: 2e6da3c375c8a87f5b664cea6d4cb29c
- 进入百度统计的
代码管理->代码安装检查,点击开始检查,如果显示代码安装正确,过一会就能显示你网站统计的数据了。


自定义字体/颜色和网站logo/icon
自定义颜色
- 进入
./themes/cactus/source/css/colors中有四个文件,对应不同风格的样式

$color-background = #1d1f21
$color-footer-mobile-1 = lighten($color-background, 2%)
$color-footer-mobile-2 = lighten($color-background, 10%)
$color-background-code = lighten($color-background, 2%)
$color-border = #908d8d
$color-meta = #908d8d
$color-meta-code = #908d8d
$color-link = rgba(212, 128, 170, 1)
$color-text = #c9cacc      //正文
$color-accent-3 = #cccccc  //副副标题
$color-accent-2 = #eeeeee  //副标题
$color-accent-1 = #ff6a00  //主标题
$color-quote = #ccffb6
$highlight = hexo-config("highlight") || "rainbow"
- 别的参数我没有调过,大家可以自己修改试一试
自定义字体
- 进入
./themes/cactus/source/css/_variables.styl,就可以修改字体了
// Fonts
$font-family-body = "Menlo", "Meslo LG", monospace
$font-family-mono = "Menlo", "Meslo LG", monospace
$font-size = 14px
$line-height = 1.725
$page-width = 0rem + (hexo-config("page_width") || 39)
// Logo
$logo-width = 0px + (hexo-config("logo.width") || 0)
$logo-height = 0px + (hexo-config("logo.height") || 0)
$logo-grayout = hexo-config("logo.grayout") || false
// Colors
$colors = hexo-config("colorscheme") || "dark"
- 可用的字体在
./themes/cactus/source/lib/中,cactus自带的只有meslo-LGvazir-font两种,有需要可以自己下载。
自定义网站logo/icon
- 在
./themes/cactus/source/images/下有四张图片

apple-touch-icon是苹果产品将网站的快捷方式添加到主屏幕所显示的logo
- logo就是显示在你网页上的那个东西,设计logo的网站,里面有很多半成品,拿来就能用。
- favicon-192x192就是192x192像素的logo.png,网上随便找个软件就能压缩
- favicon.ico有点难搞,因为它一个文件里面有不同规格的ico,我是用了一个叫氢贝的软件弄的,里面可以直接将各种图片格式转化为多规格的ico,非常方便。

添加点击量功能
- 进入
./themes/cactus/_config.yml添加下面一段代码
# 是否开启访问量统计功能(不蒜子)
busuanzi:
 enable: true
- 进入
./themes/cactus/layout/_partial/footer.ejs将其全部修改覆盖为
<footer id="footer">
<div class="footer-left">
<%= __('footer.copyright') %> ©
<% var endYear = (theme.copyright && theme.copyright.end_year) ? theme.copyright.end_year : new Date().getFullYear() %>
<% var startYear = (theme.copyright && theme.copyright.start_year) ? theme.copyright.start_year : new Date().getFullYear() %>
<%= startYear >= endYear ? endYear : startYear + "-" + endYear %>
<%= config.author || config.title %>
</div>
<div class="footer-right">
<nav>
<ul>
<% for (var i in theme.nav) { %><!--
--><li><a href="<%- url_for(theme.nav[i]) %>"><%= __('nav.'+i).replace("nav.", "") %></a></li><!--
--><% } %>
</ul>
<ul>
<% if (theme.busuanzi && theme.busuanzi.enable){ %>
              <!-- 不蒜子统计 -->
              <span id="busuanzi_container_site_pv">
                  本站总访问量<span id="busuanzi_value_site_pv"></span>次
              </span>
              <span class="post-meta-divider">|</span>
              <span id="busuanzi_container_site_uv" style='display:none'>
                      本站访客数<span id="busuanzi_value_site_uv"></span>人
              </span>
            <script async src="//busuanzi.ibruce.info/busuanzi/2.3/busuanzi.pure.mini.js"></script>
            <% } %>
</ul>
</nav>
</div>
</footer>
- 有前端基础的可以加在footer的别的位置甚至加在header.ejs里,核心代码就是
<% if (theme.busuanzi && theme.busuanzi.enable){ %>
<!-- 不蒜子统计 -->
<span id="busuanzi_container_site_pv">
本站总访问量<span id="busuanzi_value_site_pv"></span>次
</span>
<span class="post-meta-divider">|</span>
<span id="busuanzi_container_site_uv" style='display:none'>
本站访客数<span id="busuanzi_value_site_uv"></span>人
</span>
<script async src="//busuanzi.ibruce.info/busuanzi/2.3/busuanzi.pure.mini.js"></script>
<% } %>
- 效果

结语
- 其他的一些功能可以去看cactus官方文档
- 如果之后还发现了有趣的功能会持续更新


 538
538

 被折叠的 条评论
为什么被折叠?
被折叠的 条评论
为什么被折叠?
 到【灌水乐园】发言


