Home-新鲜好物和人气推荐实现


粘贴模板
<script setup>
</script>
<template>
<div></div>
<!-- 下面是插槽主体内容模版
<ul class="goods-list">
<li v-for="item in newList" :key="item.id">
<RouterLink to="/">
<img :src="item.picture" alt="" />
<p class="name">{{ item.name }}</p>
<p class="price">¥{{ item.price }}</p>
</RouterLink>
</li>
</ul>
-->
</template>
<style scoped lang='scss'>
.goods-list {
display: flex;
justify-content: space-between;
height: 406px;
li {
width: 306px;
height: 406px;
background: #f0f9f4;
transition: all .5s;
&:hover {
transform: translate3d(0, -3px, 0);
box-shadow: 0 3px 8px rgb(0 0 0 / 20%);
}
img {
width: 306px;
height: 306px;
}
p {
font-size: 22px;
padding-top: 12px;
text-align: center;
text-overflow: ellipsis;
overflow: hidden;
white-space: nowrap;
}
.price {
color: $priceColor;
}
}
}
</style>新增插槽

import HomePanel from "./HomePanel.vue";


  <HomePanel title="新鲜好物" sub-title="新鲜出炉 品质靠谱">

  </HomePanel>
封装接口
home.js

/**
 * @description: 获取新鲜好物
 * @param {*}
 * @return {*}
 */
export const findNewAPI = () => {
  return httpInstance({
    url:'/home/new'
  })
}
调用接口

<script setup>
import HomePanel from "./HomePanel.vue"
import {findNewAPI} from '@/apis/home'
import {ref,onMounted} from 'vue'
//获取数据
const newList = ref([])
const getNewList =async()=>{
const res = await findNewAPI()
console.log(res);
newList.value = res.result
}
onMounted(()=>getNewList())
</script>
<template>
<HomePanel title="新鲜好物" sub-title="新鲜出炉 品质靠谱">
<ul class="goods-list">
<li v-for="item in newList" :key="item.id">
<RouterLink to="/">
<img :src="item.picture" alt="" />
<p class="name">{{ item.name }}</p>
<p class="price">¥{{ item.price }}</p>
</RouterLink>
</li>
</ul>
</HomePanel>
<!-- 下面是插槽主体内容模版
<ul class="goods-list">
<li v-for="item in newList" :key="item.id">
<RouterLink to="/">
<img :src="item.picture" alt="" />
<p class="name">{{ item.name }}</p>
<p class="price">¥{{ item.price }}</p>
</RouterLink>
</li>
</ul>
-->
</template>
Home-图片懒加载指令实现

定义全局指令
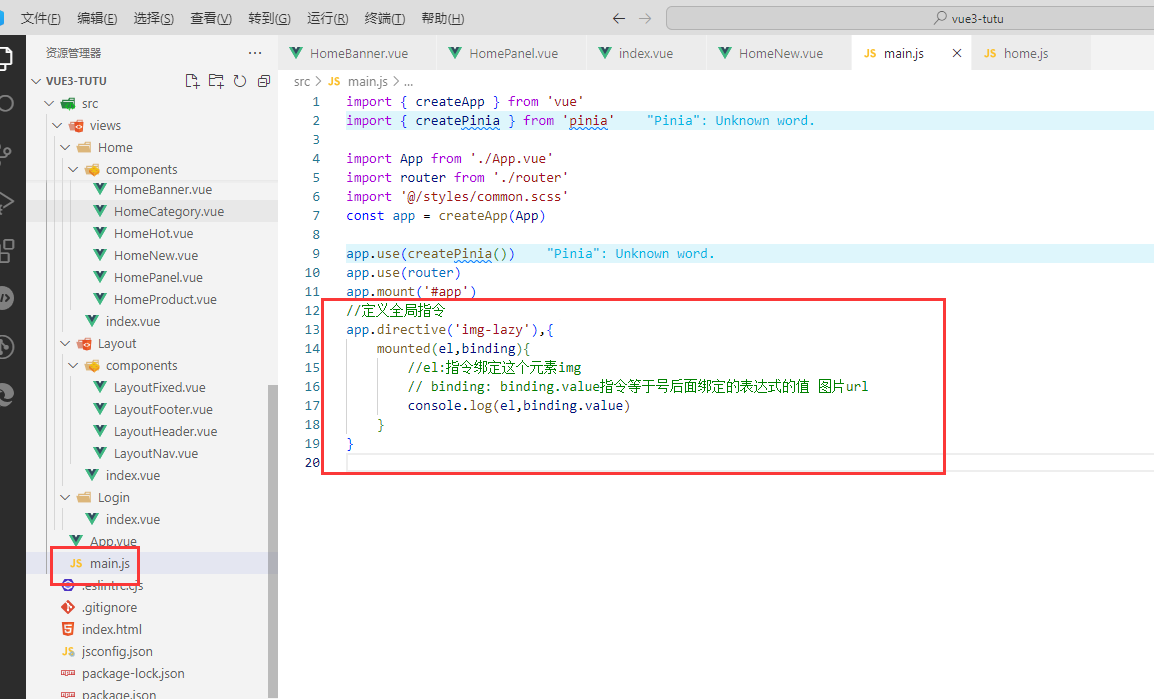
//定义全局指令
app.directive('img-lazy',{
    mounted(el,binding){
        //el:指令绑定这个元素img
        // binding: binding.value指令等于号后面绑定的表达式的值 图片url
        console.log(el,binding.value)
    }
})
进入hot页面
修改

<script setup>
import HomePanel from './HomePanel.vue'
import { getHotAPI } from '@/apis/home'
import { ref ,onMounted} from 'vue'
const hotList = ref([])
const getHotList = async () => {
  const res = await getHotAPI()
  hotList.value = res.result
}

onMounted(()=>getHotList())
</script>

<template>
  <HomePanel title="人气推荐" sub-title="人气爆款 不容错过">
      <ul class="goods-list">
        <li v-for="item in hotList" :key="item.id">
          <RouterLink to="/">
            <img v-img-lazy="item.picture" :src="item.picture" alt="">
            <p class="name">{{ item.title }}</p>
            <p class="desc">{{ item.alt }}</p>
          </RouterLink>
        </li>
      </ul>
  </HomePanel>
</template>
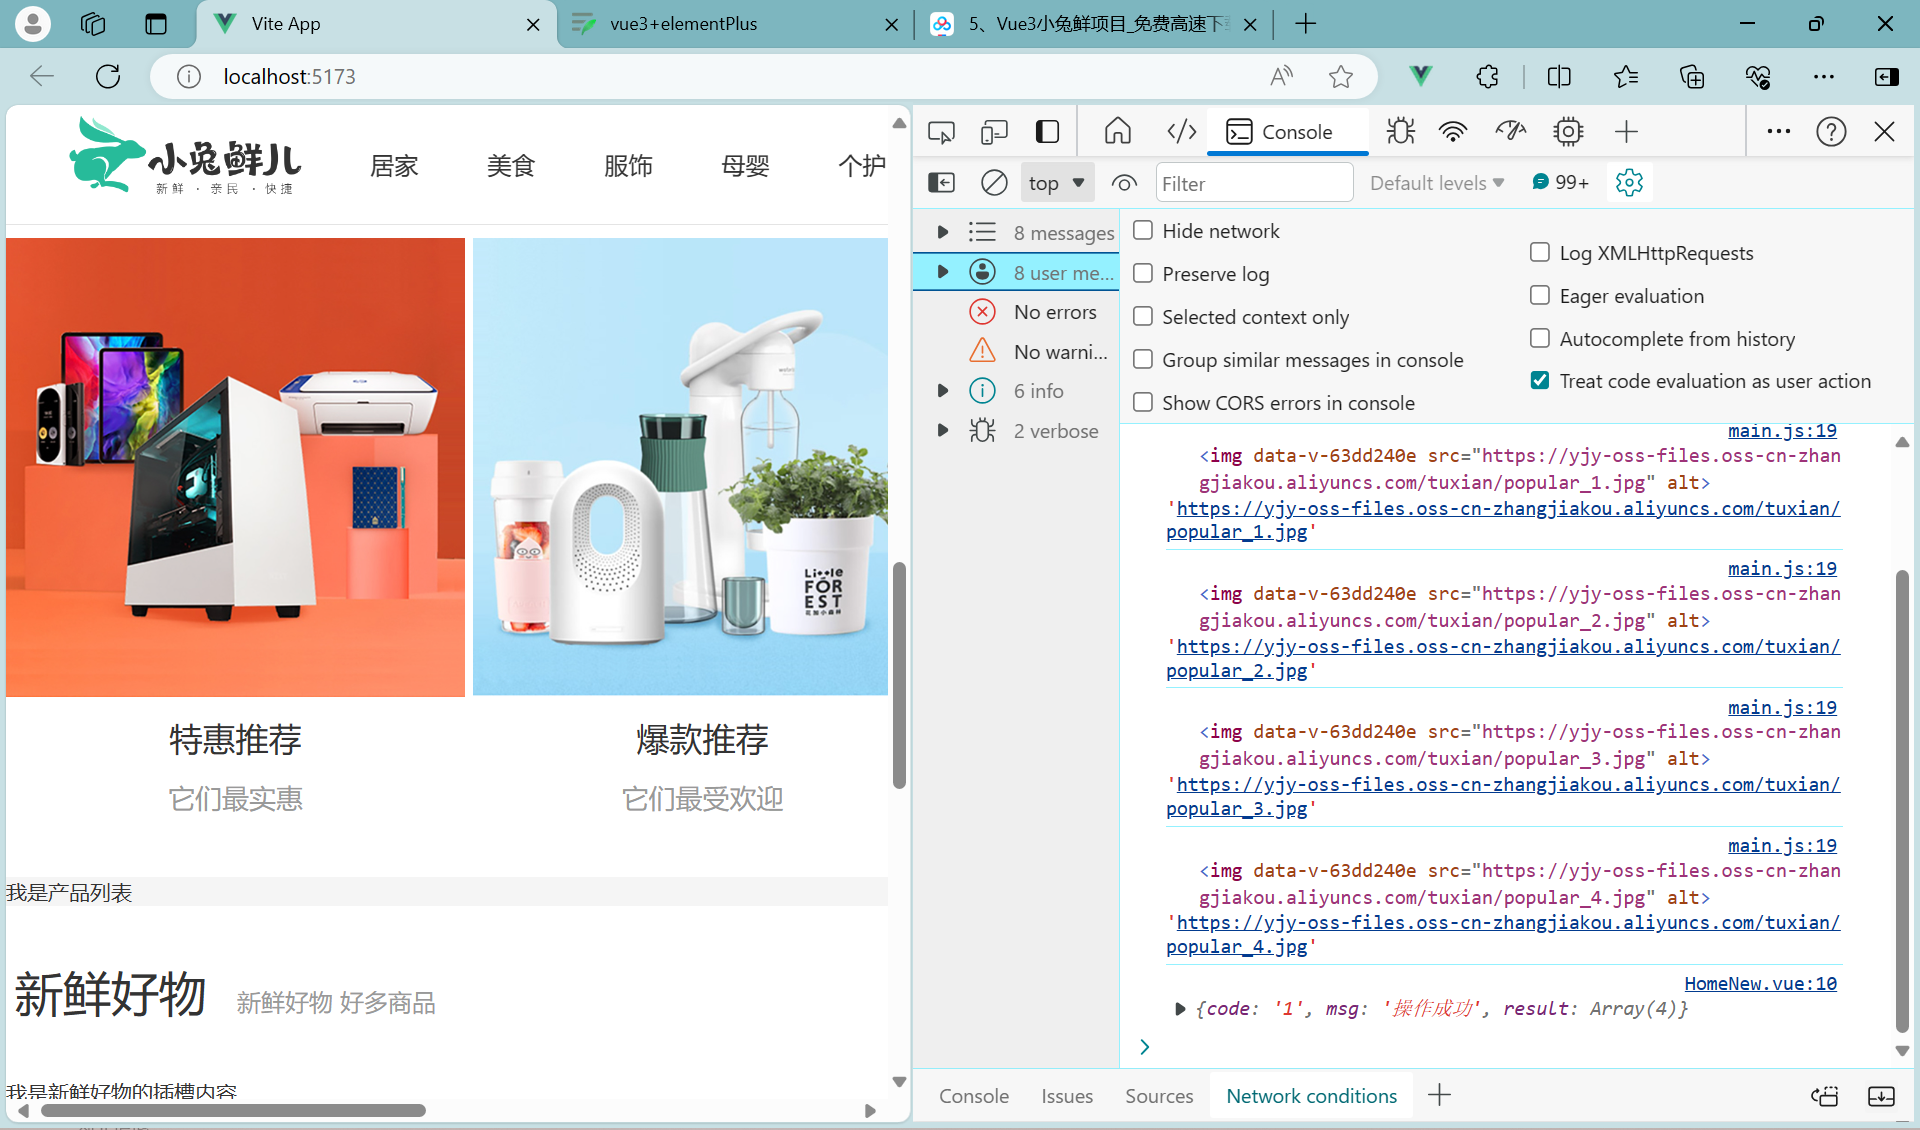
测试
打印出来了
接着引入
useIntersectionObserver | VueUse
在main.js内
导入代码
import { createApp } from 'vue'
import { createPinia } from 'pinia'

import App from './App.vue'
import router from './router'

import '@/styles/common.scss'
//1
import { useIntersectionObserver } from '@vueuse/core'

const app = createApp(App)

app.use(createPinia())
app.use(router)
app.mount('#app')
//定义全局指令
app.directive('img-lazy',{
    mounted(el,binding){
        //el:指令绑定这个元素img
        // binding: binding.value指令等于号后面绑定的表达式的值 图片url
        console.log(el,binding.value)
        //2
        useIntersectionObserver(
            el,
            ([{ isIntersecting }]) => {
             console.log(isIntersecting);
            },
          )
    }
})
监听完成
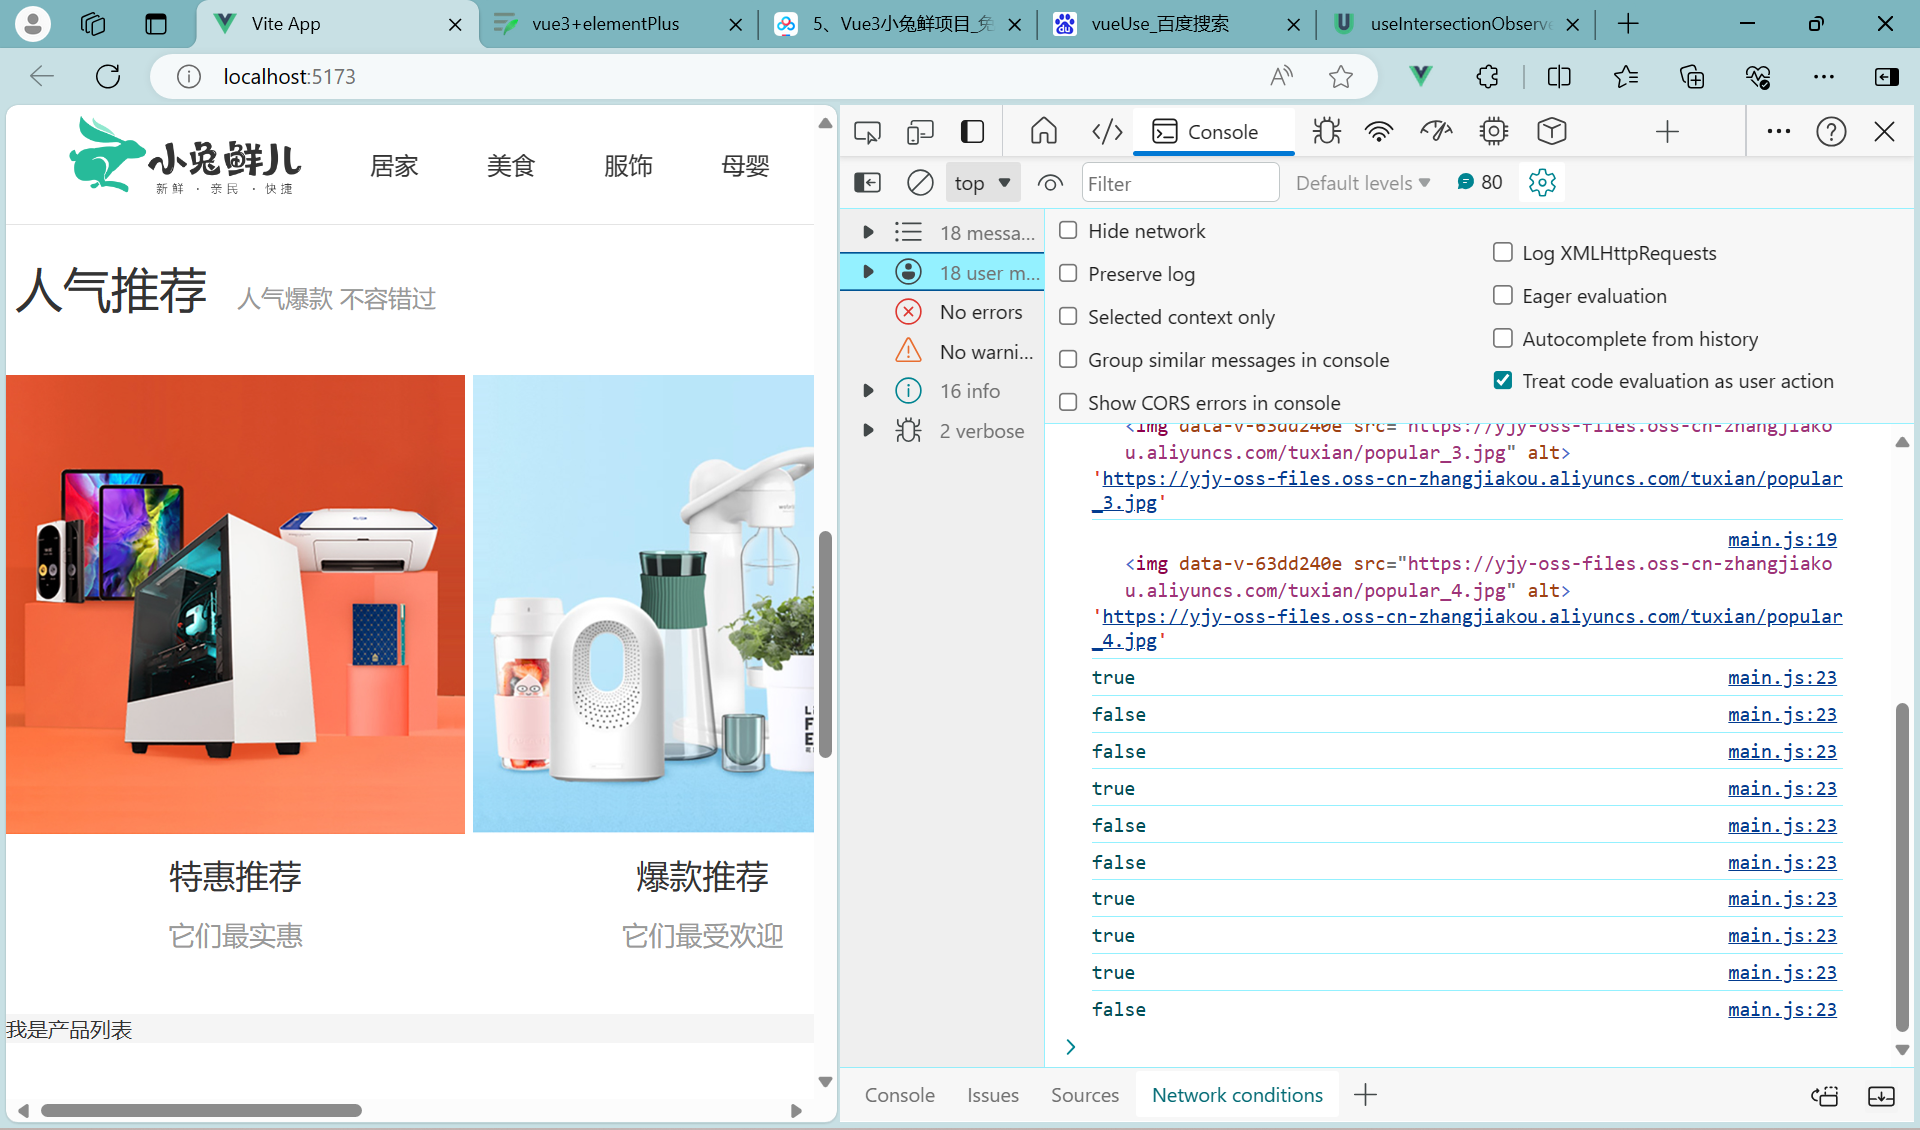
在mian.js
添加进入视口区域
import { createApp } from 'vue'
import { createPinia } from 'pinia'

import App from './App.vue'
import router from './router'

import '@/styles/common.scss'
import { useIntersectionObserver } from '@vueuse/core'
const app = createApp(App)

app.use(createPinia())
app.use(router)
app.mount('#app')
//定义全局指令
app.directive('img-lazy',{
    mounted(el,binding){
        //el:指令绑定这个元素img
        // binding: binding.value指令等于号后面绑定的表达式的值 图片url
        console.log(el,binding.value)
        useIntersectionObserver(
            el,
            ([{ isIntersecting }]) => {
             console.log(isIntersecting);
             if(isIntersecting){
                //进入视口区域
                el.src = binding.value
             }
            },
          )
    }
})
在hot页面删除src
<HomePanel title="人气推荐" sub-title="人气爆款 不容错过">
      <ul class="goods-list">
        <li v-for="item in hotList" :key="item.id">
          <RouterLink to="/">
            <img v-img-lazy="item.picture" alt="">
            <p class="name">{{ item.title }}</p>
            <p class="desc">{{ item.alt }}</p>
          </RouterLink>
        </li>
      </ul>
  </HomePanel>
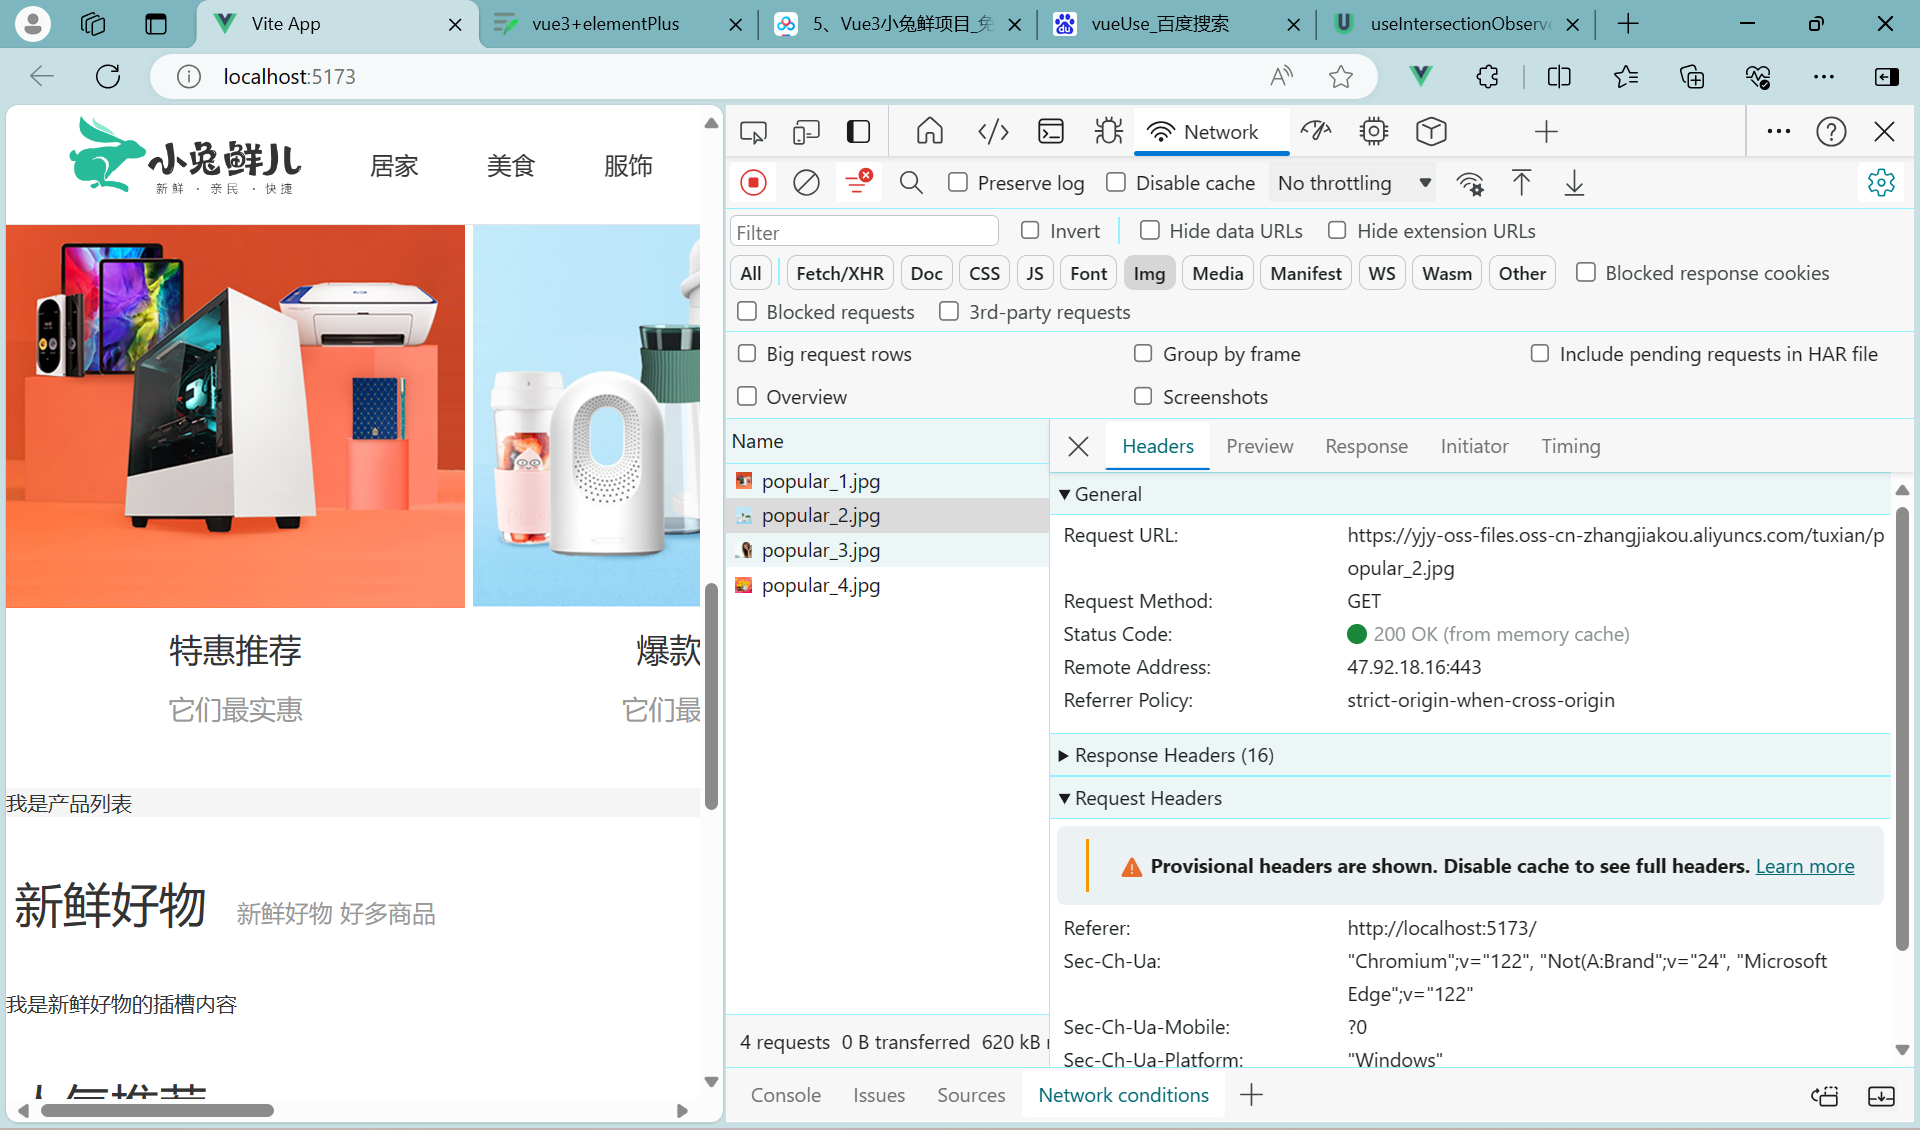
测试完成
img
Home-懒加载指令优化
书写位置问题
新增directives->index.js

import { useIntersectionObserver } from '@vueuse/core'
//定义懒加载插件
export const lazyPlugin = {
    install(app){
        //懒加载指令逻辑
        app.directive('img-lazy',{
            mounted(el,binding){
                //el:指令绑定这个元素img
                // binding: binding.value指令等于号后面绑定的表达式的值 图片url
                console.log(el,binding.value)
                useIntersectionObserver(
                    el,
                    ([{ isIntersecting }]) => {
                     console.log(isIntersecting);
                     if(isIntersecting){
                        //进入视口区域
                        el.src = binding.value
                     }
                    },
                  )
            }
        })
    }
}
然后在main.js内使用
import { createApp } from 'vue'
import { createPinia } from 'pinia'

import App from './App.vue'
import router from './router'

import '@/styles/common.scss'
//引入懒加载指令插件并且注册
import {lazyPlugin} from '@/directives'

const app = createApp(App)

app.use(createPinia())
app.use(router)
app.use(lazyPlugin)
app.mount('#app')
测试

生效
重复监听问题
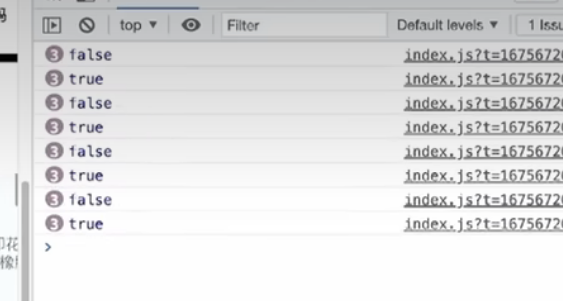
uselntersectionObserver对于元素的监听是一直存在的,除非手动停止监听,存在内存浪费
引入stop插件
// 执行一次,就停止
import { useIntersectionObserver } from '@vueuse/core'
//定义懒加载插件
export const lazyPlugin = {
    install(app){
        //懒加载指令逻辑
        app.directive('img-lazy',{
            mounted(el,binding){
                //el:指令绑定这个元素img
                // binding: binding.value指令等于号后面绑定的表达式的值 图片url
                console.log(el,binding.value)
                const {stop}= useIntersectionObserver(
                    el,
                    ([{ isIntersecting }]) => {
                     console.log(isIntersecting);
                     if(isIntersecting){
                        //进入视口区域
                        el.src = binding.value
                        stop()
                     }
                    },
                  )
            }
        })
    }
}
Home-Product产品列表实现
删除一下多余的代码


ok

复制静态模板
![]()
<script setup>
import HomePanel from './HomePanel.vue'
</script>
<template>
<div class="home-product">
<!-- <HomePanel :title="cate.name" v-for="cate in goodsProduct" :key="cate.id">
<div class="box">
<RouterLink class="cover" to="/">
<img :src="cate.picture" />
<strong class="label">
<span>{{ cate.name }}馆</span>
<span>{{ cate.saleInfo }}</span>
</strong>
</RouterLink>
<ul class="goods-list">
<li v-for="good in cate.goods" :key="good.id">
<RouterLink to="/" class="goods-item">
<img :src="good.picture" alt="" />
<p class="name ellipsis">{{ good.name }}</p>
<p class="desc ellipsis">{{ good.desc }}</p>
<p class="price">¥{{ good.price }}</p>
</RouterLink>
</li>
</ul>
</div>
</HomePanel> -->
</div>
</template>
<style scoped lang='scss'>
.home-product {
background: #fff;
margin-top: 20px;
.sub {
margin-bottom: 2px;
a {
padding: 2px 12px;
font-size: 16px;
border-radius: 4px;
&:hover {
background: $xtxColor;
color: #fff;
}
&:last-child {
margin-right: 80px;
}
}
}
.box {
display: flex;
.cover {
width: 240px;
height: 610px;
margin-right: 10px;
position: relative;
img {
width: 100%;
height: 100%;
}
.label {
width: 188px;
height: 66px;
display: flex;
font-size: 18px;
color: #fff;
line-height: 66px;
font-weight: normal;
position: absolute;
left: 0;
top: 50%;
transform: translate3d(0, -50%, 0);
span {
text-align: center;
&:first-child {
width: 76px;
background: rgba(0, 0, 0, 0.9);
}
&:last-child {
flex: 1;
background: rgba(0, 0, 0, 0.7);
}
}
}
}
.goods-list {
width: 990px;
display: flex;
flex-wrap: wrap;
li {
width: 240px;
height: 300px;
margin-right: 10px;
margin-bottom: 10px;
&:nth-last-child(-n + 4) {
margin-bottom: 0;
}
&:nth-child(4n) {
margin-right: 0;
}
}
}
.goods-item {
display: block;
width: 220px;
padding: 20px 30px;
text-align: center;
transition: all .5s;
&:hover {
transform: translate3d(0, -3px, 0);
box-shadow: 0 3px 8px rgb(0 0 0 / 20%);
}
img {
width: 160px;
height: 160px;
}
p {
padding-top: 10px;
}
.name {
font-size: 16px;
}
.desc {
color: #999;
height: 29px;
}
.price {
color: $priceColor;
font-size: 20px;
}
}
}
}
</style>封装接口
apis->home.js
/**
 * @description: 获取所有商品模块
 * @param {*}
 * @return {*}
 */
export const getGoodsAPI = () => {
  return httpInstance({
    url: '/home/goods'
  })
}
在product内 获取数据 调用接口
<script setup>
import HomePanel from './HomePanel.vue'
import {getGoodsAPI} from '@/apis/home'
import {ref,onMounted} from 'vue'
//获取数据列表
const goodsProduct = ref([])

//接口
const getGoods = async()=>{
 const res = await getGoodsAPI()
 console.log(res);
 goodsProduct.value = res.result
}
onMounted(()=>getGoods())
</script>
然后修改为懒加载
  <img v-img-lazy="cate.picture" />
  <img v-img-lazy="good.picture" alt="" />
全部代码
<script setup>
import HomePanel from './HomePanel.vue'
import {getGoodsAPI} from '@/apis/home'
import {ref,onMounted} from 'vue'
//获取数据列表
const goodsProduct = ref([])
//接口
const getGoods = async()=>{
const res = await getGoodsAPI()
console.log(res);
goodsProduct.value = res.result
}
onMounted(()=>getGoods())
</script>
<template>
<div class="home-product">
<HomePanel :title="cate.name" v-for="cate in goodsProduct" :key="cate.id">
<div class="box">
<RouterLink class="cover" to="/">
<img v-img-lazy="cate.picture" />
<strong class="label">
<span>{{ cate.name }}馆</span>
<span>{{ cate.saleInfo }}</span>
</strong>
</RouterLink>
<ul class="goods-list">
<li v-for="good in cate.goods" :key="good.id">
<RouterLink to="/" class="goods-item">
<img v-img-lazy="good.picture" alt="" />
<p class="name ellipsis">{{ good.name }}</p>
<p class="desc ellipsis">{{ good.desc }}</p>
<p class="price">¥{{ good.price }}</p>
</RouterLink>
</li>
</ul>
</div>
</HomePanel>
</div>
</template>
<style scoped lang='scss'>
.home-product {
background: #fff;
margin-top: 20px;
.sub {
margin-bottom: 2px;
a {
padding: 2px 12px;
font-size: 16px;
border-radius: 4px;
&:hover {
background: $xtxColor;
color: #fff;
}
&:last-child {
margin-right: 80px;
}
}
}
.box {
display: flex;
.cover {
width: 240px;
height: 610px;
margin-right: 10px;
position: relative;
img {
width: 100%;
height: 100%;
}
.label {
width: 188px;
height: 66px;
display: flex;
font-size: 18px;
color: #fff;
line-height: 66px;
font-weight: normal;
position: absolute;
left: 0;
top: 50%;
transform: translate3d(0, -50%, 0);
span {
text-align: center;
&:first-child {
width: 76px;
background: rgba(0, 0, 0, 0.9);
}
&:last-child {
flex: 1;
background: rgba(0, 0, 0, 0.7);
}
}
}
}
.goods-list {
width: 990px;
display: flex;
flex-wrap: wrap;
li {
width: 240px;
height: 300px;
margin-right: 10px;
margin-bottom: 10px;
&:nth-last-child(-n + 4) {
margin-bottom: 0;
}
&:nth-child(4n) {
margin-right: 0;
}
}
}
.goods-item {
display: block;
width: 220px;
padding: 20px 30px;
text-align: center;
transition: all .5s;
&:hover {
transform: translate3d(0, -3px, 0);
box-shadow: 0 3px 8px rgb(0 0 0 / 20%);
}
img {
width: 160px;
height: 160px;
}
p {
padding-top: 10px;
}
.name {
font-size: 16px;
}
.desc {
color: #999;
height: 29px;
}
.price {
color: $priceColor;
font-size: 20px;
}
}
}
}
</style>完成


Home-Goodsltem组件封装


对这块进行优化封装

新建文件

并且粘贴
需要封装的代码和懒加载用defineProps

<script setup>
defineProps({
goods: {
type: Object,
default: () => { }
}
})
</script>
<template>
<RouterLink to="/" class="goods-item">
<img v-img-lazy="goods.picture" alt="" />
<p class="name ellipsis">{{ goods.name }}</p>
<p class="desc ellipsis">{{ goods.desc }}</p>
<p class="price">¥{{ goods.price }}</p>
</RouterLink>
</template>
<style scoped lang="scss">
.goods-item {
display: block;
width: 220px;
padding: 20px 30px;
text-align: center;
transition: all .5s;
&:hover {
transform: translate3d(0, -3px, 0);
box-shadow: 0 3px 8px rgb(0 0 0 / 20%);
}
img {
width: 160px;
height: 160px;
}
p {
padding-top: 10px;
}
.name {
font-size: 16px;
}
.desc {
color: #999;
height: 29px;
}
.price {
color: $priceColor;
font-size: 20px;
}
}
</style>product文件
<ul class="goods-list">
            <li v-for="goods in cate.goods" :key="goods.id">
              //替换
              <GoodsItem :goods="goods" />
            </li>
          </ul>
删除源文件,粘贴到

内
<style scoped lang="scss">
.goods-item {
  display: block;
  width: 220px;
  padding: 20px 30px;
  text-align: center;
  transition: all .5s;

  &:hover {
    transform: translate3d(0, -3px, 0);
    box-shadow: 0 3px 8px rgb(0 0 0 / 20%);
  }

  img {
    width: 160px;
    height: 160px;
  }

  p {
    padding-top: 10px;
  }

  .name {
    font-size: 16px;
  }

  .desc {
    color: #999;
    height: 29px;
  }

  .price {
    color: $priceColor;
    font-size: 20px;
  }
}
</style>
完成


 224
224


 被折叠的 条评论
为什么被折叠?


