


1、安装vue-cli:npm install -g @vue/cli

2、新建一个项目名称为vue_work的项目:vue create vue_work

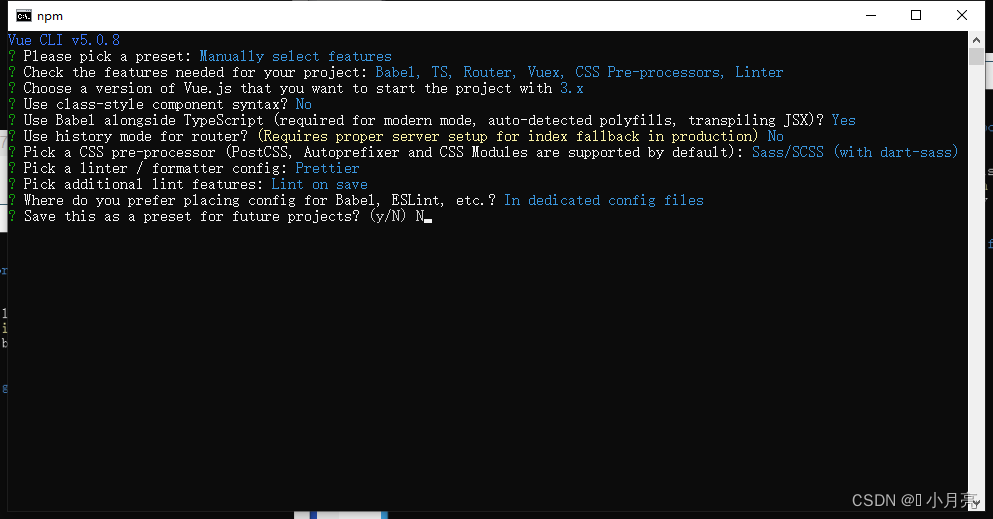
3、启动项目:npm run serve
Vue3 域名访问配置:
① 在vue.config.js中添加配置:
module.exports = {
  devServer: {
     disableHostCheck: true
   }
}
② 在本地的host文件(
C:\Windows\System32\drivers\etc)中添加域名和ip的对应关系。
报错:options has an unknown property 'disableHostCheck'.
原因:webpack5中将 disableHostCheck 弃用了。
解决办法:将配置替换为:
module.exports = {
 devServer: {
     historyApiFallback: true,
     allowedHosts: "all",
 }
}
4、复制代码出现 Delete ␍eslint 解决办法:
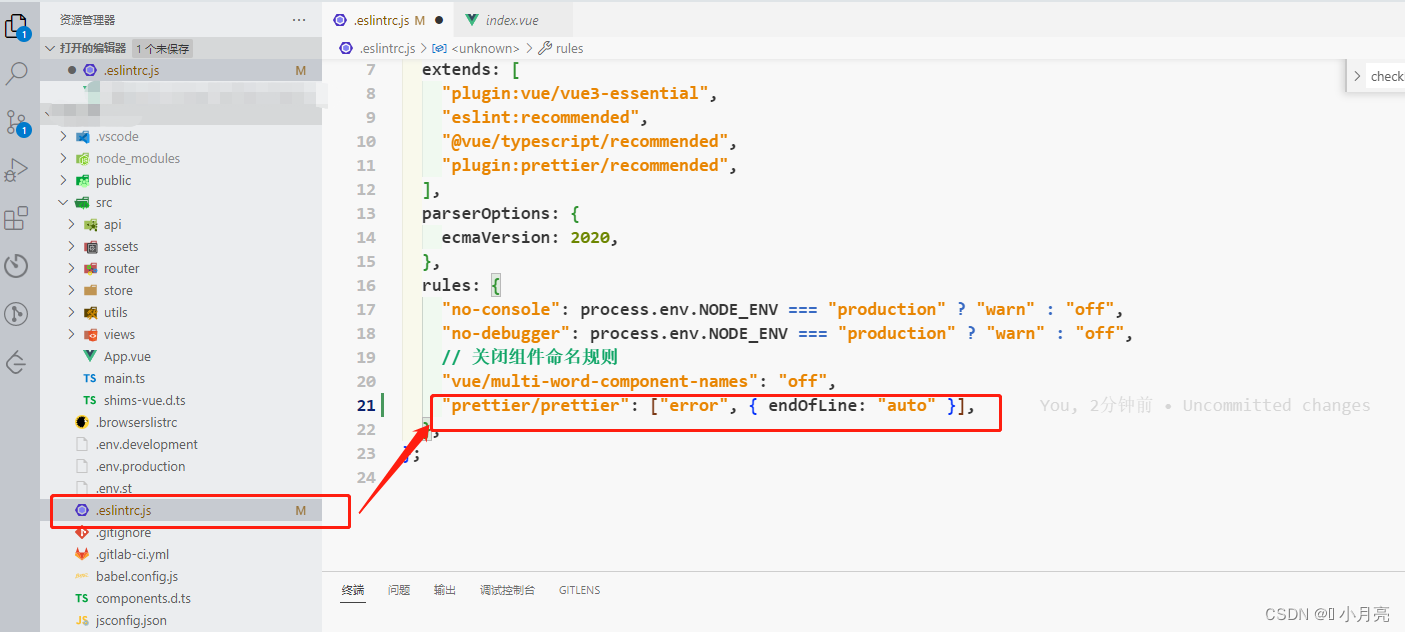
5、解决命名报错:Component name “index” should always be multi-word vue/multi-word-component-names
在eslintrc.js中添加代码:"vue/multi-word-component-names": "off"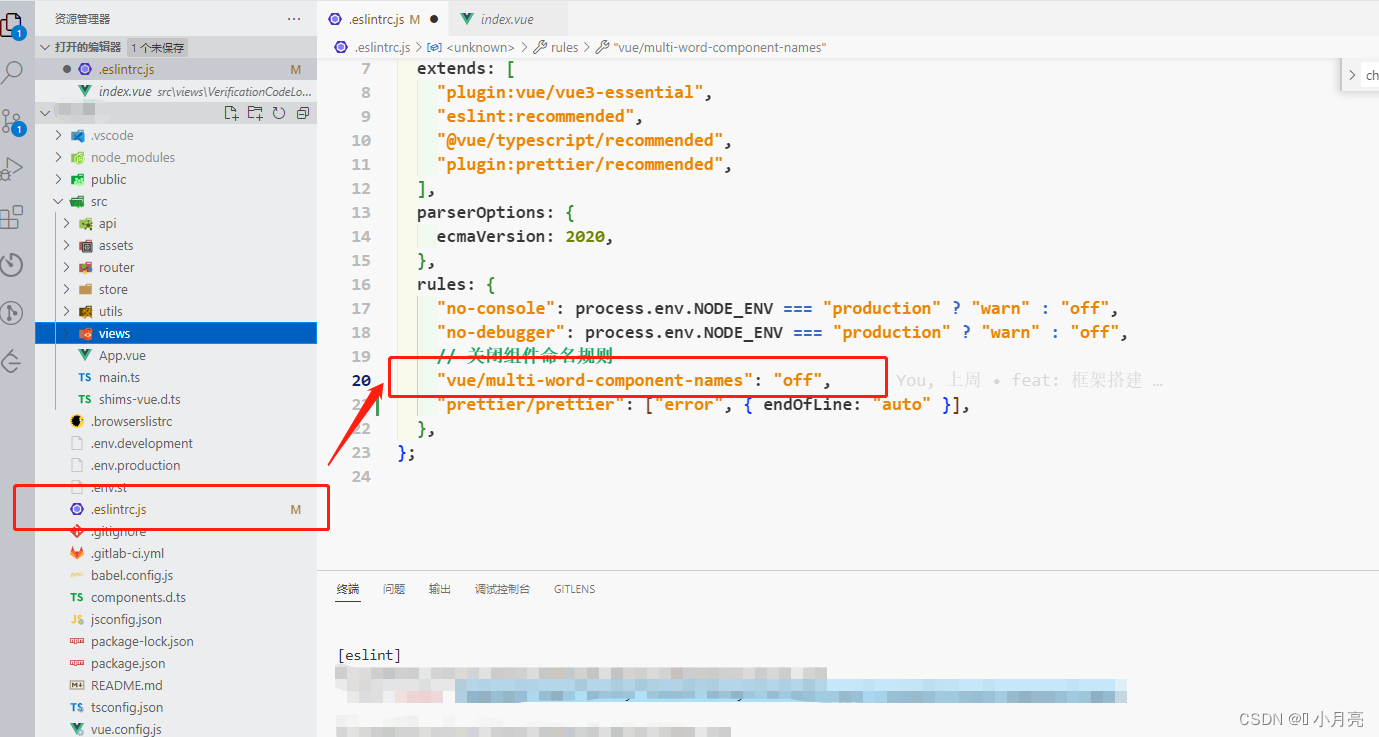
6、引入UI框架–Vant:
-
根据官网进行配置:Vue 3 版本的vant安装链接
-
按需引入的时候,发现样式不生效,记得引入样式:
import "vant/lib/index.css" -
引用插件报错:
SyntaxError: Unexpected token '?'
解决办法:升级node的版本,原本是 12.22.6 升级到 14.17.0
以下为后期补充:
7、配置axios(提示信息使用的ant Design vue,可以自行替换):
① 安装axios和qs:npm install axios qs -S
② 新建 request.ts文件:
/**
 * @file http请求封装
 * @Date 2023-01-04
 */
// 公共数据
import axios from 'axios'
import qs from 'qs'
import {message}from 'ant-design-vue'

export let timestamp:number = new Date().getTime() / 1000  // 当前的时间戳

// 创建一个新的axios请求
const https = axios.create({
  baseURL: process.env.VUE_APP_BASE_API, // 请求的基础地址
  timeout: 10 * 1000, // 超时时间 单位是ms,这里设置了10s的超时时间
  withCredentials: true
})
let headers = {}

// 请求头、token等配置
https.interceptors.request.use((config:any) => {
  timestamp =  new Date().getTime() / 1000
  config.headers = {
    // 'Content-Type':'application/x-www-form-urlencoded' //配置请求头
    "Content-Type": "application/json;charset=UTF-8",
    Timestamp: timestamp
  }
  headers = config.headers
  return config
})

// 请求失败的信息提示封装
const createError = (respCode:string | number, msg: string) => {
  let err:any = new Error(msg)
  err.respCode = respCode
  message.error(msg || '访问超时,请稍候重新尝试!')
  return err
}

// 请求的回调封装配置
const handleRequest = (request:any) => {
  return new Promise((resolve, reject) => {
    request.then((resp: { data: any; status: string | number; error: string }) => {
      const { data, status,error } = resp
      if (!data) {
        reject(createError(status, error))
      } else {
        resolve(data)
      }
    }).catch((err: { code: string | number; message: string }) => {
      const { code, message } = err
      createError(code, message)
    })
  })
}

// 封装的请求方式
export default {
  get(url:string, params:object) {
    return handleRequest(https({
      method: 'get',
      headers,
      url: `${url}${params ? `?${qs.stringify(params)}` : ''}`
    }))
  },
  post(url:string, params:object) {
    // 后端要求所有的post都要加一个参数,用于websocket
    let paramsRes = Object.assign(params, {userId: timestamp})
    return handleRequest(https({
      method: 'post',
      url,
      headers,
      data: paramsRes
    }))
  },
  put(url:string, params:object) {
    return handleRequest(https({
      method: 'put',
      url,
      headers,
      data: params
    }))
  },
  delete(url:string, params:object) {
    return handleRequest(https({
      method: 'delete',
      url,
      headers,
      data: params
    }))
  },
  upload(url:string, params:object) {
    return https({
      method: 'post',
      url,
      data: params,
      headers: {
        'Content-Type': 'multipart/form-data'
      }
    })
  }
}
③ 新建请求路径 home.ts文件(我这个项目就一个页面,所以只新建了一个文件):
// 引入接口请求
import _$http from "@/request/index";

// 定义接口地址的类型
interface urlType {
  storeGeneralInfo: string;
}

// 定义接口地址
const API: urlType = {
  storeGeneralInfo: "/store/getStoreGeneralInfo", // 获取大致信息
};

export default {
  getStoreGeneralInfo(params: any) {
    return _$http.post(API.storeGeneralInfo, params);
  },
};
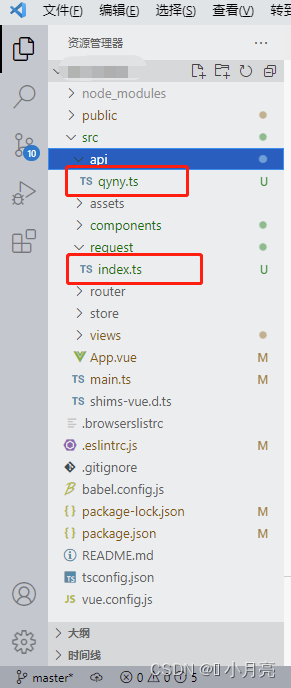
目录如下:
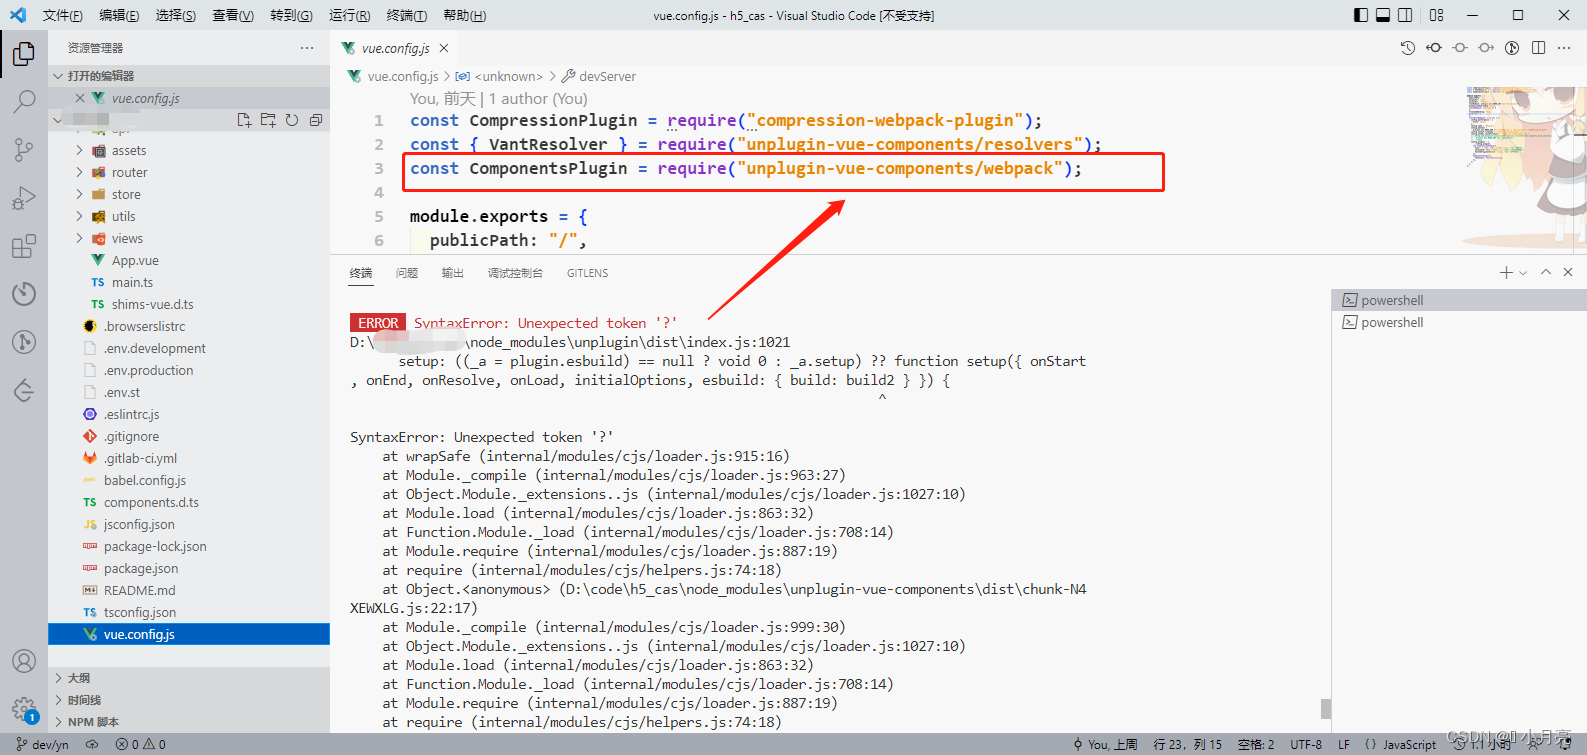
④ 配置vue.config.js:
参考链接
"use strict";
const path = require("path");
const TerserPlugin = require("terser-webpack-plugin"); // 去掉console.log、debugger、注释
const CompressionPlugin = require("compression-webpack-plugin"); // 压缩文件
const NodePolyfillPlugin = require("node-polyfill-webpack-plugin"); // webpack5中移除了nodejs核心模块的polyfill自动引入,所以需要手动引入

module.exports = {
  /**
   * You will need to set publicPath if you plan to deploy your site under a sub path,
   * for example GitHub Pages. If you plan to deploy your site to https://foo.github.io/bar/,
   * then publicPath should be set to "/bar/".
   * In most cases please use '/' !!!
   * Detail: https://cli.vuejs.org/config/#publicpath
   */
  publicPath: process.env.NODE_ENV === "production" ? "./" : "./", // 配置为相对路径
  outputDir: "dist", // 输出文件目录
  assetsDir: "static", // 生成的静态资源的目录
  productionSourceMap: false, // 不需要生产环境的source Map
  lintOnSave: process.env.NODE_ENV === "development", // 保存的时候就检查代码
  devServer: {
    // 代理
    // disableHostCheck: false,
    port: 8090, // 默认端口号
    compress: true, // 代码是否压缩
    // open: true, // 自动打开浏览器
    proxy: {
      // 配置跨域
      "/api": {
        secure: true, // 如果是https接口,需要配置这个参数
        proxyTimeout: 20 * 60 * 1000,
        timeout: 20 * 60 * 1000,
        // target: 'http://192.168.191.195:9876', // 后端本地
        changeOrigin: true, // 如果接口跨域,需要进行这个参数配置
        ws: false, // websocket
        pathRewrite: {
          "^/api": "",
        },
      },
    },
  },
  configureWebpack: {
    name: "名称",
    output: {
      // 输出重构  打包编译后的 文件名称  【模块名称.版本号】
      filename: `static/js/[name].[hash:6].js`,
      chunkFilename: `static/js/[name].[hash:6].js`,
    },
    resolve: {
      alias: {
        "@": path.join(__dirname, "src"),
      },
    },
    plugins: [
      new NodePolyfillPlugin(),
      new CompressionPlugin({
        algorithm: "gzip",
        test: /\.js$|\.ts$|\.html$|.\css/, // 匹配文件名
        threshold: 10240, // 对超过10k的数据压缩
        deleteOriginalAssets: false, // 不删除源文件
        minRatio: 0.8, // 压缩比
      }),
    ],
    optimization: {
      minimizer: [
        new TerserPlugin({
          terserOptions: {
            ecma: undefined,
            warnings: false,
            parse: {},
            compress: {
              drop_console: true, // 移除所有的console.*这些函数的调用
              drop_debugger: false, // 移除debugger
              pure_funcs: ["console.log"], // 如果你要移除特定的函数比如console.info ,又想删掉后保留其参数中的副作用,那用pure_funcs来处理
            },
          },
        }),
      ],
    },
  },
  chainWebpack: (config) => {
    config.module
      .rule("tsx")
      .use("ts-loader")
      .loader("ts-loader")
      .tap((options) => {
        return Object.assign(options || {}, {
          allowTsInNodeModules: true,
        });
      });
  },
};
⑤ 配置环境变量的文件(以开发服为例.env.development):
# just a flag
ENV = 'development'

# base api
VUE_APP_BASE_API = '/api'
#VUE_APP_BASE_API = 'http://192.168.191.195:9876'

VUE_CLI_BABEL_TRANSPILE_MODULES = true
⑥ 在vue文件中使用:
<template>
  <div class="home"></div>
</template>

<script lang="ts">
import { defineComponent} from "vue";
// 引入请求的对象
import request from "@/api/qyny";

export default defineComponent({
  name: "HomeView",
  setup() {
    onMounted(() => {
      requestInit();
    });

    // 请求
    let requestInit = function () {
      request
        .getStoreGeneralInfo({
          province: "浙江省",
          city: "杭州市",
          area: "西湖区",
        })
        .then((res) => {
          console.log("请求的结果", res);
        });
    };
  },
});
</script>


 8891
8891


 被折叠的 条评论
为什么被折叠?
被折叠的 条评论
为什么被折叠?
 到【灌水乐园】发言


