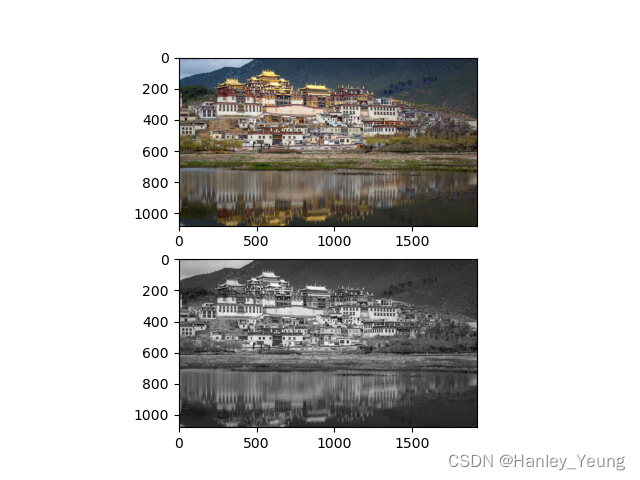
效果
理论部分
- 灰度:表示图像像素明暗程度的数值,也就是黑白图像中点的颜色深度。范围一般为0-255。白色为255,黑色为0。
- 通道:把图像分解成一个或多个颜色成分:
- 单通道:一个像素点只需一个数值表示,只能表示灰度,0为黑色
- 三通道:把图像分为红绿蓝三个通道,可以表示彩色(RGB模式)
- 四通道:在RGB基础上加上alpha(透明度)通道,alpha=0表示全透明
- RGB转化为Gray
- 浮点算法:Gray = R0.3 +G0.59 + B0.11
- 整数算法:Gray = (R30 + G59 + B11) / 100
- 将RGB值转化为[0,1]浮点数:x/255即可
代码部分
- 使用库
- opencv:安装使用pip install opencv-python,使用时用 import cv2
- matplotlib:安装使用pip install matplotlib,使用时用 import matplotlib.pyplot as plt
- skimage:安装使用pip install scikit-image,使用时用 import skimage
"""
@author: Hanley-Yang

彩色图像的灰度化
"""
from skimage.color import rgb2gray
import numpy as np
import matplotlib.pyplot as plt
import cv2

#读取原图片,创建空白单通道图片
img = cv2.imread("shangri-la.jpg")
h,w,c = img.shape[:3]   #获取图片的high,wide和channel
img_gray = np.zeros([h,w],img.dtype) #创建一张和当前图片大小一样的单通道图片

#二维循环,取出当前high和wide中的RGB坐标
for i in range(h):
    for j in range(w):
        m = img[i,j]
        img_gray[i,j] = int(m[0]*0.11 + m[1]*0.59 + m[2]*0.3)

#输出原始图片像素参数
print("---image shangri-la---")
#输出灰度化图片像素参数
print(m)
print("---image gray----")
print(img_gray)
print("image show gray: %s"%img_gray)
cv2.imshow("image show gray",img_gray)

#显示原始图片在画布上方
img = plt.imread("shangri-la.jpg")
plt.subplot(211) #高2宽1的画布,图片放置在位置1(画布上方)
plt.imshow(img)

#显示灰度化图片在画布下方
#img_gray = rgb2gray(img)  #也可以直接使用rgb2gray方法灰度化
plt.subplot(212)
plt.imshow(img_gray, cmap='gray')


plt.show()


 本文介绍了图像灰度化的理论基础,包括灰度值的计算方法(浮点和整数算法),并提供了使用OpenCV、Matplotlib和Scikit-image库在Python中进行彩色图像灰度化的代码示例。


 2060
2060

 被折叠的 条评论
为什么被折叠?
被折叠的 条评论
为什么被折叠?
 到【灌水乐园】发言


