


CocosStudio1.5骨骼动画编辑教程
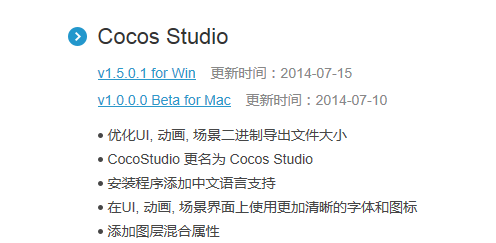
1. 下载安装
下载网址:http://cn.cocos2d-x.org/download/,选择相应的开发系统版本,附图:
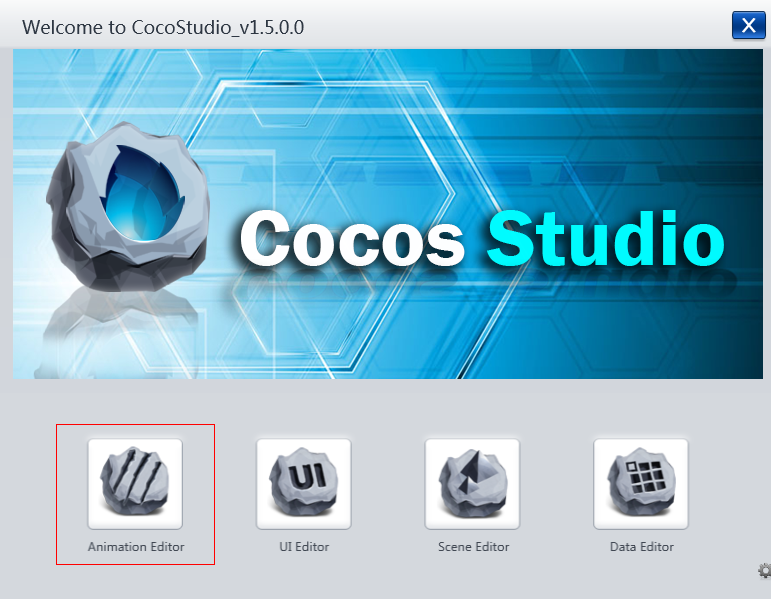
2. 打开Animation动画编译器
选择第一个Animation Editor编辑选项:
3. 动画编辑界面
点击文件,新建工程,选择动画存放的位置及工程名:
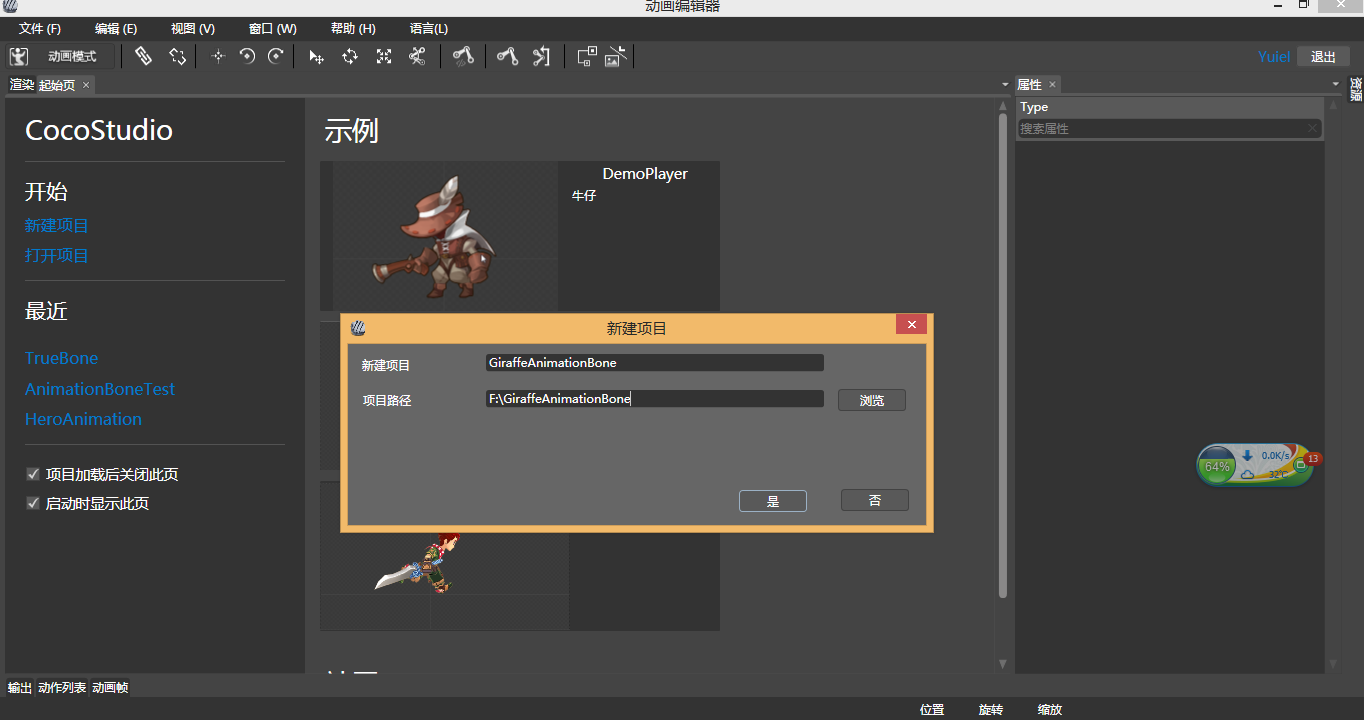
4. 创建工程成功

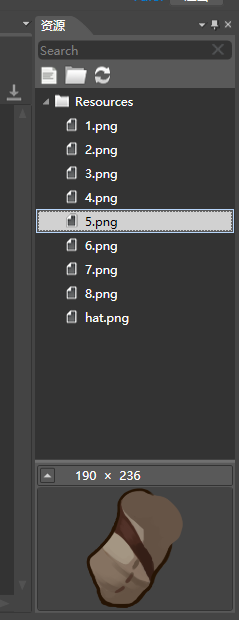
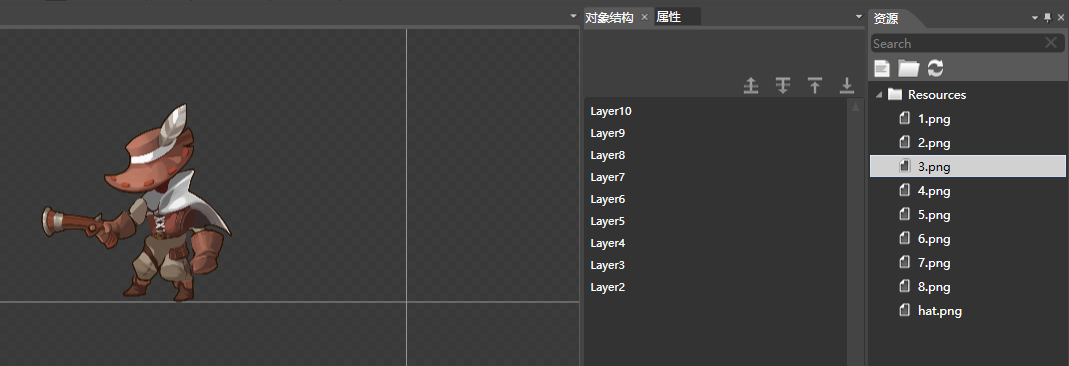
5. 导入单张图片资源
在资源视窗中Resources文件夹右键点击导入,将角色各个部分的图片导入:

6. 导入图片资源成功
7. 现在我们来做个游戏名叫拼图
选中你刚刚导入的图片资源拖到画布上,然后开始拼图游戏,要是觉得,画布太小,可以按住Ctrl然后滚鼠,1分钟后:有没有感觉很威武啊!!!!!!
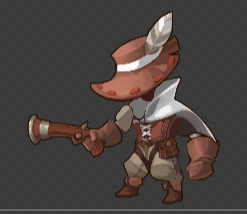
8. 调节Layer层的高度
在对象结构区,选择你想修正层高的Layer,点击向下移即可调节层高,如下图:

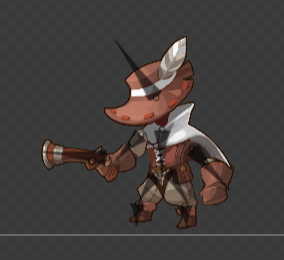
调节层高后,牛仔的样子:
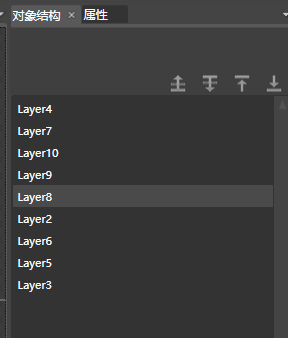
对象结构变成了酱紫的:
温馨提示:要养成随时保持的好习惯哦,人品不好突然停电就不好了额!Ctrl+S
9. 开始绑定骨骼
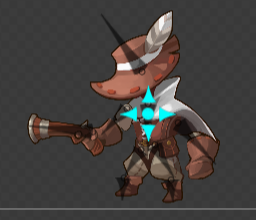
点击创建骨骼(Alt+K)后,进入创建骨骼模式:

我们以帽子为例,进入骨骼模式后,在帽子图片的位置拖动,你就会拖动出来1个小骨头来。然后点击停止创建骨骼,在要绑定骨骼的图片(这里是帽子)右键,选择绑定骨骼,然后点击我们刚刚拖出来的骨骼,这样,帽子的骨骼绑定工作就完成了:
10. 添加骨骼的父子关系
这里将牛仔衣服设为父节点,其余与衣服相邻的图片都为衣服的子节点,在添加父子关系之前,我们先关闭骨骼创建模式,如图不用我教了吧。
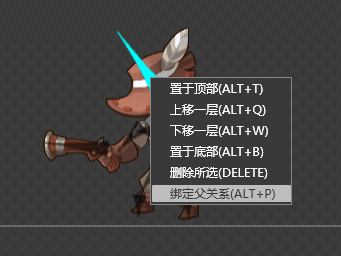
我们以将帽子绑定为衣服的子节点为列,首先我们选中帽子的骨骼,右键,点击选中,【绑定父关系】。
之后,我们在点击一下,衣服的骨骼,OK,一个父子关系就这样轻轻松松的绑好了,下面你自己来将其他骨骼的父子关系设定好。
11. 设计骨骼动画
接下来,开始设计骨骼动画,点击【形体模式】
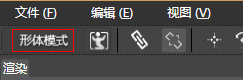
既切换到【动画模式】

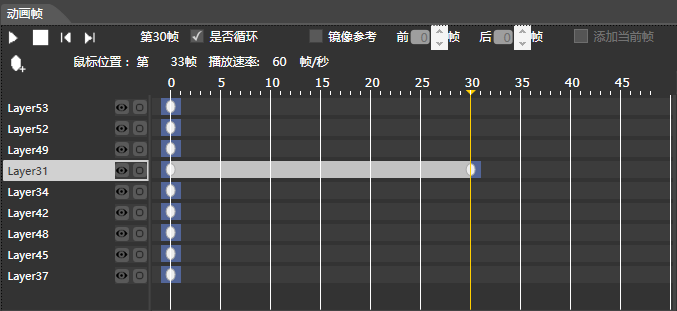
12. 保证首尾帧相同(一次的动画不需要保证首尾帧相同)
我们来创建一个帽子向上仰的动画,命名为JumpUp,选择帽子图片,复制第一帧:
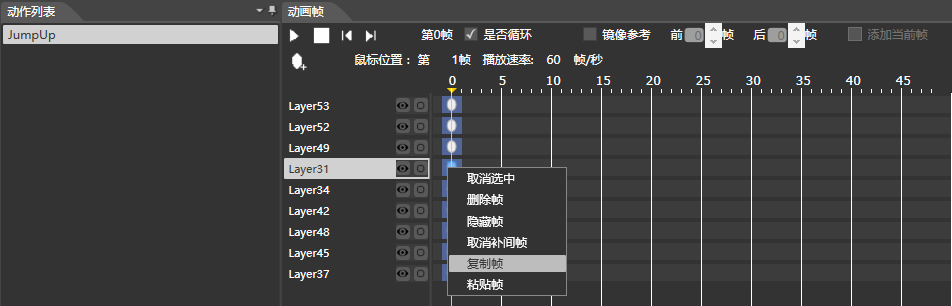
后选中你设计的结束帧,如30帧,粘贴,保证动画首尾不卡帧。
选择尾帧30帧,点击旋转,就可以创建动画了。
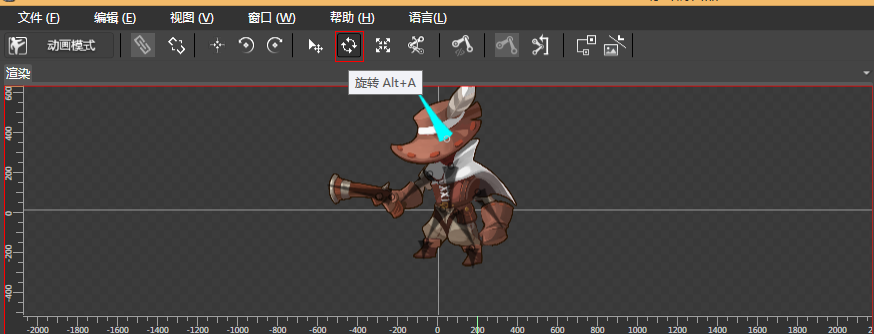

保存,点击播放按钮,动画就可以播放了。

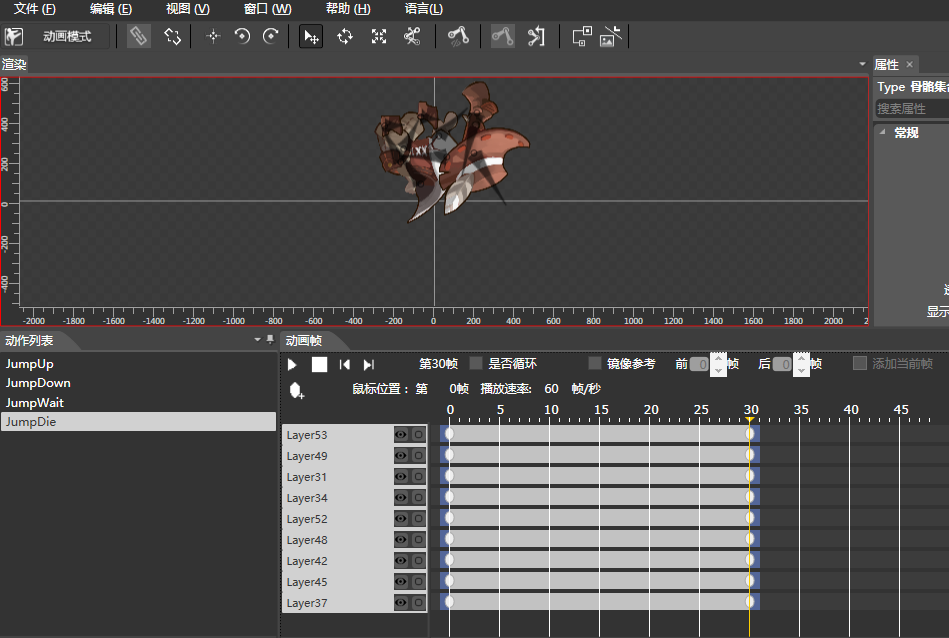
相同步骤,我们共创建4组动画:
13. 导出程序所需要的文件
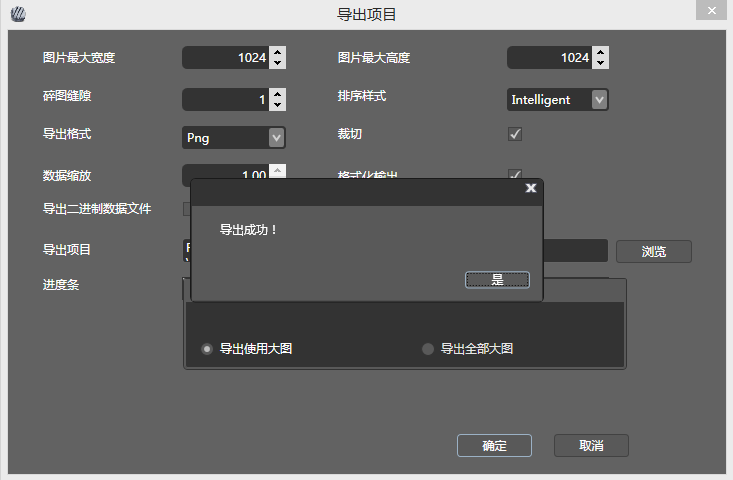
【文件】-【导出】

弹出窗口:

导出图片大小以最小容纳所有图片为准,一般选择2的N次方大小为准,当导出图片尺寸选择过小时,应该会生成多张PND图集,尽量让程序只生成一张图集。
点击确认,导出成功:
我们去文件生成的文件夹看下我们生成的文件:

给程序人员这3个文件,程序人员就可以,就可以根据动画的名称(如JumpUp)获取播放动画了。
14. 参考文献
http://www.cocoachina.com/bbs/read.php?tid=189665
注意:如果动画不是循环的,记得把循环播放勾掉。


 838
838

 被折叠的 条评论
为什么被折叠?
被折叠的 条评论
为什么被折叠?
 到【灌水乐园】发言


