


程序示例精选
C++ VTK鼠标表面绘制曲线
如需安装运行环境或远程调试,见文章底部微信名片,由专业技术人员远程协助!
前言
C++ VTK鼠标表面绘制曲线,功能完善,代码整洁,规则,易读。
文章目录
一、所需工具软件
二、使用步骤
1. 主要代码
2. 运行结果
三、在线协助
一、所需工具软件
1. Visual Studio以上
2. VTK库
二、使用步骤
1.主要代码
代码如下(示例):
#include <vtkActor.h>
#include <vtkCommand.h>
#include <vtkContourWidget.h>
#include <vtkNamedColors.h>
#include <vtkNew.h>
#include <vtkOrientedGlyphContourRepresentation.h>
#include <vtkPolyDataCollection.h>
#include <vtkPolyDataMapper.h>
#include <vtkPolygonalSurfacePointPlacer.h>
#include <vtkProperty.h>

namespace {

	class MyCallback : public vtkCommand
	{
	public:
		static MyCallback* New()
		{
			return new MyCallback;
		}
		MyCallback()
		{
		}

		virtual void Execute(vtkObject* caller, unsigned long, void*)
		{
			vtkContourWidget* contourWidget =
				reinterpret_cast<vtkContourWidget*>(caller);
			vtkContourRepresentation* rep = static_cast<vtkContourRepresentation*>(

		}

		void SetSphereSource(vtkSmartPointer<vtkSphereSource> sphere)
		{
			this->SphereSource = sphere;
		}

	private:
		vtkSmartPointer<vtkSphereSource> SphereSource;
	};

} // namespace

int main(int, char*[])
{
	vtkNew<vtkNamedColors> colors;

	vtkNew<vtkSphereSource> sphereSource;
	sphereSource->SetRadius(5);
	sphereSource->Update();

	vtkNew<vtkPolyDataMapper> mapper;
	mapper->SetInputConnection(sphereSource->GetOutputPort());

	vtkNew<vtkActor> actor;
	actor->SetMapper(mapper);
	actor->GetProperty()->SetColor(colors->GetColor3d("MistyRose").GetData());

	// Create the RenderWindow, Renderer
	vtkNew<vtkRenderer> renderer;
	vtkNew<vtkRenderWindow> renderWindow;
	renderWindow->AddRenderer(renderer);
	renderWindow->SetWindowName("PolygonalSurfacePointPlacer");

	vtkNew<vtkRenderWindowInteractor> interactor;
	interactor->SetRenderWindow(renderWindow);

	renderer->AddActor(actor);
	renderer->SetBackground(colors->GetColor3d("CadetBlue").GetData());

	vtkNew<vtkContourWidget> contourWidget;
	contourWidget->SetInteractor(interactor);

	vtkOrientedGlyphContourRepresentation* rep =
		dynamic_cast<vtkOrientedGlyphContourRepresentation*>(
			contourWidget->GetRepresentation());

	vtkNew<vtkPolygonalSurfacePointPlacer> pointPlacer;
	pointPlacer->AddProp(actor);
	pointPlacer->GetPolys()->AddItem(sphereSource->GetOutput());

	rep->GetLinesProperty()->SetColor(colors->GetColor3d("Crimson").GetData());
	rep->GetLinesProperty()->SetLineWidth(3.0);
	rep->SetPointPlacer(pointPlacer);

	contourWidget->EnabledOn();
	renderer->ResetCamera();
	renderWindow->Render();

	interactor->Start();

	return EXIT_SUCCESS;
}
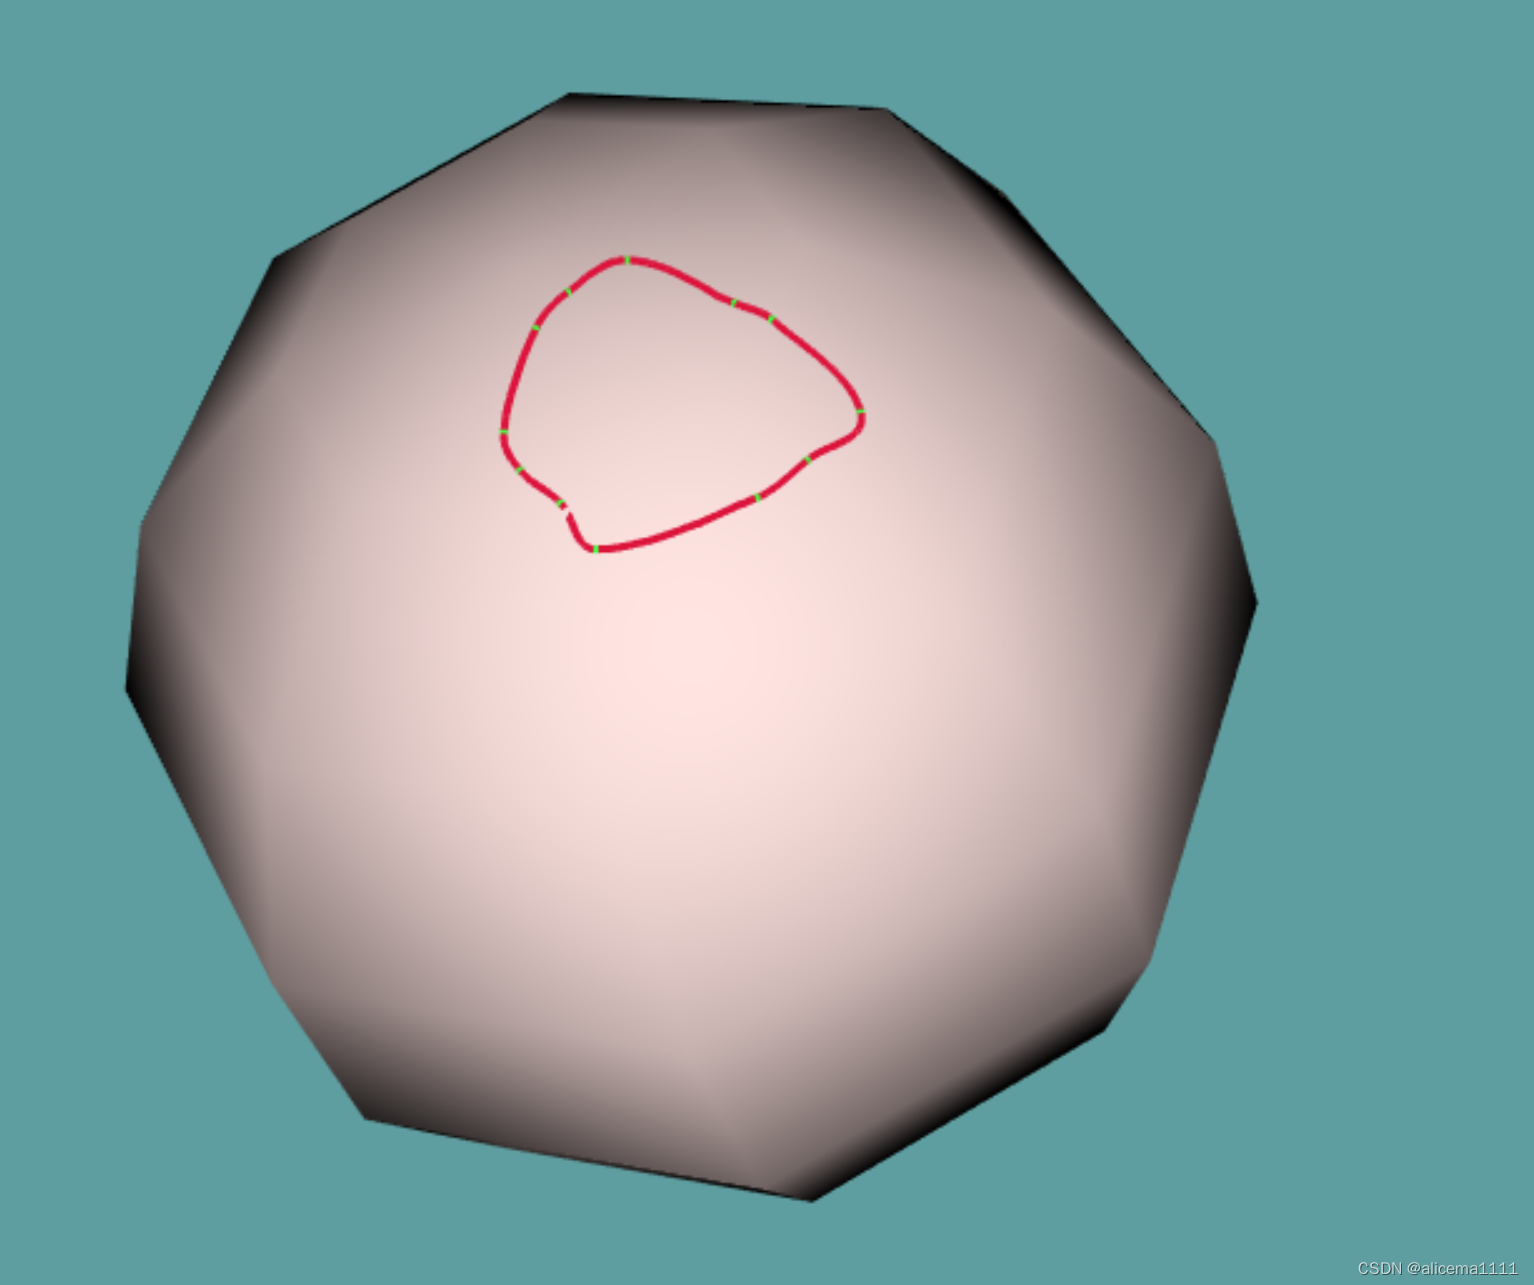
4.运行结果如下:
三、在线协助:
如需安装运行环境或远程调试,见文章底部微信名片,由专业技术人员远程协助!


 3427
3427


 被折叠的 条评论
为什么被折叠?
被折叠的 条评论
为什么被折叠?
 到【灌水乐园】发言


