


快速构建并销毁一个完整的ROS套件。
关于容器的更多细节可以参考linuxcontainer.org
配置容器
基础lxd创建工作
安装lxd
~$ sudo snap install lxd
安装后用
~$ sudo lxc info
查看信息如下:
If this is your first time running LXD on this machine, you should also run: lxd init
To start your first instance, try: lxc launch ubuntu:18.04
……
……
……
初始化lxd
根据提示运行
~$ sudo lxd init
按照默认一路回车
Would you like to use LXD clustering? (yes/no) [default=no]:
Do you want to configure a new storage pool? (yes/no) [default=yes]:
Name of the new storage pool [default=default]:
Name of the storage backend to use (btrfs, dir, lvm, zfs, ceph) [default=zfs]:
Create a new ZFS pool? (yes/no) [default=yes]:
Would you like to use an existing empty block device (e.g. a disk or partition)? (yes/no) [default=no]:
Size in GB of the new loop device (1GB minimum) [default=30GB]:
Would you like to connect to a MAAS server? (yes/no) [default=no]:
Would you like to create a new local network bridge? (yes/no) [default=yes]:
What should the new bridge be called? [default=lxdbr0]:
What IPv4 address should be used? (CIDR subnet notation, “auto” or “none”) [default=auto]:
What IPv6 address should be used? (CIDR subnet notation, “auto” or “none”) [default=auto]:
Would you like the LXD server to be available over the network? (yes/no) [default=no]:
Would you like stale cached images to be updated automatically? (yes/no) [default=yes]
Would you like a YAML "lxd init" preseed to be printed? (yes/no) [default=no]:
查看lxc的profile
~$ sudo lxc profile list
+---------+---------------------+---------+
|  NAME   |     DESCRIPTION     | USED BY |
+---------+---------------------+---------+
| default | Default LXD profile | 0       |
+---------+---------------------+---------+
创建ROS lxc配置
创建lxc的ros profile
~$ sudo lxc profile create rosp
Profile ros created
修改lxc的ros profile
~$ sudo lxc profile edit ros
修改文件至如下:
### This is a YAML representation of the profile.
### Any line starting with a '# will be ignored.
###
### A profile consists of a set of configuration items followed by a set of
### devices.
###
### An example would look like:
### name: onenic
### config:
### raw.lxc: lxc.aa_profile=unconfined
### devices:
### eth0:
### nictype: bridged
### parent: lxdbr0
### type: nic
###
### Note that the name is shown but cannot be changed
config:
### X Window显示
environment.DISPLAY: :0
### 从宿主机映射userid至容器
raw.idmap: both 1001 1000
### 增加ros repositories
user.user-data: |
#cloud-config
runcmd:
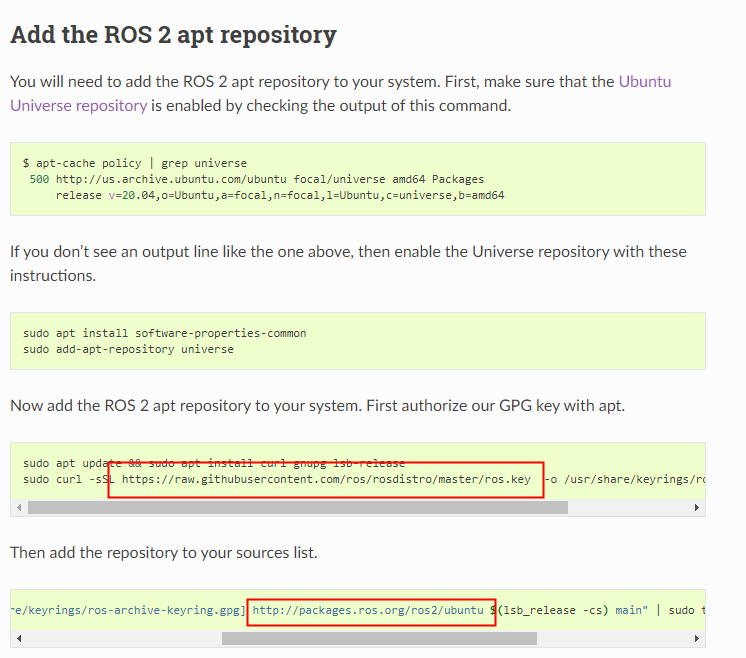
- "apt-key adv --fetch-keys https://raw.githubusercontent.com/ros/rosdistro/master/ros.key"
- "apt-add-repository http://packages.ros.org/ros2/ubuntu"
- "apt-add-repository http://packages.ros.org/ros/ubuntu"
description: ROS
X0:
path: /tmp/.X11-unix/X0
source: /tmp/.X11-unix/X0
type: disk
### 网络设置为桥接
eth0:
name: eth0
nictype: bridged
parent: lxdbr0
type: nic
root:
path: /
pool: default
type: disk
name: ros
used_by: []
说明:
- 查看现有id可以用如下命令
~$ id
uid=1001(xh) gid=1001(xh) groups=1001(xh),27(sudo)
- repositories的地址,参照ROS官方安装手册中增加ROS 2和ROS 1的repositories
- 使用X0设备用作XWindow显示,若有多张显卡,也可以使用其他显卡
~$ ls /tmp/.X11-unix/
X1024  X1025
- 查看现有网络设置可以用如下命令
~$ ifconfig
eno1: flags=4163<UP,BROADCAST,RUNNING,MULTICAST>  mtu 1500
        inet 192.168.46.29  netmask 255.255.255.0  broadcast 192.168.46.255
        inet6 fe80::bb30:ed6a:6ec:6bbd  prefixlen 64  scopeid 0x20<link>
        ether 48:0f:cf:37:a8:a4  txqueuelen 1000  (Ethernet)
        RX packets 26905  bytes 4373082 (4.3 MB)
        RX errors 0  dropped 0  overruns 0  frame 0
        TX packets 15366  bytes 1836647 (1.8 MB)
        TX errors 0  dropped 0 overruns 0  carrier 0  collisions 0
        device interrupt 20  memory 0xf7800000-f7820000

lo: flags=73<UP,LOOPBACK,RUNNING>  mtu 65536
        inet 127.0.0.1  netmask 255.0.0.0
        inet6 ::1  prefixlen 128  scopeid 0x10<host>
        loop  txqueuelen 1000  (Local Loopback)
        RX packets 195  bytes 16883 (16.8 KB)
        RX errors 0  dropped 0  overruns 0  frame 0
        TX packets 195  bytes 16883 (16.8 KB)
        TX errors 0  dropped 0 overruns 0  carrier 0  collisions 0
取可连接外网的网卡名
确认ros profile创建成功
~$ sudo lxc profile list
+---------+---------------------+---------+
|  NAME   |     DESCRIPTION     | USED BY |
+---------+---------------------+---------+
| default | Default LXD profile | 0       |
+---------+---------------------+---------+
| ros     | ROS                 | 0       |
+---------+---------------------+---------+
启动容器
使用lxc launch创建相关的ros容器
我们这里使用ubuntu 20.04的镜像
~$ sudo lxc launch -p ros ubuntu:20.04 rosgalactic
Creating rosgalactic
Starting rosgalactic
用lxc exec来启动容器内的bash shell
~$ sudo lxc exec rosgalactic -- bash
root@rosgalactic:~#
在默认情况下,shell是以root账户启动的
用exit命令可以退出该shell。
指定用户启动
我们可以用–login来指定启动的账户
~$ sudo lxc exec rosgalactic -- su --login ubuntu
To run a command as administrator (user "root"), use "sudo <command>".
See "man sudo_root" for details.

ubuntu@rosgalactic:~$ id
uid=1000(ubuntu) gid=1000(ubuntu) groups=1000(ubuntu),4(adm),20(dialout),24(cdrom),25(floppy),27(sudo),29(audio),30(dip),44(video),46(plugdev),117(netdev),118(lxd)
ubuntu@rosgalactic:~$
安装ROS
ubuntu@rosgalactic:~$ sudo apt install ros-galactic-desktop
关于ROS本身安装中的问题请参照ROS2学习(一).Ubuntu 20.04安装ROS2 Galactic 。
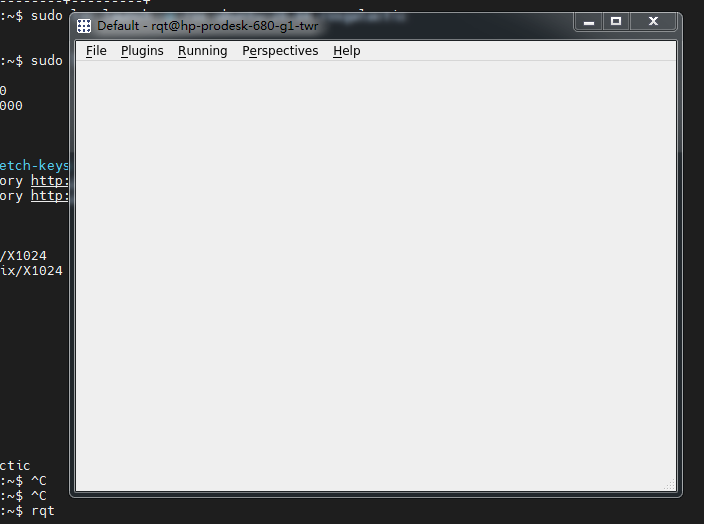
启动确认
ubuntu@rosgalactic:~$ rqt
添加快速启动参数
~$ sudo lxc alias add ubuntu 'exec @ARGS@ --user 1000 --group 1000 --env HOME=/home/ubuntu -- /bin/bash --login'
~$ sudo lxc alias list
+--------+-----------------------------------------------------------------------------------+
| ALIAS  |                                      TARGET                                       |
+--------+-----------------------------------------------------------------------------------+
| ubuntu | exec @ARGS@ --user 1000 --group 1000 --env HOME=/home/ubuntu -- /bin/bash --login |
+--------+-----------------------------------------------------------------------------------+
~$ sudo lxc ubuntu rosgalactic
ubuntu@rosgalactic:~$ source /opt/ros/galactic/setup.bash
ubuntu@rosgalactic:~$ ros2 run demo_nodes_cpp talker
至此,大功告成!


 773
773


 被折叠的 条评论
为什么被折叠?
被折叠的 条评论
为什么被折叠?
 到【灌水乐园】发言


