


目录
前言
在3D应用开发中,为场景设置引人入胜的背景是提升视觉效果的关键一环。Three.js,作为一款强大的Web 3D库,提供了多种方式来加载和应用背景。本文将介绍两种实用方法:使用Equirectangular映射的纹理以及立方体贴图(Cube Texture),让你的3D场景更加生动逼真。
1.Equirectangular映射背景

素材图片地址👉点击前往
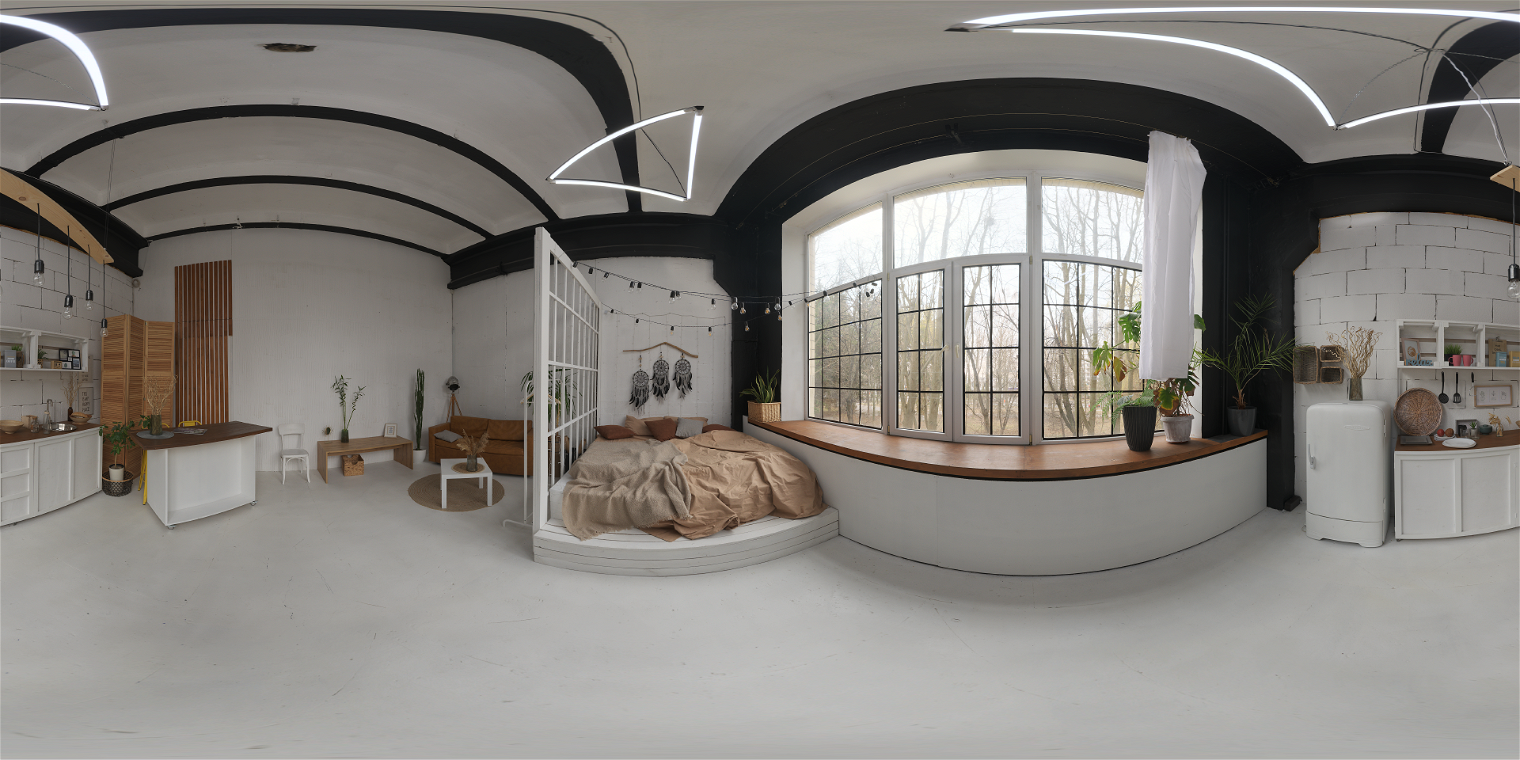
Equirectangular映射是一种将球面图像展开成矩形的技术,广泛应用于全景图的展示。在Three.js中,利用这种映射方式加载背景,可以轻松实现360度环境映射,为你的场景营造沉浸式体验。
实现步骤
1.初始化TextureLoader
首先,需要创建一个THREE.TextureLoader实例,这是加载图像资源的工具。
const textureLoader = new THREE.TextureLoader();2.加载Equirectangular纹理
使用load方法加载一张Equirectangular格式的全景图像。
const textureEquirec = textureLoader.load('./img/bg1.jpg');3.配置映射类型和颜色空间
为了正确显示,我们需要指定纹理映射方式为THREE.EquirectangularReflectionMapping,并设置正确的颜色空间。
textureEquirec.mapping = THREE.EquirectangularReflectionMapping;
textureEquirec.colorSpace = THREE.SRGBColorSpace;4.应用背景
最后,将此纹理设置为场景的背景。
scene.background = textureEquirec;完整代码如下
<template></template>
<script setup>
import * as THREE from 'three'
import { onMounted } from 'vue'
import { OrbitControls } from 'three/examples/jsm/controls/OrbitControls'
const scene = new THREE.Scene()
// 加载背景
const textureLoader = new THREE.TextureLoader()
const textureEquirec = textureLoader.load('./img/bg1.jpg')
textureEquirec.mapping = THREE.EquirectangularReflectionMapping
textureEquirec.colorSpace = THREE.SRGBColorSpace
scene.background = textureEquirec
const camera = new THREE.PerspectiveCamera(
	75,
	window.innerWidth / window.innerHeight,
	0.1,
	1000
)
const renderer = new THREE.WebGLRenderer({ antialias: true })
const controls = new OrbitControls(camera, renderer.domElement)
onMounted(() => {
	init()
})
function init() {
	camera.position.set(0, 0, 5)
	renderer.setSize(window.innerWidth, window.innerHeight)
	document.body.appendChild(renderer.domElement)
	controls.update()
	function animate() {
		requestAnimationFrame(animate)
		controls.update()
		renderer.render(scene, camera)
	}
	animate()
}
</script>
2.立方体贴图背景
立方体贴图由六个面组成,分别对应立方体的正X、负X、正Y、负Y、正Z、负Z方向,能够全方位地包裹场景,提供更加细腻真实的环境反射效果。
图像素材为官网示例中获取,也可从我这里网盘下载👉点击下载
实现步骤
1.创建CubeTextureLoader
与单张图像不同,立方体贴图需要专门的加载器THREE.CubeTextureLoader。
const loader = new THREE.CubeTextureLoader();2.加载立方体贴图
-
由于立方体贴图由六张图像构成,我们首先设置它们的共同基础路径。
loader.setPath('./img/'); -
接下来,按顺序列出六张图像文件名,这些图像分别代表立方体的六个面。
const textureCube = loader.load([
    'posx.jpg', 'negx.jpg',
    'posy.jpg', 'negy.jpg',
    'posz.jpg', 'negz.jpg'
]);
3.应用背景
同样地,将立方体贴图设置为场景背景。
scene.background = textureCube;完整代码如下
<template></template>
<script setup>
import * as THREE from 'three'
import { onMounted } from 'vue'
import { OrbitControls } from 'three/examples/jsm/controls/OrbitControls'
const scene = new THREE.Scene()
// 加载背景
// const textureLoader = new THREE.TextureLoader()
// const textureEquirec = textureLoader.load('./img/bg1.jpg')
// textureEquirec.mapping = THREE.EquirectangularReflectionMapping
// textureEquirec.colorSpace = THREE.SRGBColorSpace
// scene.background = textureEquirec
const loader = new THREE.CubeTextureLoader()
loader.setPath('./img/')
const textureCube = loader.load([
	'posx.jpg',
	'negx.jpg',
	'posy.jpg',
	'negy.jpg',
	'posz.jpg',
	'negz.jpg',
])
scene.background = textureCube
const camera = new THREE.PerspectiveCamera(
	75,
	window.innerWidth / window.innerHeight,
	0.1,
	1000
)
const renderer = new THREE.WebGLRenderer({ antialias: true })
const controls = new OrbitControls(camera, renderer.domElement)
onMounted(() => {
	init()
})
function init() {
	camera.position.set(0, 0, 5)
	renderer.setSize(window.innerWidth, window.innerHeight)
	document.body.appendChild(renderer.domElement)
	controls.update()
	function animate() {
		requestAnimationFrame(animate)
		controls.update()
		renderer.render(scene, camera)
	}
	animate()
}
</script>
总结
通过上述两种方法,我们可以轻松地为Three.js场景添加丰富多彩的背景。Equirectangular映射适合于全景背景,营造无缝的环境体验;立方体贴图则在需要更精细环境反射的场景中大显身手。掌握这两种技术,将使你的3D项目更加出彩,为用户带来更加震撼的视觉享受。在实际开发中,根据项目需求选择最合适的背景加载方式,让创意无限延伸。


 1万+
1万+

 被折叠的 条评论
为什么被折叠?
被折叠的 条评论
为什么被折叠?
 到【灌水乐园】发言


