


1、引言
在Eclipse中android程序项目目录结构下的res文件夹新建drawable文件夹,并在drawable文件夹下新建各类的xml样式文件,供layout文件夹下的xml布局文件引用,以满足对程序界面的需求开发。如图1和图2是drawable下xml样式文件的样式类型。
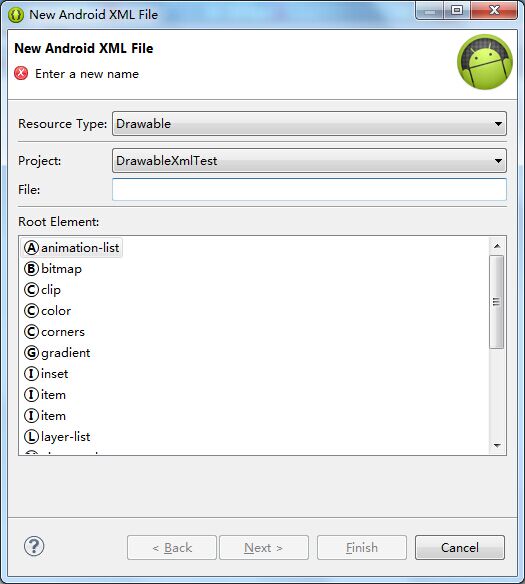
图1、drawable下xml样式文件的样式类型(一)

图2、drawable下xml样式文件的样式类型(二)
接下来我们要详细解析以下各类xml样式文件的作用及其使用方法,请点击目录查看相应解析。
2、animation-list
使用animation-list样式可以实现逐帧动画效果,例如WiFi网络信号的强弱表示或者语音聊天声音的强弱表示,分为增强和减弱两种逐帧动画效果。
首先是放置图片素材,如图3所示。将其根据屏幕分辨率大小分别放一套图片到不同屏幕分辨率的drawable文件夹下,android系统会根据机器的屏幕分辨率到相应屏幕分辨率的drawable文件夹里面去找相应的图片素材,以兼容不同屏幕分辨率的安卓机器屏幕。


图3、iv1到iv4
其次是信号增强即图片顺序播放的效果,在drawable下新建animation_list_sequence.xml样式文件。
<?xml version="1.0" encoding="utf-8"?>
<!--
    根标签为animation-list;
    其中oneshot代表着是否只展示一遍,设置为false会不停的循环播放动画;
    其中visible规定drawable的初始可见性,默认为flase;
    其中variablePadding若为true则允许drawable的距离在当前选择状态下有所改变(If true, allows the drawable’s padding to change based on the current state that is selected.),默认为false;
    根标签下,通过item标签对动画中的每一个图片进行声明;
    android:duration 表示展示所用的该图片的时间长度,单位为毫秒;
 -->
<animation-list
  xmlns:android="http://schemas.android.com/apk/res/android"
  android:oneshot="true"
  android:visible="false"
  android:variablePadding="false"
  >
    <item android:drawable="@drawable/iv1" android:duration="200"></item>
    <item android:drawable="@drawable/iv2" android:duration="200"></item>
    <item android:drawable="@drawable/iv3" android:duration="200"></item>
    <item android:drawable="@drawable/iv4" android:duration="200"></item>
</animation-list>
再者是信号增强即图片顺序播放的效果,在drawable下新建animation_list_reverse.xml样式文件。
<?xml version="1.0" encoding="utf-8"?>
<!--
    根标签为animation-list;
    其中oneshot代表着是否只展示一遍,设置为false会不停的循环播放动画;
    其中visible规定drawable的初始可见性,默认为flase;
    其中variablePadding若为true则允许drawable的距离在当前选择状态下有所改变(If true, allows the drawable’s padding to change based on the current state that is selected.),默认为false;
    根标签下,通过item标签对动画中的每一个图片进行声明;
    android:duration 表示展示所用的该图片的时间长度,单位为毫秒;
 -->
<animation-list
  xmlns:android="http://schemas.android.com/apk/res/android"
  android:oneshot="true"
  android:visible="false"
  android:variablePadding="false"
  >
    <item android:drawable="@drawable/iv4" android:duration="200"></item>
    <item android:drawable="@drawable/iv3" android:duration="200"></item>
    <item android:drawable="@drawable/iv2" android:duration="200"></item>
    <item android:drawable="@drawable/iv1" android:duration="200"></item>
</animation-list>
然后在layout文件夹下新建xml布局文件activity_animation_list.xml,引用上面写好的drawable文件夹下的xml样式文件。
<?xml version="1.0" encoding="utf-8"?>
<LinearLayout xmlns:android="http://schemas.android.com/apk/res/android"
    android:layout_width="fill_parent"
    android:layout_height="fill_parent"
    android:orientation="vertical" >

    <ImageView
        android:id="@+id/iv_animation_list"
        android:layout_width="fill_parent"
        android:layout_height="wrap_content"
        android:src="@drawable/animation_list_sequence" />

    <Button
        android:layout_width="fill_parent"
        android:layout_height="wrap_content"
        android:onClick="sequence"
        android:text="顺序显示" />

    <Button
        android:layout_width="fill_parent"
        android:layout_height="wrap_content"
        android:onClick="stop"
        android:text="停止动画" />

    <Button
        android:layout_width="fill_parent"
        android:layout_height="wrap_content"
        android:onClick="reverse"
        android:text="倒序显示" />

</LinearLayout>
然后在src包下新建Activity的Java文件AnimationListActivity.java,用于演示操作。
package com.zcz.drawablexmltest;

import android.app.Activity;
import android.graphics.drawable.AnimationDrawable;
import android.os.Bundle;
import android.view.View;
import android.view.Window;
import android.widget.ImageView;

public class AnimationListActivity extends Activity{
    private ImageView mIv;
    private AnimationDrawable mAd;
    @Override
    public void onCreate(Bundle savedInstanceState) {
        super.onCreate(savedInstanceState);
        requestWindowFeature(Window.FEATURE_NO_TITLE);
        setContentView(R.layout.activity_animation_list);
        mIv = (ImageView) findViewById(R.id.iv_animation_list);
    }

    public void sequence(View view){
        mIv.setImageResource(R.drawable.animation_list_sequence);
        mAd = (AnimationDrawable) mIv.getDrawable();
        mAd.start();
    }
    public void stop(View view){
        mAd = (AnimationDrawable) mIv.getDrawable();
        mAd.stop();
    }
    public void reverse(View view){
        mIv.setImageResource(R.drawable.animation_list_reverse);
        mAd = (AnimationDrawable) mIv.getDrawable();
        mAd.start();
    }
}
其中动画的播放和暂停用到了AnimationDrawable 这个类的方法,通过查看AnimationDrawable 类的源代码我们就知道了animation-list的逐帧动画就是通过每隔指定时间变换不同的图片来实现的。
    /**
     * <p>Starts the animation, looping if necessary. This method has no effect
     * if the animation is running. Do not call this in the {@link android.app.Activity#onCreate}
     * method of your activity, because the {@link android.graphics.drawable.AnimationDrawable} is
     * not yet fully attached to the window. If you want to play
     * the animation immediately, without requiring interaction, then you might want to call it
     * from the {@link android.app.Activity#onWindowFocusChanged} method in your activity,
     * which will get called when Android brings your window into focus.</p>
     *
     * @see #isRunning()
     * @see #stop()
     */
    public void start() {
        if (!isRunning()) {
            run();
        }
    }

    /**
     * <p>Stops the animation. This method has no effect if the animation is
     * not running.</p>
     *
     * @see #isRunning()
     * @see #start()
     */
    public void stop() {
        if (isRunning()) {
            unscheduleSelf(this);
        }
    }
    /**
     * <p>Indicates whether the animation is currently running or not.</p>
     *
     * @return true if the animation is running, false otherwise
     */
    public boolean isRunning() {
        return mCurFrame > -1;
    }

    /**
     * <p>This method exists for implementation purpose only and should not be
     * called directly. Invoke {@link #start()} instead.</p>
     *
     * @see #start()
     */
    public void run() {
        nextFrame(false);
    }

    @Override
    public void unscheduleSelf(Runnable what) {
        mCurFrame = -1;
        super.unscheduleSelf(what);
    }
最后让我们看一下运行之后的逐帧动画效果,如图4和图5所示。
图4 顺序显示
图5 倒序显示
3、bitmap
XML Bitmap是定义在XML文件当中,指向一个位图文件的资源,为原生的位图文件起了一个别名,其最终将被编译成BitmapDrawable对象。
首先,在drawable文件夹下新建一个bitmap类型的xml样式文件bitmap.xml。
<?xml version="1.0" encoding="utf-8"?>
<!--
antialias:开启或关闭抗锯齿
autoMirrored:是否自动镜像
dither:开启或关闭图像抖动(如果位图与显示屏幕的像素配置不相同时会用到,比如一张ARGB8888位图和一个RGB565的显示屏)
filter:开启或关闭滤镜。当收缩或是拉伸位图时使用这个来使位图看上去更平滑
gravity:当位图大小比它所在的容器小的时候,使用这个属性来决定位图在容器中的位置
mipMap:是否使用文理映射过滤提示
src:设置资源图片
tileMode——定义平铺模式。如果定义了,那么位图将会重复,并且Gravity属性将失效。可取的值有disabled(默认值,不启用平铺)、clamp(复制位图边缘的颜色来填充容器剩下的空白部分)、repeat(复制整个位图来填充容器)、mirror(与repeat类似,但是是交替的镜像复制,即相邻的两张是镜像对称的)
-->
<bitmap xmlns:android="http://schemas.android.com/apk/res/android"
    android:antialias="false"
    android:autoMirrored="true"
    android:dither="true"
    android:filter="true"
    android:gravity="center"
    android:mipMap="true"
    android:src="@drawable/ic_launcher"
    android:tileMode="mirror" >

</bitmap>
其次在layout文件夹下新建xml布局文件activity_bitmap.xml,并引用之前写的bitmap.xml。
<?xml version="1.0" encoding="utf-8"?>
<LinearLayout xmlns:android="http://schemas.android.com/apk/res/android"
    android:layout_width="match_parent"
    android:layout_height="match_parent"
    android:background="@drawable/bitmap"
    android:orientation="vertical" >

</LinearLayout>
然后在src包下新建Activity的Java文件BitmapActivity.java,用于演示操作。
package com.zcz.drawablexmltest;

import android.app.Activity;
import android.os.Bundle;

public class BitmapActivity extends Activity{
    @Override
    protected void onCreate(Bundle savedInstanceState) {
        // TODO Auto-generated method stub
        super.onCreate(savedInstanceState);
        setContentView(R.layout.activity_bitmap);
    }
}
最后让我们看一下运行之后的mirror平铺模式效果,如图6所示。
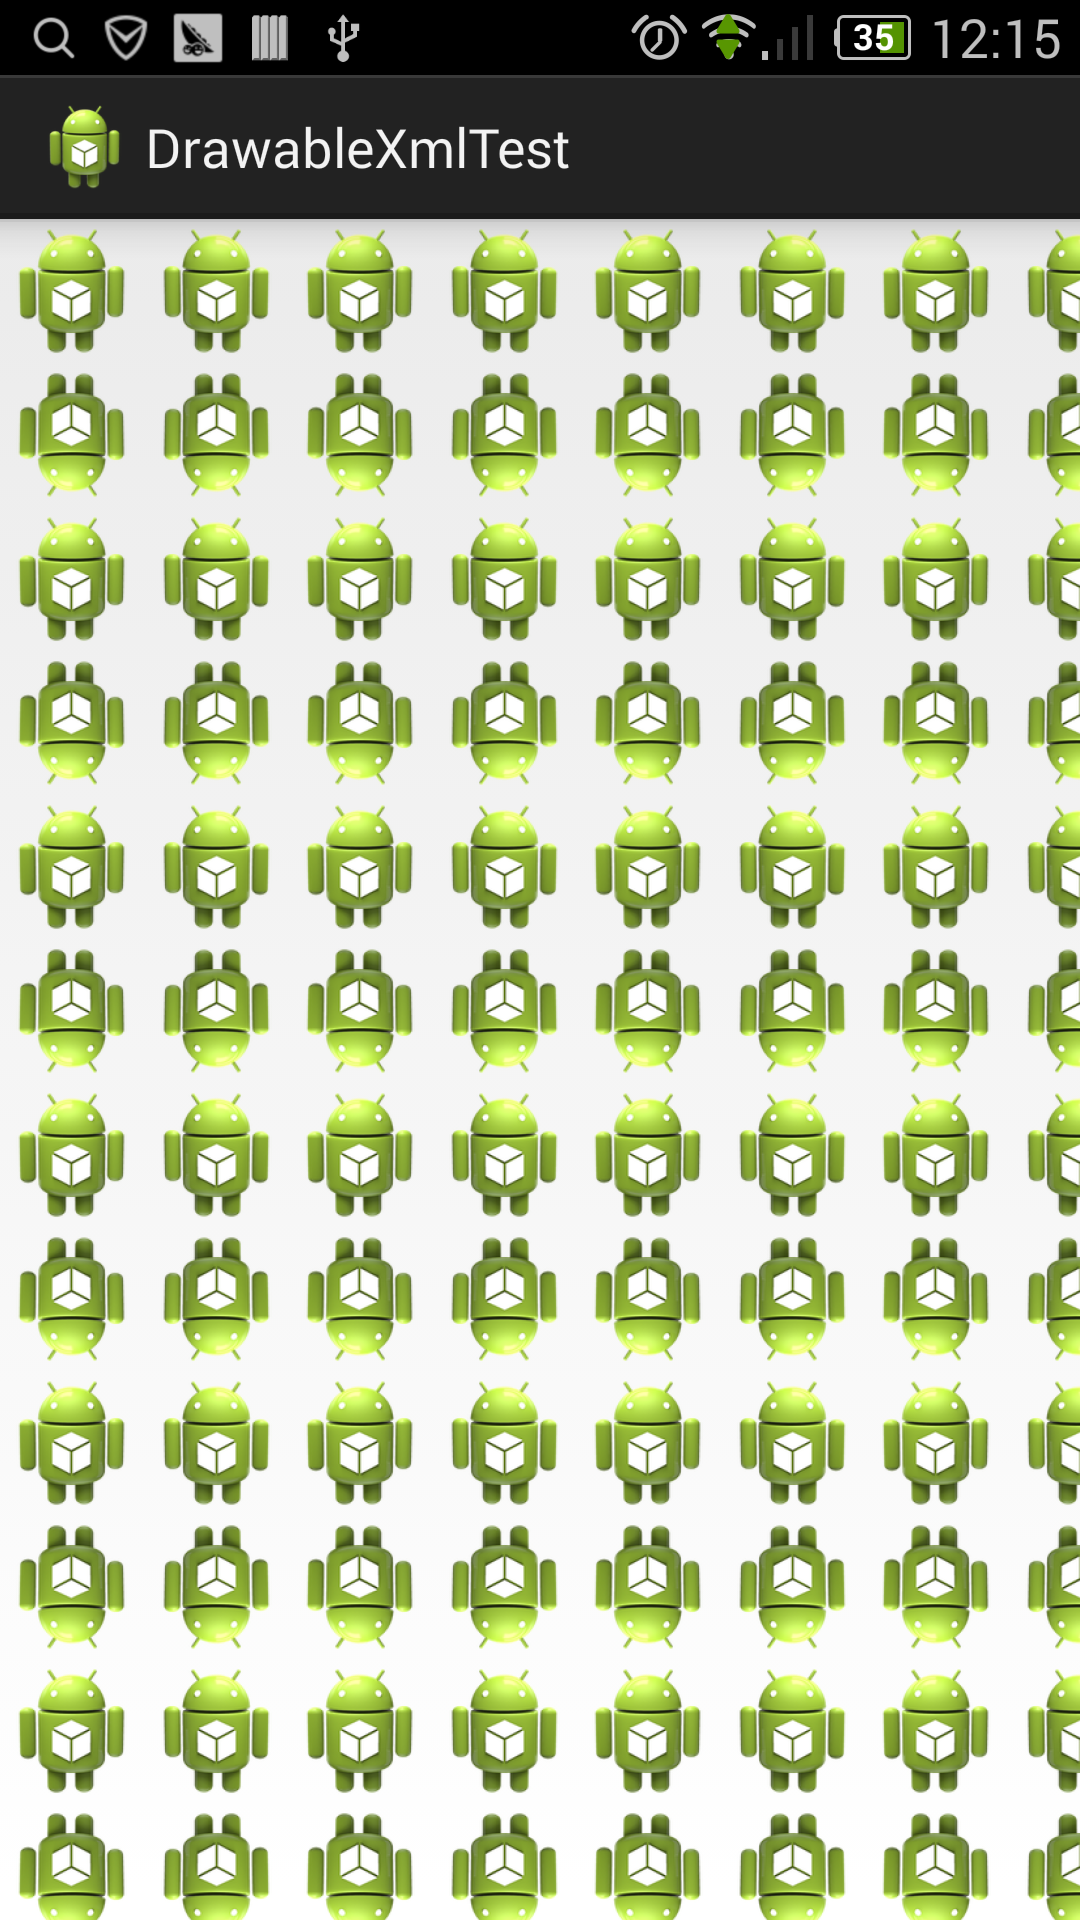
图6 mirror平铺模式效果
4、clip
使用剪切图像资源可以只显示一部分图像,这种资源经常被用在进度条的制作上,其最终将被编译成ClipDrawable对象。
首先,在drawable文件夹下新建一个bitmap类型的xml样式文件clip.xml。
<?xml version="1.0" encoding="utf-8"?>
<!--
android:drawable:指定要剪切的原图像。

android:clipOrientation:截取的方向。可取的值:horizontal和vertical。分别表示水平和垂直方向截取图像。

android:gravity:表示如何截取图像。例如,left表示从左侧截取图像,right表示从右侧截取图像。

-->
<clip xmlns:android="http://schemas.android.com/apk/res/android"
    android:clipOrientation="vertical"
    android:drawable="@drawable/ic_launcher"
    android:gravity="top" >

</clip>
其次在layout文件夹下新建xml布局文件activity_clip.xml,并引用之前写的clip.xml。
<?xml version="1.0" encoding="utf-8"?>
<LinearLayout xmlns:android="http://schemas.android.com/apk/res/android"
    android:layout_width="match_parent"
    android:layout_height="match_parent"
    android:gravity="center"
    android:orientation="vertical" >
    <ImageView

        android:id="@+id/iv_clip"
        android:layout_width="wrap_content"
        android:layout_height="wrap_content"
        android:background="@drawable/clip"

        />

</LinearLayout>
然后在src包下新建Activity的Java文件ClipActivity.java,用于演示操作。
package com.zcz.drawablexmltest;

import android.app.Activity;
import android.graphics.drawable.ClipDrawable;
import android.os.Bundle;
import android.widget.ImageView;

public class ClipActivity extends Activity {
    private ImageView mIv;

    @Override
    protected void onCreate(Bundle savedInstanceState) {
        // TODO Auto-generated method stub
        super.onCreate(savedInstanceState);
        setContentView(R.layout.activity_clip);

        mIv = (ImageView) findViewById(R.id.iv_clip);
        ClipDrawable drawable = (ClipDrawable) mIv.getBackground();
        drawable.setLevel(5000);
        /**
         * ClipDrawable类内部预设了一个最大的level值10000(Android
         * SDK未提供API修改该值)。如果这个level的值为0
         * ,表示截取图像的宽度或高度为0,也就是说,图像就无法显示了。如果level的值为10000,表示显示全部的图像(不进行任何截取)。
         */
    }
}
最后让我们看一下运行之后的半截图片效果,如图7所示。

图7 半截图片效果
4、color
首先,在drawable文件夹下新建一个bitmap类型的xml样式文件color.xml。
<?xml version="1.0" encoding="utf-8"?>
<!-- color:指定顏色值 -->
<color xmlns:android="http://schemas.android.com/apk/res/android"
    android:color="#555555" >

</color>
其次呢,给activity_clip.xml的LinearLayout加个背景: android:background=”@drawable/color”。
<?xml version="1.0" encoding="utf-8"?>
<LinearLayout xmlns:android="http://schemas.android.com/apk/res/android"
    android:layout_width="match_parent"
    android:layout_height="match_parent"
    android:gravity="center"
    android:background="@drawable/color"
    android:orientation="vertical" >
    <ImageView

        android:id="@+id/iv_clip"
        android:layout_width="wrap_content"
        android:layout_height="wrap_content"
        android:background="@drawable/clip"

        />

</LinearLayout>
最后让我们看一下运行之后的颜色效果,如图8所示。
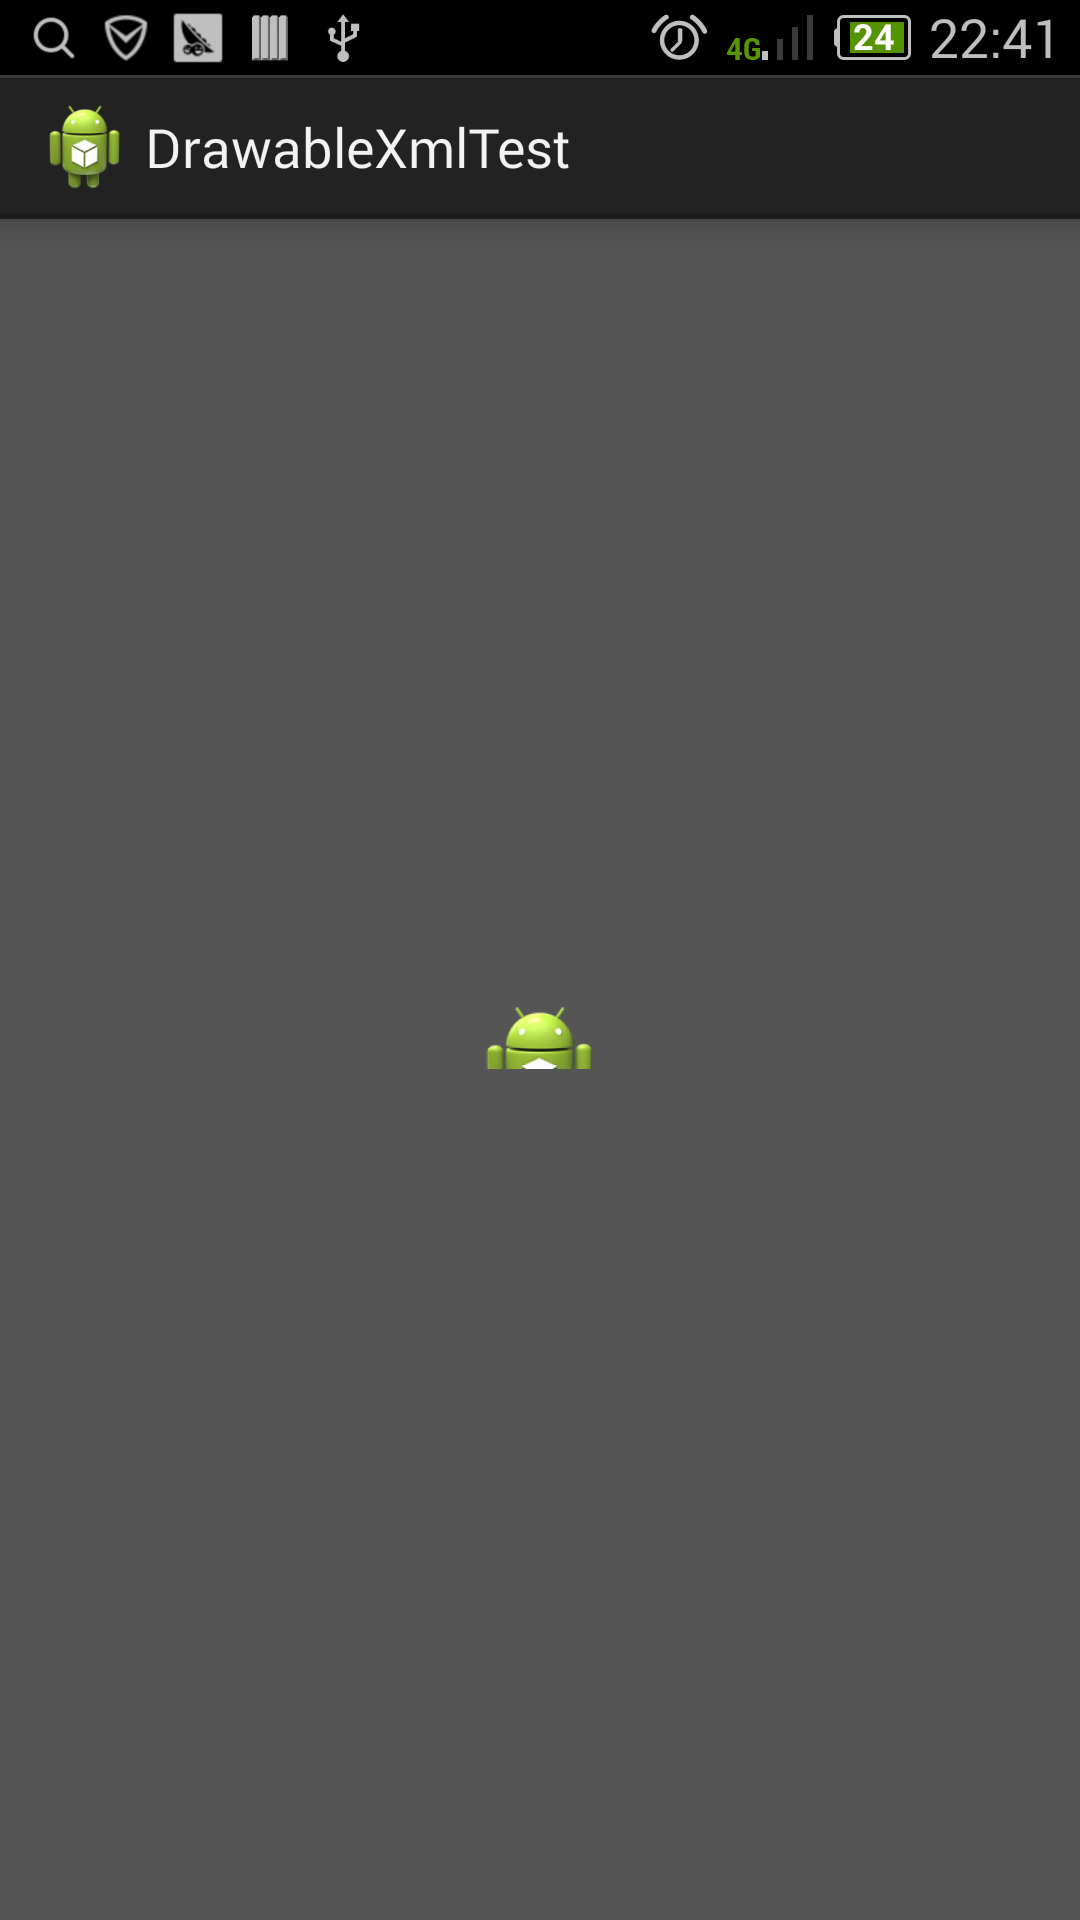
图8 颜色效果
5、inset
嵌入图像资源,用于通过指定的间距把图片显示出来,它在View需要比自身小的背景时常用,有些像padding的作用。
首先,在drawable文件夹下新建一个bitmap类型的xml样式文件inset.xml。
<?xml version="1.0" encoding="utf-8"?>
<!--
    android:insetBottom="100dp"
    android:insetLeft="100dp"
    android:insetRight="100dp"
    android:insetTop="100dp"
    各方向距离
-->
<inset xmlns:android="http://schemas.android.com/apk/res/android"
    android:drawable="@drawable/ic_launcher"
    android:insetBottom="100dp"
    android:insetLeft="100dp"
    android:insetRight="100dp"
    android:insetTop="100dp"
    android:visible="true" >

</inset>
其次呢,给activity_animation_list.xml的LinearLayout加个背景: android:background=”@drawable/inset “。
<?xml version="1.0" encoding="utf-8"?>
<LinearLayout xmlns:android="http://schemas.android.com/apk/res/android"
    android:layout_width="fill_parent"
    android:layout_height="fill_parent"
    android:background="@drawable/inset"
    android:orientation="vertical" >

    <ImageView
        android:id="@+id/iv_animation_list"
        android:layout_width="fill_parent"
        android:layout_height="wrap_content"
        android:src="@drawable/animation_list_sequence" />

    <Button
        android:layout_width="fill_parent"
        android:layout_height="wrap_content"
        android:onClick="sequence"
        android:text="顺序显示" />

    <Button
        android:layout_width="fill_parent"
        android:layout_height="wrap_content"
        android:onClick="stop"
        android:text="停止动画" />

    <Button
        android:layout_width="fill_parent"
        android:layout_height="wrap_content"
        android:onClick="reverse"
        android:text="倒序显示" />

</LinearLayout>
最后让我们看一下运行之后的距离效果,背景视图距各方向边距均为100dp,如图8所示。

图8 距离效果


 5375
5375

 被折叠的 条评论
为什么被折叠?
被折叠的 条评论
为什么被折叠?
 到【灌水乐园】发言


