


接着第3个教程的图像,和图像的格式的理解,我们可以对一幅图就行像素的操作和修改。
所谓图像处理、视觉检测就是在像素上对图像内容进行检测。
代码如下
#引入opencv模块
import cv2 as cv
#引入numpy模块
import numpy as np
#引入sys模块
import sys


#读取并输出图像像素值
def showimagepixel(img):
    #输出图像像素
    pixel_data=np.array(img)
    print(pixel_data)


#对图像的像素值进行操作
def pixel_process(img):
    H,W,C = img.shape  #该方法可以获取图像的尺寸
    print("height:  %s, width:  %s, channel:  %s,"%(H,W,C))
    for row in range(W):
        for col in range(H):
            for channel in range(C):
                pv = img[row,col,channel]
                img[row,col,channel]=255-pv
    return img


def pixel_test():
    img = cv.imread('E:/chenopencvblogimg/red.bmp')
    #判断是否读取成功
    if img is None:
        print("Could not read the image,may be path error")
        return

    #显示原始图像
    cv.namedWindow("display_orign",cv.WINDOW_NORMAL)
    cv.imshow("display_orign", img)
    showimagepixel(img)

    #显示处理后的图像
    imgprocessed = pixel_process(img)
    cv.namedWindow("display_processed",cv.WINDOW_NORMAL)
    cv.imshow("display_processed", imgprocessed)
    showimagepixel(imgprocessed)

    #让显示等待键盘输入维持在那里,否则程序跑完就闪退啦!
    cv.waitKey(0)
    #销毁窗口
    cv.destroyAllWindows()

if __name__ == '__main__':
    sys.exit(pixel_test() or 0)
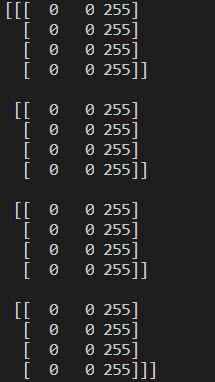
1、原始的图和像素值

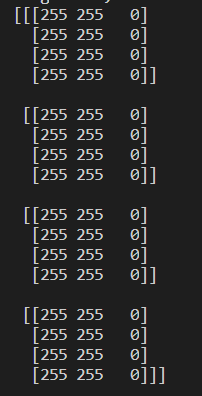
2、处理后的图和像素值

3、注意:我的图很小,只有4*4,所有用了cv.namedWindow("XXX",cv.WINDOW_NORMAL)后可以自动拖动放大。


 2503
2503


 被折叠的 条评论
为什么被折叠?
被折叠的 条评论
为什么被折叠?
 到【灌水乐园】发言


