


主要参考了
https://blog.csdn.net/u013034378/article/details/86622590
部分参考了
https://blog.csdn.net/lightofmiracle/article/details/79151074
前言
写这个博客得原因是最近想要将自己得api单独发布给第三方使用,但是又不想被别人滥用,所以想弄一个授权服务,但是网上关于oauth2.0的资料层出不穷,看了之后完全不明白应该如果实际的去整合,现在基本成功后记录下来。
内容简介:使用password密码授权方式,让用户通过账号密码去服务器获取token,并通过token来访问接口。
技术:springboot2.x ,springsecurity5.x
注意:
-
spring-cloud-starter-oauth2 是对spring-cloud-starter-security、spring-security-oauth2、spring-security-jwt这3个依赖的整合
关于oauth2.0的概念以及相关的知识等可以建议参阅理解OAuth 2.0。
http://www.ruanyifeng.com/blog/2014/05/oauth_2_0.html
好了,开始建立项目了
1、新建项目,选择Create New Project
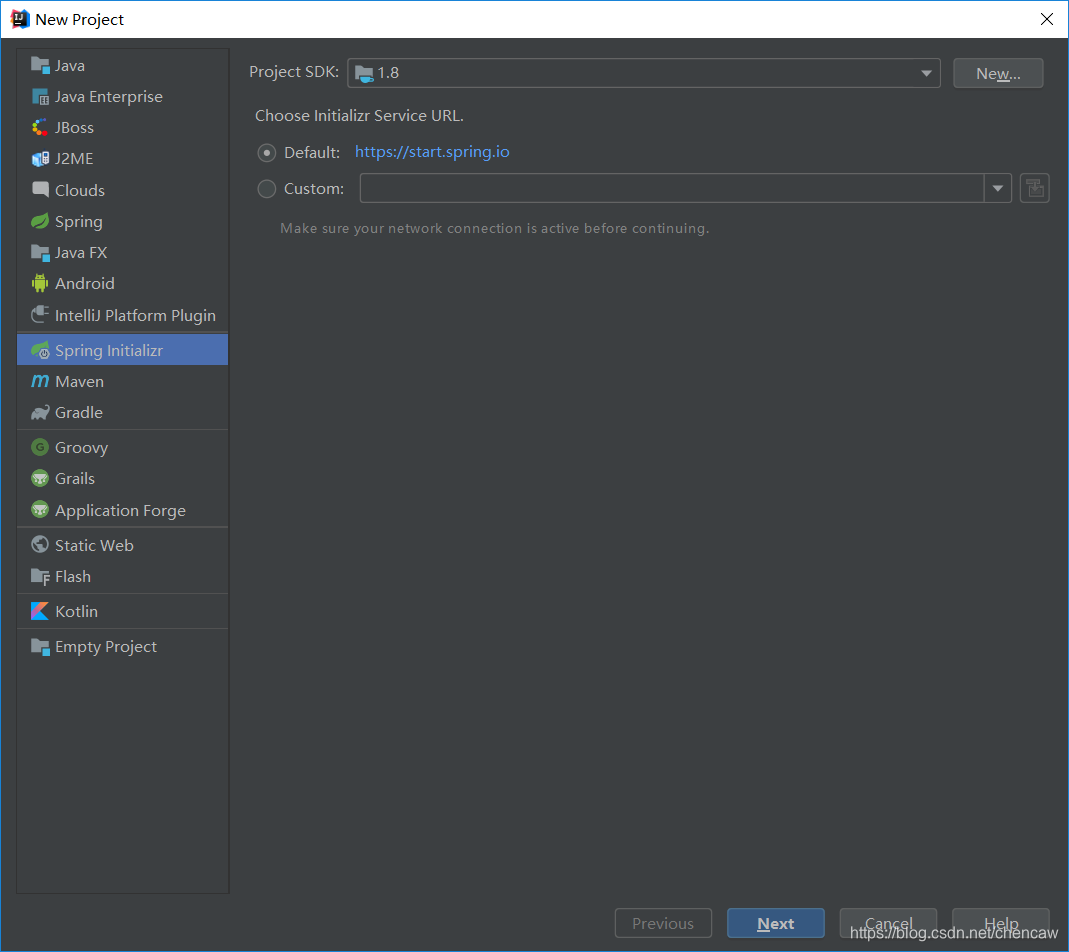
2、 下一步
3、下一步

4、下一步

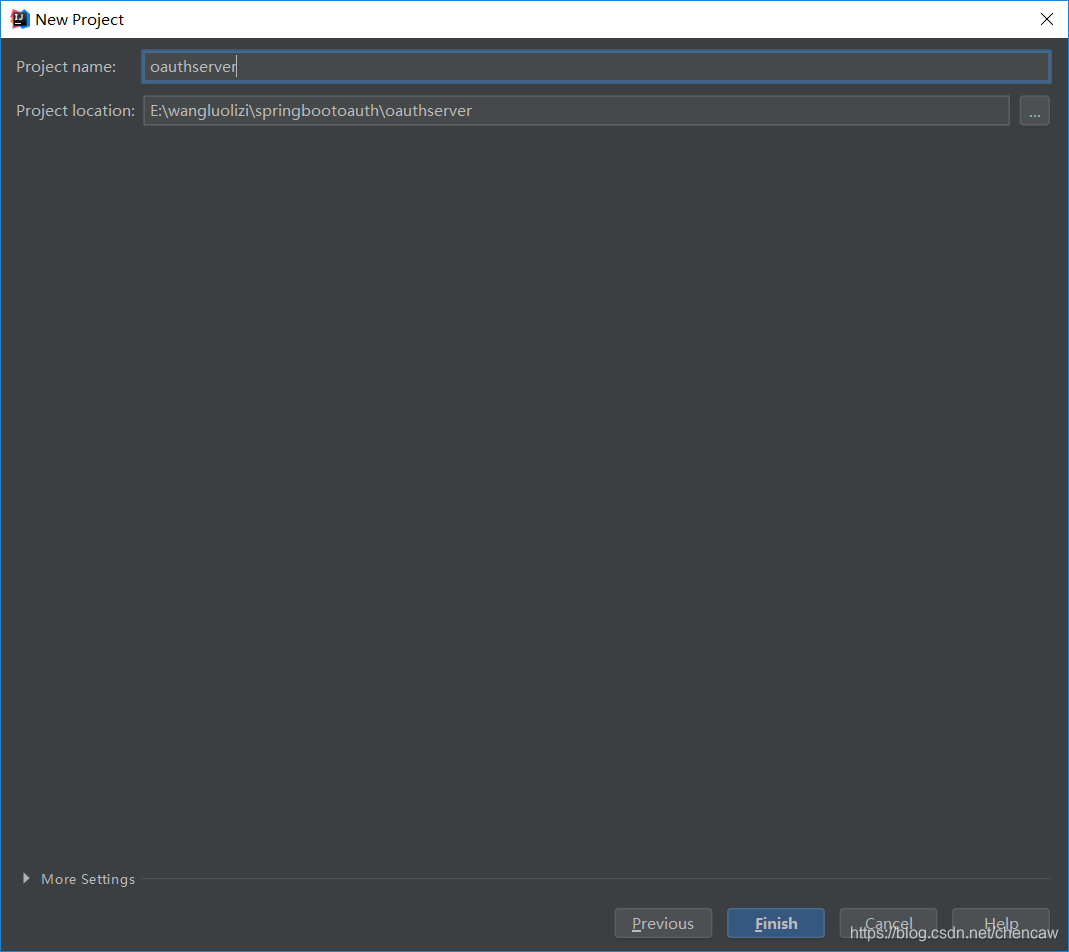
5、下一步
6、 pom.xml修改如下

<?xml version="1.0" encoding="UTF-8"?>
<project xmlns="http://maven.apache.org/POM/4.0.0" xmlns:xsi="http://www.w3.org/2001/XMLSchema-instance"
         xsi:schemaLocation="http://maven.apache.org/POM/4.0.0 http://maven.apache.org/xsd/maven-4.0.0.xsd">
    <modelVersion>4.0.0</modelVersion>
    <parent>
        <groupId>org.springframework.boot</groupId>
        <artifactId>spring-boot-starter-parent</artifactId>
        <version>2.1.6.RELEASE</version>
        <relativePath/> <!-- lookup parent from repository -->
    </parent>
    <groupId>com.chenclass</groupId>
    <artifactId>oauthserver</artifactId>
    <version>0.0.1-SNAPSHOT</version>
    <name>oauthserver</name>
    <description>Demo project for Spring Boot</description>

    <properties>
        <java.version>1.8</java.version>
    </properties>

    <dependencies>
        <dependency>
            <groupId>org.springframework.boot</groupId>
            <artifactId>spring-boot-starter-web</artifactId>
        </dependency>
        <dependency>
            <groupId>org.springframework.security.oauth</groupId>
            <artifactId>spring-security-oauth2</artifactId>
            <version>2.3.4.RELEASE</version>
        </dependency>
        <dependency>
            <groupId>org.springframework.boot</groupId>
            <artifactId>spring-boot-starter-test</artifactId>
            <scope>test</scope>
        </dependency>
    </dependencies>

    <build>
        <plugins>
            <plugin>
                <groupId>org.springframework.boot</groupId>
                <artifactId>spring-boot-maven-plugin</artifactId>
            </plugin>
        </plugins>
    </build>

</project>
7、 添加config包

8、在config包下添加配置文件WebSecurityConfig

package com.chenclass.oauthserver.config;

import org.springframework.context.annotation.Bean;
import org.springframework.security.authentication.AuthenticationManager;
import org.springframework.security.config.annotation.authentication.builders.AuthenticationManagerBuilder;
import org.springframework.security.config.annotation.method.configuration.EnableGlobalMethodSecurity;
import org.springframework.security.config.annotation.web.configuration.EnableWebSecurity;
import org.springframework.security.config.annotation.web.configuration.WebSecurityConfigurerAdapter;
import org.springframework.security.core.userdetails.User;
import org.springframework.security.core.userdetails.UserDetailsService;
import org.springframework.security.crypto.bcrypt.BCryptPasswordEncoder;
import org.springframework.security.crypto.password.PasswordEncoder;
import org.springframework.security.provisioning.InMemoryUserDetailsManager;

@EnableGlobalMethodSecurity(prePostEnabled = true)
@EnableWebSecurity
public class WebSecurityConfig extends WebSecurityConfigurerAdapter {

    //配置用户存储在内存中,可以设置用户账号、密码、角色等
    @Override
    protected UserDetailsService userDetailsService(){
        InMemoryUserDetailsManager manager = new InMemoryUserDetailsManager();
        manager.createUser(User.withUsername("user").password(new BCryptPasswordEncoder().encode("123456"))
                .roles("USER").build());
        manager.createUser(User.withUsername("admin").password(new BCryptPasswordEncoder().encode("123456"))
                .roles("ADMIN").build());
        return manager;
    }
    @Override
    protected void configure(AuthenticationManagerBuilder auth) throws Exception {
        //将用户信息添加认证管理中,这里有两种方式
        //方法一:
        auth.userDetailsService(userDetailsService()).passwordEncoder(passwordEncoder());
        //方法二:
        //auth.inMemoryAuthentication().withUser("user1").password(passwordEncoder().encode("123456")).roles("user");
    }
    /*
     * 进行HTTP配置拦截,过滤url,这里主要配置服务端的请求拦截
     * permitAll表示该请求任何人都可以访问,authenticated()表示其他的请求都必须要有权限认证
     * 本例子中,以下配置用不到,也可以省略,因为本文使用了4中ResourceServerConfig,
     * 导致该例子会用ResourceServerConfig中的拦截配置*/
//    @Override
//    public void configure(HttpSecurity http) throws Exception {
//        http.formLogin()
//                .loginPage("/login.html")
//                .loginProcessingUrl("/login")
//                .and().logout().logoutUrl("/logout").deleteCookies("JSESSIONID").permitAll()
//                .and().authorizeRequests()
//                .antMatchers("/login.html").permitAll()
//                .anyRequest().authenticated()
//                .and().csrf().disable();
//    }
    /**
     * spring5.x 需要注入一个PasswordEncoder,否则会报这个错There is no PasswordEncoder mapped for the id \"null\"
     * 加了密码加密,所有用到的密码都需要这个加密方法加密
     * @return
     */
    @Bean
    PasswordEncoder passwordEncoder(){
        return new BCryptPasswordEncoder();
    }
    /**
     * 需要配置这个支持password模式
     */
    @Override
    @Bean
    public AuthenticationManager authenticationManagerBean() throws Exception {
        return super.authenticationManagerBean();
    }
}
9、在config包下添加配置文件ResourceServerConfig

package com.chenclass.oauthserver.config;

import org.springframework.context.annotation.Configuration;
import org.springframework.security.config.annotation.web.builders.HttpSecurity;
import org.springframework.security.oauth2.config.annotation.web.configuration.EnableResourceServer;
import org.springframework.security.oauth2.config.annotation.web.configuration.ResourceServerConfigurerAdapter;

@Configuration
@EnableResourceServer
/**
 * 这里设置访问路径权限,相当于客户端url权限拦截,是可以单独独立出来
 */
public class ResourceServerConfig extends ResourceServerConfigurerAdapter {

    @Override
    public void configure(HttpSecurity http) throws Exception {
        http.authorizeRequests()
                .antMatchers("/admin/**").hasRole("ADMIN")
                .antMatchers("/user/**").hasAnyRole("ADMIN","USER")
                .antMatchers("/test").authenticated()
                .anyRequest().authenticated();
    }
}
10、在config包下添加配置文件 Oauth2ServerConfig

package com.chenclass.oauthserver.config;

import org.springframework.beans.factory.annotation.Autowired;
import org.springframework.context.annotation.Configuration;
import org.springframework.http.HttpMethod;
import org.springframework.security.authentication.AuthenticationManager;
import org.springframework.security.crypto.bcrypt.BCryptPasswordEncoder;
import org.springframework.security.oauth2.config.annotation.configurers.ClientDetailsServiceConfigurer;
import org.springframework.security.oauth2.config.annotation.web.configuration.AuthorizationServerConfigurerAdapter;
import org.springframework.security.oauth2.config.annotation.web.configuration.EnableAuthorizationServer;
import org.springframework.security.oauth2.config.annotation.web.configurers.AuthorizationServerEndpointsConfigurer;
import org.springframework.security.oauth2.config.annotation.web.configurers.AuthorizationServerSecurityConfigurer;

@Configuration
@EnableAuthorizationServer
public class Oauth2ServerConfig extends AuthorizationServerConfigurerAdapter {

    @Autowired
    private AuthenticationManager authenticationManager;

    /**
     * 用来配置令牌端点(Token Endpoint)的安全约束.
     * @param security
     * @throws Exception
     */
    @Override
    public void configure(AuthorizationServerSecurityConfigurer security) throws Exception {
        security.realm("oauth2-resource")
                .tokenKeyAccess("permitAll()")
                .checkTokenAccess("isAuthenticated()")
                .allowFormAuthenticationForClients();
    }
    /**
     * 用来配置客户端详情服务(ClientDetailsService),客户端详情信息在这里进行初始化,能够把客户端详情信息写死在这里或者是通过数据库来存储调取详情信息。
     * clientId:(必须的)用来标识客户的Id。
     * secret:(需要值得信任的客户端)客户端安全码,如果有的话。
     * redirectUris 返回地址,可以理解成登录后的返回地址,可以多个。应用场景有:客户端swagger调用服务端的登录页面,登录成功,返回客户端swagger页面
     * authorizedGrantTypes:此客户端可以使用的权限(基于Spring Security authorities)
     authorization_code:授权码类型、implicit:隐式授权类型、password:资源所有者(即用户)密码类型、
     client_credentials:客户端凭据(客户端ID以及Key)类型、refresh_token:通过以上授权获得的刷新令牌来获取新的令牌。
     * scope:用来限制客户端的访问范围,如果为空(默认)的话,那么客户端拥有全部的访问范围。
     * accessTokenValiditySeconds token有效时长
     * refreshTokenValiditySeconds refresh_token有效时长
     */
    @Override
    public void configure(ClientDetailsServiceConfigurer clients) throws Exception {
        clients.inMemory()
                .withClient("demoClient")
                .secret(new BCryptPasswordEncoder().encode("demoSecret"))
                .redirectUris("")
                .authorizedGrantTypes("authorization_code","client_credentials", "password", "refresh_token")
                .scopes("all")
                .resourceIds("oauth2-resource")
                .accessTokenValiditySeconds(60*60)
                .refreshTokenValiditySeconds(60*60);
    }
    /**
     * 用来配置授权(authorization)以及令牌(token)的访问端点和令牌服务(token services)。
     * 访问地址:/oauth/token
     * 属性列表:
     * authenticationManager:认证管理器,当你选择了资源所有者密码(password)授权类型的时候,需要设置为这个属性注入一个 AuthenticationManager 对象。
     *
     * @param endpoints
     * @throws Exception
     */
    @Override
    public void configure(AuthorizationServerEndpointsConfigurer endpoints) throws Exception {
        //设置认证管理器
        endpoints.authenticationManager(authenticationManager);
        //设置访问/oauth/token接口,获取token的方式
        endpoints.allowedTokenEndpointRequestMethods(HttpMethod.GET,HttpMethod.POST);
    }
}
11、创建controller包

12、在controller包下创建类TestController

package com.chenclass.oauthserver.controller;

import org.springframework.security.access.prepost.PreAuthorize;
import org.springframework.web.bind.annotation.RequestMapping;
import org.springframework.web.bind.annotation.RequestMethod;
import org.springframework.web.bind.annotation.RestController;

@RestController
@RequestMapping("")
public class TestController {
    @RequestMapping(value = "/test",method = RequestMethod.GET)
    public Object test(){
        return "test";
    }

    @RequestMapping(value = "/user",method = RequestMethod.GET)
    @PreAuthorize("hasAnyRole('ROLE_USER')")  //注解验证时默认加上前缀ROLE_,原因后面文章再讲
    public Object user(){
        return "user";
    }

    @RequestMapping(value = "/user/a",method = RequestMethod.GET)
    public Object user2(){
        return "user";
    }

    @PreAuthorize("hasAnyRole('ROLE_ADMIN')")
    @RequestMapping(value = "/admin",method = RequestMethod.GET)
    public Object admin(){
        return "admin";
    }

    @RequestMapping(value = "/admin/b",method = RequestMethod.GET)
    public Object admin2(){
        return "admin";
    }
}
注意:下面开始测试!!!!!!!!!
13、使用postman进行测试
14、获取token
(1)未得到token,直接测试的话出错
localhost:8080/test

(2)获取token测试方法1,直接用表单提交
localhost:8080/oauth/token?grant_type=password&client_id=demoClient&client_secret=demoSecret&username=admin&password=123456

(3)获取token测试方法2,(Header+Body的访问)
1)Base64的在线编码地址:http://tool.oschina.net/encrypt?type=3
2) 这里的Authrization字段中Basic后面是配置中的clientId + ":" + secret的Base64编码结果
3)demoClient:demoSecret的Base64编码结果为:ZGVtb0NsaWVudDpkZW1vU2VjcmV0

(4)在PostMan的Header中输入
Basic ZGVtb0NsaWVudDpkZW1vU2VjcmV0

(5)在PostMan的Body中输入三个参数,然后点击send获取token

每次得到的token会变,这里是:cdfd17e7-ebac-4ca2-be5c-b493b28b9850
15、使用token
(1)在header带上token,请求访问
头内容为:bearer cdfd17e7-ebac-4ca2-be5c-b493b28b9850,地址为localhost:8080/test
注意:选择Get方法

(2)

16、权限注意
如果前面使用user账号登录的,则admin权限的东西无法访问
(1)

(2)

(3)

(4)


 1万+
1万+

 被折叠的 条评论
为什么被折叠?
被折叠的 条评论
为什么被折叠?
 到【灌水乐园】发言


