


jetpack使用

In this article, you will learn how to use Jetpack’s social media functionality to augment your WordPress site. Depending on where you get your copy of WordPress, Jetpack might be a part of the installation – or not. This post will cover setting up Jetpack, if it is not included with your installation, and then linking social media accounts to it to automate posting to them when new blog entries are published on your site.
在本文中,您将学习如何使用Jetpack的社交媒体功能来扩展WordPress网站。 根据您获得WordPress副本的位置,Jetpack可能是安装的一部分-可能不是。 如果您的安装中未包含Jetpack,则该信息将涵盖如何设置Jetpack,然后将其链接到社交媒体帐户,以在您的站点上发布新博客条目时自动向其发布信息。
Note that this is not an explanation of the many social media widget plugins out there, nor an explanation of how to make your own, but rather the use of Jetpack to create social media posts on your own accounts when you publish a blog article on your site.
请注意,这不是对许多社交媒体小部件插件的解释,也不是对如何制作自己的解释,而是当您在自己的博客上发布博客文章时,使用Jetpack在自己的帐户上创建社交媒体帖子。现场。
To get started, go to Jetpack.com. As you can see, there are two options, the free install or pricing. In this tutorial you’ll see the free installation.
要开始使用,请访问Jetpack.com。 如您所见,有两个选项,免费安装或定价。 在本教程中,您将看到免费安装。
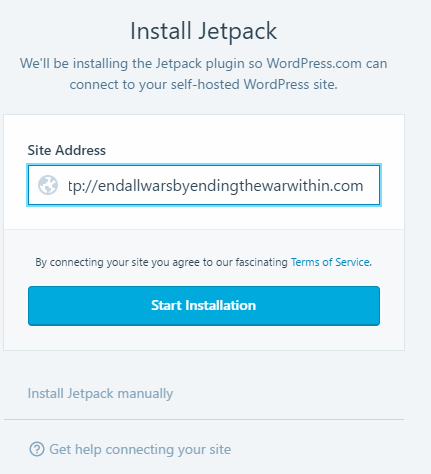
When you click on the Install Free button, the screen above appears. Enter the full URL of your WordPress site. When you do, the blue Start Installation button appears. Click on it to begin installing Jetpack.
当您单击“免费安装”按钮时,将出现以上屏幕。 输入您的WordPress网站的完整URL。 完成后,将出现蓝色的“开始安装”按钮。 单击它开始安装Jetpack。
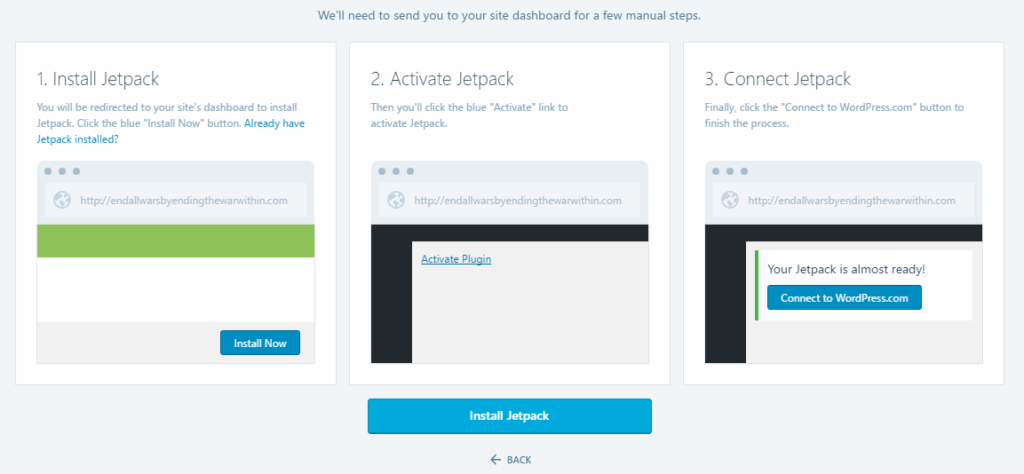
On the screen above, click on Install Jetpack.
在上面的屏幕上,单击“安装Jetpack”。
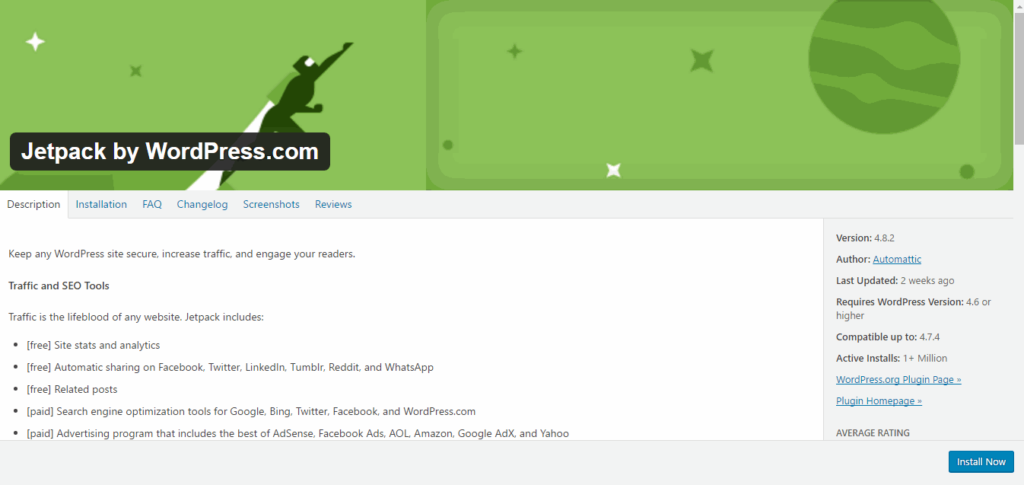
This takes you to yet another screen. Click on the blue Install Now button at lower-right.
这会将您带到另一个屏幕。 单击右下角的蓝色“立即安装”按钮。
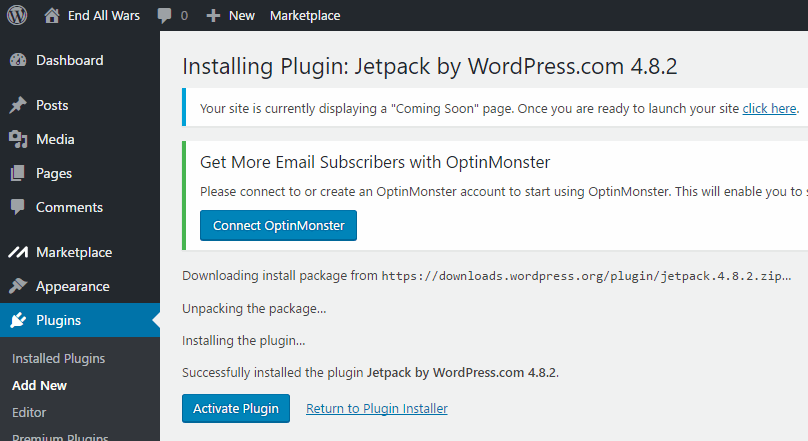
This redirects you back to WordPress, where you are informed that Jetpack has been successfully installed. Click on the Blue Activate Plugin button to activate Jetpack.
这会将您重定向回WordPress,在此通知您Jetpack已成功安装。 单击蓝色激活插件按钮以激活Jetpack。
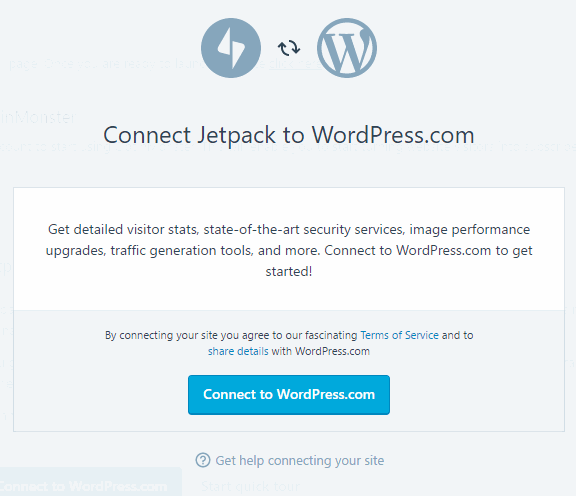
At this point, you will come to a screen which could look like the above. This will allow you to connect Jetpack (via WordPress.com) to your installation.
此时,您将进入一个类似于上面的屏幕。 这将允许您将Jetpack(通过WordPress.com)连接到您的安装。
When you press on the connection button, you will either need to sign in to an account on WordPress.com (or else sign up for one) to connect Jetpack to your WordPress installation.
当您按下连接按钮时,您将需要登录WordPress.com上的帐户(或注册一个帐户)以将Jetpack连接到您的WordPress安装。
Once you click on the blue button to connect your account, you will be redirected back to your installation, where you should click Jetpack in the sidebar.
单击蓝色按钮连接您的帐户后,您将被重定向回您的安装,在此处应单击侧栏中的Jetpack。
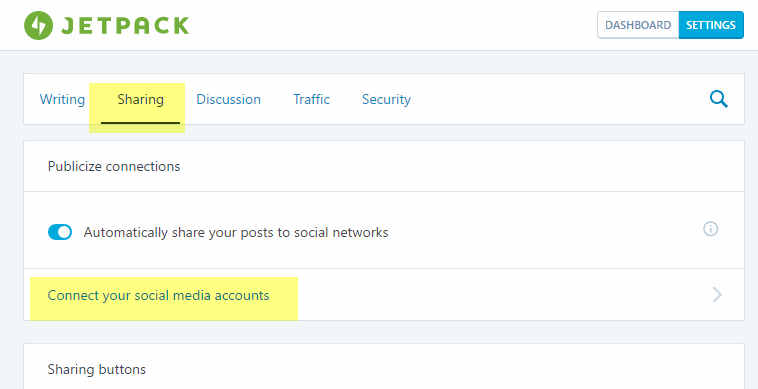
This brings you to the Jetpack page. Click on the Sharing tab and on the Sharing page, click on the Connect your social media accounts link.
这将带您进入Jetpack页面。 单击共享选项卡,然后在共享页面上,单击连接您的社交媒体帐户链接。
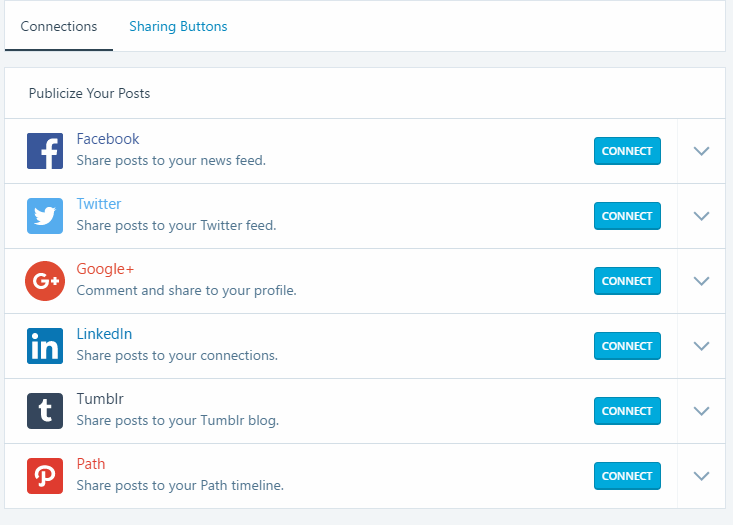
That brings up the Publicize Your Posts page above, where you can connect as many as six social media accounts. Note that you need to have the social media accounts you wish to connect to already set up, or the connection process will fail.
这将弹出上方的“发布您的帖子”页面,您可以在其中连接多达六个社交媒体帐户。 请注意,您需要已设置要连接的社交媒体帐户,否则连接过程将失败。
The process will be different for each social media account.
每个社交媒体帐户的过程将有所不同。
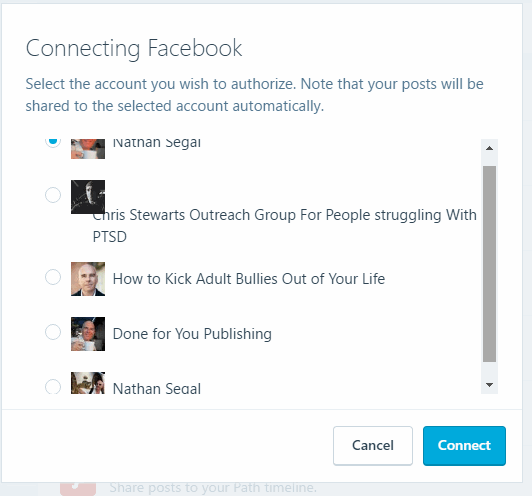
Here’s what it looks like for Facebook. As you can see in the instructions, choose the account you want to authorize. Note that your posts will be shared to the selected account automatically. Once the process completes, your Facebook account will be connected.
这是Facebook的外观。 正如您在说明中看到的那样,选择要授权的帐户。 请注意,您的帖子将自动共享到所选帐户。 该过程完成后,您的Facebook帐户将被连接。
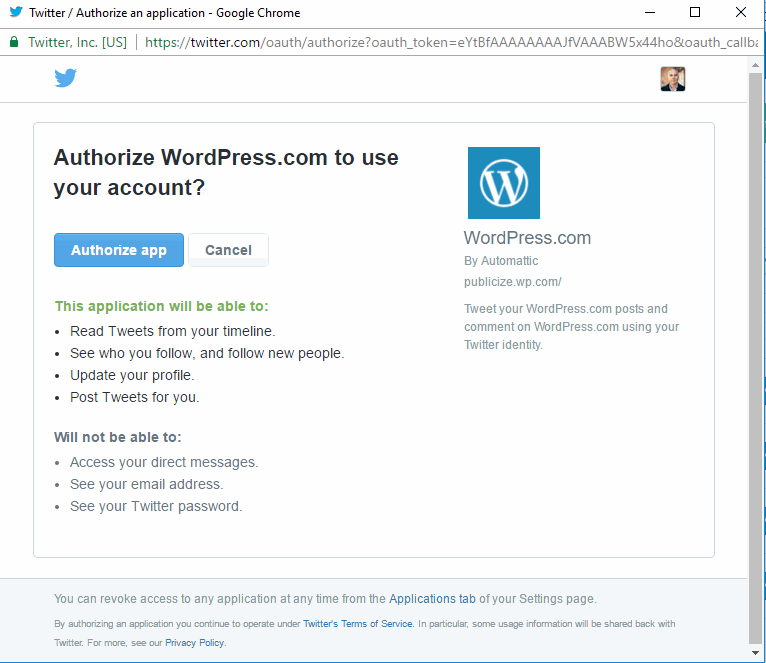
Here’s what the process looks like for Twitter. When you click on the Authorize app button it will quickly connect Jetpack to your Twitter feed.
这是Twitter的流程。 当您单击“授权”应用程序按钮时,它将快速将Jetpack连接到您的Twitter feed。
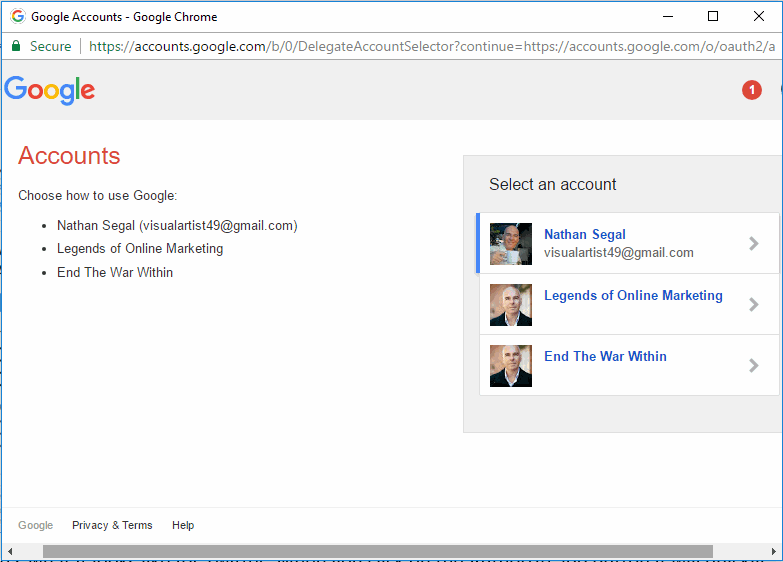
We’ll have a look at one more, Google+. This is what the connection screen looks like above. When you click on an account, a screen will pop up asking you for offline access. Click on Allow. This will take you back to Jetpack and there will be another connection screen. Click on the Connection button.
我们将再看看Google+。 这就是上面的连接屏幕。 当您单击一个帐户时,将弹出一个屏幕,要求您进行脱机访问。 点击允许。 这将带您回到Jetpack,并且将出现另一个连接屏幕。 单击连接按钮。
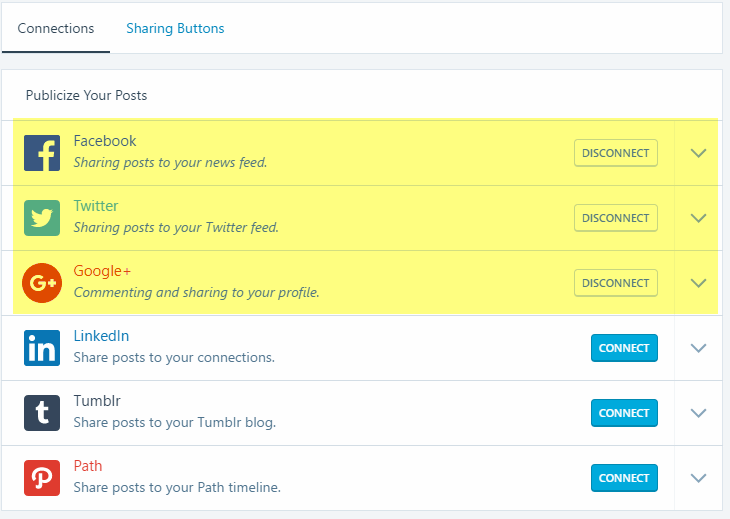
Here’s what the Connections tab looks like with three social media accounts connected.
这是连接三个社交媒体帐户后的“连接”选项卡的外观。
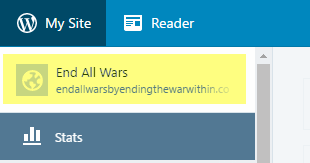
When you’re satisfied with the number of sites you’ve connected, click on the name of your site, top-left. This takes you to your website site display. Go to top-left and where you see the name of your site, click on it. In the drop-down that appears, choose Dashboard and you will return to the back-end of your WordPress site.
当您对已连接的站点数感到满意时,请单击左上角的站点名称。 这将带您到网站站点显示。 转到左上角,然后在其中看到您的网站名称,然后单击该网站。 在出现的下拉菜单中,选择“仪表板”,您将返回到WordPress网站的后端。
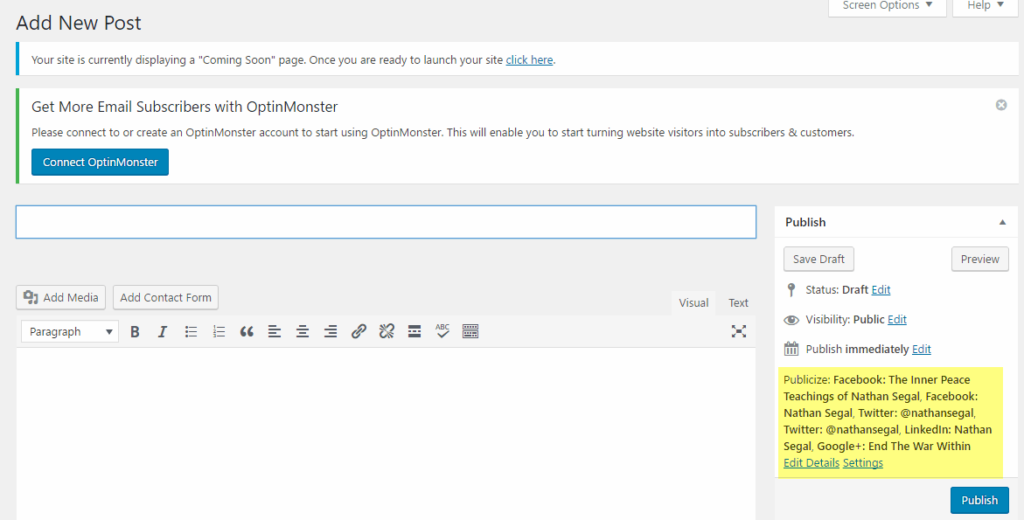
Once there, to go Posts and click on Add new. While you can now set up a post, what’s most important on this page are the settings far-right under the Publish Immediately heading. These are the various Jetpack links to your social media accounts. Here, you see each account and at the bottom of this section, you see the headings, Edit Details and Settings. These allow you to control how you publish. As an example, depending on the post, you might not want to publish to all your social media channels.
到达那里后,转到帖子并单击添加新。 现在您可以设置帖子,但此页面上最重要的是立即发布标题下最右边的设置。 这些是指向您的社交媒体帐户的各种Jetpack链接。 在这里,您可以看到每个帐户,在此部分的底部,可以看到标题,“编辑详细信息”和“设置”。 这些使您可以控制发布方式。 例如,根据帖子的不同,您可能不想发布到所有社交媒体渠道。
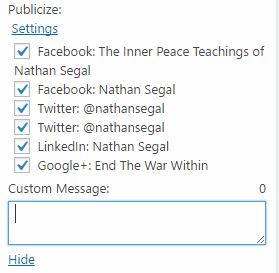
If that’s the case, click on the Edit details link. You will see the options above and you can choose where you want to publish your post.
如果是这种情况,请单击“编辑详细信息”链接。 您将看到上面的选项,并且可以选择要在何处发布帖子。
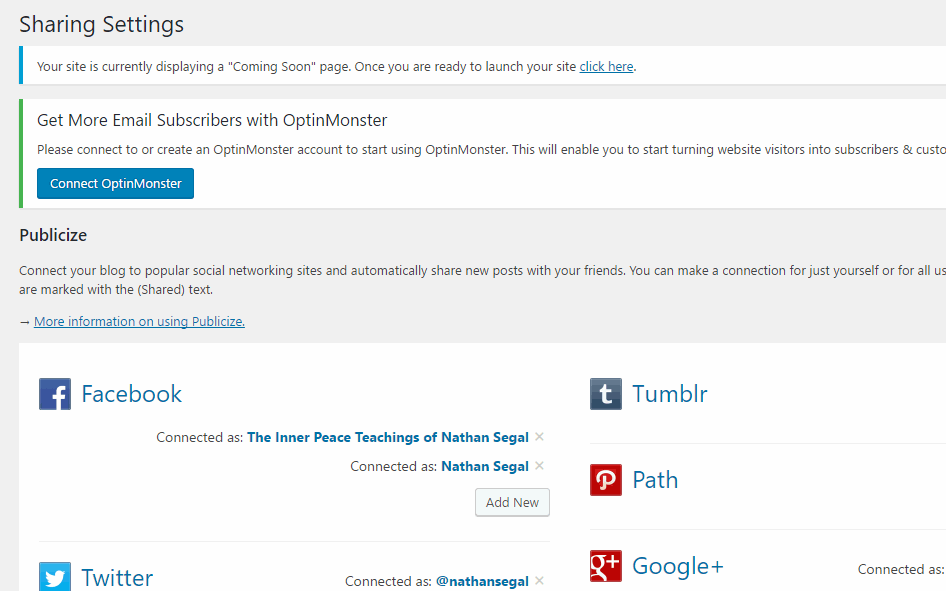
If you decide to add or disconnect any of your social media accounts, click on the Settings link. This will take you to the Sharing Setting section and you can change your settings accordingly.
如果您决定添加或断开任何社交媒体帐户,请单击“设置”链接。 这将带您到“共享设置”部分,您可以相应地更改设置。
That’s it! Now you’re all set to automatically post to social media when new posts are added to your blog!
而已! 现在,您都可以在将新帖子添加到博客时自动发布到社交媒体上!
翻译自: https://www.sitepoint.com/quick-tip-automate-social-media-posting-jetpack/
jetpack使用


 155
155


 被折叠的 条评论
为什么被折叠?
被折叠的 条评论
为什么被折叠?
 到【灌水乐园】发言


