管理Windows Home Server设置

Here is how to manage basic Windows Home Server settings.  Screen shots speak for themselves so here we go!

这是管理基本Windows Home Server设置的方法。 屏幕截图可以说明一切,所以我们开始吧!

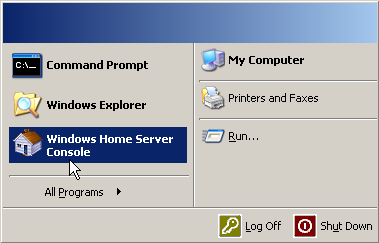
From the Start Menu open up Windows Home Server Console

从“开始”菜单中打开Windows Home Server控制台

1

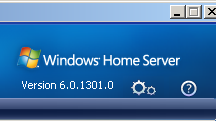
This is an odd place for the settings but in the Beta they are located in the upper left side of the console.  Click on the gear icons.

对于设置而言,这是一个奇怪的地方,但在Beta中,它们位于控制台的左上角。 单击齿轮图标。

2

The first screen contains the General settings.  Time, Region, and turning on or off Windows Updates.

第一个屏幕包含常规设置。 时间,区域,以及打开或关闭Windows Update。

f

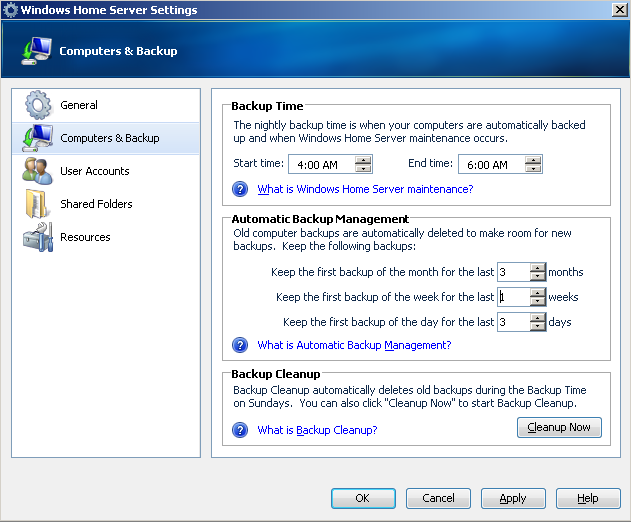
Under Computers & Backup you select the backup times for the computers on your home network.  Backup management and cleanup are also handled in this area.

在“计算机和备份”下,选择家庭网络中计算机的备份时间。 备份管理和清理也在此区域中进行。

3

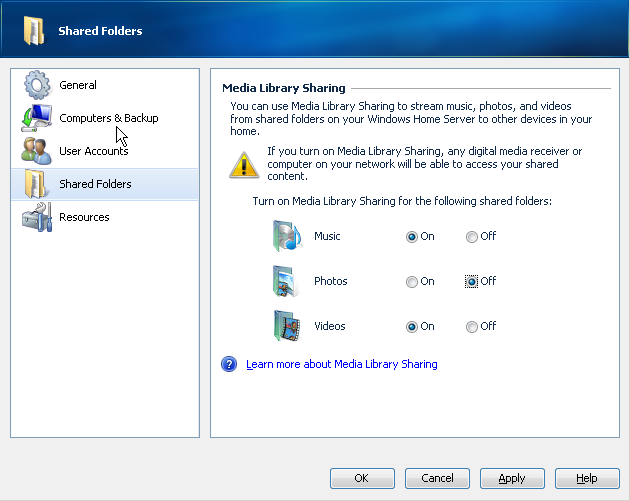
This is where you decide what folders you will share on the network. 

在这里,您可以决定要在网络上共享哪些文件夹。

4

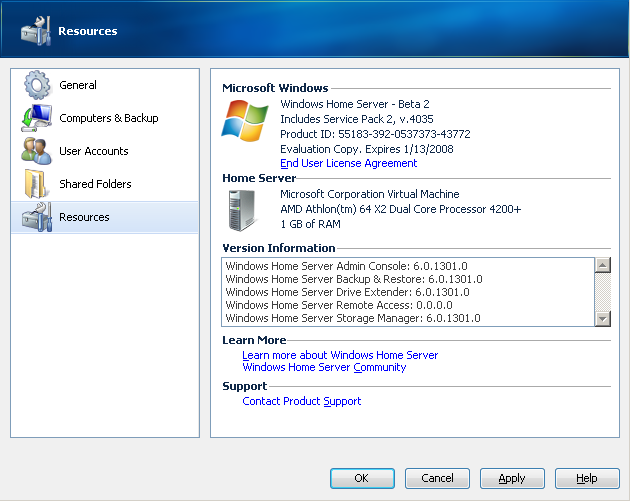
The Resources area give you the status of your server software and hardware as well.

“资源”区域还为您提供了服务器软件和硬件的状态。

5

Mysicgeek’s Tech Lingo:  Beta Release – This is the stage in a software applications lifecycle before Release Candidate.  Usually the software is about 70% complete and some of the final bugs are reported and worked out.

Mysicgeek的Tech Lingo: Beta版本–这是发布候选版本之前软件应用程序生命周期中的阶段。 通常,该软件已完成约70%,并且会报告并解决一些最终的错误。

翻译自: https://www.howtogeek.com/79799/manage-windows-home-server-settings/

  • 0
    点赞
  • 0
    收藏
    觉得还不错? 一键收藏
  • 0
    评论
您可以通过以下步骤在Windows Server上启动一个jar包作为服务: 1. 下载安装Java运行时环境(JRE)并确保环境变量已正确设置。 2. 下载安装Apache Commons Daemon并确保环境变量已正确设置。 3. 创建一个新目录,将您的jar文件和所有相关文件放在其中。 4. 在该目录中创建一个新的文本文件,将其命名为“service.bat”并输入以下命令: ``` @echo off set SERVICE_NAME=MyServiceName set PR_INSTALL=%CD% set PR_CLASSPATH=. for /r "%PR_INSTALL%" %%i in (*.jar) do call :AddToClasspath "%%i" goto Start :AddToClasspath set PR_CLASSPATH=%PR_CLASSPATH%;%1 goto :eof :Start "%PR_INSTALL%\bin\prunsrv.exe" //IS//%SERVICE_NAME% ^ --DisplayName="My Service Display Name" ^ --Install="%PR_INSTALL%\bin\prunsrv.exe" ^ --Jvm="%JAVA_HOME%\jre\bin\server\jvm.dll" ^ --StartMode=jvm ^ --StopMode=jvm ^ --StartClass=com.example.MainClass ^ --StartMethod=start ^ --StopClass=com.example.MainClass ^ --StopMethod=stop ^ --Classpath="%PR_CLASSPATH%" ^ --LogPath="%PR_INSTALL%\logs" ^ --StdOutput="%PR_INSTALL%\logs\stdout.log" ^ --StdError="%PR_INSTALL%\logs\stderr.log" ^ --JvmMx=1024M echo Service installed goto End :Failed echo Failed installing service goto End :Delete "%PR_INSTALL%\bin\prunsrv.exe" //DS//%SERVICE_NAME% echo Service uninstalled goto End :End ``` 注意将其中的“MyServiceName”替换为您的服务名,“My Service Display Name”替换为您的服务显示名,“com.example.MainClass”替换为您的主类名。 5. 保存并关闭“service.bat”文件。 6. 以管理员身份运行命令提示符。 7. 切换到您的jar文件所在的目录。 8. 运行以下命令来安装服务: ``` service.bat install ``` 9. 运行以下命令来启动服务: ``` service.bat start ``` 现在,您的jar文件将作为服务在Windows Server上运行。如果需要停止服务,请运行以下命令: ``` service.bat stop ```

“相关推荐”对你有帮助么?

  • 非常没帮助
  • 没帮助
  • 一般
  • 有帮助
  • 非常有帮助
提交
评论
添加红包

请填写红包祝福语或标题

红包个数最小为10个

红包金额最低5元

当前余额3.43前往充值 >
需支付:10.00
成就一亿技术人!
领取后你会自动成为博主和红包主的粉丝 规则
hope_wisdom
发出的红包
实付
使用余额支付
点击重新获取
扫码支付
钱包余额 0

抵扣说明:

1.余额是钱包充值的虚拟货币,按照1:1的比例进行支付金额的抵扣。
2.余额无法直接购买下载,可以购买VIP、付费专栏及课程。

余额充值