


1.PyQt5 setup
(1)python install
方法1: 安装官网的python3.9 ->使用的是基本库不包含qt designer 软件
方法2: 安装anaconda软件->包含了python3.x以及比较常用的库如qt designer
本例中选择方法1: 因之前已经安装了
(2)pycharm install
已经安装了
(3)PyQt5 install
通过pycharm package install PyQt5
(4)qt designer install
通过pycharm package install PyQt5-tools, PyQt5-tools 包含了qt designer
路径: C:\Python\Python39\Lib\site-packages\qt5_applications\Qt\bin\designer.exe
2.pycharm 添加designer
>File->setting->exteral tools-> 添加'+'
a.Name: 填qtdesigner
b.Description: 填qtdesigner
c. Program: C:\Python\Python39\Lib\site-packages\qt5_applications\Qt\bin\designer.exe
d.Argument: 为空,执行designer.exe不需要带参数
e. work directory: $ProjectFileDir$ 表示当前目录
3.pycharm 添加pyuic
3.1 qtdesigner保存的文件是.ui文件
3.2 pyuic工具: 将.ui文件转换为.py文件,有两种方法:
方法1:命令行 python -m PyQt5.uic.pyuic a.uic -o a.py 或pyuic5.exe a.uic -o a.py
方法2:pycharm 添加
3.3 添加pyuic
a.Name: pyuic
b.Description: convert .uic to .py
c. Program: C:\Python\Python39\python.exe
d.Argument: -m PyQt5.uic.pyuic $FileName$ -o $FileNameWithoutExtension$.py
e. work directory: $ProjectFileDir$ 表示当前目录
4. pycharm添加pyrcc5.exe(PyQt5的资源文件转码)
(1)命令行: C:\Python\Python39\Scripts\pyrcc5.exe $FileName$ -o $FileNameWithoutExtension$_rc.py
(2)pycharm添加: 同上
5. pycharm添加pyinstaller.exe
(1)pyinstaller.exe 工具安装: pip install pyinstaller
(2)命令行:
进入文件所在文件并执行 pyinstaller -Fw a.py
(3)pycharm添加:同上
a.Name: pyinstaller
b.Description: convert .py to .exe
c. Program: C:\Python\Python39\Scripts\pyinstaller.exe
d.Argument: -Fw $FileName$ //加了 w 后编译出来的exe文件运行错误,未解
e. work directory: $ProjectFileDir$ 表示当前目录
6. 示例 thefirstUI
step1: pycharm->tools->external tools->qtdesigner 新建主窗口,横向布局,摆放按钮及按键, 保存文件(thefirstUI.ui)
step2: 鼠标选中thefirstUI.ui文件,鼠标右键->external tools->pyuic 将thefirstUI.ui转换为thefirstUI.py(该文件一般不修改,当成模块来用)
thefirstUI.py文件代码如下:
# -*- coding: utf-8 -*-
from PyQt5 import QtCore, QtGui, QtWidgets
class Ui_MainWindow(object):
def setupUi(self, MainWindow):
MainWindow.setObjectName("MainWindow")
MainWindow.resize(800, 600)
self.centralwidget = QtWidgets.QWidget(MainWindow)
self.centralwidget.setObjectName("centralwidget")
self.horizontalLayoutWidget = QtWidgets.QWidget(self.centralwidget)
self.horizontalLayoutWidget.setGeometry(QtCore.QRect(40, 20, 297, 171))
self.horizontalLayoutWidget.setObjectName("horizontalLayoutWidget")
self.horizontalLayout = QtWidgets.QHBoxLayout(self.horizontalLayoutWidget)
self.horizontalLayout.setContentsMargins(0, 0, 0, 0)
self.horizontalLayout.setObjectName("horizontalLayout")
self.radioButton = QtWidgets.QRadioButton(self.horizontalLayoutWidget)
self.radioButton.setObjectName("radioButton")
self.horizontalLayout.addWidget(self.radioButton)
self.pushButton = QtWidgets.QPushButton(self.horizontalLayoutWidget)
self.pushButton.setObjectName("pushButton")
self.horizontalLayout.addWidget(self.pushButton)
self.pushButton_2 = QtWidgets.QPushButton(self.horizontalLayoutWidget)
self.pushButton_2.setObjectName("pushButton_2")
self.horizontalLayout.addWidget(self.pushButton_2)
MainWindow.setCentralWidget(self.centralwidget)
self.menubar = QtWidgets.QMenuBar(MainWindow)
self.menubar.setGeometry(QtCore.QRect(0, 0, 800, 22))
self.menubar.setObjectName("menubar")
MainWindow.setMenuBar(self.menubar)
self.statusbar = QtWidgets.QStatusBar(MainWindow)
self.statusbar.setObjectName("statusbar")
MainWindow.setStatusBar(self.statusbar)
self.retranslateUi(MainWindow)
QtCore.QMetaObject.connectSlotsByName(MainWindow)
def retranslateUi(self, MainWindow):
_translate = QtCore.QCoreApplication.translate
MainWindow.setWindowTitle(_translate("MainWindow", "MainWindow"))
self.radioButton.setText(_translate("MainWindow", "RadioButton"))
self.pushButton.setText(_translate("MainWindow", "PushButton"))
self.pushButton_2.setText(_translate("MainWindow", "PushButton"))
step3: 新建runthefirstUI.py文件,代码如下:
# -*- coding: UTF-8 -*-
import sys
import thefirstUI #thefirstUI.py
#运行一个界面至少要 创建窗口和运行 应用
from PyQt5.QtWidgets import QApplication,QMainWindow
if __name__ == '__main__':
app = QApplication(sys.argv) #step1:创建一个应用
mainwindow = QMainWindow() #step2:创建一个窗口
ui = thefirstUI.Ui_MainWindow() #step3:创建一个UI,为窗口添加内容,调用thefirstUI模块里的Ui_MainWindow类
ui.setupUi(mainwindow) #step4:填充窗口mainwindow填充内容,调用Ui_MainWindow类的方法setupUi
mainwindow.show()
sys.exit(app.exec_())
step4: 运行runthefirstUI.py, 在pycharm运行结果: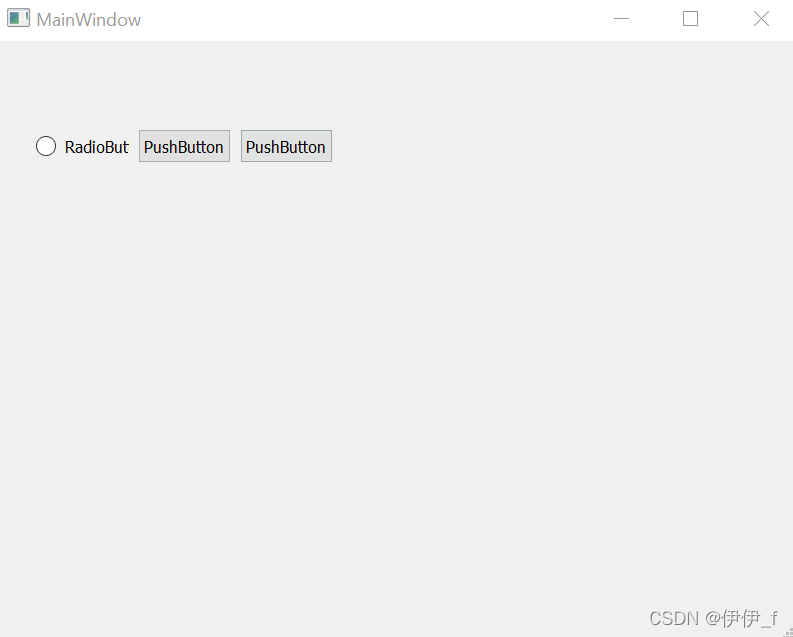
step5:鼠标选中runthefirstUI.py文件,鼠标右键->external tools->pyinstaller
将runthefirstUI.py转换为thefirstUI.py(该文件一般不修改,当成模块来用)将runthefirstUI.py转换成runrunthefirstUI.exe,在windows运行结果: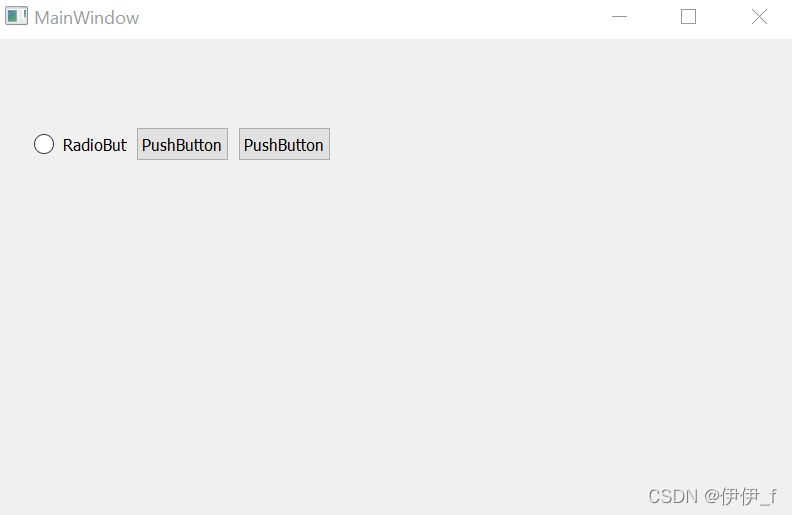


 652
652


 被折叠的 条评论
为什么被折叠?
被折叠的 条评论
为什么被折叠?
 到【灌水乐园】发言


