第一步:让arduinoIDE支持wemos D1MiNi
选择“文件/首选项”

第二步:将开发板添加到IDE里
将http://arduino.esp8266.com/stable/package_esp8266com_index.json这个json地址键入下图所示红框的位置,点击“好”。

补充:点击右侧这个按钮可以让你同时键入多个开发板的json。用行隔开就行 不需要单独加符号


第三步:添加开发板
选择“工具/开发板/开发板管理”

第四部:
在打开的开发板管理器界面 搜索“esp”,安装下图红框这个,版本号可能因为你跟我安装的时间不同而有所不同。不重要、

第五步:
选择好开发板 参数如图所示设置就好

第六步:打开自带的demo

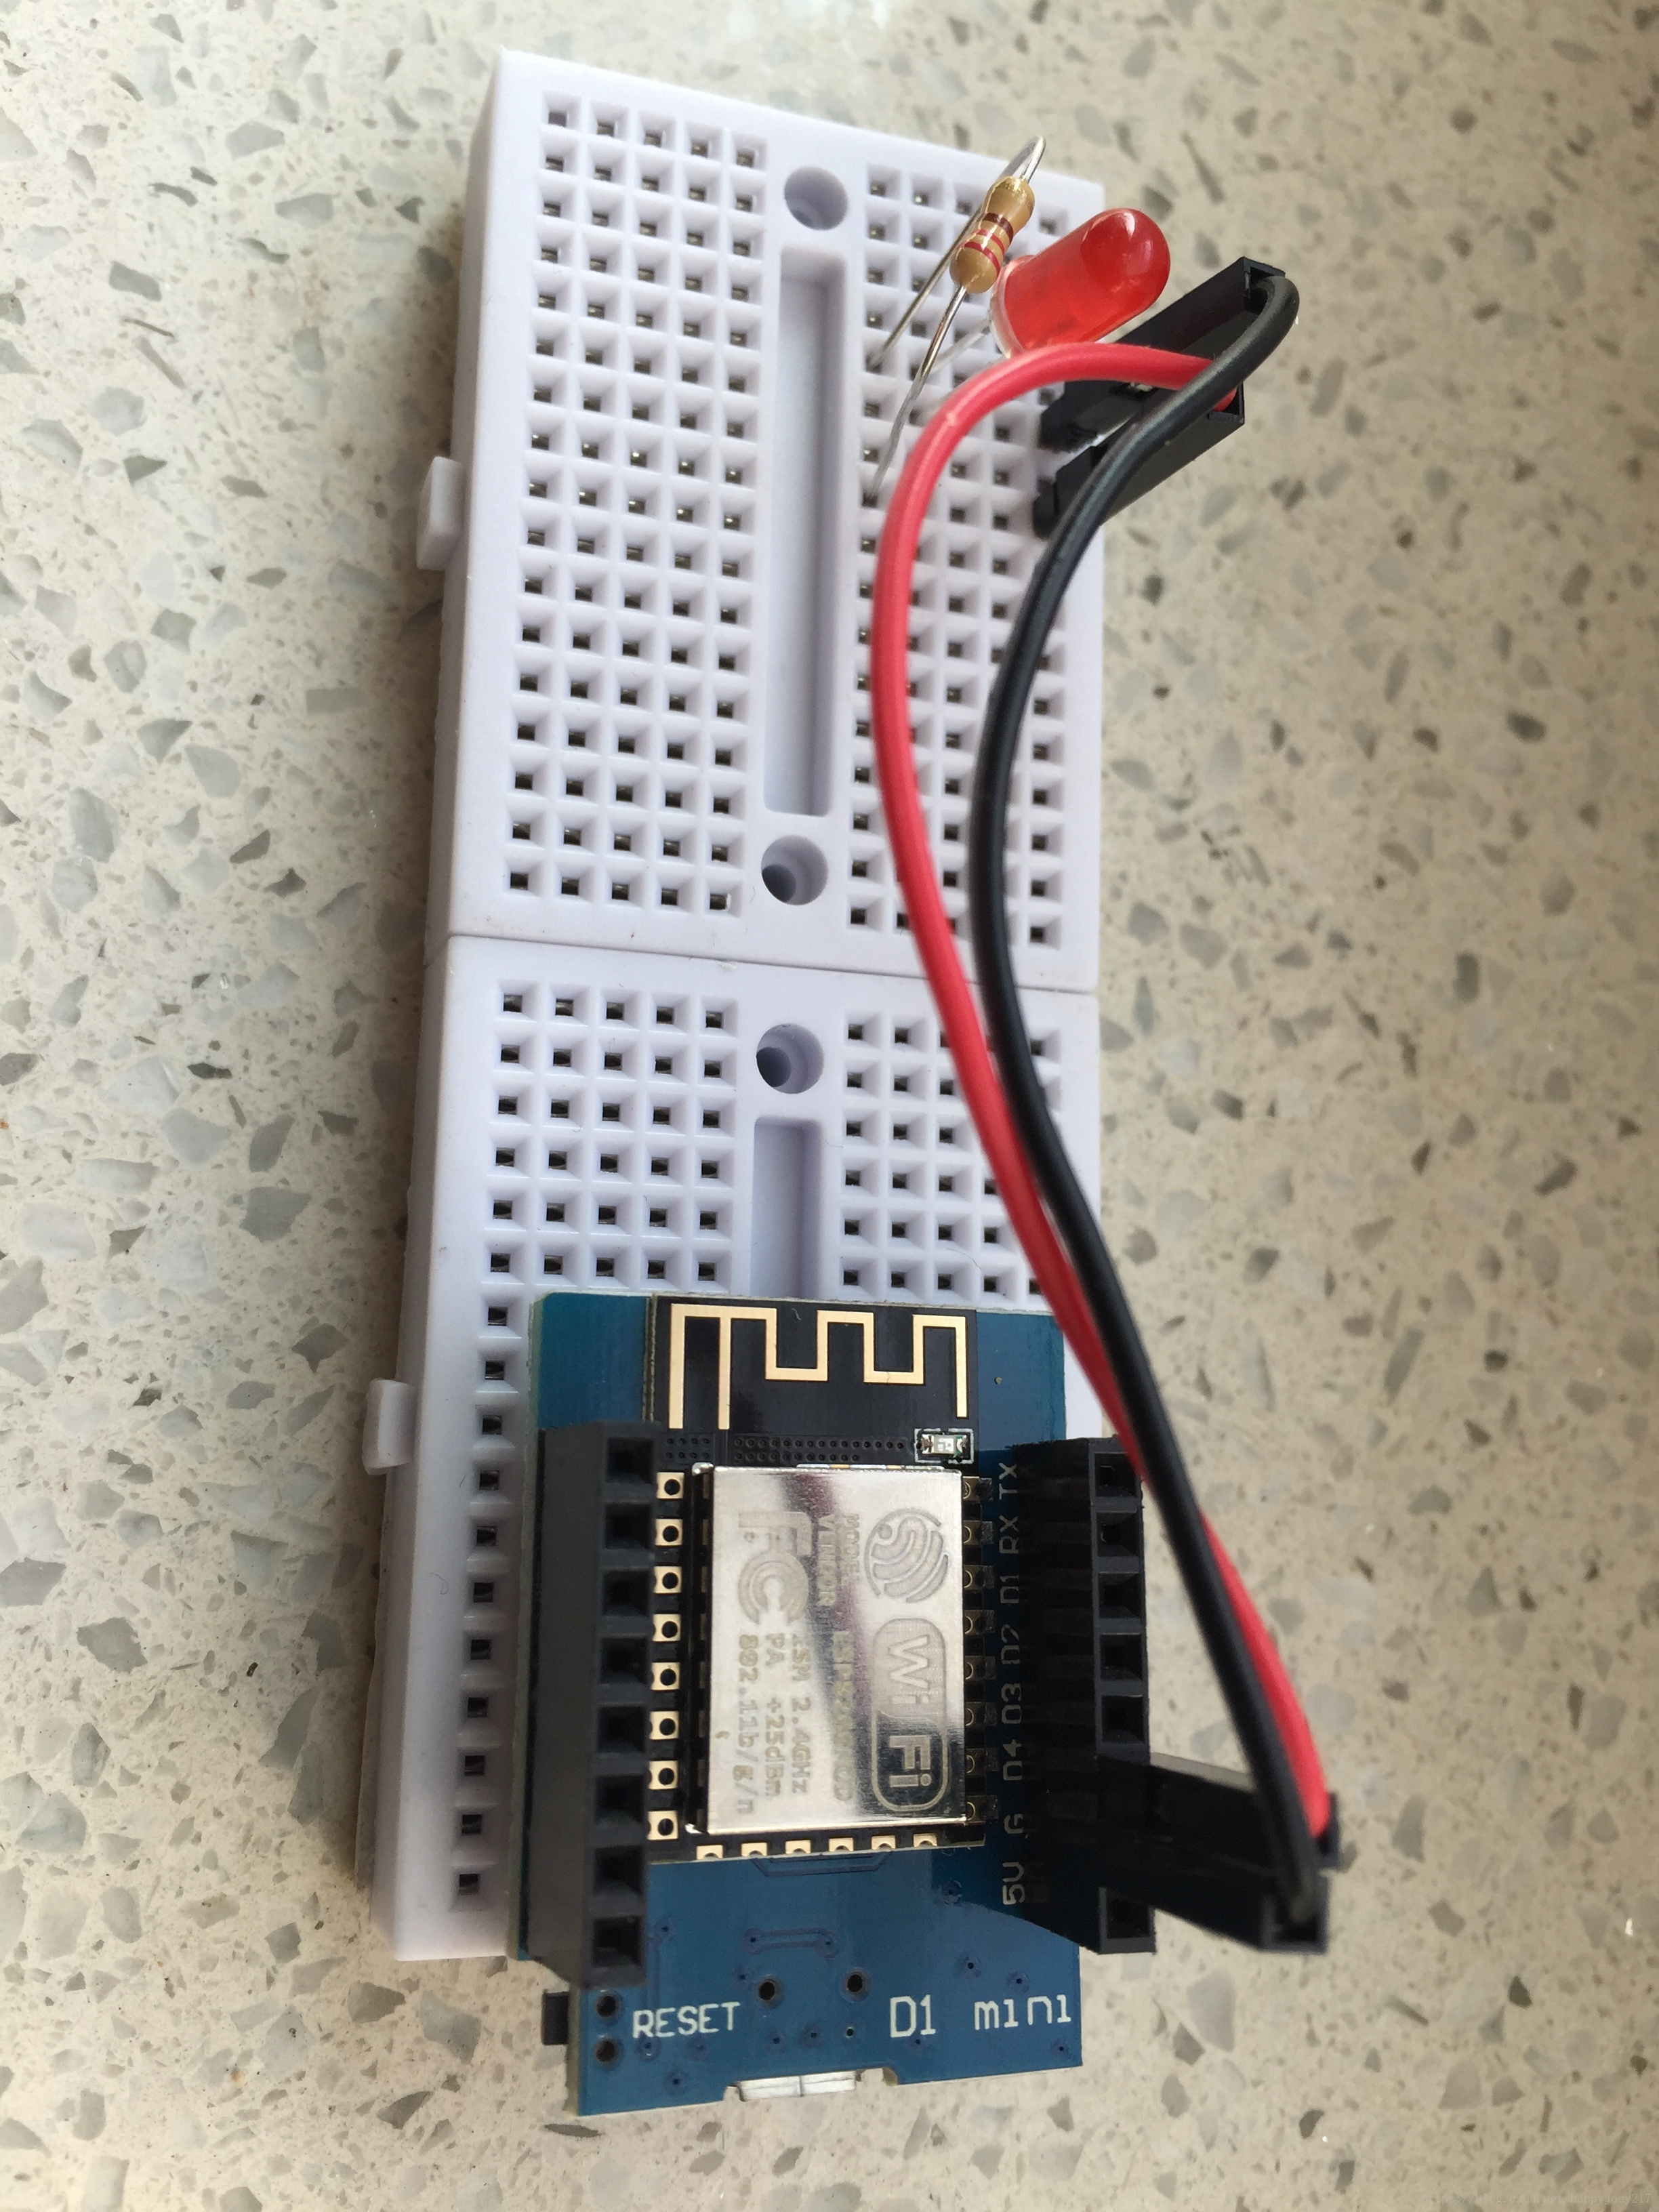
第七步 在D1和G上连接一个led串一个220欧电阻

第八步 编译上传 就可以看到灯闪烁了

/*
  ESP8266 Blink by Simon Peter
  Blink the blue LED on the ESP-01 module
  This example code is in the public domain

  The blue LED on the ESP-01 module is connected to GPIO1
  (which is also the TXD pin; so we cannot use Serial.print() at the same time)

  Note that this sketch uses LED_BUILTIN to find the pin with the internal LED
*/

void setup() {
  pinMode(D4, OUTPUT);     // D4引脚设置成输出
}


void loop() {
  //D4上的led亮5s灭1s 板载led亮1s灭5s
  digitalWrite(D4, HIGH);   // 将D4引脚设为高电平(板载灯连接的这个引脚但是反向 所以板载灯闪烁和外界LED相反
  delay(5000);             //  延时5秒
  digitalWrite(D4, LOW);  // 将D4引脚设为低电平
  delay(1000);            // 延时1s
}


 924
924

 被折叠的 条评论
为什么被折叠?


