


之前看objc.io #1 Light View Controllers看到一个很不错的技巧:从UITableViewController中分离数据源,这样可以减小UITableViewController的规模,同时也能让程序有一个比较好的架构。
由于UITableViewController是iOS中使用得最频繁的一个视图控制器,所以这里做下笔记,记录下这个技巧。
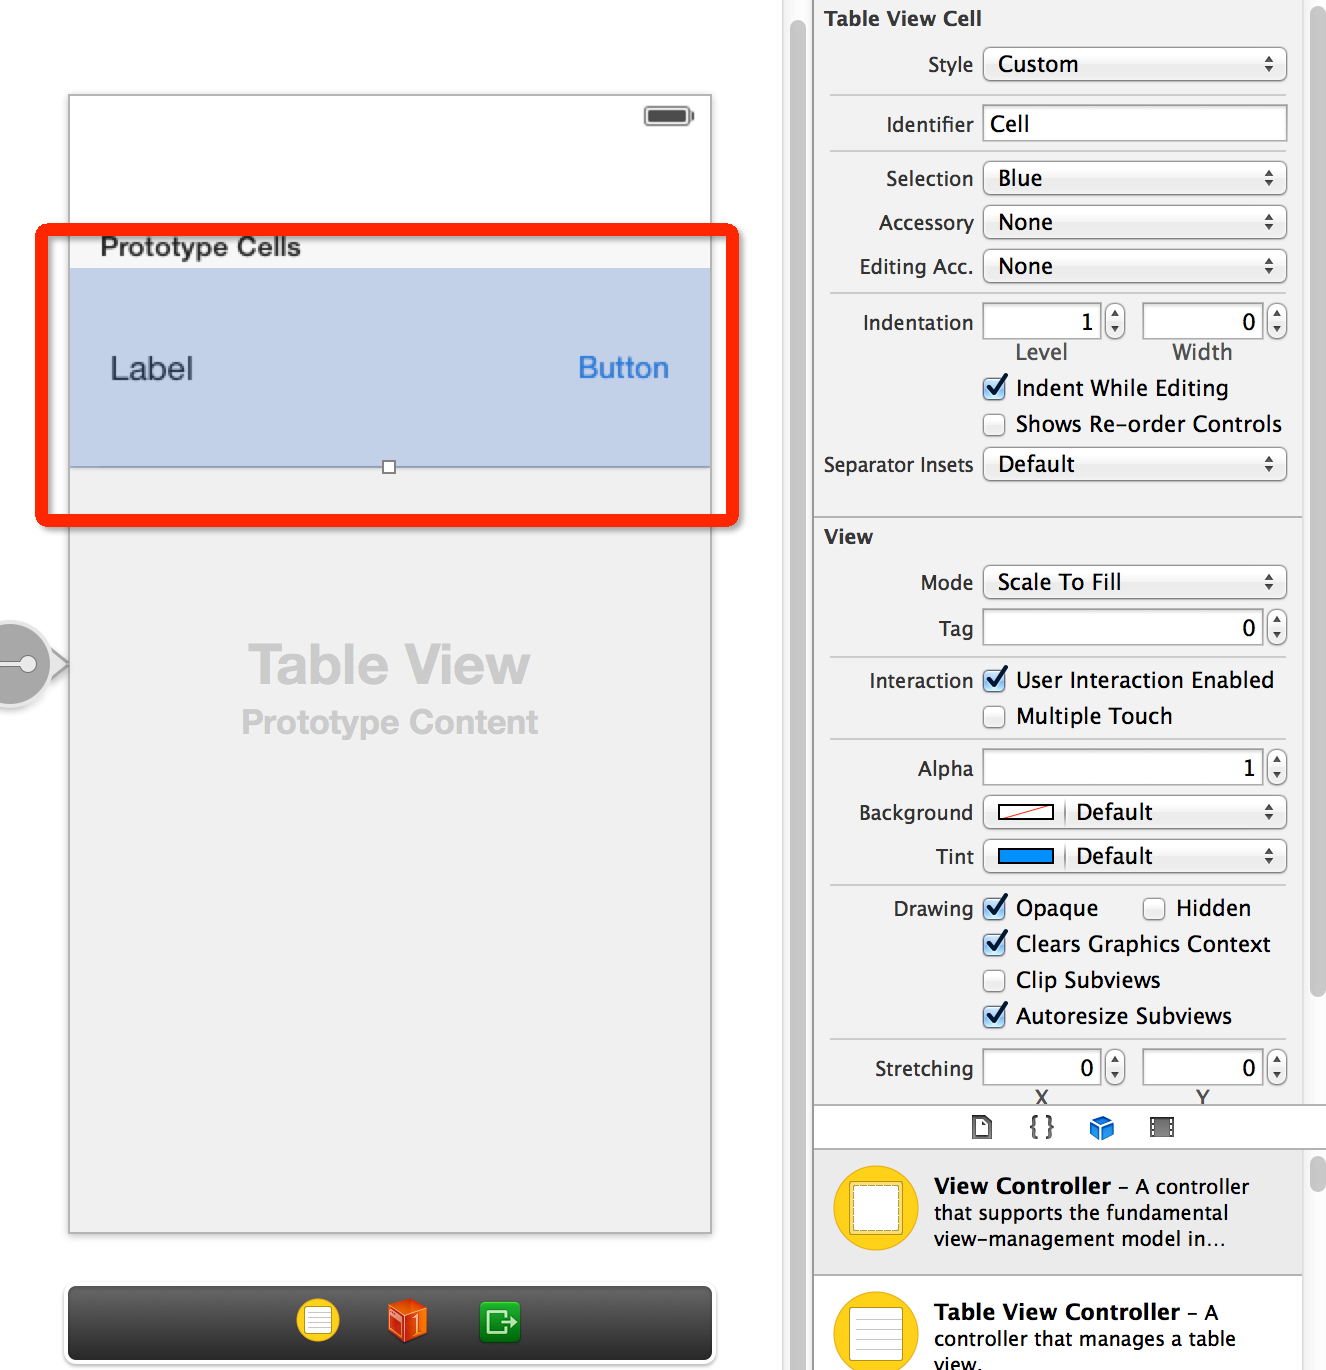
首先是故事板(当然也可以用代码 + XIB的组合):
新建一个Cell类,连接故事板中的Outlets,代码如下:
#import <UIKit/UIKit.h>

@interface Cell : UITableViewCell

- (void)configureForData:(NSString *)data;

@end
#import "Cell.h"
@interface Cell ()
@property (weak, nonatomic) IBOutlet UILabel *dataTitleLabel;
@property (weak, nonatomic) IBOutlet UIButton *dataDetailLabel;
@end
@implementation Cell
- (void)configureForData:(NSString *)data {
self.dataTitleLabel.text = data;
[self.dataDetailLabel setTitle:@"1" forState:UIControlStateNormal];
}
- (id)initWithStyle:(UITableViewCellStyle)style reuseIdentifier:(NSString *)reuseIdentifier
{
self = [super initWithStyle:style reuseIdentifier:reuseIdentifier];
if (self) {
// Initialization code
}
return self;
}
- (void)awakeFromNib
{
// Initialization code
}
- (void)setSelected:(BOOL)selected animated:(BOOL)animated
{
[super setSelected:selected animated:animated];
// Configure the view for the selected state
}
@endCell类中的configureForData方法用于配置Cell中UI的内容。
回到TableViewController类,代码如下:
#import "TableViewController.h"
#import "DataSource.h"
#import "Cell.h"

@interface TableViewController ()

@property (strong, nonatomic) NSArray *array;
@property (strong, nonatomic) DataSource *dataSource;

@end

@implementation TableViewController

- (void)viewDidLoad {
    [super viewDidLoad];

    self.array = @[@"1", @"2", @"3", @"1", @"2", @"3", @"1", @"2", @"3"];

    [self setupTableView];
}

- (void)didReceiveMemoryWarning
{
    [super didReceiveMemoryWarning];
    // Dispose of any resources that can be recreated.
}

/* 设置表格的数据源,并registerNib */
- (void)setupTableView {

    TableViewCellConfigureBlock configureCell = ^(Cell *cell, NSString *str) {
        [cell configureForData:str];
    };
    self.dataSource = [[DataSource alloc] initWithItems:_array
                                                         cellIdentifier:@"Cell"
                                                     configureCellBlock:configureCell];
    self.tableView.dataSource = self.dataSource;
}

#pragma mark - UITableViewDelegate

- (CGFloat)tableView:(UITableView *)tableView heightForRowAtIndexPath:(NSIndexPath *)indexPath {
    return 100.0;
}

- (void)tableView:(UITableView *)tableView didSelectRowAtIndexPath:(NSIndexPath *)indexPath {
    NSLog(@"%@", self.array[indexPath.row]);
}

@end
其中setupTableView方法将表格的UITableViewDataSource “外包”给TableDataSource类实现。
本类实现UITableViewDelegate,包括点击表格中的某一行的行为,cell的高度等。
最后看看承担表格数据源责任的TableViewDataSource类:
#import <Foundation/Foundation.h>

typedef void (^TableViewCellConfigureBlock)(id cell, id item);

@interface DataSource : NSObject <UITableViewDataSource>

- (id)initWithItems:(NSArray *)anItems
     cellIdentifier:(NSString *)aCellIdentifier
 configureCellBlock:(TableViewCellConfigureBlock)aConfigureCellBlock;

- (id)itemAtIndexPath:(NSIndexPath *)indexPath;

@end
首先该类必须遵守UITableViewDataSource委托,然后定义一个配置Cell的Block类型。
该类的实现代码如下:
#import "DataSource.h"

@interface DataSource ()

@property (nonatomic, strong) NSArray  *items;
@property (nonatomic, copy)   NSString *cellIdentifier;
@property (nonatomic, copy)   TableViewCellConfigureBlock configureCellBlock;

@end

@implementation DataSource

#pragma mark - Initialization

- (id)init {
    // 只能通过initWithItems:cellIdentifier:configureCellBlock:方法初始化
    return nil;
}

- (id)initWithItems:(NSArray *)anItems
     cellIdentifier:(NSString *)aCellIdentifier
 configureCellBlock:(TableViewCellConfigureBlock)aConfigureCellBlock
{
    self = [super init];

    if (self) {
        self.items              = anItems;
        self.cellIdentifier     = aCellIdentifier;
        self.configureCellBlock = [aConfigureCellBlock copy];
    }

    return self;
}

- (id)itemAtIndexPath:(NSIndexPath *)indexPath {
    return self.items[(NSUInteger) indexPath.row];
}

#pragma mark UITableViewDataSource

/* Required methods */

- (NSInteger)tableView:(UITableView *)tableView numberOfRowsInSection:(NSInteger)section {
    return self.items.count;
}

- (UITableViewCell *)tableView:(UITableView *)tableView cellForRowAtIndexPath:(NSIndexPath *)indexPath {
    UITableViewCell *cell = [tableView dequeueReusableCellWithIdentifier:self.cellIdentifier
                                                            forIndexPath:indexPath];
    id item = [self itemAtIndexPath:indexPath];

    /**
     之所以把configureCellBlock作为一个属性,是为了该类可以被复用
     只要TableViewController定制了对应的代码块并作为参数传入就可以了

     复用的关键:不要被具体的实现代码入侵,只需要调用接口和给出接口就可以了
     */
    self.configureCellBlock(cell, item);
    return cell;
}

@end
说下cellForRowAtIndexPath方法中的self.configureCellBlock(cell, item);
这句代码的作用无疑是配置Cell中的内容,一般由用户自定义的Cell类自行实现,这里没有牵涉任何实现细节,从而保证TableViewDataSource类可以很好地被复用。
运行结果:

顺便传了个Demo上来,有兴趣的可以下载看看。


 1万+
1万+


 被折叠的 条评论
为什么被折叠?
被折叠的 条评论
为什么被折叠?
 到【灌水乐园】发言


