绘制矩形
import QtQuick 2.9
import QtQuick.Window 2.2

Window
{
    visible: true
    width: 640
    height: 480
    Canvas
    {
        id: root
        width: parent.width;
        height: parent.height;
        onPaint://绘制事件 绘制要在绘制事件中完成
        {
            var ctx = getContext("2d")
            ctx.lineWidth = 4//画笔宽度
            ctx.strokeStyle = "blue"//画笔样式 画笔颜色
            ctx.fillStyle = "steelblue"//填充样式

            //绘制一个矩形
            ctx.beginPath()//设置路径
            ctx.moveTo(50,50)//从这里开始画
            ctx.lineTo(150,50)
            ctx.lineTo(150,150)
            ctx.lineTo(50,150)
            ctx.closePath()//关闭路径
//            ctx.fill()//填充
            ctx.stroke()//设置完成开始绘制
        }
    }
}

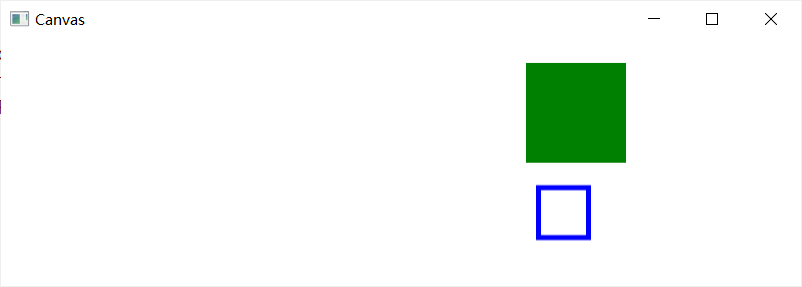
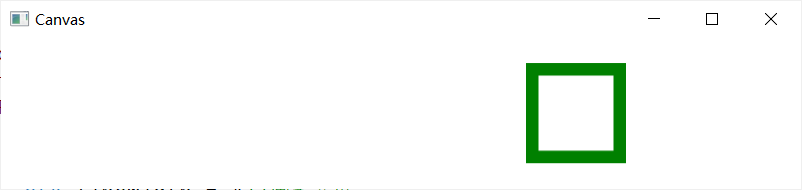
绘制矩形api
            ctx.fillStyle = 'green'
            ctx.strokeStyle = "blue"
            ctx.fillRect(420, 20, 80, 80)//绘制一个填充的矩形
            ctx.strokeRect(430,120, 40, 40)//绘制一个普通的矩形(未填充)
            ctx.fillRect(420, 20, 80, 80)//绘制一个填充的矩形
            ctx.clearRect(430,30, 60, 60)//清空这个矩形区域
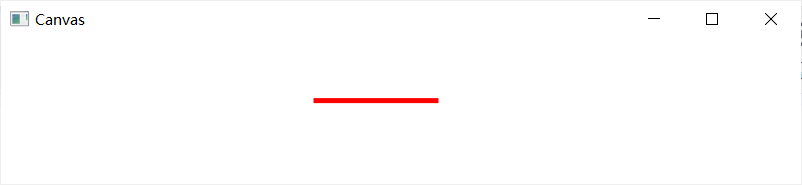
绘制一条线
            ctx.strokeStyle = "red"
            ctx.beginPath()//在beginPath()这个操作后,你需要使用moveTo来设置开始点
            ctx.moveTo(250,50)
            ctx.lineTo(350,50)
            ctx.stroke()
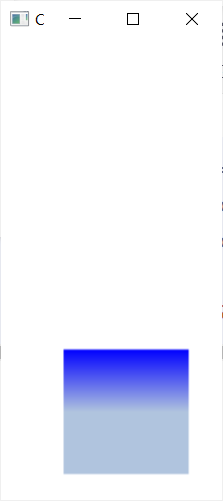
用渐变填充矩形
            var gradient = ctx.createLinearGradient(100,250,100,350)//定义一条渐变线(点1,点2)
            gradient.addColorStop(0, "blue")
            gradient.addColorStop(0.5, "lightsteelblue")
            ctx.fillStyle = gradient
            ctx.fillRect(50,250,100,100)
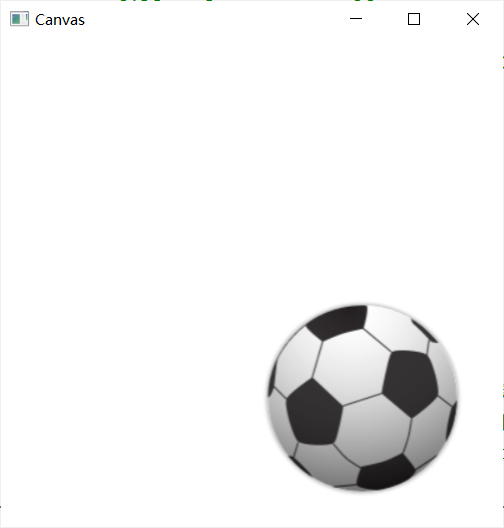
绘制图片
import QtQuick 2.9
import QtQuick.Window 2.2

Window
{
    visible: true
    width: 640
    height: 480
    Canvas
    {
        id: root
        width: parent.width;
        height: parent.height;
        onPaint://绘制事件 绘制要在绘制事件中完成
        {
            var ctx = getContext("2d")
            ctx.lineWidth = 4//画笔宽度
            ctx.strokeStyle = "blue"//画笔样式 画笔颜色
            ctx.fillStyle = "steelblue"//填充样式

            ctx.drawImage('qrc:/IMG/soccer_ball.png', 210, 210)
            ctx.save()
            ctx.beginPath()
        }

        Component.onCompleted:
        {
            loadImage("qrc:/IMG/soccer_ball.png")
        }
    }
}
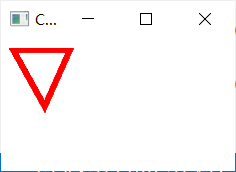
绘制线条组成三角形
            ctx.strokeStyle = 'red'
            ctx.moveTo(10,10)
            ctx.lineTo(55,10)
            ctx.lineTo(35,55)
            ctx.closePath()
            ctx.stroke()
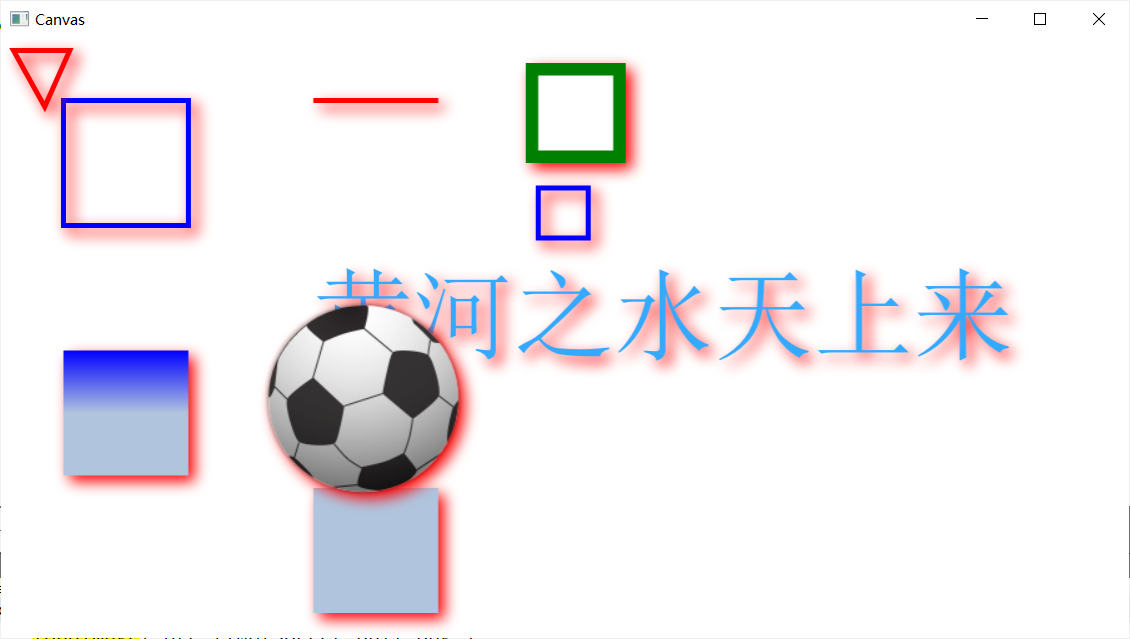
阴影:对画布内所有元素都有影响
import QtQuick 2.9
import QtQuick.Window 2.2

Window
{
    visible: true
    width: 640
    height: 480
    Canvas
    {
        id: root
        width: parent.width;
        height: parent.height;
        onPaint://绘制事件 绘制要在绘制事件中完成
        {
            var ctx = getContext("2d")
            ctx.lineWidth = 4//画笔宽度
            ctx.strokeStyle = "blue"//画笔样式 画笔颜色
            ctx.fillStyle = "steelblue"//填充样式

            //绘制一个矩形
            ctx.beginPath()//设置路径
            ctx.moveTo(50,50)//从这里开始画
            ctx.lineTo(150,50)
            ctx.lineTo(150,150)
            ctx.lineTo(50,150)
            ctx.closePath()//关闭路径
//            ctx.fill()//填充
            ctx.stroke()//设置完成开始绘制

            //绘制一条线
            ctx.strokeStyle = "red"
            ctx.beginPath()//在beginPath()这个操作后,你需要使用moveTo来设置开始点
            ctx.moveTo(250,50)
            ctx.lineTo(350,50)
            ctx.stroke()

            //绘制矩形api
            ctx.fillStyle = 'green'
            ctx.strokeStyle = "blue"
            ctx.fillRect(420, 20, 80, 80)//绘制一个填充的矩形
            ctx.clearRect(430,30, 60, 60)//清空这个矩形区域
            ctx.strokeRect(430,120, 40, 40)//绘制一个普通的矩形(未填充)

            //用渐变填充矩形
            var gradient = ctx.createLinearGradient(100,250,100,350)//定义一条渐变线(点1,点2)
            gradient.addColorStop(0, "blue")
            gradient.addColorStop(0.5, "lightsteelblue")
            ctx.fillStyle = gradient
            ctx.fillRect(50,250,100,100)

            //阴影 对画布内所有元素都有影响
            ctx.strokeStyle = "#333333"
            ctx.fillRect(250,360,100,100);
            ctx.shadowColor = "red";//阴影颜色
            ctx.shadowOffsetX = 5;//阴影X轴偏移值
            ctx.shadowOffsetY = 5;//阴影Y轴偏移值
            ctx.shadowBlur = 10;//阴影模糊
            ctx.fillStyle = "#33a9ff";
            ctx.font="80px Arial";
            ctx.fillText("黄河之水天上来",250,250);

            ctx.drawImage('qrc:/IMG/soccer_ball.png', 210, 210)
            ctx.save()
            ctx.beginPath()

//            //画三条线组成三角形
            ctx.strokeStyle = 'red'
            ctx.moveTo(10,10)
            ctx.lineTo(55,10)
            ctx.lineTo(35,55)
            ctx.closePath()
            ctx.stroke()
        }

        Component.onCompleted:
        {
            loadImage("qrc:/IMG/soccer_ball.png")
        }
    }
}
平移坐标系
            ctx.save()
            ctx.translate(550,10)//平移坐标系 将新的点(550,10)设为新的点(0,0)
//            ctx.clip()//裁剪 图片或者轮廓路径都可以使用一个路径来裁剪。
            //裁剪需要定义一个裁剪路径, 然后调用clip()函数来实现裁剪
            //效果是路径中的部分才可见
            ctx.drawImage('qrc:/IMG/soccer_ball.png', 0, 0)
            ctx.stroke()
            ctx.restore()


 3269
3269

 被折叠的 条评论
为什么被折叠?
被折叠的 条评论
为什么被折叠?
 到【灌水乐园】发言


