


1、Btton单单设置一个title
loginButton.setTitle(“登录", forState: .Normal)
当给按钮只设置一个标题的时候,标题titleLabel的父视图为button,不需要设置titleLabel的frame时,titleLabel会在父视图中居中自动布局。
2、Btton单单设置一个image
当图片的大小大于或等于按钮大小时,需要考虑到手机的屏幕大小,4s及以下手机会加载1倍图,5、5s手机会加载2倍图并除以2,6及以上屏幕手机会加载3倍图并除以3。这样被处理后才是图片的真实大小。
拿到图片的大小后再根据按钮的大小进行布局。当按钮大小大于图片大小时设置图片上下会居中显示,左右会靠左显示。当按钮大小小于图片大小时,如果按钮宽小于图片宽、按钮高大于图片高,图片显示的效果是宽被挤压,高不变,明显图片显示会变形。所以设置按钮时要和UED沟通好图片的大小设置进行标准统一。
3、Btton同时设置Title和Image
UIButton同时设置Title和Image后,默认是图片在左文字在右。
当设置图片的imageEdgeInsets时,上下是指要移动多少个像素,左右是指距离左右边距多少个像素的一半,也就是说loginButton.imageEdgeInsets=UIEdgeInsetsMake(-10,0, 0,0)意味着图片在上下布局中会以之前居中布局的位置向下移动5个像素,当设置UIEdgeInsetsMake(-10, 0, 10, 0)时才会向上10个像素。
----上代码(让我们举个栗子)
    func shareButtons(){
	var button_y : CGFloat = 20
        var buttonWidth :CGFloat =52
        let buttonHeight :CGFloat = buttonWidth +22
        let spacing :CGFloat = ((CMScreenWidth -40) - CGFloat.init(self.buttomImageNames.count) * buttonWidth) / CGFloat.init(self.buttomImageNames.count - 1)

        for iin0..<buttomImageNames.count{
            let tempButton =UIButton(type:UIButtonType.Custom)
            tempButton.frame =CGRect.init(x:20 + CGFloat.init(i) * (buttonWidth + spacing) , y:button_y, width: buttonWidth,height: buttonHeight)
            tempButton.setImage(UIImage.init(named:buttomImageNames[i]), forState: .Normal)
            tempButton.setTitle(buttonTitleNames[i], forState: .Normal)
            tempButton.tag = i
            tempButton.addTarget(self, action:#selector(self.shareButtonClickAction(_:)), forControlEvents: .TouchUpInside)
            tempButton.titleLabel?.font =UIFont.init(name:CustomMethod.sharedInstance.fontName(), size:12)
            tempButton.setTitleColor(ColorChange().colorWithHexString(color_4A4A4A), forState: UIControlState.Normal)

            let imageWidth = tempButton.imageView!.frame.width
            let imageHeight = tempButton.imageView?.frame.height
            let titleHeight :CGFloat = tempButton.titleLabel!.frame.height
            let imageGap :CGFloat =fabs((tempButton.frame.width - imageWidth) /2)
            tempButton.imageEdgeInsets =UIEdgeInsetsMake(0, imageGap, titleHeight,0)
            tempButton.titleEdgeInsets =UIEdgeInsetsMake(imageHeight! +10, -imageWidth, 0,0)

            self.view.addSubview(tempButton)
        }
    }
----上效果图

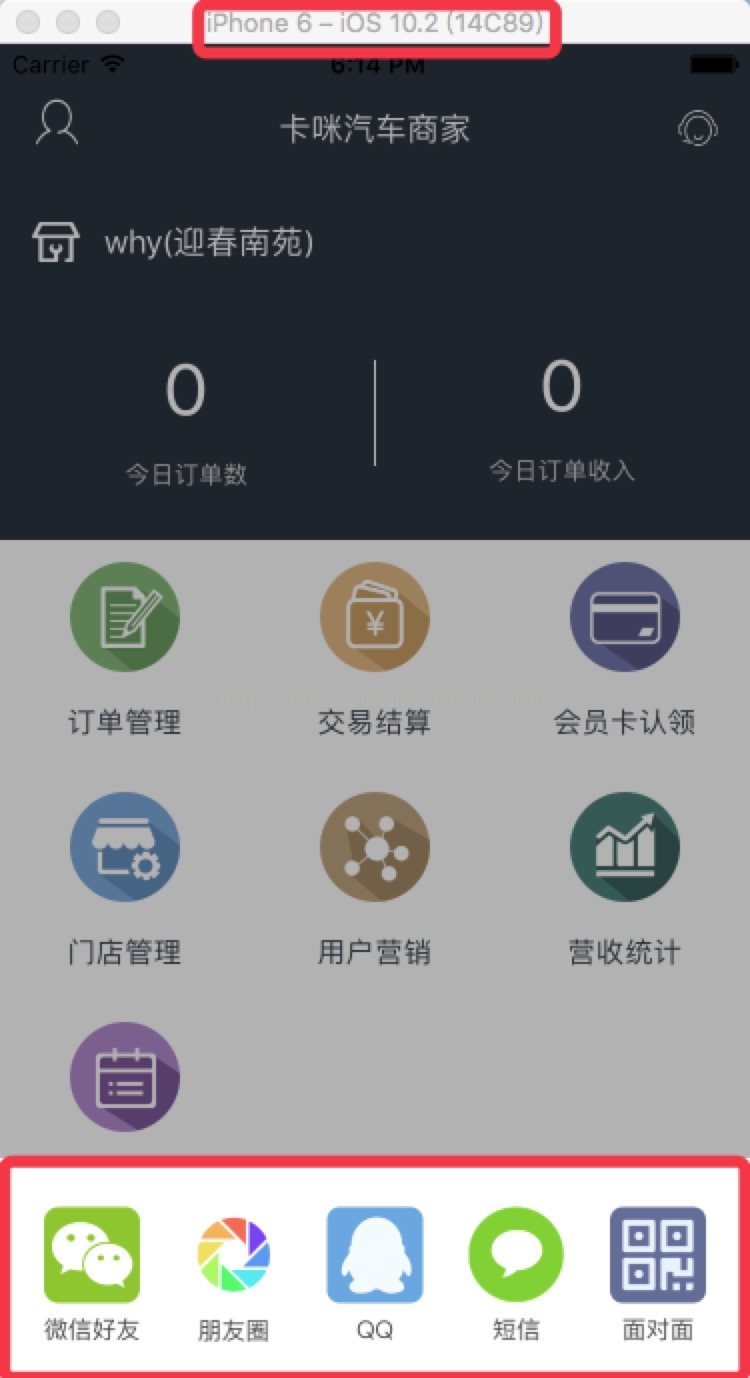
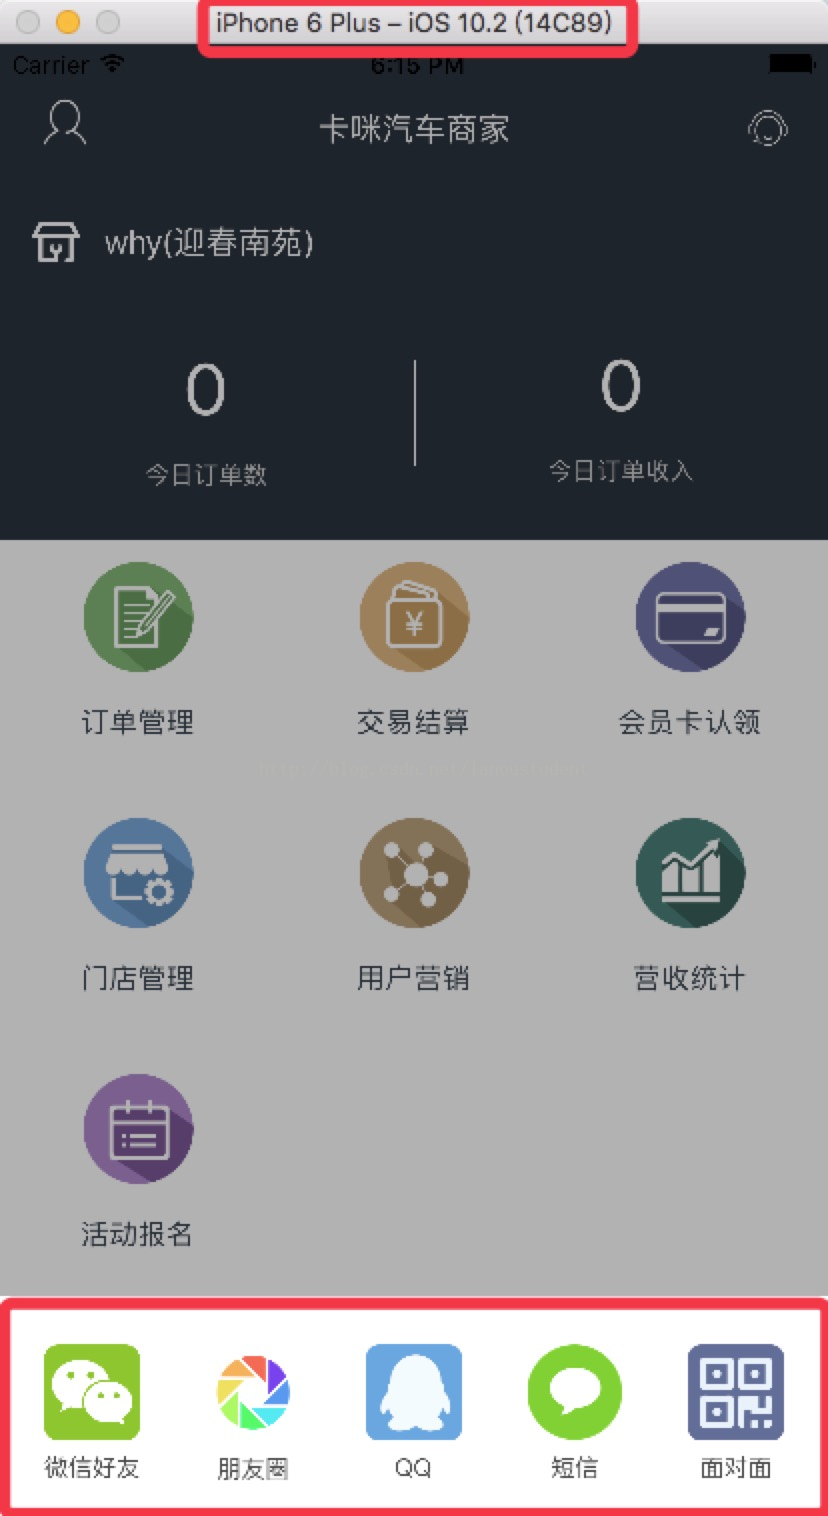
希望能够帮助大家~~~


 1512
1512


 被折叠的 条评论
为什么被折叠?
被折叠的 条评论
为什么被折叠?
 到【灌水乐园】发言


