


 本文介绍了如何通过GitHub项目GitHub-liangwq/Chatglm_lora_multi-gpu中的代码,结合VLM和diffusion模型实现文本生成海报的功能。流程涉及环境配置、模型下载、生图、字排版、图文混合、审核验证以及使用gradioAPI生成图片。文章还展示了如何使用Auto_Text_Layout进行文字布局和审美评估模块的应用。
本文代码讲整合在:
GitHub - liangwq/Chatglm_lora_multi-gpu: chatglm多gpu用deepspeed和
这篇文章介绍如何利用VLM+diffusion模型来搭建一条文本生成海报的链路。搭建这条链路有两个应用:1.实际的业务中需要批量生产文字+图海报可以用,2.可以用来造训练数据。
首先介绍下这篇文章的整体框架安排:
1.生图模块
2.字排版模块
3.图文混合模块
4.图审核验证模块
生成模块
部署文本生成图片模型pixart-sigma:
1.安装环境和下载源码
conda create -n pixart python==3.9.0
conda activate pixart
conda install pytorch==2.0.1 torchvision==0.15.2 torchaudio==2.0.2 pytorch-cuda=11.7 -c pytorch -c nvidia

git clone https://github.com/PixArt-alpha/PixArt-sigma.git
cd PixArt-sigma
pip install -r requirements.txt
2.下载模型
# SDXL-VAE, T5 checkpoints
git lfs install
git clone https://huggingface.co/PixArt-alpha/pixart_sigma_sdxlvae_T5_diffusers output/pretrained_models/pixart_sigma_sdxlvae_T5_diffusers

# PixArt-Sigma checkpoints
python tools/download.py # environment eg. HF_ENDPOINT=https://hf-mirror.com can use for HuggingFace mirror
3.启动模型后台
python scripts/interface.py --model_path output/pretrained_models/PixArt-Sigma-XL-2-2k-MS.pth --image_size 2048 --port 6006
4.gradio_cleint前端API方式生成图片
from gradio_client import Client
 #建立后台服务器链接
client = Client("http://0.0.0.0:6006")
#查看请求参数
client.view_api(return_format="dict")

#传参请求生成图
out_data = client.predict("An adorable girl with curly hair, innocently laughing with a big smile, looking very happy Poster style --ar 9:16","dpm-solver",14,4.5,0,True)
#生成图片可视化
import matplotlib.pyplot as plt
from PIL import Image

# 图片地址
image_path = out_data[0]

# 打开并显示图片
img = Image.open(image_path)
plt.imshow(img)
plt.axis('off')  # 关闭坐标轴
plt.show()

使用Gradio客户端来与一个后台服务器建立连接,并通过传递参数请求生成一张图片。首先建立了与服务器的连接,然后查看了请求参数的格式。接着使用client.predict方法传递参数来生成一张图片,参数包括描述图片内容的文本、模型名称、以及其他参数。生成的图片保存在out_data中,然后通过Matplotlib和PIL库来打开和显示这张图片。
具体步骤包括:
- 建立与服务器的连接。
- 查看请求参数的格式。
- 使用
client.predict方法传递参数请求生成一张图片。 - 从生成的结果中获取图片地址。
- 使用PIL库打开并显示生成的图片。
最后一段代码使用Matplotlib显示了生成的图片,关闭了坐标轴以便更清晰地展示图片内容。
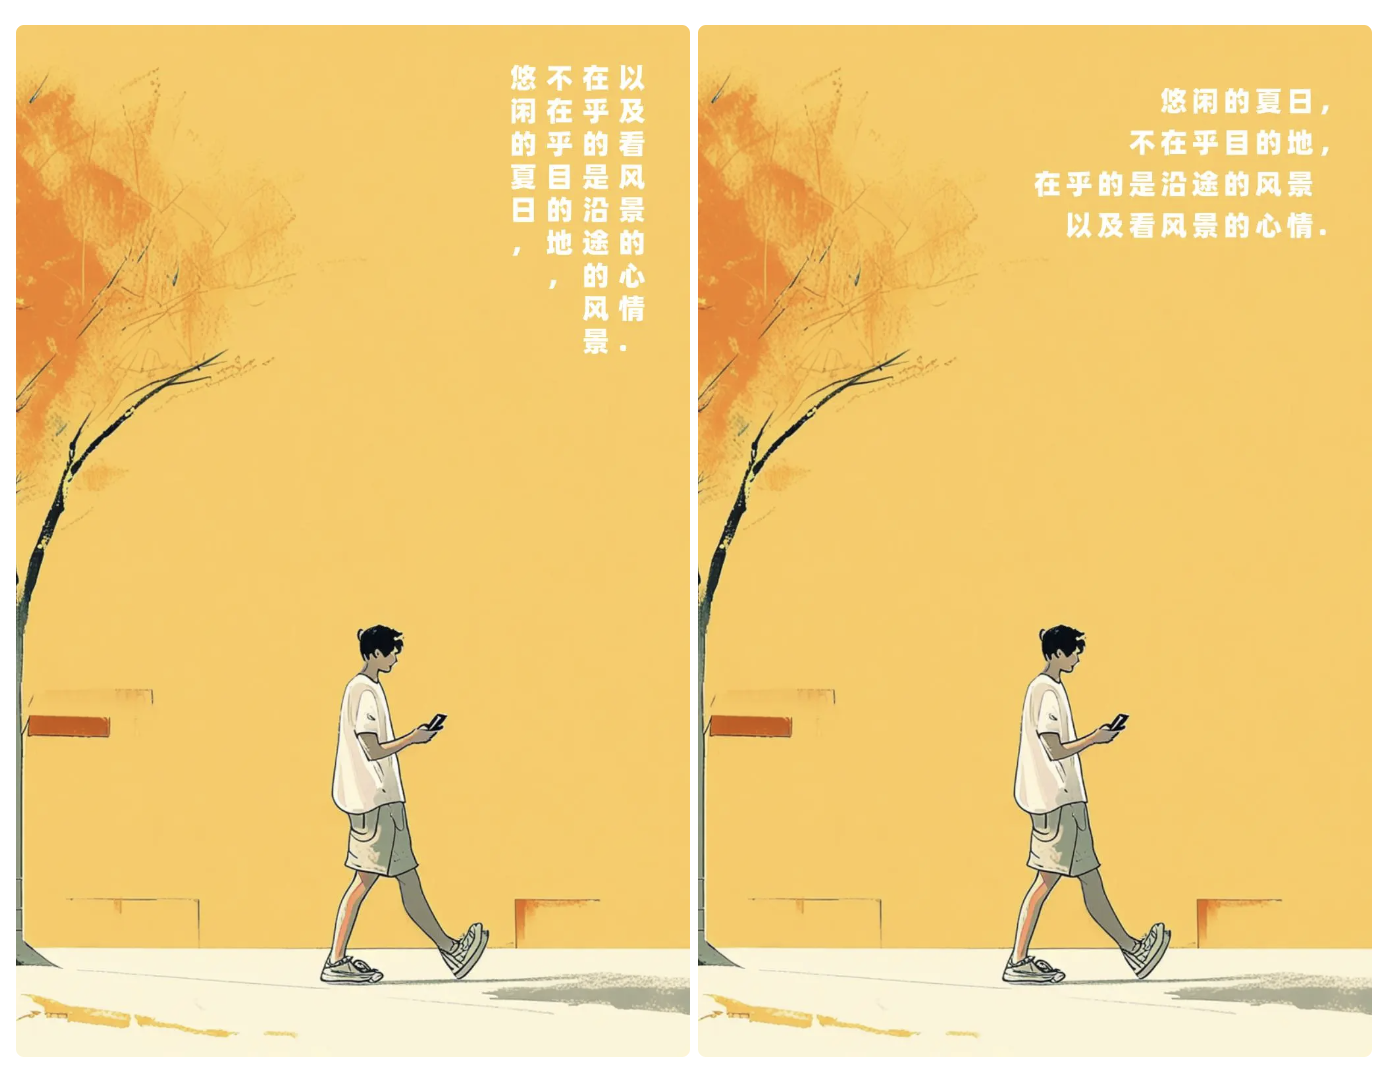
文字排版模块
def auto_text_layout(inputext=[], x=0,y=0,row_spacing=100, col_spacing=80, vertical 最低0.47元/天 解锁文章


 9774
9774

 被折叠的 条评论
为什么被折叠?
被折叠的 条评论
为什么被折叠?
 到【灌水乐园】发言


