


步骤1:添加依赖
compile 'com.android.support:appcompat-v7:23.4.0'

compile 'com.android.support:design:23.4.0'
注意:下面的版本号一定要跟上面的一样否则会报错。
步骤2:使用TabLayout
在XML中设置TabItem
<RelativeLayout
    xmlns:android="http://schemas.android.com/apk/res/android"
    xmlns:tools="http://schemas.android.com/tools"
    android:layout_width="match_parent"
    android:layout_height="match_parent"
    tools:context="com.example.app1.MainActivity">

    <android.support.design.widget.TabLayout
        android:layout_width="match_parent"
        android:layout_height="wrap_content">
        <android.support.design.widget.TabItem
            android:layout_width="wrap_content"
            android:layout_height="wrap_content"
            android:text="Tab2"
            android:icon="@drawable/icon_1"/>
        <android.support.design.widget.TabItem
            android:layout_width="wrap_content"
            android:layout_height="wrap_content"
            android:text="Tab2"
            android:icon="@drawable/icon_2"/>
        <android.support.design.widget.TabItem
            android:layout_width="wrap_content"
            android:layout_height="wrap_content"
            android:text="Tab3"
            android:icon="@drawable/icon_3"/>
        <android.support.design.widget.TabItem
            android:layout_width="wrap_content"
            android:layout_height="wrap_content"
            android:text="Tab4"
            android:icon="@drawable/icon_4"/>
    </android.support.design.widget.TabLayout>

</RelativeLayout>
在Java中设置Tab
<RelativeLayout
    xmlns:android="http://schemas.android.com/apk/res/android"
    xmlns:tools="http://schemas.android.com/tools"
    android:layout_width="match_parent"
    android:layout_height="match_parent"
    tools:context="com.example.app1.MainActivity">

    <android.support.design.widget.TabLayout
        android:id="@+id/tabLayout"
        android:layout_width="match_parent"
        android:layout_height="wrap_content"/>

</RelativeLayout>
public class MainActivity extends AppCompatActivity {
private TabLayout mTabLayout;
@Override
protected void onCreate(Bundle savedInstanceState) {
super.onCreate(savedInstanceState);
setContentView(R.layout.activity_main);
mTabLayout = (TabLayout) findViewById(R.id.tabLayout);
TabLayout.Tab tab1 = mTabLayout.newTab();
TabLayout.Tab tab2 = mTabLayout.newTab();
TabLayout.Tab tab3 = mTabLayout.newTab();
TabLayout.Tab tab4 = mTabLayout.newTab();
tab1.setText("Tab 1");
tab2.setText("Tab 2");
tab3.setText("Tab 3");
tab4.setText("Tab 4");
tab1.setIcon(R.drawable.icon_1);
tab2.setIcon(R.drawable.icon_2);
tab3.setIcon(R.drawable.icon_3);
tab4.setIcon(R.drawable.icon_4);
mTabLayout.addTab(tab1);
mTabLayout.addTab(tab2);
mTabLayout.addTab(tab3);
mTabLayout.addTab(tab4);
}
}以上两种方式实现的效果一样。
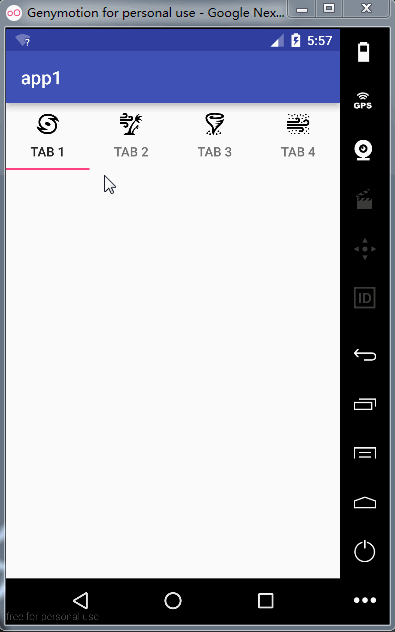
步骤3:效果如下


 6万+
6万+

 被折叠的 条评论
为什么被折叠?
被折叠的 条评论
为什么被折叠?
 到【灌水乐园】发言


