最近在画数据的输出图,需要看到数据的实时变化,但是使用plot()函数后直接得到了最终输出图,无法看到数据的变化,在网上查找资料并学习后最终实现了自己想要的结果,总结下实现过程及自己的理解。
plot()输出动图:
import matplotlib.pyplot as plt
import numpy as np
from math import *

plt.ion() #开启interactive mode交互模式
plt.figure()

plt.subplot(2,2,1)
x1 = np.linspace(0, 20, 100)#创建数组
for i in range(20):
    plt.clf() #清空画布上的所有内容
    y1 = np.sin(x1*i/100.0)
    plt.plot(x1,y1,'-r')
    plt.pause(0.1)#时间延时

plt.subplot(2,2,2)
x2 = np.linspace(0, 20, 100)
for i in range(20):
    #plt.clf() #清空画布上的所有内容
    y2 = np.sin(x2*i/100.0)#
    plt.plot(x2,y2,'-r')
    plt.pause(0.1)

plt.subplot(2,2,3)
x0= []
y0 = []
for i in range(20):
    x0.append(i)#使用列表保存数据
    y0.append(sin(i))#使用列表保存数据
    plt.plot(x0,y0,'-r')
    plt.pause(0.1)

plt.ioff()#关闭交互模式
plt.show()
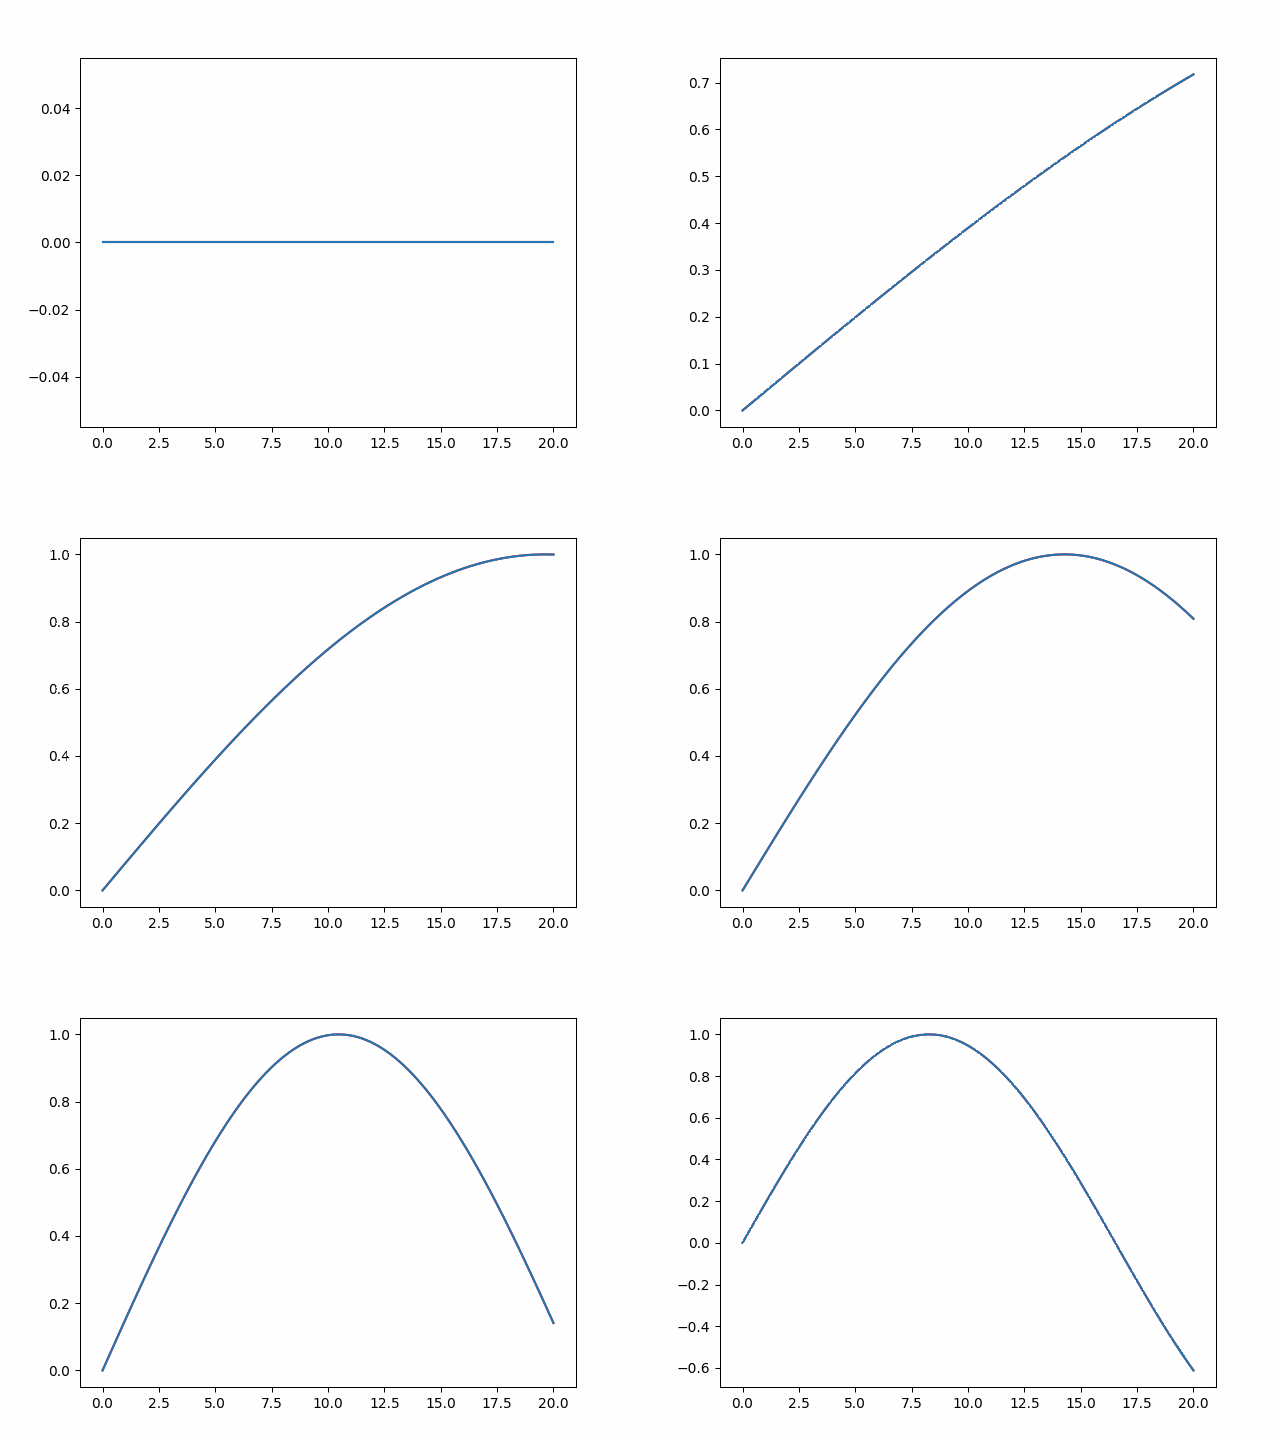
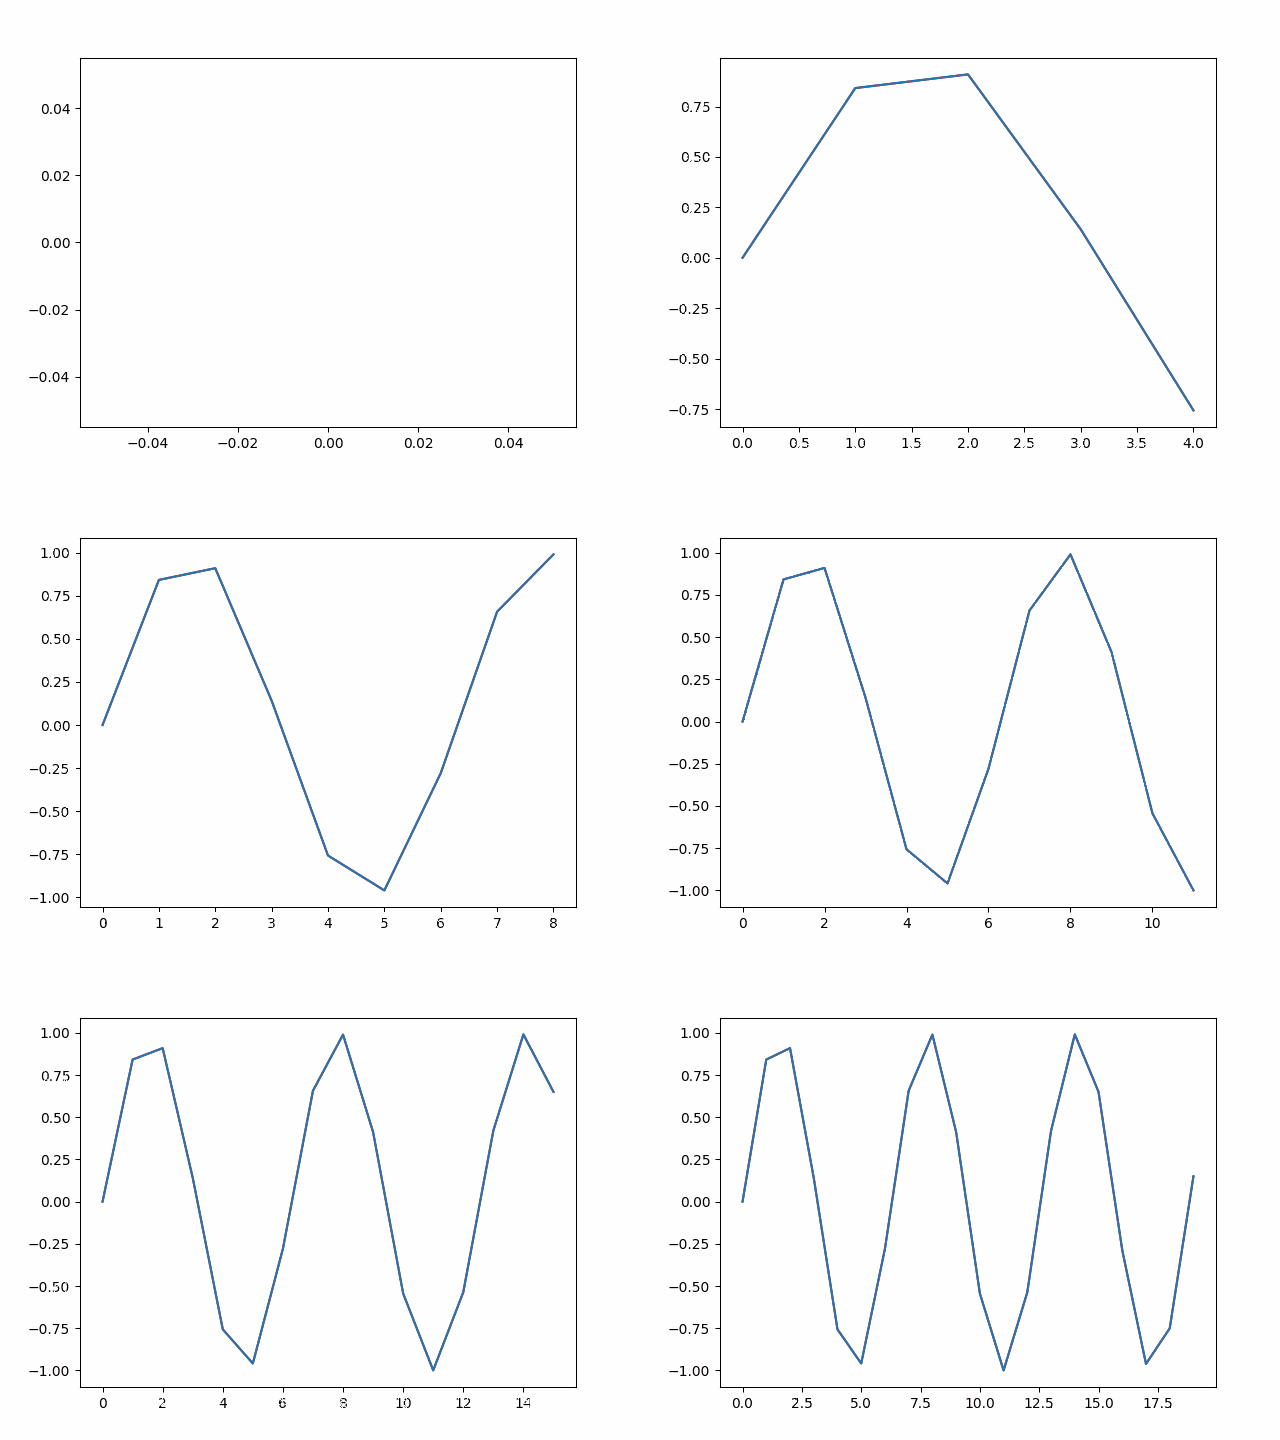
输出结果(后续再讲解如何保存为gif文件)分别为:


图1的实时图像的实质是不停的在背景图上擦除旧线条,画上新线条。图2的实质是在背景图上不停的画上新线条,不擦除旧线条。图3的实质是在背景图上不停的画上新线条,不擦除旧的线条,只不过新线条的前面部分覆盖了旧线条,看起来就是只画了一条不断延长的线条。
如何保存为gif:
这是图1的gif代码:
import matplotlib.pyplot as plt
import numpy as np
from math import *
import gif

@gif.frame#@gif.frame是GIF库用来创建帧序列的装饰器,紧接着的def gm(n)函数的输出就是一个PIL类
def plott(x,y):
    plt.plot(x,y)

frames1 = []
frames3 = []
plt.subplot(2,2,1)
x1 = np.linspace(0, 20, 100)#创建数组
for i in range(20):
    plt.clf() #清空画布上的所有内容
    y1 = np.sin(x1*i/100.0)
    frame1 = plott(x1,y1)#将每个线条的完整图片分别画出来
frames1.append(frame1)#将每个线条的完整图片存入一个列表中
gif.save(frames1,'tu1.gif',duration=3.5)#将列表中的图片依次存入gif文件中,并在每个图片之间加入延时。
这是图2的gif代码:
import matplotlib.pyplot as plt
import numpy as np
from math import *
import gif
@gif.frame#@gif.frame是GIF库用来创建帧序列的装饰器,紧接着的def gm(n)函数的输出就是一个PIL类。
def gm(n):
    x2 = np.linspace(0, 20, 100)
    for i in range(n):
            y2 = np.sin(x2*i/100.0)
            plt.plot(x2,y2)
frames = []
def gg():
    for n in range(20):
        frame = gm(n)
        frames.append(frame)
gg()
gif.save(frames,'dongtu.gif',duration=3.5)
gif的实质是先画出每个线条的完整图片,再将这些图片保存成一个数组,将这个数组的图片依次保存到gif的文件中,并在每张图片之间加入延时。
这里容易出错的是线条输出图的格式,如果使用
frame = plt.plot(x,y)
print(frame)
输出的frame的类型为“matplotlib.lines.Line2D”,这是错误的,在上面代码中正确的frame类型为“PIL.PngImagePlugin.PngImageFile image mode=RGBA”,这有这样才能使用gif.save(),不然会出现错误。这就是为什么使用这段代码
@gif.frame
def plott(x,y):
    plt.plot(x,y)
的原因。紧邻@gif.frame的函数的输出才为“PIL.PngImagePlugin.PngImageFile image mode=RGBA”。这也是图2gif代码为什么使用了2次循环,因为需要将旧线条也画到新的背景图上。


 本文介绍了如何利用matplotlib在Python中实现实时更新的动态图像,并通过gif库将其保存为动图。关键步骤包括开启交互模式、清除画布、暂停更新以及保存帧序列。代码示例分别展示了不同效果的动态图像,如擦除旧线条、叠加新线条以及绘制连续线条。此外,还详细解释了如何正确创建和保存gif文件,强调了帧序列的正确构建和类型匹配的重要性。


 1561
1561

 被折叠的 条评论
为什么被折叠?


