


一、加载群列表
1. 新建一个群列表的界面
新建一个类,取名叫做GroupChatViewController,因为这是个列表,所以继承于列表基类YCBaseTableViewController。在GroupChatViewController.m中添加如下代码:
#import "GroupChatViewController.h"

@interface GroupChatViewController ()

@end

@implementation GroupChatViewController

- (void)viewDidLoad {
    [super viewDidLoad];

    self.title = @"我的群";

    UIBarButtonItem *btnItem = [[UIBarButtonItem alloc] initWithBarButtonSystemItem:UIBarButtonSystemItemAdd
                                                                             target:self
                                                                             action:@selector(btnCreateGroup:)];
    self.navigationItem.rightBarButtonItem = btnItem;

}

#pragma mark - Private Menthods

//新建一个群
- (void)btnCreateGroup:(id)sender
{

}

@end
2. 加载群列表
1、环信官方文档提供加载群有五种方法,这是异步加载的方法,如下:
[[EaseMob sharedInstance].chatManager asyncFetchMyGroupsListWithCompletion:^(NSArray *groups, EMError *error) {
    if (!error) {
        NSLog(@"获取成功 -- %@",groups);
    }
} onQueue:nil
2、在我的工程中实现加载群列表
在GroupChatViewController.m文件中添加如下代码:
#import "GroupChatViewController.h"
#import "ChatViewController.h"

@interface GroupChatViewController ()
{
    NSArray *arrGroup;
}
@end

@implementation GroupChatViewController

- (void)viewDidLoad {
    [super viewDidLoad];

    self.title = @"我的群";

    UIBarButtonItem *btnItem = [[UIBarButtonItem alloc] initWithBarButtonSystemItem:UIBarButtonSystemItemAdd
                                                                             target:self
                                                                             action:@selector(btnCreateGroup:)];
    self.navigationItem.rightBarButtonItem = btnItem;

    //获取所有的群
    [[EaseMob sharedInstance].chatManager asyncFetchMyGroupsListWithCompletion:^(NSArray *groups, EMError *error) {
        if (!error) {
            arrGroup = [NSArray arrayWithArray:groups];
            [self.tableView reloadData];
        }
    } onQueue:nil];

}

#pragma mark - UITableView Delegate & Datasource

- (NSInteger)tableView:(UITableView *)tableView numberOfRowsInSection:(NSInteger)section {
    return arrGroup.count;
}

- (UITableViewCell *)tableView:(UITableView *)tableView cellForRowAtIndexPath:(NSIndexPath *)indexPath {
    static NSString *cellIdentifier = @"CELL";
    UITableViewCell *cell = [tableView dequeueReusableCellWithIdentifier:cellIdentifier];
    if (cell == nil) {
        cell = [[UITableViewCell alloc] initWithStyle:UITableViewCellStyleDefault reuseIdentifier:cellIdentifier];
    }

    EMGroup *group = [arrGroup objectAtIndex:indexPath.row];
    NSString *imageName = @"group_header";

    cell.imageView.image = [UIImage imageNamed:imageName];
    if (group.groupSubject && group.groupSubject.length > 0) {
        cell.textLabel.text = group.groupSubject;
    }
    else {
        cell.textLabel.text = group.groupId;
    }

    return cell;
}

- (void)tableView:(UITableView *)tableView didSelectRowAtIndexPath:(NSIndexPath *)indexPath {

    [tableView deselectRowAtIndexPath:indexPath animated:YES];

    EMGroup *group = [arrGroup objectAtIndex:indexPath.row];
    ChatViewController *chatController = [[ChatViewController alloc] initWithChatter:group.groupId isGroup:YES];
    chatController.title = group.groupSubject;
    [self.navigationController pushViewController:chatController animated:YES];

}

- (CGFloat)tableView:(UITableView *)tableView heightForHeaderInSection:(NSInteger)section {
    return 10.0f;
}

- (CGFloat)tableView:(UITableView *)tableView heightForFooterInSection:(NSInteger)section {
    return 10.0f;
}
#pragma mark - Private Menthods

//新建一个群
- (void)btnCreateGroup:(id)sender
{

}

@end
3、添加跳转
在AddressBookViewController.m中点击列表的方法中,添加一段代码跳转的方法。首先添加头文件:
#import "GroupChatViewController.h"然后添加跳转的代码:
- (void)tableView:(UITableView *)tableView didSelectRowAtIndexPath:(NSIndexPath *)indexPath {
if (indexPath.section == 0) {
switch (indexPath.row) {
case 0:
{
SystemNotificationViewController *sysVC = [[SystemNotificationViewController alloc] init];
[self.navigationController pushViewController:sysVC animated:YES];
break;
}
case 1:
{
GroupChatViewController *groupChatVC = [[GroupChatViewController alloc] init];
[self.navigationController pushViewController:groupChatVC animated:YES];
break;
}
default:
break;
}
}else {
EMBuddy *buddy = [arrFriends objectAtIndex:indexPath.row];
ChatViewController *chatVC = [[ChatViewController alloc] initWithChatter:buddy.username isGroup:NO];
chatVC.title = buddy.username; //好友的名字
[self.navigationController pushViewController:chatVC animated:YES];
}
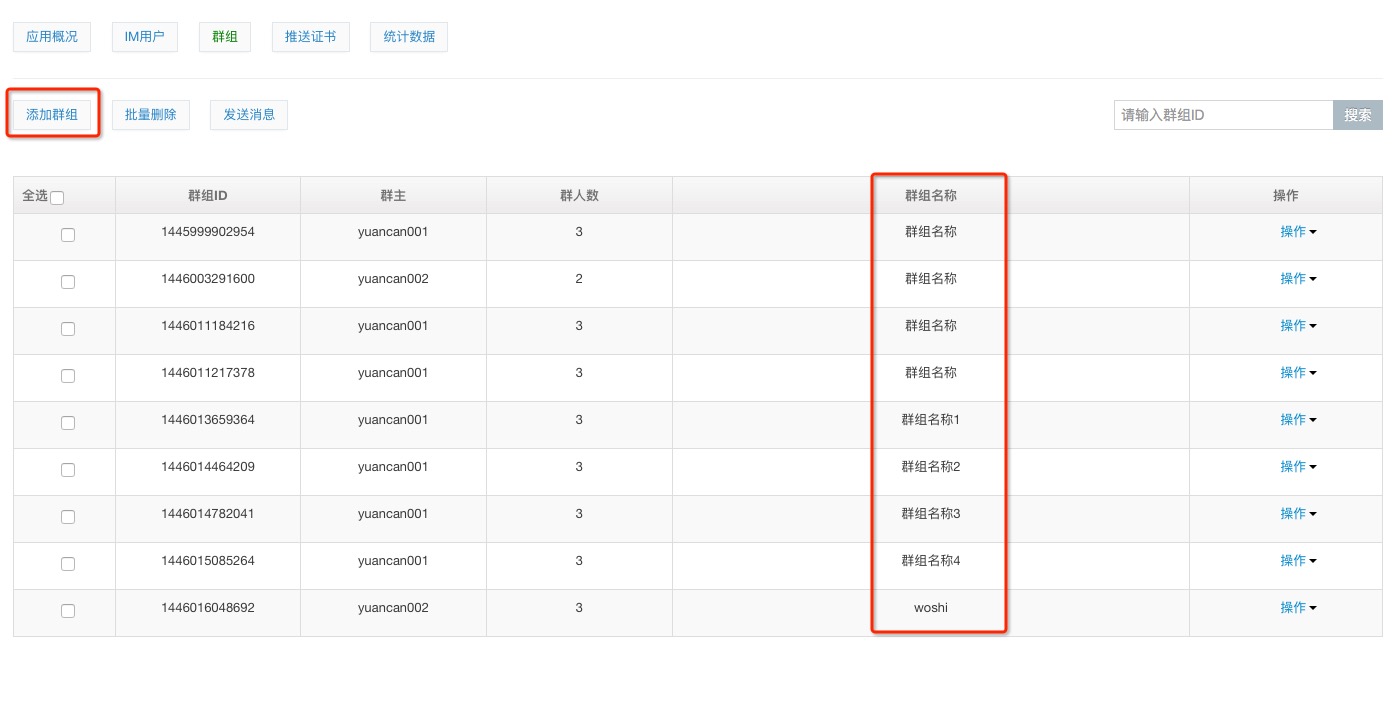
}如果你的工程运行没有数据,是因为你的账号里面没有群,先去环信后台新建几个群。
二、新建群
1. 新建一个创群的界面
1、 新建一个类,取名叫做CreateGoupViewController,是一个列表类,所以基于YCBaseTableViewController。添加创建UI的代码,如下:
#import "CreateGroupViewController.h"

@interface CreateGroupViewController ()
{
    NSArray *arrFriends;
}

@property (retain, nonatomic) UITextField *textFieldName;
@property (retain, nonatomic) UITextView *textViewDes;
@property (retain, nonatomic) UIActivityIndicatorView *activityView;
@end

@implementation CreateGroupViewController
@synthesize textFieldName,textViewDes;

- (void)viewDidLoad {
    [super viewDidLoad];

    _activityView = [[UIActivityIndicatorView alloc] initWithActivityIndicatorStyle:UIActivityIndicatorViewStyleGray];
    _activityView.center = self.tableView.center;
    _activityView.color = [UIColor blackColor];

    [self.view addSubview:_activityView];


    self.title = @"新建群";

    UIBarButtonItem *btnItem = [[UIBarButtonItem alloc] initWithBarButtonSystemItem:UIBarButtonSystemItemDone
                                                                             target:self
                                                                             action:@selector(btnClickDone:)];
    self.navigationItem.rightBarButtonItem = btnItem;


}

#pragma mark - UITableViewDelegate & UITableViewDataSource


- (CGFloat)tableView:(UITableView *)tableView heightForHeaderInSection:(NSInteger)section {
    return 170.0f;
}

- (CGFloat)tableView:(UITableView *)tableView heightForFooterInSection:(NSInteger)section {
    return 10.0f;
}

- (UIView *)tableView:(UITableView *)tableView viewForHeaderInSection:(NSInteger)section
{
    UIView *headerView = [YCCommonCtrl commonViewWithFrame:CGRectMake(0, 0, SCREEN_WIDTH, 165) backgroundColor:kColor_White];

    textFieldName = [YCCommonCtrl commonTextFieldWithFrame:CGRectMake(10, 10, SCREEN_WIDTH-20, 35)
                                                            placeholder:@"群聊名称"
                                                                  color:kColor_Gray
                                                                   font:kFont_Title
                                                        secureTextEntry:NO
                                                               delegate:self];

    [YCCommonCtrl setViewBorderWithView:textFieldName borderColor:kColor_LightGray borderWidth:1.0f cornerRadius:5.0f];
    [headerView addSubview:textFieldName];

    textViewDes = [YCCommonCtrl commonTextViewWithFrame:CGRectMake(10, 55, SCREEN_WIDTH-20, 80)
                                                               text:@""
                                                              color:kColor_Gray
                                                               font:kFont_Title
                                                      textAlignment:NSTextAlignmentLeft];
    [YCCommonCtrl setViewBorderWithView:textViewDes borderColor:kColor_LightGray borderWidth:1.0f cornerRadius:5.0f];
    [headerView addSubview:textViewDes];

    UILabel *label = [YCCommonCtrl commonLableWithFrame:CGRectMake(10, 150, SCREEN_WIDTH-20, 15)
                                                    text:@"请选择群成员"
                                                   color:kColor_Blue
                                                    font:kFont_Large
                                            textAlignment:NSTextAlignmentLeft];
    [headerView addSubview:label];

    return headerView;
}


#pragma mark - Private Menthods

- (void)btnClickDone:(id)sender
{

}
2、设置跳转
在GroupChatViewController.m中增加一个跳转的方法。
首先GroupChatViewController.m导入头文件:
#import "CreateGroupViewController.h"然后,在GroupChatViewController.m中的btnCreateGroup方法中,添加代码:
//新建一个群
- (void)btnCreateGroup:(id)sender
{
    CreateGroupViewController *createGroupVC = [[CreateGroupViewController alloc] init];
    [self.navigationController pushViewController:createGroupVC animated:YES];
}
2. 选择群成员
建好群之后,还可以选择一些群成员,当然这些群成员是从你的好友列表中去选择,所以我们这里需要进行加载好友列表。创建一个arrSelected数组用来保存选中的好友。代码如下:
#import "CreateGroupViewController.h"

@interface CreateGroupViewController ()
{
    NSArray *arrFriends;
    NSMutableArray *arrSelected;
}

@property (retain, nonatomic) UITextField *textFieldName;
@property (retain, nonatomic) UITextView *textViewDes;
@property (retain, nonatomic) UIActivityIndicatorView *activityView;
@end

@implementation CreateGroupViewController
@synthesize textFieldName,textViewDes;

- (void)viewDidLoad {
    [super viewDidLoad];

    _activityView = [[UIActivityIndicatorView alloc] initWithActivityIndicatorStyle:UIActivityIndicatorViewStyleGray];
    _activityView.center = self.tableView.center;
    _activityView.color = [UIColor blackColor];

    [self.view addSubview:_activityView];


    self.title = @"新建群";

    UIBarButtonItem *btnItem = [[UIBarButtonItem alloc] initWithBarButtonSystemItem:UIBarButtonSystemItemDone
                                                                             target:self
                                                                             action:@selector(btnClickDone:)];
    self.navigationItem.rightBarButtonItem = btnItem;

    arrSelected = [[NSMutableArray alloc] init];

    //获取好友列表
    [[EaseMob sharedInstance].chatManager asyncFetchBuddyListWithCompletion:^(NSArray *buddyList, EMError *error) {
        if (!error) {
            arrFriends = [NSArray arrayWithArray:buddyList];
            [self.tableView reloadData];
        }
    } onQueue:nil];


}

#pragma mark - UITableViewDelegate & UITableViewDataSource

- (NSInteger)numberOfSectionsInTableView:(UITableView *)tableView {
    return 1;
}

- (NSInteger)tableView:(UITableView *)tableView numberOfRowsInSection:(NSInteger)section {
    return arrFriends.count;
}

- (UITableViewCell *)tableView:(UITableView *)tableView cellForRowAtIndexPath:(NSIndexPath *)indexPath {
    static NSString *identifier = @"CELL";
    UITableViewCell *cell = [tableView dequeueReusableCellWithIdentifier:identifier];
    if (cell == nil) {
        cell = [[UITableViewCell alloc] initWithStyle:UITableViewCellStyleDefault reuseIdentifier:identifier];
    }

    EMBuddy *eMBuddy = [arrFriends objectAtIndex:indexPath.row];
    cell.textLabel.text = eMBuddy.username;
    cell.imageView.image = [UIImage imageNamed:@"chatListCellHead"];

    return cell;
}


- (void)tableView:(UITableView *)tableView didSelectRowAtIndexPath:(NSIndexPath *)indexPath {

    UITableViewCell *cell=[tableView cellForRowAtIndexPath:indexPath]; //得到当前选中的cell

    if (cell.accessoryType  == UITableViewCellAccessoryCheckmark) {
        cell.accessoryType = UITableViewCellAccessoryNone;
        [arrSelected removeObject:[arrFriends objectAtIndex:indexPath.row]];
    }else {
        cell.accessoryType = UITableViewCellAccessoryCheckmark;
        [arrSelected addObject:[arrFriends objectAtIndex:indexPath.row]];
    }

    NSLog(@"%ld",arrSelected.count);
}

- (CGFloat)tableView:(UITableView *)tableView heightForHeaderInSection:(NSInteger)section {
    return 170.0f;
}

- (CGFloat)tableView:(UITableView *)tableView heightForFooterInSection:(NSInteger)section {
    return 10.0f;
}

- (UIView *)tableView:(UITableView *)tableView viewForHeaderInSection:(NSInteger)section
{
    UIView *headerView = [YCCommonCtrl commonViewWithFrame:CGRectMake(0, 0, SCREEN_WIDTH, 165) backgroundColor:kColor_White];

    textFieldName = [YCCommonCtrl commonTextFieldWithFrame:CGRectMake(10, 10, SCREEN_WIDTH-20, 35)
                                                            placeholder:@"群聊名称"
                                                                  color:kColor_Gray
                                                                   font:kFont_Title
                                                        secureTextEntry:NO
                                                               delegate:self];

    [YCCommonCtrl setViewBorderWithView:textFieldName borderColor:kColor_LightGray borderWidth:1.0f cornerRadius:5.0f];
    [headerView addSubview:textFieldName];

    textViewDes = [YCCommonCtrl commonTextViewWithFrame:CGRectMake(10, 55, SCREEN_WIDTH-20, 80)
                                                               text:@""
                                                              color:kColor_Gray
                                                               font:kFont_Title
                                                      textAlignment:NSTextAlignmentLeft];
    [YCCommonCtrl setViewBorderWithView:textViewDes borderColor:kColor_LightGray borderWidth:1.0f cornerRadius:5.0f];
    [headerView addSubview:textViewDes];

    UILabel *label = [YCCommonCtrl commonLableWithFrame:CGRectMake(10, 150, SCREEN_WIDTH-20, 15)
                                                    text:@"请选择群成员"
                                                   color:kColor_Blue
                                                    font:kFont_Large
                                            textAlignment:NSTextAlignmentLeft];
    [headerView addSubview:label];

    return headerView;
}

#pragma mark - Private Menthods

- (void)btnClickDone:(id)sender
{

}


@end
3. 创群
终于到了最后一步了,在btnClickDone方法中添加创群的接口代码:
#pragma mark - Private Menthods

- (void)btnClickDone:(id)sender
{
    NSMutableArray *arrName = [[NSMutableArray alloc] init];
    for (EMBuddy *eMBuddy in arrSelected ) {
        [arrName addObject:eMBuddy.username];
    }

    EMGroupStyleSetting *groupStyleSetting = [[EMGroupStyleSetting alloc] init];
    groupStyleSetting.groupMaxUsersCount = 500;
    groupStyleSetting.groupStyle = eGroupStyle_PrivateOnlyOwnerInvite;

    [self.activityView startAnimating];

    [[EaseMob sharedInstance].chatManager asyncCreateGroupWithSubject:textFieldName.text
                                                          description:textViewDes.text
                                                             invitees:arrName
                                                initialWelcomeMessage:@"hello"
                                                         styleSetting:groupStyleSetting
                                                           completion:^(EMGroup *group, EMError *error) {
                                                               if(!error){

                                                                   [self.activityView stopAnimating];

                                                                   UIAlertController *alterController = [UIAlertController alertControllerWithTitle:nil
                                                                                                                                            message:@"创建成功"
                                                                                                                                     preferredStyle:UIAlertControllerStyleAlert];
                                                                   [self presentViewController:alterController animated:YES completion:nil];

                                                                   UIAlertAction *alterAction = [UIAlertAction actionWithTitle:@"确定"
                                                                                                                         style:UIAlertActionStyleDefault
                                                                                                                       handler:^(UIAlertAction * _Nonnull action) {
                                                                                                                           [self.navigationController popViewControllerAnimated:YES];
                                                                                                                       }];
                                                                   [alterController addAction:alterAction];


                                                               }
                                                           }
                                                              onQueue:nil];
}


 536
536

 被折叠的 条评论
为什么被折叠?
被折叠的 条评论
为什么被折叠?
 到【灌水乐园】发言


