


目录
一. 功能需求说明
1.需求:
1.新增路径规划通过地图上描点的形式记录,按照描点位置先后,顺序生成路线图。
2.在表格中自动生成巡检点详情表。
3.删除其中一条巡检点,前一条与后一条自动串联。
4.已选标记点图标修改、说明修改等。
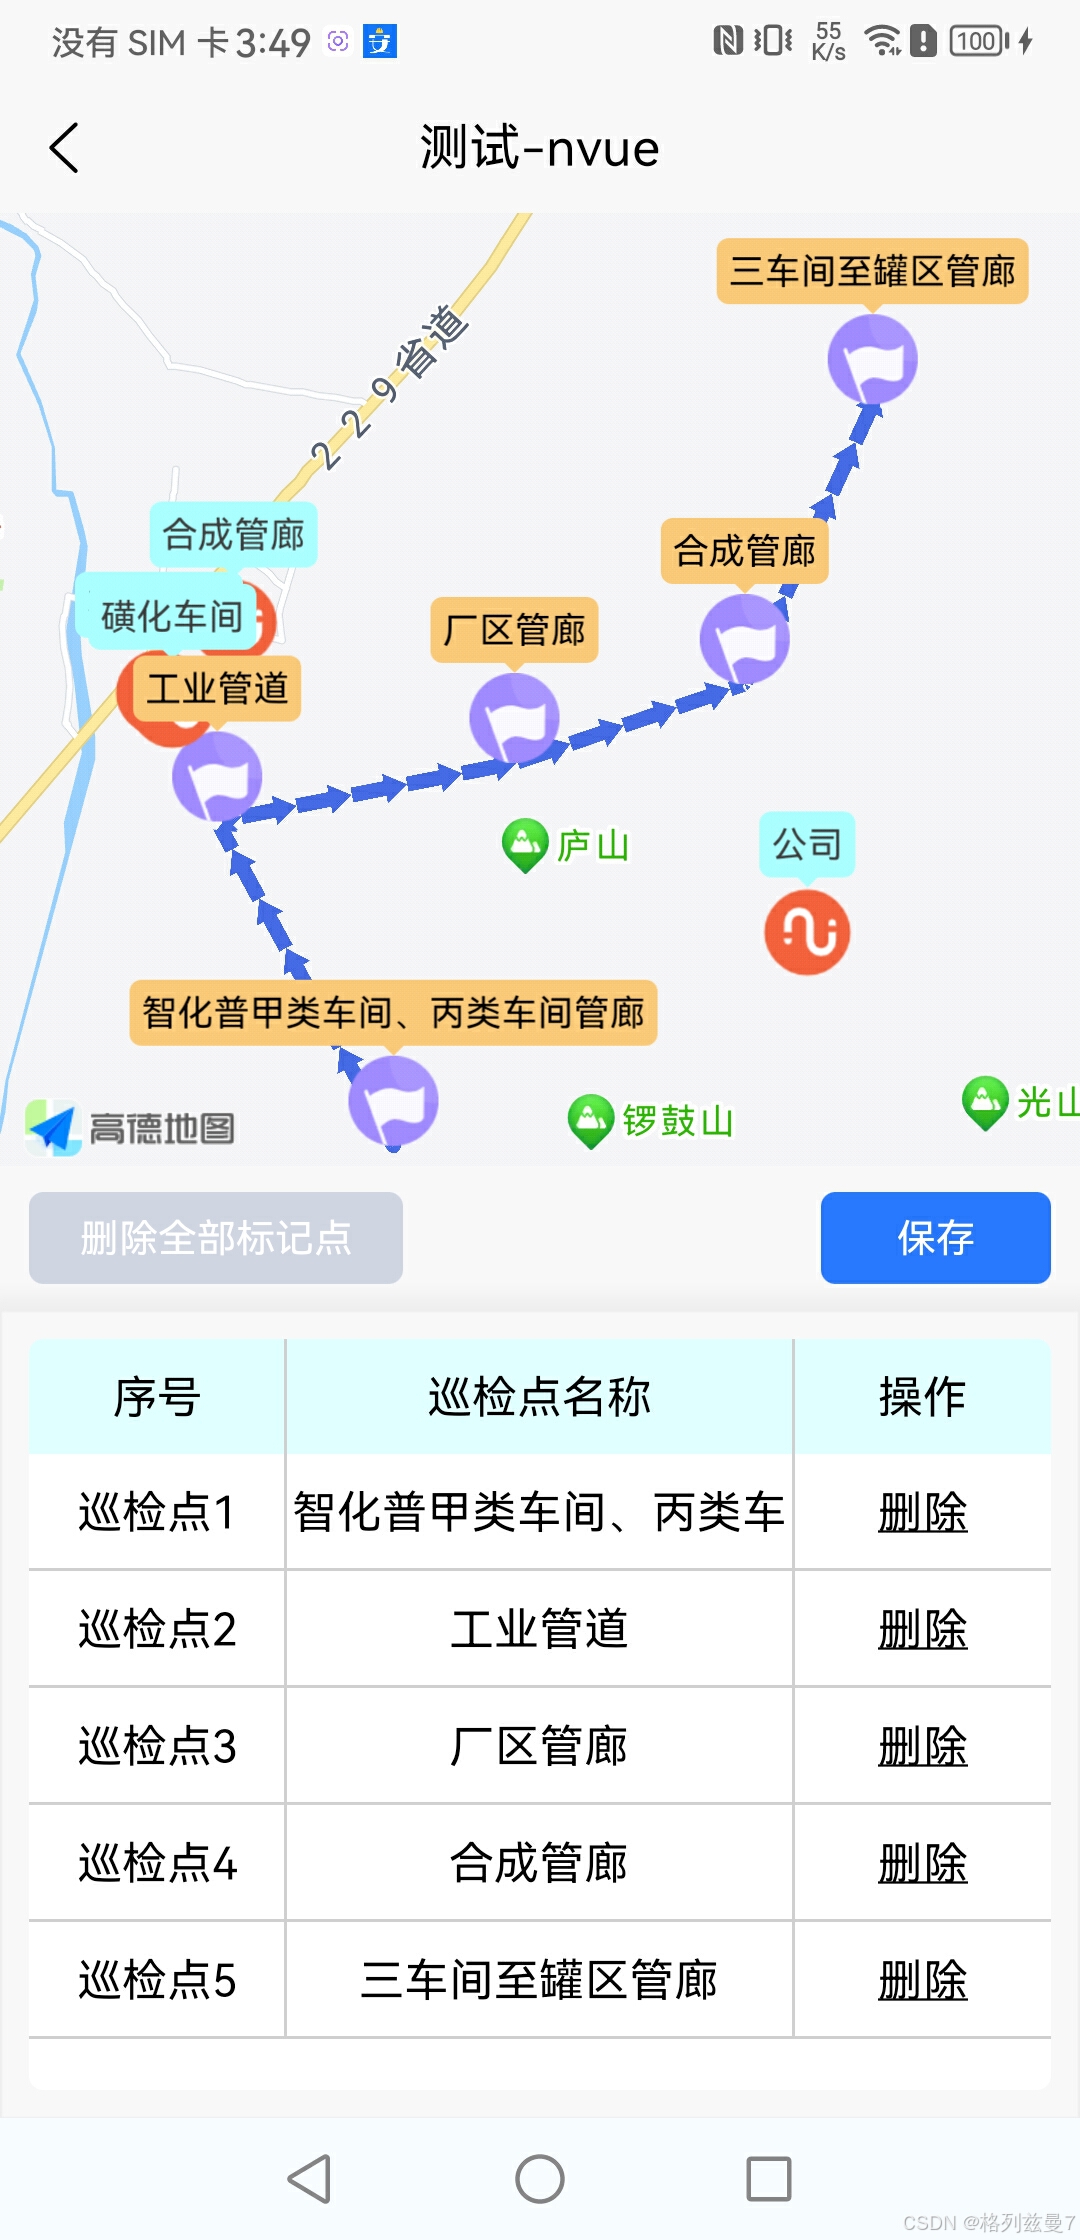
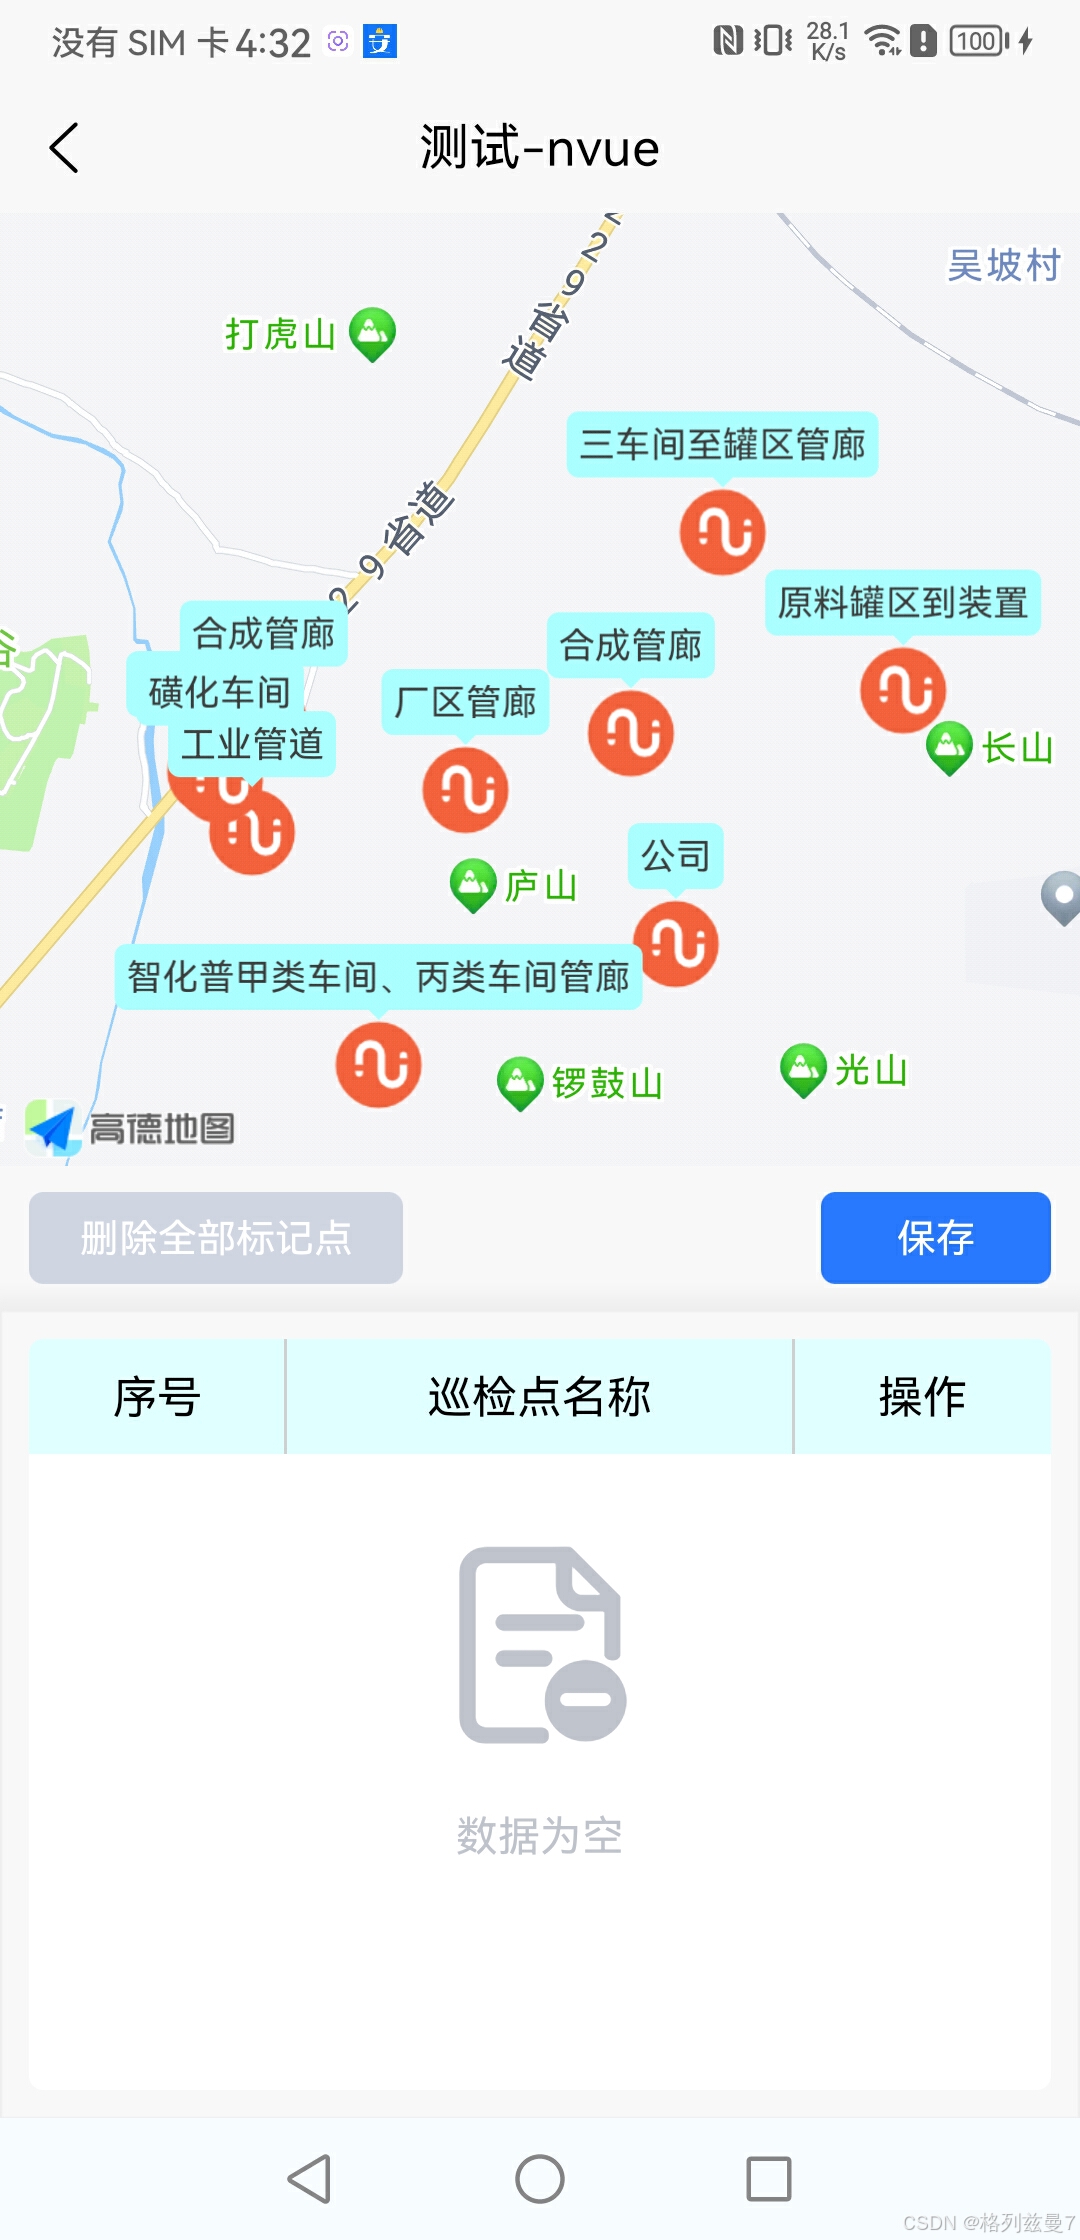
2.效果图:
二.遇到问题
最开始使用的是uniapp的map组件和vue,在内置浏览器运行时正常,但是在真机上运行时存在大量问题,比如层级问题,markers不显示问题,map组件callout显示问题,箭头线问题,数据变更后视图不刷新问题等等。虽然看起来都是小问题,但是真正遇到时还是挺麻烦的。
三.解决
了解到如深度使用
map组件,建议使用 nvue,除了层级问题,App 端 nvue 文件的 map 功能更完善。所以后来就放弃了以前的写法使用nvue+map来实现需求功能。
1.nvue文件和vue还是有一定区别的,比如:
- nvue的css仅支持flex布局,是webview的css语法的子集。这是因为操作系统原生排版不支持非flex之外的web布局。当然flex足以排布出各种页面,只是写法需要适应
- class 进行绑定时只支持数组语法
- 不支持媒体查询
- 不能在 style 中引入字体文件
- 不能使用百分比布局,如
width:100% - 不支持在css里写背景图
background-image,但可以使用image组件和层级来实现类似web中的背景效果。因为原生开发本身也没有web这种背景图概念 - 使用
image标签,支持使用base64,不支持svg格式图片 - nvue 的各组件在安卓端默认是透明的,如果不设置
background-color,可能会导致出现重影的问题 - 文字内容,必须只能在
text组件下,text组件不能换行写内容,否则会出现无法去除的周边空白 - 只有
text标签可以设置字体大小,字体颜色 - 不支持
/deep/
更详细的资料可在官网查看
https://uniapp.dcloud.net.cn/tutorial/nvue-css.html#text-overflow
2.功能实现
1.新建nvue文件
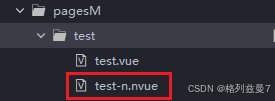
注意事项
设置好样式布局【nvue不支持百分比等,详情可查看官网(https://uniapp.dcloud.net.cn/tutorial/nvue-css.html#text-overflow)】
2.DOM相关代码
<map id="map" v-if="point.flag"
        :polyline="polyline"
        :scale="point.scale"
        @markertap="mapClickHandle"
        :style="{height:((windowHeight*2) + (statusBarHeight*2))/2 + 'rpx'}"
		:latitude="latitude"
        :longitude="longitude"
        :markers="marker">
</map>
注意事项
map组件必须设置高度
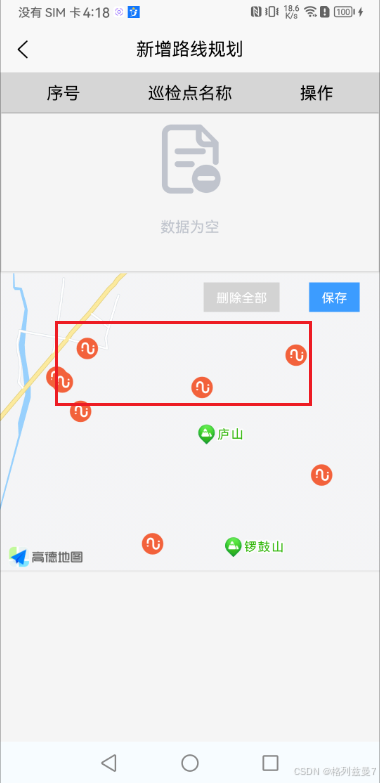
3.数据获取部分
拿到经纬度等信息并在地图上标记出所有的经纬度标记点
    async getpipeList() {
				let _this = this
				let url = `****************`
				let res = await getPipelineList(url)
				if (res.code === 200) {
					// 定位到管廊点附近
					_this.latitude = res.result[0].latitude
					_this.longitude = res.result[0].longitude
					// 存储所有管廊点坐标
					res.result.forEach((item, index) => {
						// 在地图上标记所有管廊点坐标
						_this.covers.push({
							id: index,
							latitude: item.latitude,
							longitude: item.longitude,
							iconPath: '/static/icon/map1.png',
							width: 30,
							height: 30,
							callout: {
								content: item.pipeName,//文字显示
								bgColor: '#aaffff',//背景色
								borderRadius: 4,//边框radius
								padding: 4,//内间距
								fontSize: 12,//字号
								color: '#3f3f3f',//颜色
								textAlign: 'center',//居中显示文字
								display: 'ALWAYS',//常显
							}
						})
					})
				}
			},
效果图
注意事项
可能存在问题:
内置浏览器正常,真机markers不显示
解决方法:使用计算属性
computed: {
marker() {
return this.covers.slice(0)
}
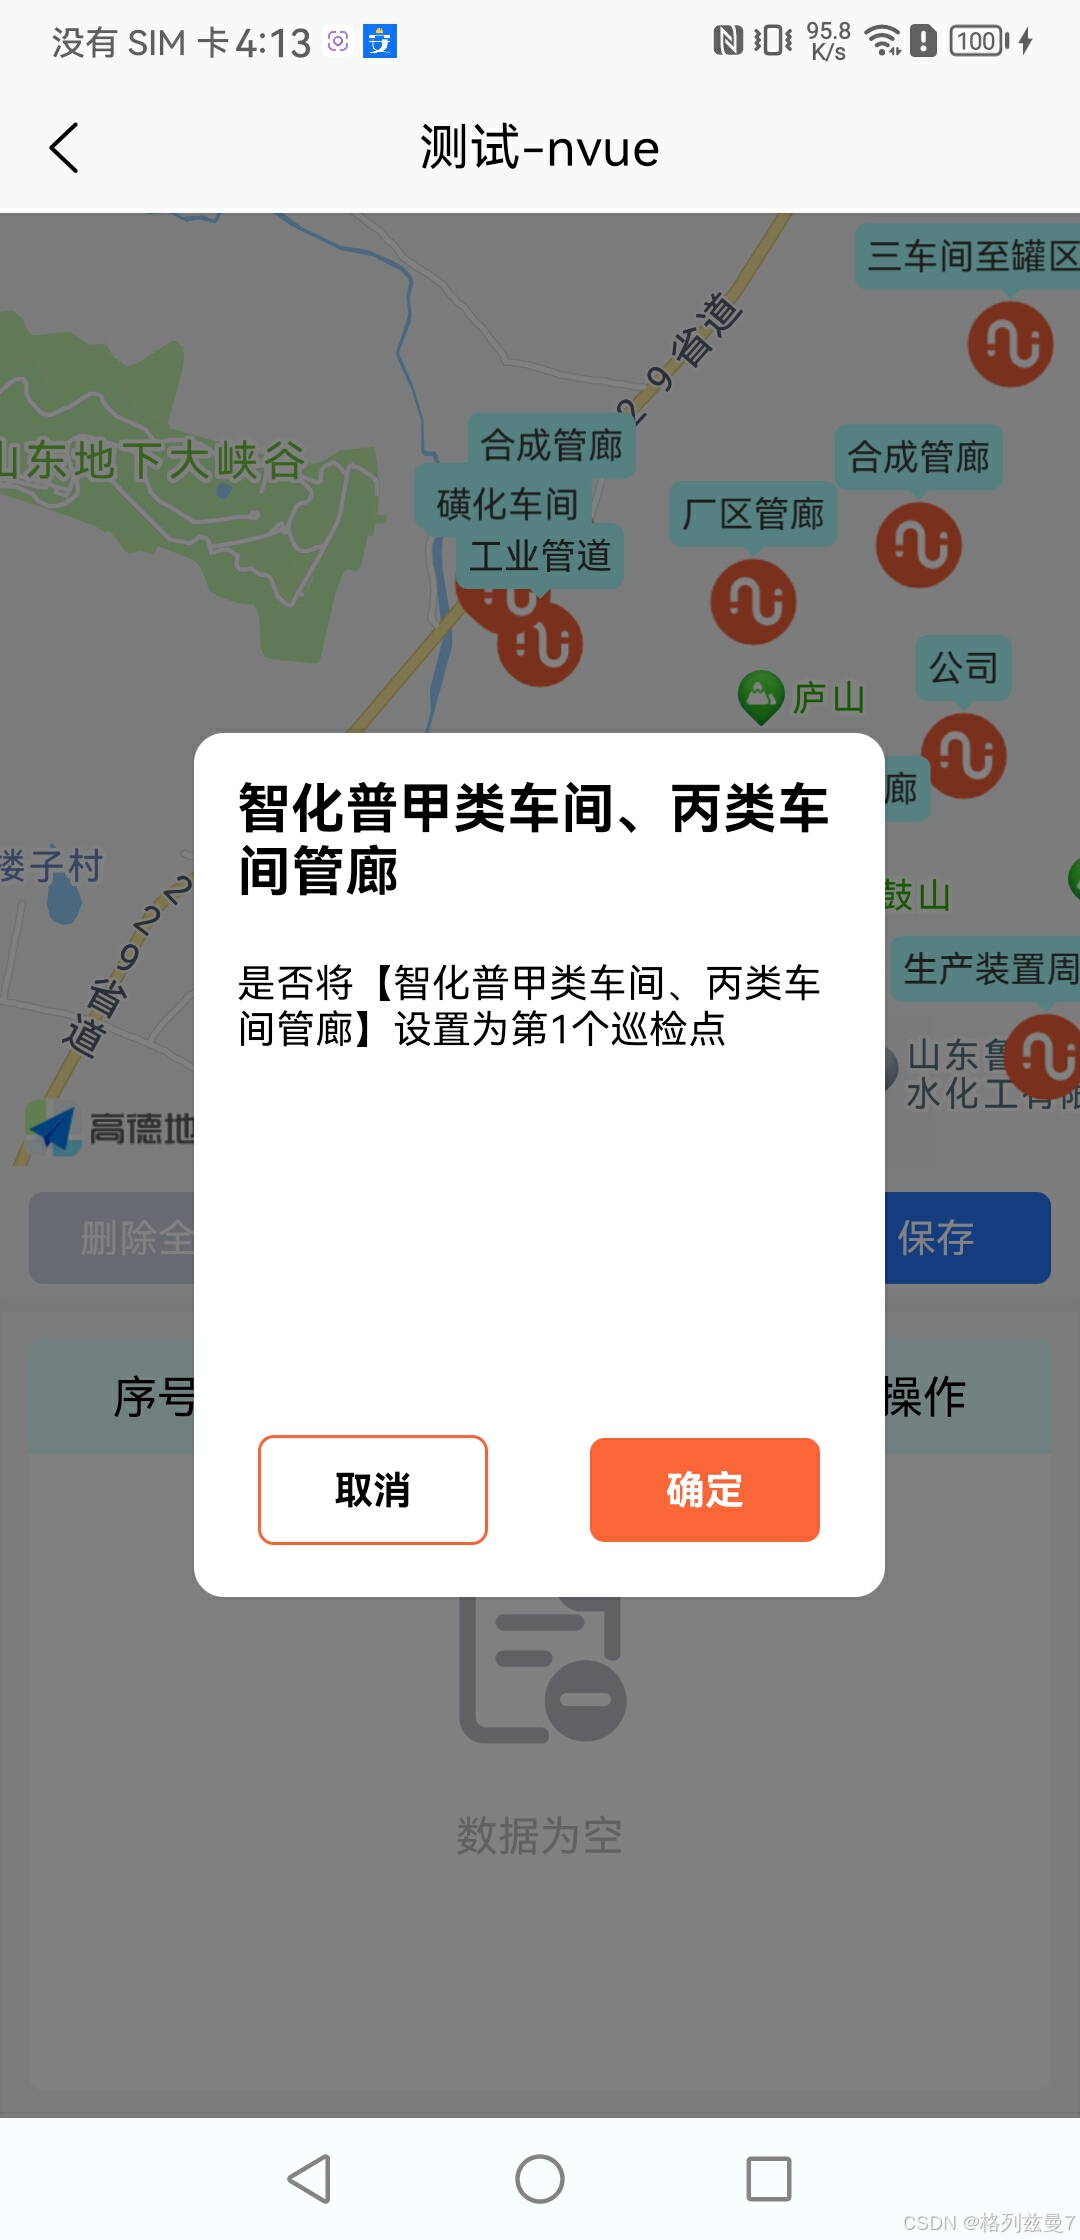
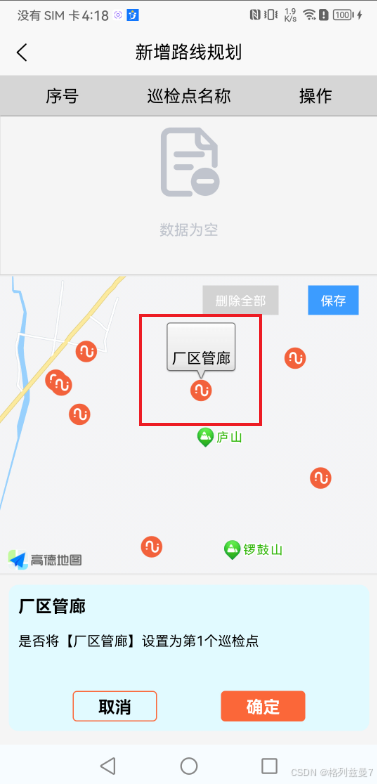
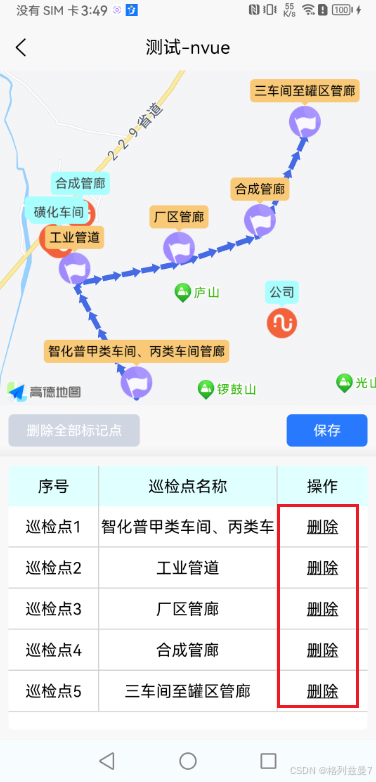
},4.点击markes时:
弹出确认框,点击确认以后首先将标记点加入polyline用来实现标记点之间的连线,然后修改markers信息:图标 文字 文字背景色,并将点信息添加至巡检点列表用于展示信息
            // 确认按钮
			confirmHandle() {
				let _this = this
				// 巡检点列表 用于展示信息
				_this.point.selectedPointTS.push({
					..._this.point.corridorPointSelected
				})
				// 巡检路线  实现点与点之间的连线
				_this.polyline[0].points.push({
					latitude: _this.point.corridorPointSelected.latitude,
					longitude: _this.point.corridorPointSelected.longitude,
				})

				// 巡检点信息修改
				_this.covers.forEach((item, index) => {
					if (index == _this.point.corridorPointSelected.id) {
						_this.covers.splice(index, 1, {
							id: item.id,
							latitude: item.latitude,
							longitude: item.longitude,
							iconPath: '/static/icon/flag2.png',
							width: 30,
							height: 30,
							callout: {
								content: _this.covers[index].callout.content,
								bgColor: "#f9ca78",
								borderRadius: 4,
								padding: 4,
								fontSize: 12,
								color: "#000000",
								textAlign: "center",
								display: "ALWAYS",
							},
						})
					}
				})

                //重构covers 和 polyline 解决可能存在的问题:试图不更新
				_this.covers = [..._this.covers]
				_this.polyline = [..._this.polyline]

				_this.point.title = ''
				_this.point.content = ''
				_this.point.show1 = false
			},
效果图
![]()
![]()
注意事项
可能存在的问题:markers修改后视图不更新
解决:_this.covers = [..._this.covers]
_this.polyline = [..._this.polyline]
5.删除某个已标记点时:
	// 删除操作
			deleteDot(id, index, name) {
				let _this = this
				console.log(id, index, name);


				// 删除点以后 前后两点自动连线
				_this.polyline[0].points.splice(index, 1)
				_this.polyline = [..._this.polyline]


				// 调整markers
				_this.covers.forEach((item2, index2) => {
					if (item2.id == id) {
						_this.covers.splice(index2, 1, {
							id: item2.id,
							latitude: item2.latitude,
							longitude: item2.longitude,
							iconPath: '/static/icon/map1.png',
							width: 30,
							height: 30,
							callout: {
								content: name,
								bgColor: "#aaffff",
								borderRadius: 4,
								padding: 4,
								fontSize: 12,
								color: "#000000",
								textAlign: "center",
								display: "ALWAYS",
							},
						})
					}
				})


				_this.covers = [..._this.covers]
				_this.point.selectedPointTS.splice(index, 1)
			},
小结
1.调试时一定要以真机为准(自定义调试底座)
2.深度使用map地图组件时,强烈推荐使用nvue
3.nuve有不少注意事项,使用时可以查阅官方文档
【https://uniapp.dcloud.net.cn/tutorial/nvue-css.html#text-overflow】
4.关于代码和整体逻辑均为个人思路,如果有关于map的讨论欢迎大家发表意见


 1万+
1万+

 被折叠的 条评论
为什么被折叠?
被折叠的 条评论
为什么被折叠?
 到【灌水乐园】发言


