


doesn’t use “mask”
//非操作
bitwise_not(src,des);//two paramaters,the first is the source image,the second is the image of target
//与操作
bitwise_and(src1,src2,des);//three paramaters,the first two paramaters will operater each other and save the lastest image into the third paramaters
//或操作
bitwise_or(src1,src2,des);//three paramaters,the first two paramaters will operater each other and save the lastest image into the third paramaters
The first function is simple ,no need to say more. The principle of the last two functions is that pixels in the first image will operate with these pixels in the second image. Attention!! operations mentioned here is different from its mathematical operation because every pixel’s value is different from 0 to 255,so we can’t use mathematical system to measure this operation.
What is the operation menthoned here? for examples,the first pixel’s value is 150,second pixel’s value is 50,that will give us a new number between 50 to150 rather than return a number between 50 and 150.Please look at the following example:
	Mat mask1 = Mat::zeros(src01.size(),CV_8UC1);
	Mat mask2 = Mat::zeros(src01.size(), CV_8UC1);
	Mat des;
	int high = src01.rows;
	int width = src01.cols;
	for (int row = 0; row < high; row++)
	{
		for (int col = 0; col < width; col++)
		{
			mask1.at<uchar>(row,col) = 150;
			mask2.at<uchar>(row, col) = 90;
		}
	}

	bitwise_or(mask1,mask2,des,Mat());
	imshow("des",des);
The running results are as following:
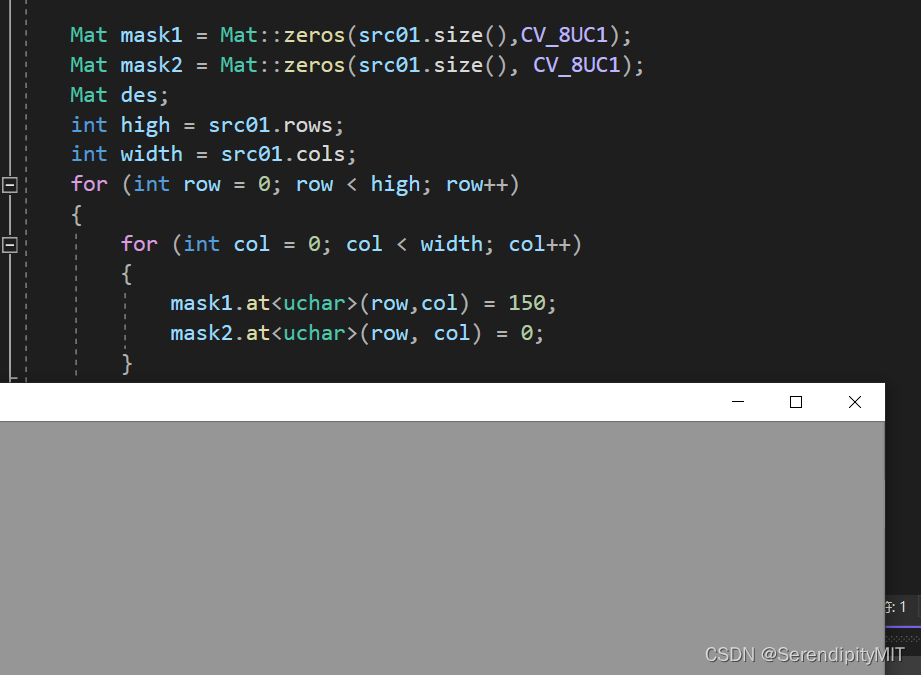
The color is exactly what you see.remember it let’s see the next example that modify “mask.at(row,col)” into 90:
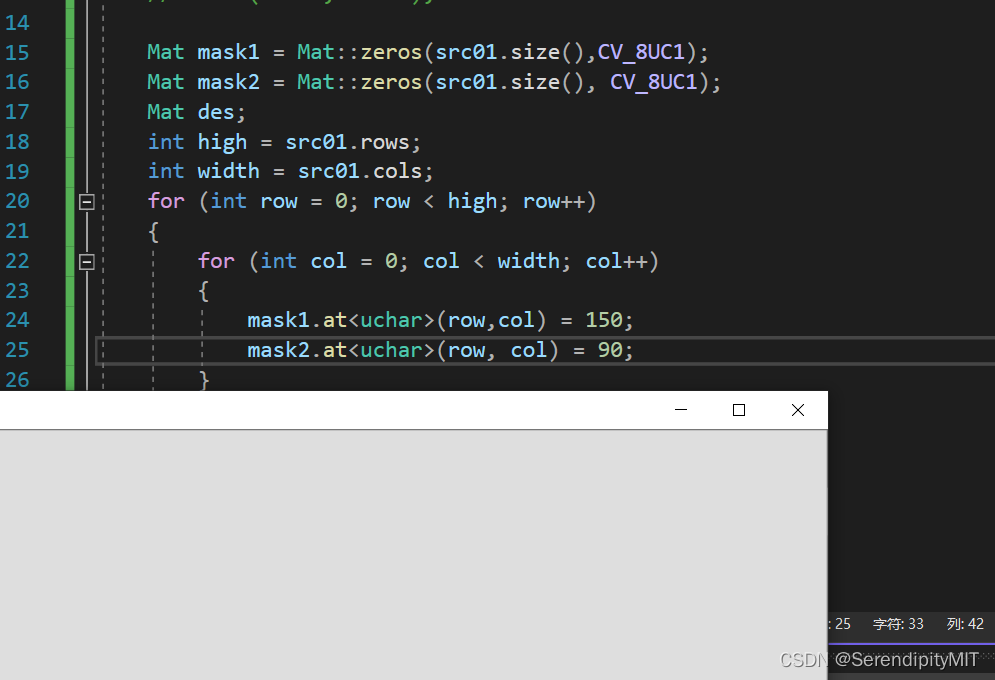
What you find? Yes,the result is a color that hybrid the pixel value of two pixels.So,you probably have known the principles of image bit manipulation without “mask”.
use “mask”
In fact, “mask” has been used in the examples above,First,let’s see the define of “mask”:
Mat mask1 = Mat::zeros(src01.size(),CV_8UC1);
Mat mask2 = Mat::zeros(src01.size(), CV_8UC1);
It is easy,with two caveat:
①:mask’s size must be same with the orinigl image
②:Assuming that two pixels will operator,we should look at the mask’s pixel firstly, if the pixel’s value is 0,the pixel of the goal will be set into 0 ,Only the pixel’s value is not 0,the two pixels could operate each other and save the result into goal’s pixel.
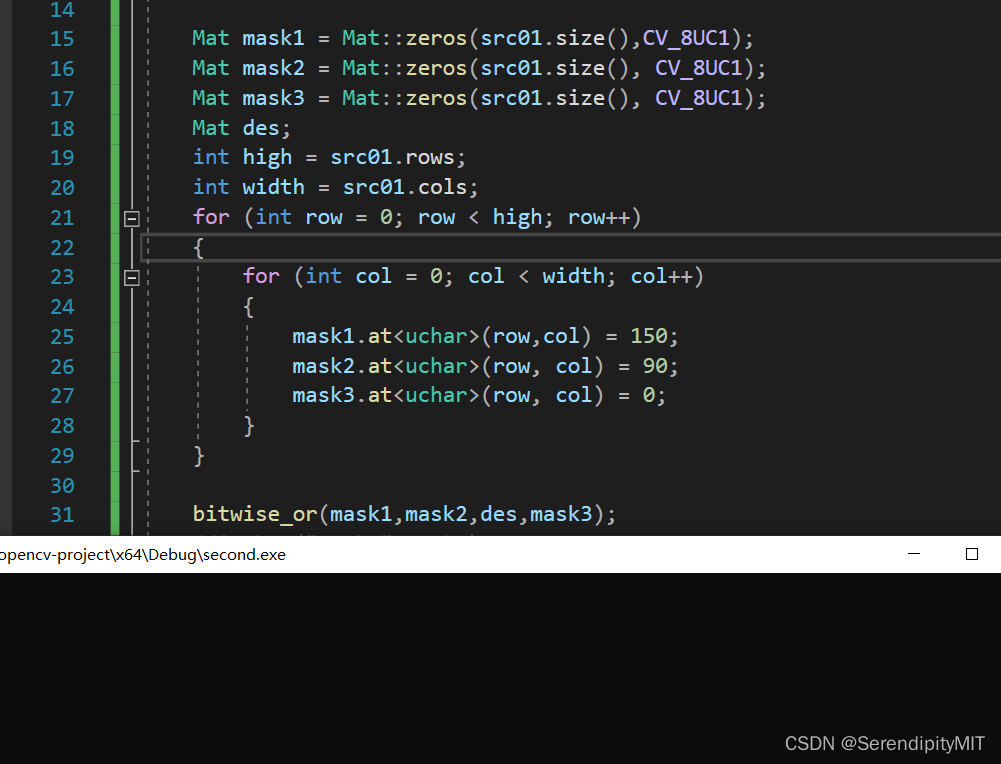
Look that,when i use “mask” and set every pixels of it into 0,the result is a black box because other two images’ pixels will not operate each other.If you don’t understand, you could leave a comment below.It’s all,thank you!
SERENDIPITY


 3528
3528


 被折叠的 条评论
为什么被折叠?
被折叠的 条评论
为什么被折叠?
 到【灌水乐园】发言


