


服务器配置Redis
安装redis:
yum -y install redis
后台启动redis:
redis-server /etc/redis.conf &
启动redis客户端:
redis-cli
正常使用如下:

设置远程连接
- 打开redis配置文件 /etc/redis.conf
- 注释掉 bind 127.0.0.1
- 将protected-mode yes 改为protected-mode no
- 使用redis-cli shutdown关闭redis
- 使用redis-server /etc/redis.conf & 重启redis
SpringBoot配置Redis
添加相关依赖
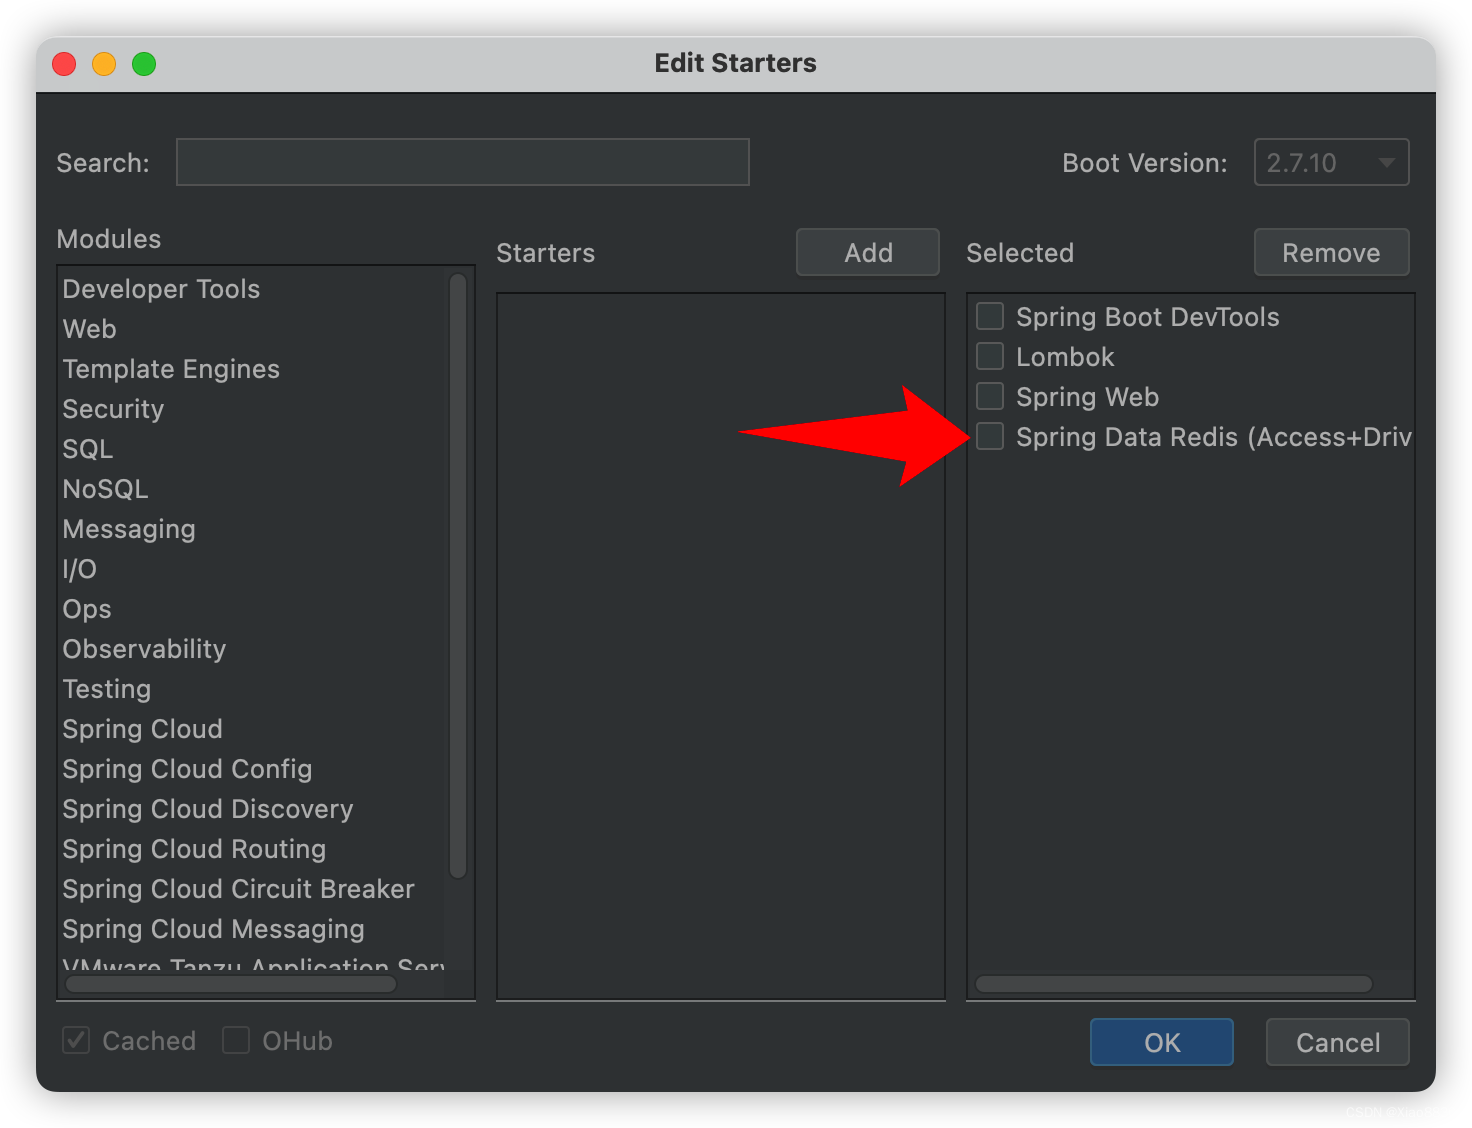
配置文件中配置redis
spring.redis.database=15
spring.redis.port=6379
spring.redis.host=服务器地址
手动操作Redis
属性注入StringRedisTemplate
@Autowired
private StringRedisTemplate stringRedisTemplate;
存储数据到redis:
@RequestMapping("url路径")
public String 方法名(){
    stringRedisTemplate.opsForValue().set(key, value);
    return 返回值;
}
获取redis中的数据
@RequestMapping("url路径")
public String 方法名(){
    String result = stringRedisTemplate.opsForValue().get(key);
    return 返回值;
}
例如:
import org.springframework.beans.factory.annotation.Autowired;
import org.springframework.data.redis.core.StringRedisTemplate;
import org.springframework.web.bind.annotation.RequestMapping;
import org.springframework.web.bind.annotation.RestController;
@RestController
public class RedisController {
@Autowired
private StringRedisTemplate stringRedisTemplate;
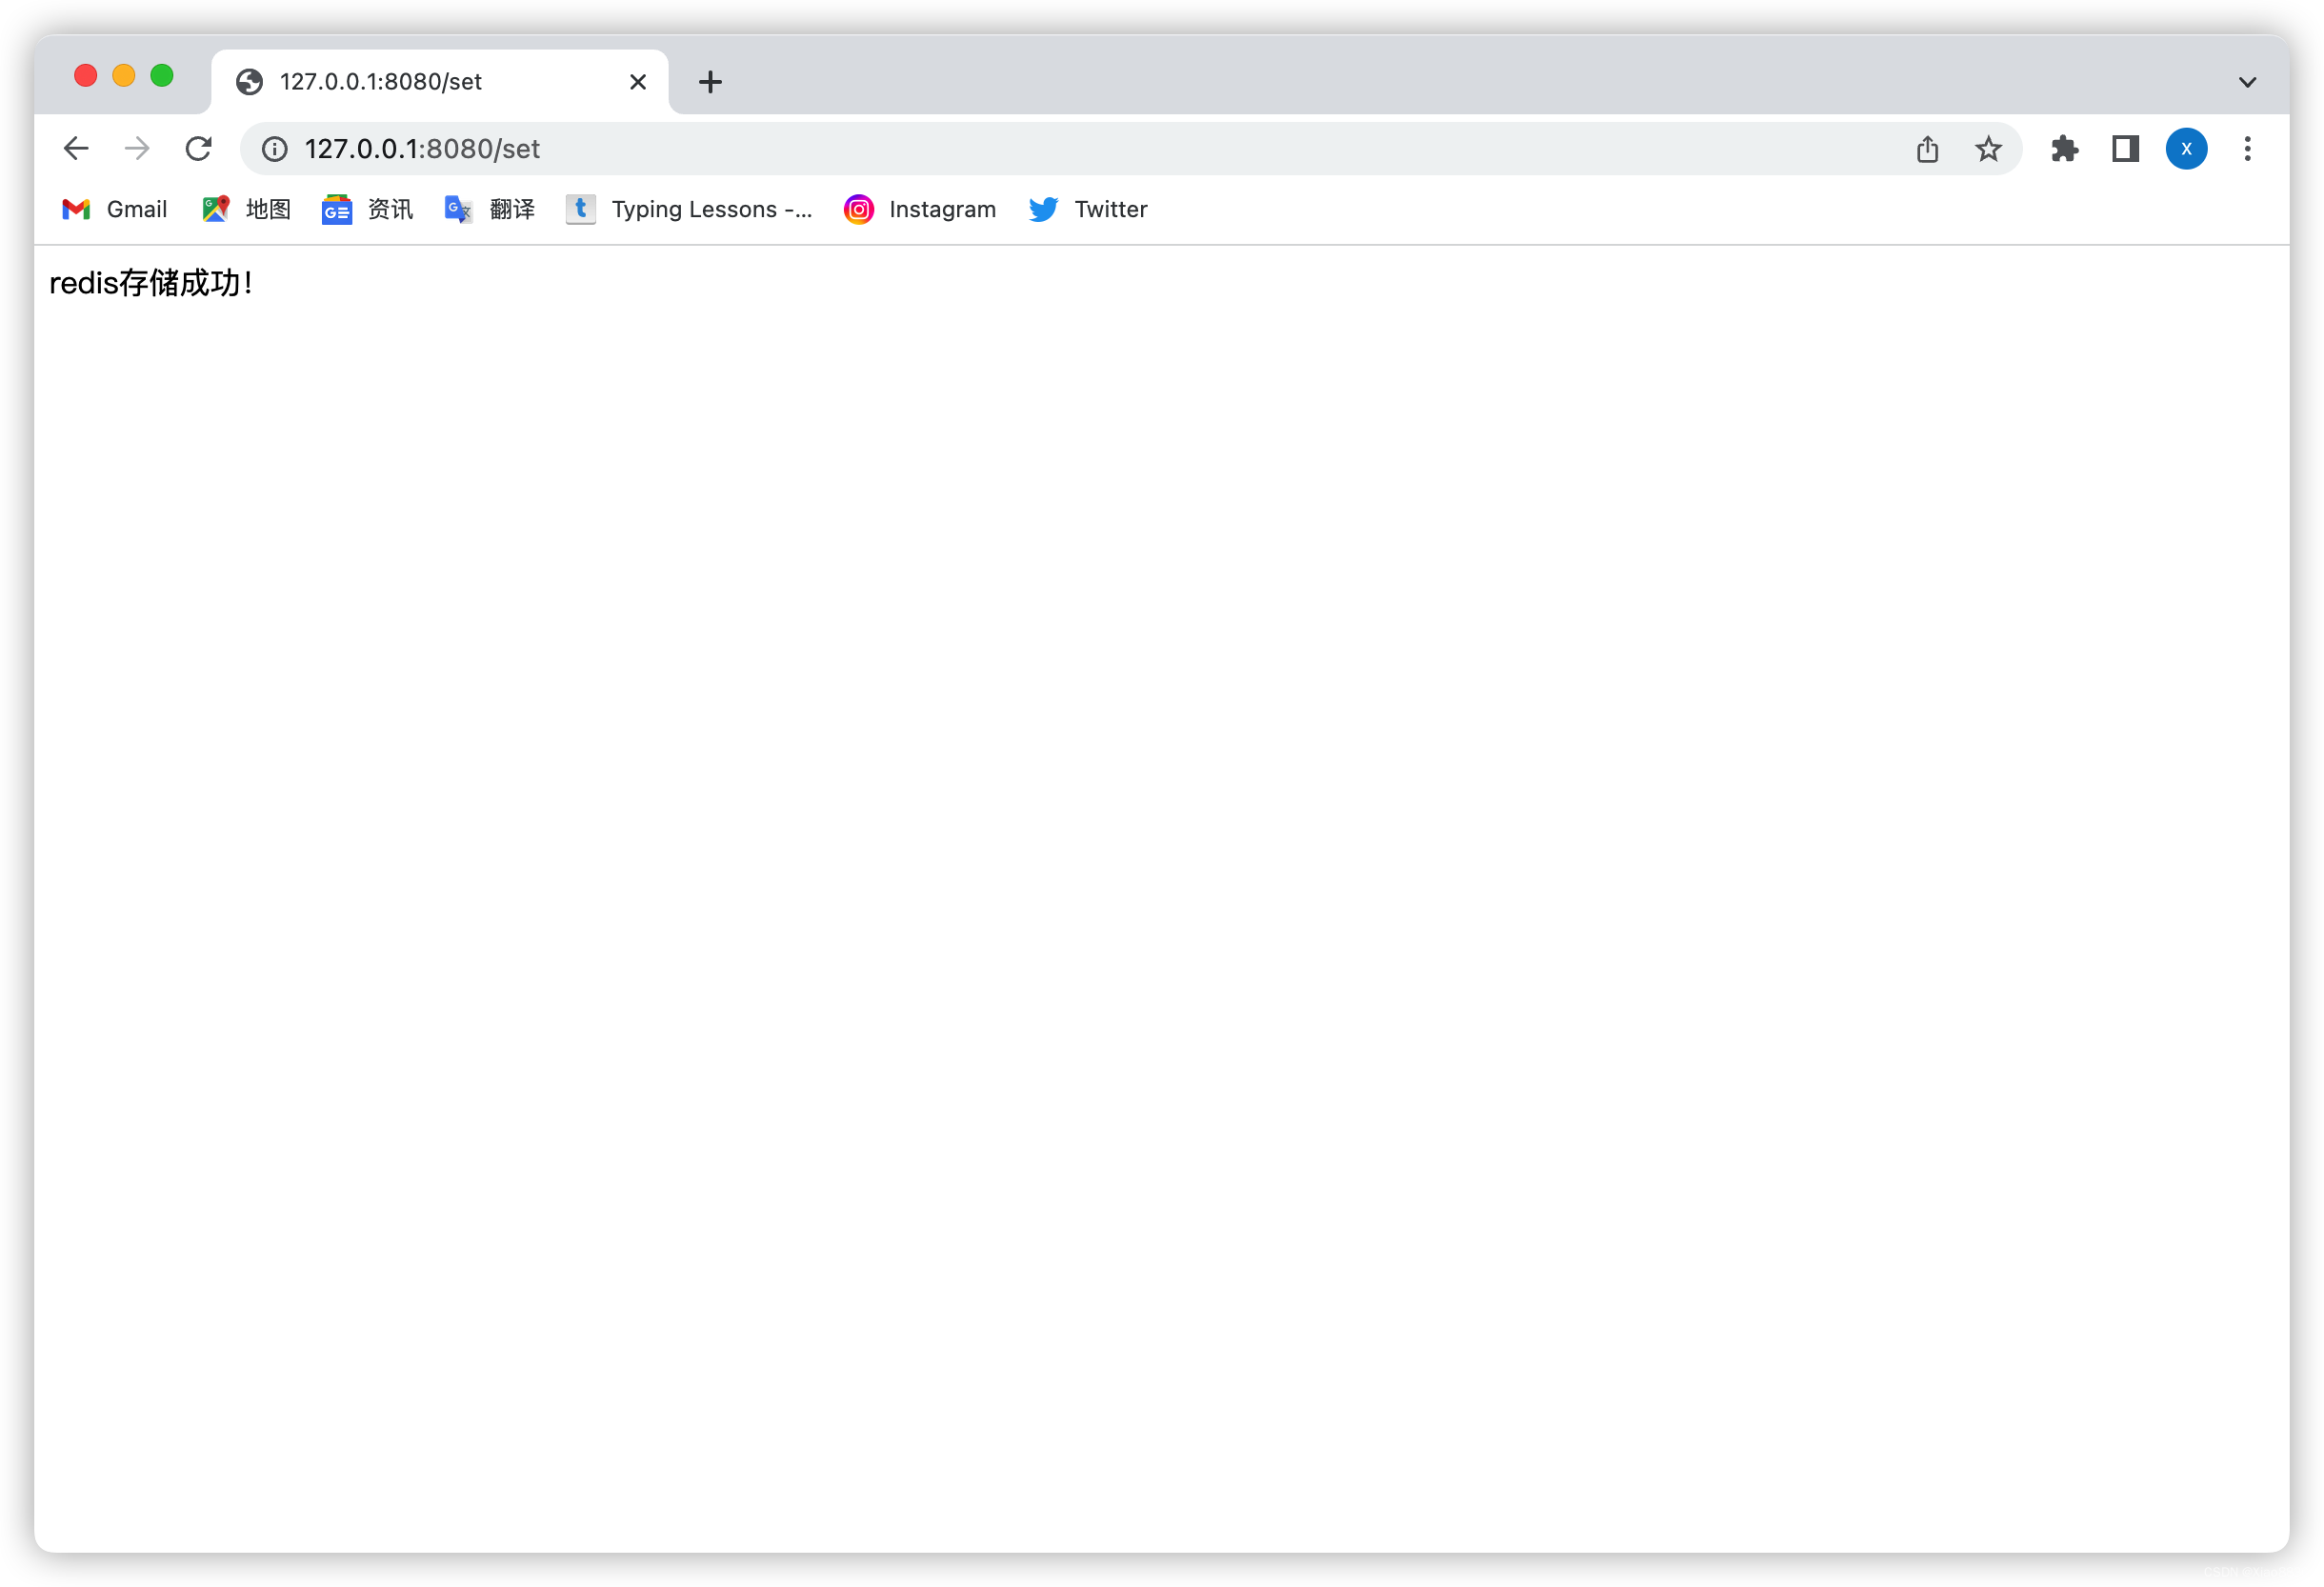
@RequestMapping("/set")
public String setRedis(){
stringRedisTemplate.opsForValue().set("username", "zhangsan");
return "redis存储成功!";
}
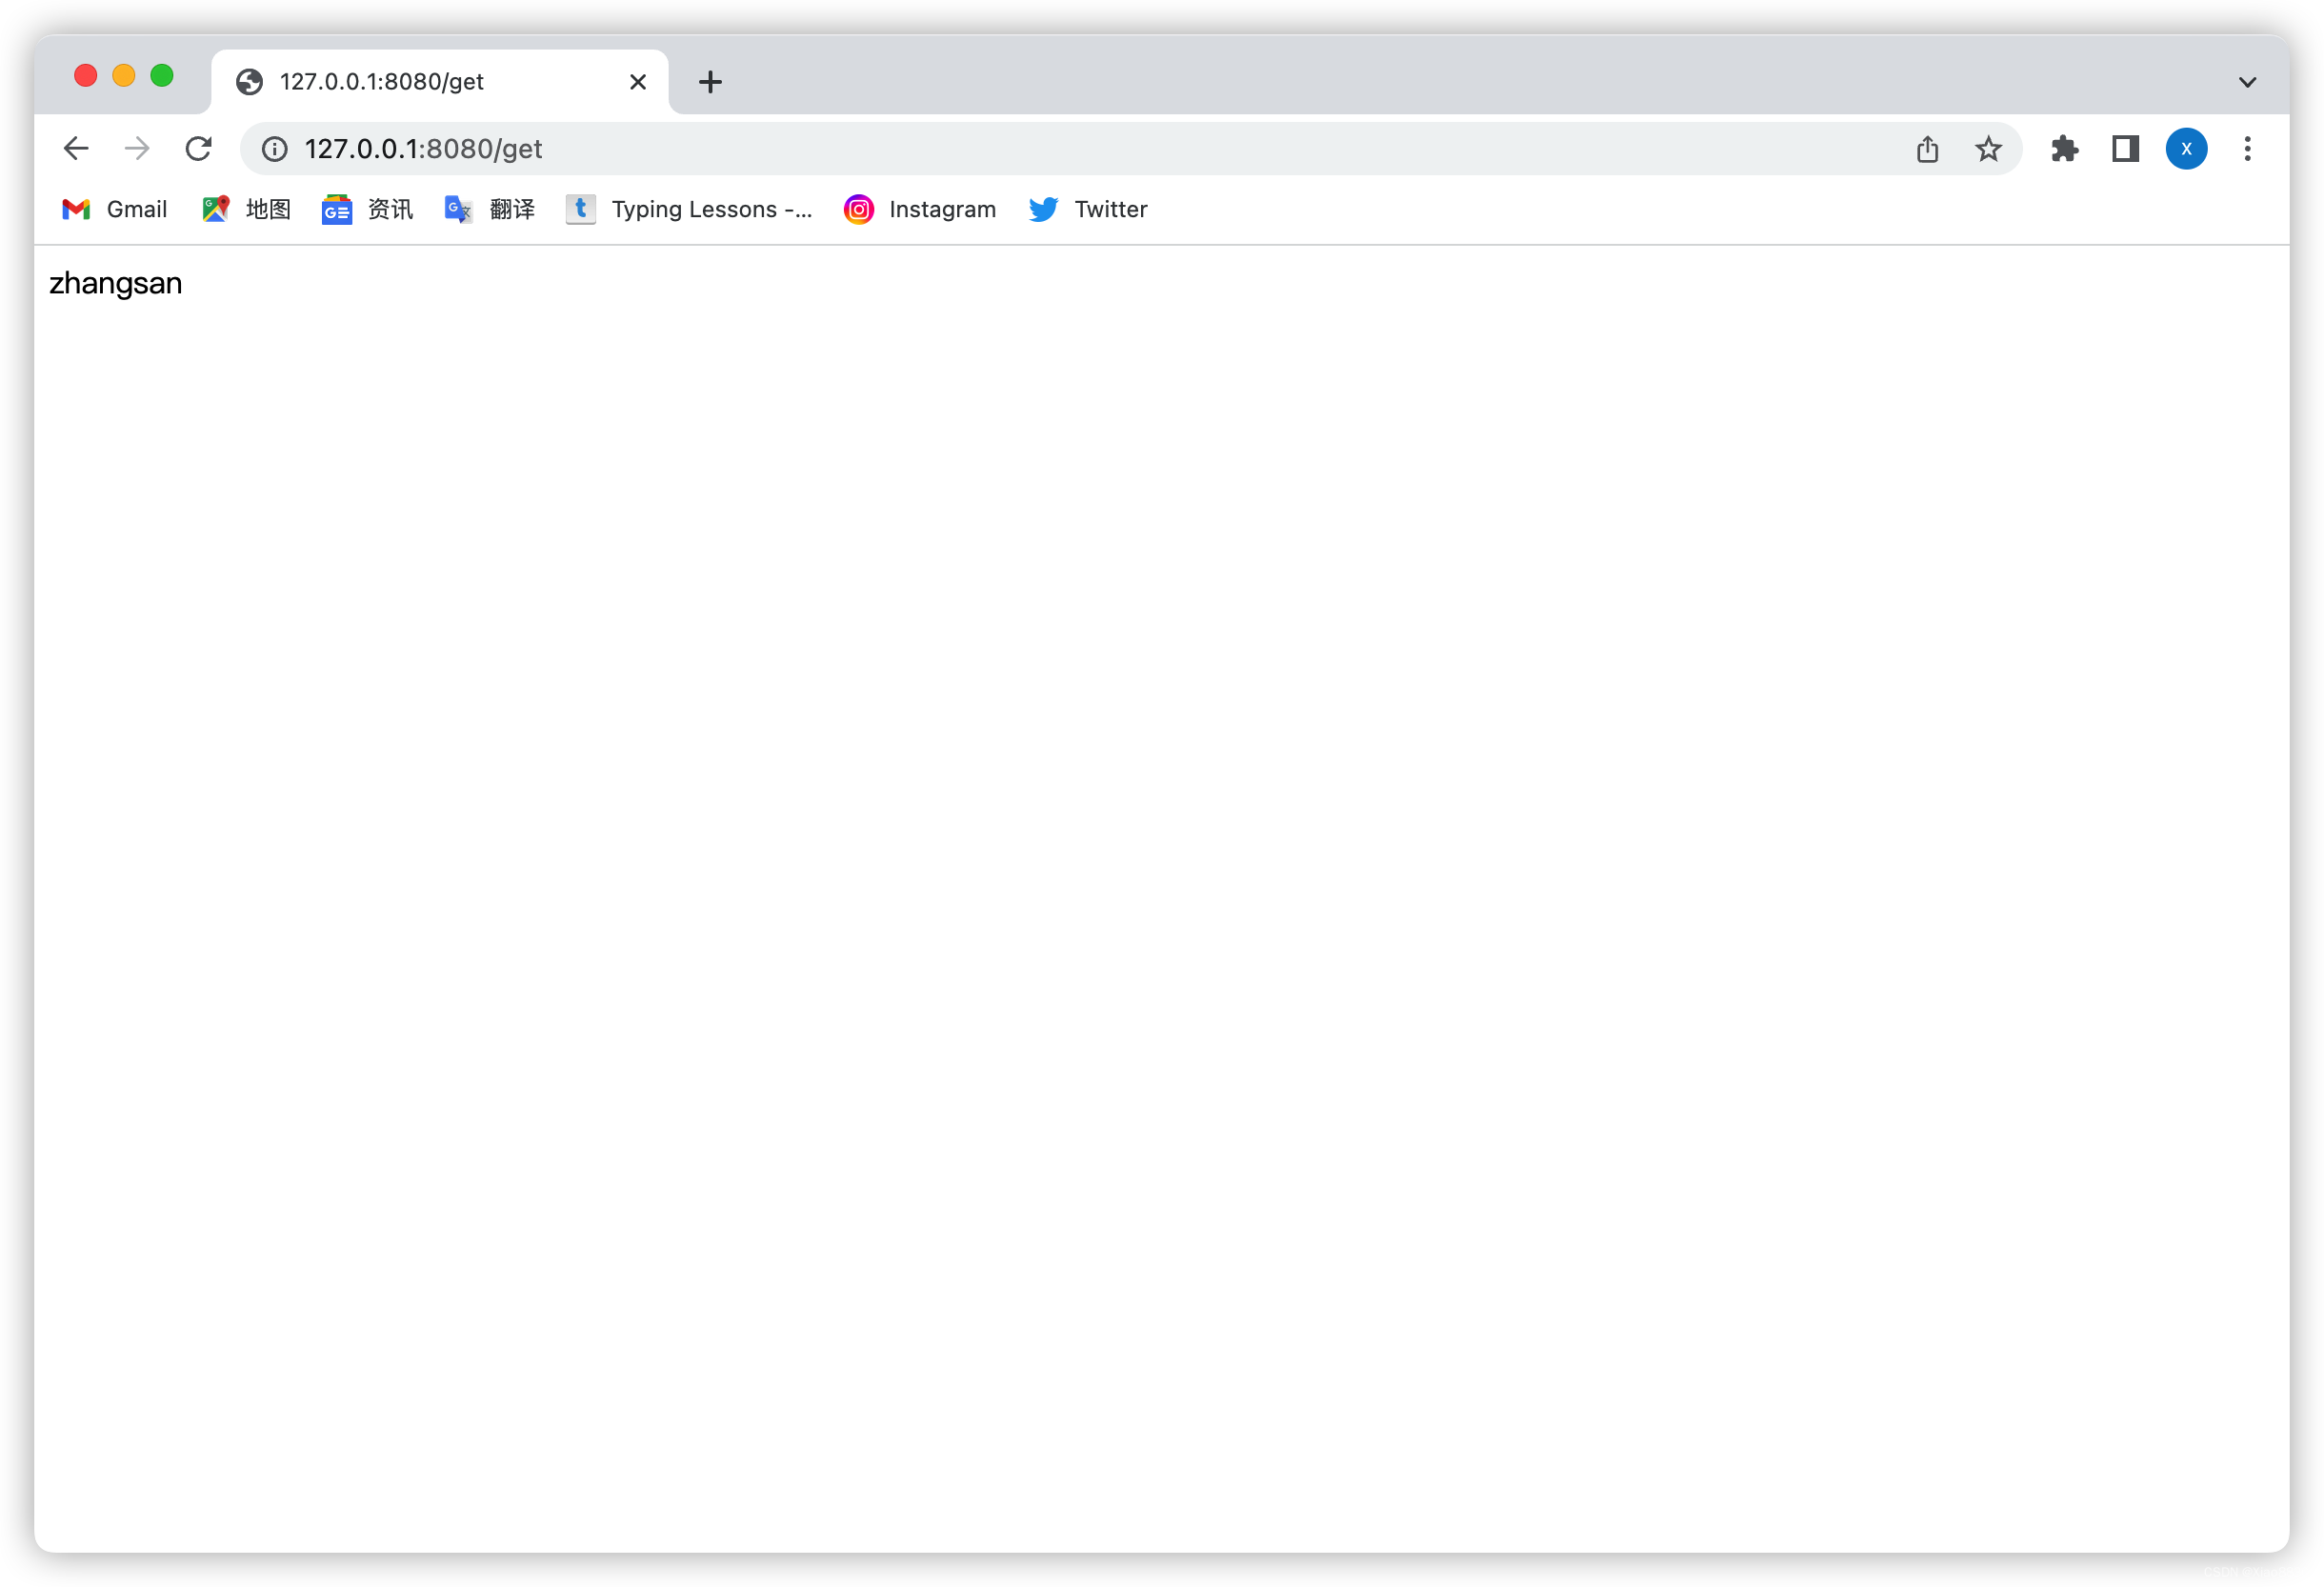
@RequestMapping("/get")
public String getRedis(){
String result = stringRedisTemplate.opsForValue().get("username");
return result;
}
}
访问127.0.0.1:8080/set存储redis
访问127.0.0.1:8080/get获取数据
使用注解操作Redis
首先在启动类中添加下面这个注解
@EnableCaching
添加数据:
@RequestMapping("url路径")
@Cacheable(value = "spring.cache", key = "#key")
public String set(String key, String value){
   if(!StringUtils.hasLength(key) || !StringUtils.hasLength(value)){
       return null;
   }
   return "value";
}
更新数据:
@CachePut(value = "spring.cache", key = "key")
@RequestMapping("url路径")
public String put(String key, String value){
    if(!StringUtils.hasLength(key) || !StringUtils.hasLength(value)){
        return null;
    }
    return "value";
}
删除数据:
@RequestMapping("url路径")
@CacheEvict(value = "spring.cache", key = "#key")
public void del(String key, String value){
    System.out.println("缓存删除");
}
例如:
import org.springframework.cache.annotation.CacheEvict;
import org.springframework.cache.annotation.CachePut;
import org.springframework.cache.annotation.Cacheable;
import org.springframework.util.StringUtils;
import org.springframework.web.bind.annotation.RequestMapping;
import org.springframework.web.bind.annotation.RestController;
@RestController
public class RedisAnnController {
@RequestMapping("/ann-set")
@Cacheable(value = "spring.cache", key = "#name+'-'+#pnumber")
public String set(String name, String pnumber){
if(!StringUtils.hasLength(name) || !StringUtils.hasLength(pnumber)){
return null;
}
return "name=" + name + "|pnumber=" + pnumber;
}
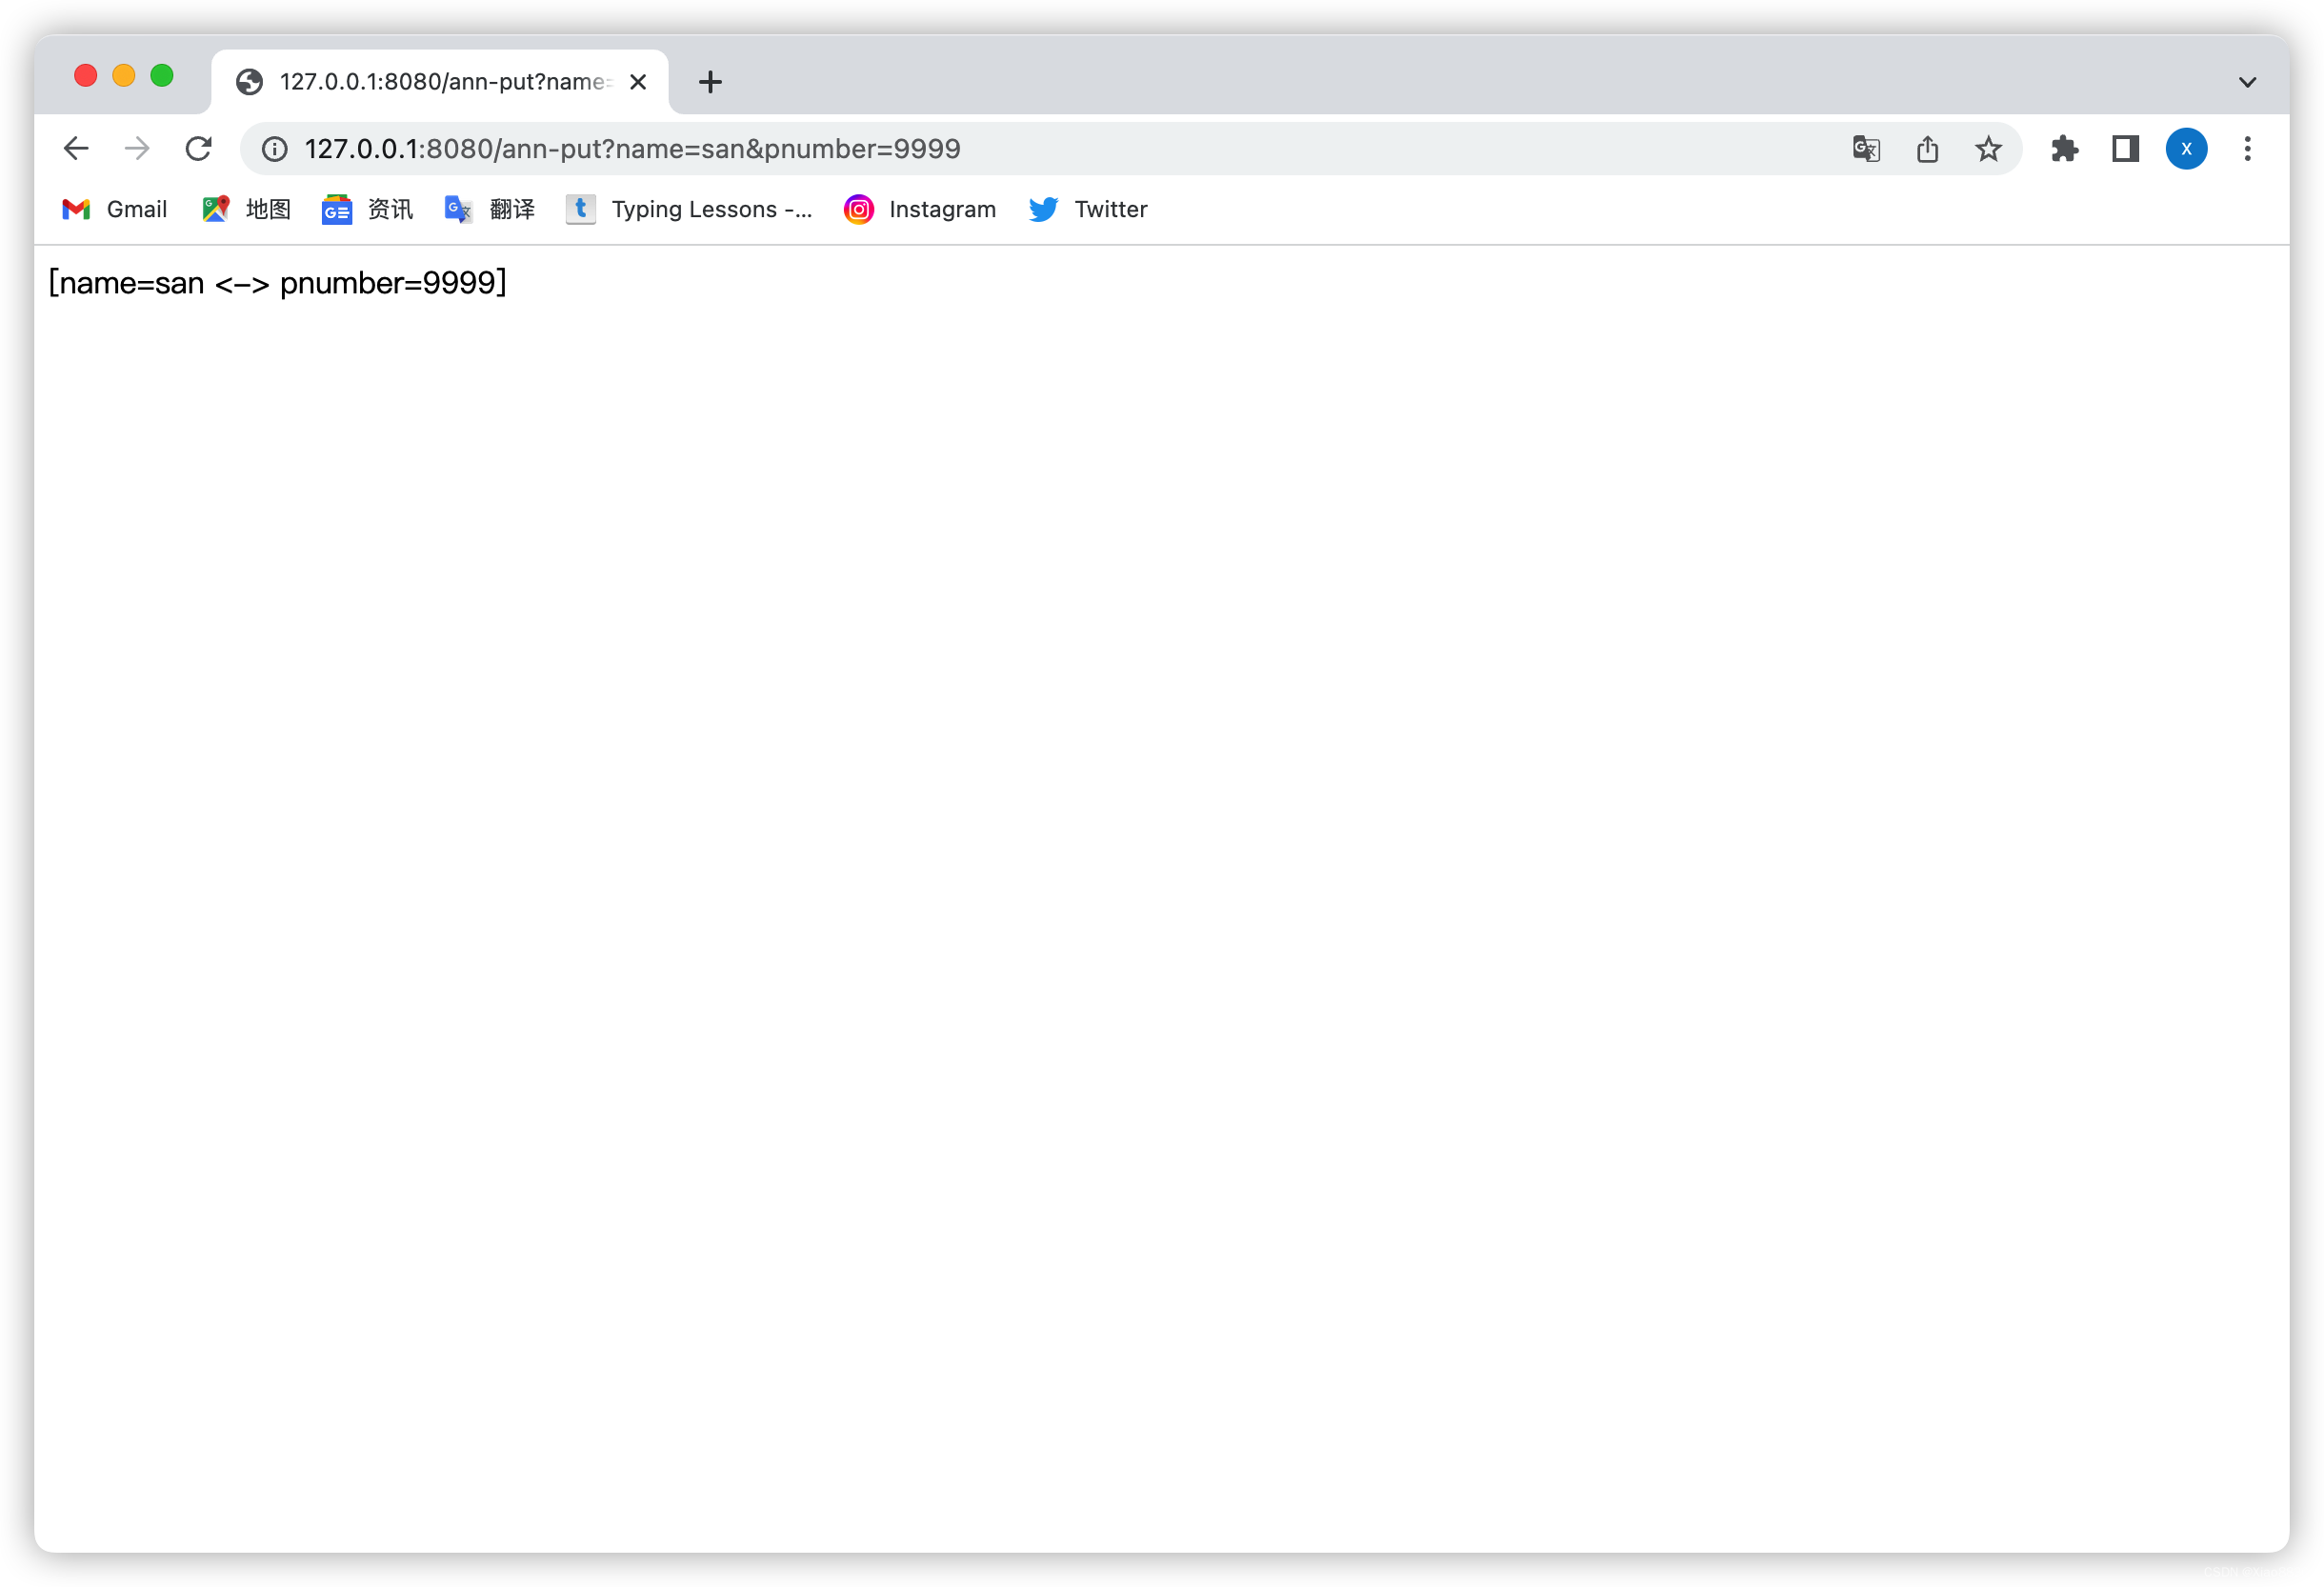
@CachePut(value = "spring.cache", key = "#name+'-'+#pnumber")
@RequestMapping("/ann-put")
public String put(String name, String pnumber){
if(!StringUtils.hasLength(name) || !StringUtils.hasLength(pnumber)){
return null;
}
return "[name=" + name + " <-> pnumber=" + pnumber + "]";
}
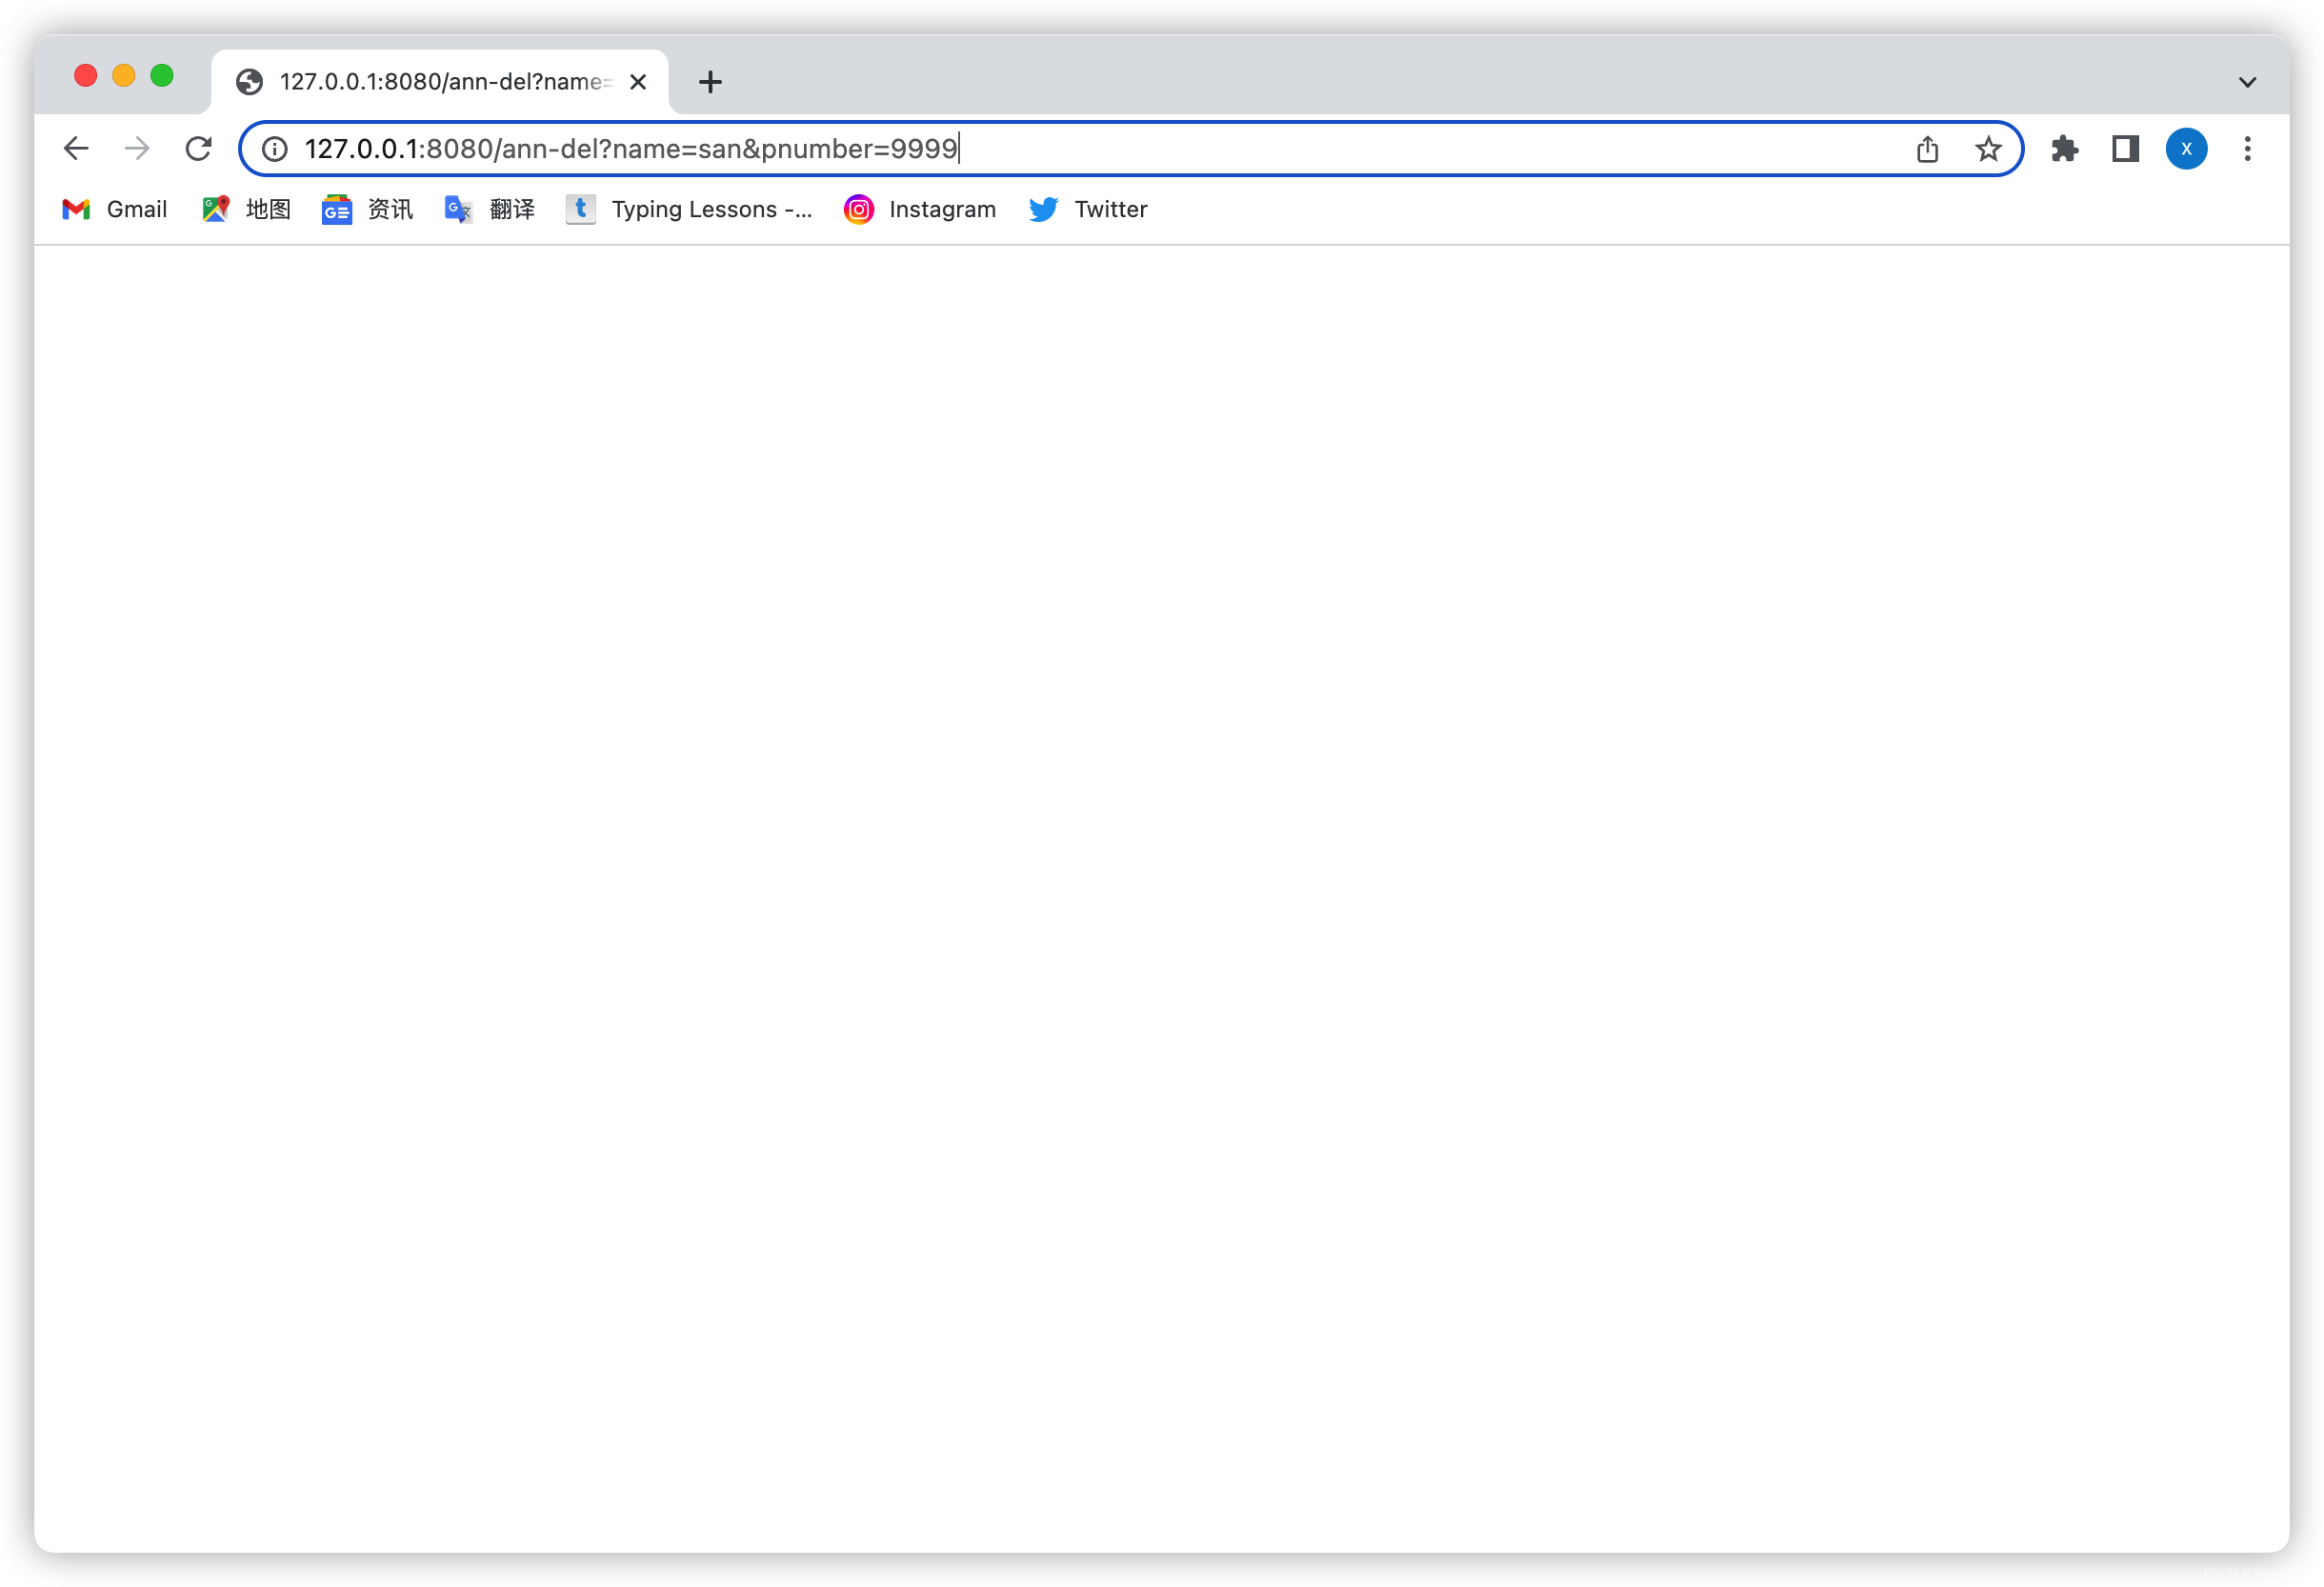
@RequestMapping("/ann-del")
@CacheEvict(value = "spring.cache", key = "#name+'-'+#pnumber")
public void del(String name, String pnumber){
System.out.println("缓存删除");
}
}
访问127.0.0.1:8080/ann-set?数据 设置缓存

访问127.0.0.1:8080/ann-put?数据 更新缓存
访问127.0.0.1:8080/ann-del?数据 删除缓存
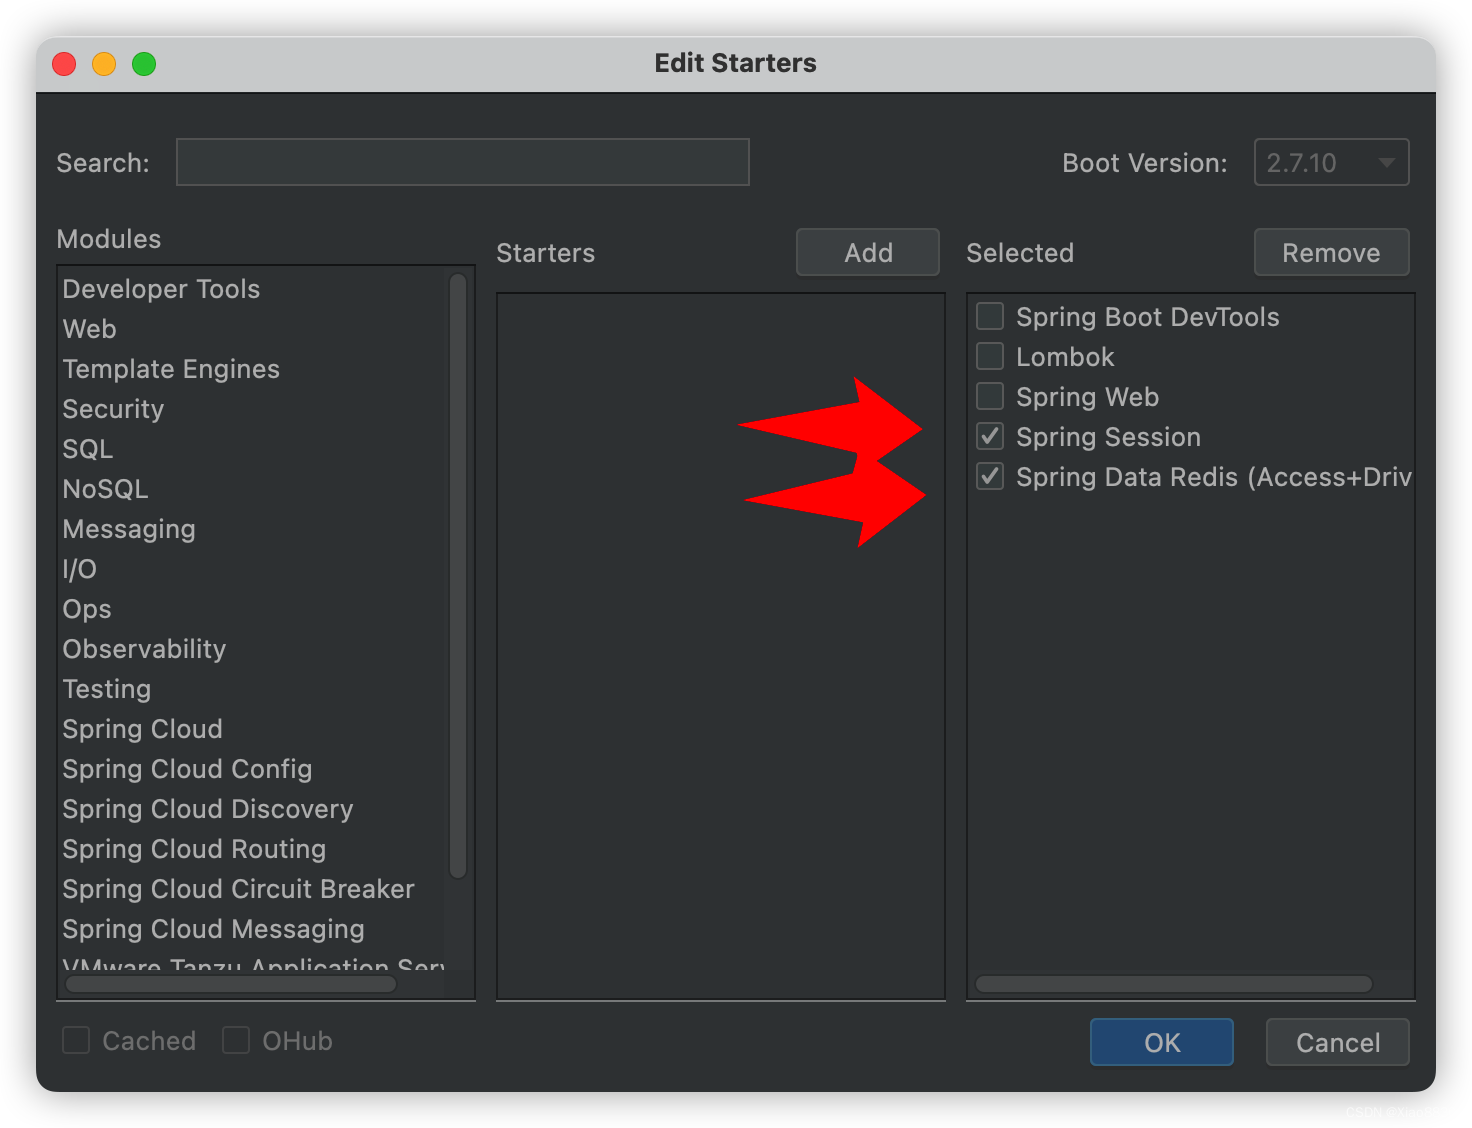
session存储到redis
添加依赖
修改配置文件
spring.session.store-type=redis
server.servlet.session.timeout=1800
spring.session.redis.flush-mode=on_save
spring.session.redis.namespace=spring:session
spring.redis.host=服务器地址
spring.redis.port=6379
然后正常存储和读取session即可
package com.example.demo.controller;

import org.springframework.web.bind.annotation.RequestMapping;
import org.springframework.web.bind.annotation.RestController;

import javax.servlet.http.HttpServletRequest;
import javax.servlet.http.HttpSession;

@RestController
public class UserController {
    private final static String SESSION_KEY = "USER_SESSION_KEY";

    @RequestMapping("/login")
    public String login(HttpSession session){
        session.setAttribute(SESSION_KEY, "zhangsan");
        return "login success";
    }

    @RequestMapping("/get")
    public String login(HttpServletRequest request){
        HttpSession session = request.getSession(false);
        if(session != null){
            String username = (String) session.getAttribute(SESSION_KEY);
            if(username != null){
                return username;
            }
        }
        return "未登陆!";
    }
}


 911
911


 被折叠的 条评论
为什么被折叠?
被折叠的 条评论
为什么被折叠?
 到【灌水乐园】发言


