


- 模拟器的安装
- 运行Flutter项目到模拟器和真机
- Flutter常用命令
开发环境的搭建
1. 下载Flutter SDK
Flutter SDK由两部分构成,一个是Dart SDK,另一个就是Flutter SDK,因为Flutter是基于Dart的。可以通过两种方式下载:一种是Git下载;另一种是直接下载SDK压缩包即可。
Git方式我们可以通过拉取官方Github上的flutter分支来下载。分支分类如下图:

可以看到主要有dev、beta和stable三个官方分支使,这里正式开发的话可以下载stable稳定版本。用Git命令进行下载stable分支:
git clone -b stable https://github.com/flutter/flutter.git
另一种是直接官网下载SDK压缩包,官方下载地址为:
https://storage.googleapis.com/flutter_infra/releases/stable/windows/flutter_windows_v1.0.0-stable.zip
2. 配置环境变量
下载完SDK后我们可以把它解压放到指定文件夹里,接下来就是配置SDK环境变量量,这样我们就可以在需要的目录执行相关命令了。如果在官网更新下载SDK慢的话,可以设置国内的镜像代理地址,这样下载会快一些。可以将如下的国内下载镜像地址加入到环境变量中:
变量名:PUB_HOSTED_URL,变量值:https://pub.flutter-io.cn
变量名:FLUTTER_STORAGE_BASE_URL,变量值:https://storage.flutter-io.cn
Flutter SDK环境变量,讲flutter的bin目录加入环境变量即可:
[你的Flutter文件夹路径]\flutter\bin
这样我们的Flutter SDK的环境变量就配置完毕了。接下来在命令提示符窗口中输入命令:
flutter doctor
它可以帮助我们检查Flutter环境变量是否设置成功,Android SDK是否下载以及配置好环境变量等等。如果有相关的错误提示,根据提示进行修复和安装、设置即可。每次运行这个命令,都会帮你检查是否缺失了必要的依赖。通过运行flutter doctor命令来验证你是否已经正确地设置了,并且可以自动更新和下载相关的依赖。如果全部配置正确的话,会出现如下类似的检测信息:

主要检测信息为:Flutter、Android toolchain、Connected device。
3.安装Visual Studio Code所需插件
在Visual Studio Code的Extensions里搜索安装Dart和Flutter扩展插件:

安装完成插件后,重启Visual Studio Code编辑器即可。
4.创建Flutter项目
接下来进行Flutter项目的新建,我们可以通过命令面板或者快捷键Ctrl+Shif+P打开命令面板,找到Flutter:New Project:

点击New Project,接下来进入项目名称输入:

回车,然后选择好项目的存储位置即可,这样就完成了Flutter项目的新建。
整个的创建流程日志如下:
[undefined] flutter create .
Waiting for another flutter command to release the startup lock...
Creating project ....
  .gitignore (created)
  .idea\libraries\Dart_SDK.xml (created)
  .idea\libraries\Flutter_for_Android.xml (created)
  .idea\libraries\KotlinJavaRuntime.xml (created)
  .idea\modules.xml (created)
  .idea\runConfigurations\main_dart.xml (created)
  .idea\workspace.xml (created)
  .metadata (created)
  android\app\build.gradle (created)
  android\app\src\main\java\com\example\fluttersamples\MainActivity.java (created)
  android\build.gradle (created)
  android\flutter_samples_android.iml (created)
  android\app\src\main\AndroidManifest.xml (created)
  android\app\src\main\res\drawable\launch_background.xml (created)
  android\app\src\main\res\mipmap-hdpi\ic_launcher.png (created)
  android\app\src\main\res\mipmap-mdpi\ic_launcher.png (created)
  android\app\src\main\res\mipmap-xhdpi\ic_launcher.png (created)
  android\app\src\main\res\mipmap-xxhdpi\ic_launcher.png (created)
  android\app\src\main\res\mipmap-xxxhdpi\ic_launcher.png (created)
  android\app\src\main\res\values\styles.xml (created)
  android\gradle\wrapper\gradle-wrapper.properties (created)
  android\gradle.properties (created)
  android\settings.gradle (created)
  ios\Runner\AppDelegate.h (created)
  ios\Runner\AppDelegate.m (created)
  ios\Runner\main.m (created)
  ios\Runner.xcodeproj\project.pbxproj (created)
  ios\Runner.xcodeproj\xcshareddata\xcschemes\Runner.xcscheme (created)
  ios\Flutter\AppFrameworkInfo.plist (created)
  ios\Flutter\Debug.xcconfig (created)
  ios\Flutter\Release.xcconfig (created)
  ios\Runner\Assets.xcassets\AppIcon.appiconset\Contents.json (created)
  ios\Runner\Assets.xcassets\AppIcon.appiconset\Icon-App-1024x1024@1x.png (created)
  ios\Runner\Assets.xcassets\AppIcon.appiconset\Icon-App-20x20@1x.png (created)
  ios\Runner\Assets.xcassets\AppIcon.appiconset\Icon-App-20x20@2x.png (created)
  ios\Runner\Assets.xcassets\AppIcon.appiconset\Icon-App-20x20@3x.png (created)
  ios\Runner\Assets.xcassets\AppIcon.appiconset\Icon-App-29x29@1x.png (created)
  ios\Runner\Assets.xcassets\AppIcon.appiconset\Icon-App-29x29@2x.png (created)
  ios\Runner\Assets.xcassets\AppIcon.appiconset\Icon-App-29x29@3x.png (created)
  ios\Runner\Assets.xcassets\AppIcon.appiconset\Icon-App-40x40@1x.png (created)
  ios\Runner\Assets.xcassets\AppIcon.appiconset\Icon-App-40x40@2x.png (created)
  ios\Runner\Assets.xcassets\AppIcon.appiconset\Icon-App-40x40@3x.png (created)
  ios\Runner\Assets.xcassets\AppIcon.appiconset\Icon-App-60x60@2x.png (created)
  ios\Runner\Assets.xcassets\AppIcon.appiconset\Icon-App-60x60@3x.png (created)
  ios\Runner\Assets.xcassets\AppIcon.appiconset\Icon-App-76x76@1x.png (created)
  ios\Runner\Assets.xcassets\AppIcon.appiconset\Icon-App-76x76@2x.png (created)
  ios\Runner\Assets.xcassets\AppIcon.appiconset\Icon-App-83.5x83.5@2x.png (created)
  ios\Runner\Assets.xcassets\LaunchImage.imageset\Contents.json (created)
  ios\Runner\Assets.xcassets\LaunchImage.imageset\LaunchImage.png (created)
  ios\Runner\Assets.xcassets\LaunchImage.imageset\LaunchImage@2x.png (created)
  ios\Runner\Assets.xcassets\LaunchImage.imageset\LaunchImage@3x.png (created)
  ios\Runner\Assets.xcassets\LaunchImage.imageset\README.md (created)
  ios\Runner\Base.lproj\LaunchScreen.storyboard (created)
  ios\Runner\Base.lproj\Main.storyboard (created)
  ios\Runner\Info.plist (created)
  ios\Runner.xcodeproj\project.xcworkspace\contents.xcworkspacedata (created)
  ios\Runner.xcworkspace\contents.xcworkspacedata (created)
  lib\main.dart (created)
  flutter_samples.iml (created)
  pubspec.yaml (created)
  README.md (created)
  test\widget_test.dart (created)
Running "flutter packages get" in flutter_samples...            11.8s
Wrote 64 files.

All done!
[√] Flutter is fully installed. (Channel stable, v1.0.0, on Microsoft Windows [Version 10.0.17134.590], locale zh-CN)
[√] Android toolchain - develop for Android devices is fully installed. (Android SDK 28.0.3)
[√] Android Studio is fully installed. (version 3.3)
[√] IntelliJ IDEA Community Edition is fully installed. (version 2018.3)
[!] Connected device is not available.

Run "flutter doctor" for information about installing additional components.

In order to run your application, type:

  $ cd .
  $ flutter run

Your application code is in .\lib\main.dart.

exit code 0
Flutter项目结构如下:

其中,Android相关的修改和配置在android目录下,结构和Android应用项目结构一样;IOS相关修改和配置在ios目录下,结构和IOS应用项目结构一样。最重要的flutter代码文件是在lib目录下,类文件以.dart结尾,语法结构为Dart语法结构。大致如下:
import 'package:flutter/material.dart';
void main() => runApp(MyApp());
class MyApp extends StatelessWidget {
// This widget is the root of your application.
@override
Widget build(BuildContext context) {
return MaterialApp(
title: 'Flutter Demo',
theme: ThemeData(
// This is the theme of your application.
//
// Try running your application with "flutter run". You'll see the
// application has a blue toolbar. Then, without quitting the app, try
// changing the primarySwatch below to Colors.green and then invoke
// "hot reload" (press "r" in the console where you ran "flutter run",
// or simply save your changes to "hot reload" in a Flutter IDE).
// Notice that the counter didn't reset back to zero; the application
// is not restarted.
primarySwatch: Colors.blue,
),
home: MyHomePage(title: 'Flutter Demo Home Page'),
);
}
}
class MyHomePage extends StatefulWidget {
MyHomePage({Key key, this.title}) : super(key: key);
// This widget is the home page of your application. It is stateful, meaning
// that it has a State object (defined below) that contains fields that affect
// how it looks.
// This class is the configuration for the state. It holds the values (in this
// case the title) provided by the parent (in this case the App widget) and
// used by the build method of the State. Fields in a Widget subclass are
// always marked "final".
final String title;
@override
_MyHomePageState createState() => _MyHomePageState();
}
class _MyHomePageState extends State<MyHomePage> {
int _counter = 0;
void _incrementCounter() {
setState(() {
// This call to setState tells the Flutter framework that something has
// changed in this State, which causes it to rerun the build method below
// so that the display can reflect the updated values. If we changed
// _counter without calling setState(), then the build method would not be
// called again, and so nothing would appear to happen.
_counter++;
});
#### 最后
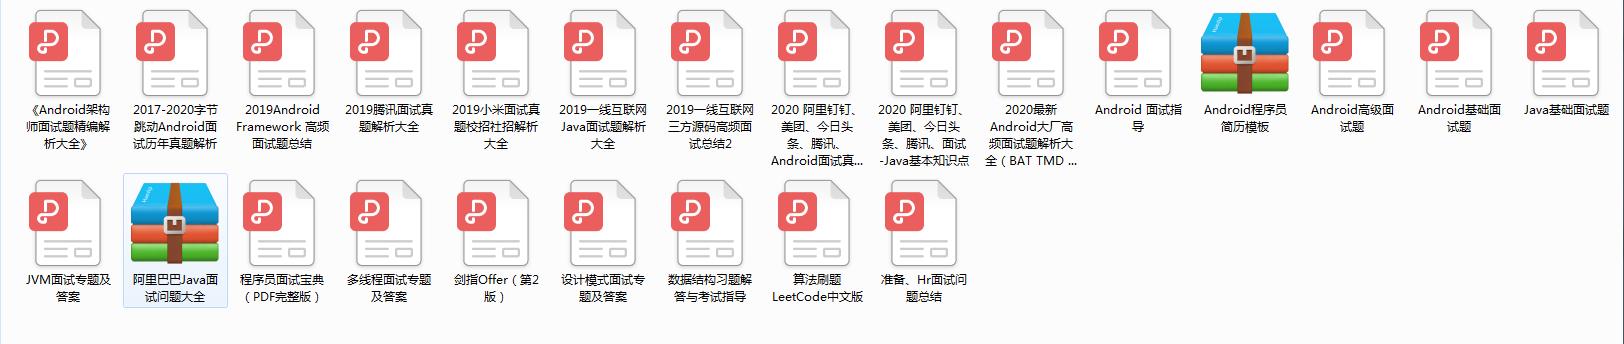
考虑到文章的篇幅问题,我把这些问题和答案以及我多年面试所遇到的问题和一些面试资料做成了PDF文档
**[CodeChina开源项目:《Android学习笔记总结+移动架构视频+大厂面试真题+项目实战源码》](https://codechina.csdn.net/m0_60958482/android_p7)**
做成了PDF文档
**[CodeChina开源项目:《Android学习笔记总结+移动架构视频+大厂面试真题+项目实战源码》](https://codechina.csdn.net/m0_60958482/android_p7)**
[外链图片转存中...(img-b4rj9mcb-1630845135580)]
[外链图片转存中...(img-peLYhAlN-1630845135581)]
喜欢的朋友可以关注、转发、点赞 感谢!


 228
228

 被折叠的 条评论
为什么被折叠?
被折叠的 条评论
为什么被折叠?
 到【灌水乐园】发言


