


- 数据库介绍
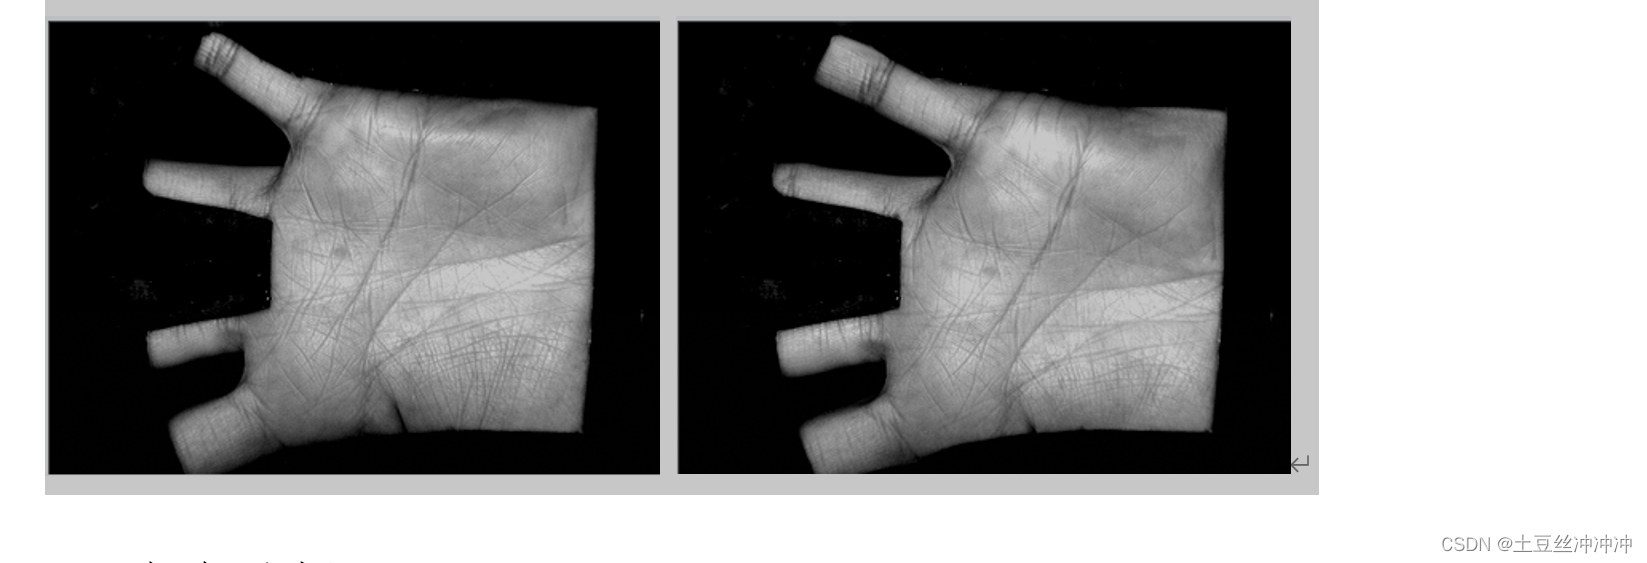
100 个手掌,每个手掌 6 个原始图像和 ROI(Region of Interest)图像。ROI表示从原始手掌图像中定位裁剪出的正方形感兴趣区域,尺寸为128×128个像素。
- 任务选择
本研究报告针对掌纹的分类识别任务,目的是将掌纹图像分为100个类别中的一类。
- 评价指标
- 精度
本研究报告使用了两种算法,其中卷积神经网络的精度为0.845,而PCA+SVC算法的精度达到1.
- 鲁棒性
- 复杂度
- 编程语言
本研究使用python编程语言在idea环境下运行
卷积神经网络算法完整源代码
import os
import tensorflow as tf
import numpy as np
from IPython.core.display_functions import clear_output
from keras.preprocessing.image import load_img, img_to_array
from tensorflow import keras
import matplotlib.pyplot as plt
train_images=[]
test_images=[]
train_labels = [i for i in range(100) for _ in range(4)]
test_labels=[i for i in range(100) for _ in range(2)]
data_dir = 'C:/Users/86137/OneDrive/桌面/机器学习/PolyU_Palmprint_600'
# 获取所有图像文件的路径
image_paths = [os.path.join(data_dir, f) for f in os.listdir(data_dir) if f.endswith('.bmp')]
for i in range(0, len(image_paths), 6):
# 获取每次循环中的6张图像路径
batch = image_paths[i:i + 6]
# 将前4张图像路径加入训练集
train_images.extend(batch[:4])
# 将后2张图像路径加入测试集
test_images.extend(batch[4:])
def load_and_process_image(image_path):
img = load_img(image_path, target_size=(224, 224)) # 加载图像并调整大小
img_array = img_to_array(img) # 将图像转换为数组
img_array = img_array / 255.0 # 归一化处理
return img_array
# 加载训练集和测试集的图像数据
train_data = np.array([load_and_process_image(image_path) for image_path in train_images])
test_data = np.array([load_and_process_image(image_path) for image_path in test_images])
train_labels = np.array(train_labels)
test_labels = np.array(test_labels)
#三个卷积层,分别包含 32、64 和 128 个滤波器(filter)。每个滤波器的大小为 (3, 3),并采用 ReLU 激活函数。第一层还需要指定输入图像的形状为 (224, 224, 3)
model = keras.models.Sequential([
tf.keras.layers.Conv2D(32, (3, 3), activation='relu', input_shape=(224, 224, 3)),
tf.keras.layers.MaxPooling2D((2, 2)),
tf.keras.layers.Conv2D(64, (3, 3), activation='relu'),
tf.keras.layers.MaxPooling2D((2, 2)),
tf.keras.layers.Conv2D(128, (3, 3), activation='relu'),
tf.keras.layers.Flatten(),
tf.keras.layers.Dense(128, activation='relu'),
tf.keras.layers.Dense(100, activation='softmax')
])
# 输出模型的层数和参数数量
model.summary()
# 编译模型
model.compile(optimizer='adam',
loss='sparse_categorical_crossentropy',
metrics=['accuracy'])
# 定义一个回调函数,用于绘制训练过程中的准确率变化图表
class PlotAccuracy(tf.keras.callbacks.Callback):
def on_train_begin(self, logs={}):
self.i = 0
self.x = []
self.acc = []
self.val_acc = []
self.fig = plt.figure()
self.logs = []
def on_epoch_end(self, epoch, logs={}):
self.logs.append(logs)
self.x.append(self.i)
self.acc.append(logs.get('accuracy'))
self.val_acc.append(logs.get('val_accuracy'))
self.i += 1
clear_output(wait=True)
plt.plot(self.x, self.acc, label="accuracy")
plt.plot(self.x, self.val_acc, label="val_accuracy")
plt.title("Training Progress")
plt.xlabel("Epochs")
plt.ylabel("Accuracy")
plt.legend()
plt.show()
# 创建回调函数实例
plot_acc = PlotAccuracy()
# 训练模型,并使用回调函数绘制训练过程中的准确率变化图表
history = model.fit(train_data, train_labels, epochs=16, validation_data=(test_data, test_labels), callbacks=[plot_acc])
# 在测试集上评估
 最低0.47元/天 解锁文章


 1987
1987

 被折叠的 条评论
为什么被折叠?
被折叠的 条评论
为什么被折叠?
 到【灌水乐园】发言


