


第一步:安装依赖
项目中需要安装两个插件,依次安装即可;
npm install vue2-leaflet --save
npm install leaflet --save
第二步:在main.js中引入
//main.js

import 'leaflet/dist/leaflet.css'


//为了保证后续地图的正常加载,修改icon的路径
/* leaflet icon */
delete L.Icon.Default.prototype._getIconUrl
L.Icon.Default.mergeOptions({
  iconRetinaUrl: require('leaflet/dist/images/marker-icon-2x.png'),
  iconUrl: require('leaflet/dist/images/marker-icon.png'),
  shadowUrl: require('leaflet/dist/images/marker-shadow.png'),
})
第三步:新建页面
//leafletView页面
<template>
<div class="leaflet">
<div id="map" class="mapStyle" style="z-index: 10"></div>
</div>
</template>
<script>
import L from "leaflet";
export default {
data() {
return {
map: null,
center: [30.524, 119.267],
zoom: 5,
};
},
mounted() {
this.init();
},
methods: {
// 初始化地图
init() {
this.map = L.map("map", { attributionControl: false }).setView(
//可以调节数值的大小来决定地图显示的位置,5是最初放大倍数,数值越大,放大倍数越大
[35.04656, 104.86254],
5
);
L.tileLayer(
"https://map.geoq.cn/ArcGIS/rest/services/ChinaOnlineStreetPurplishBlue/MapServer/tile/{z}/{y}/{x}",
{
//最大放大倍数是maxZoom的值
maxZoom: 19,
attribution:
'© <a href="http://www.openstreetmap.org/copyright">OpenStreetMap</a>',
}
).addTo(this.map);
},
},
};
</script>
<style scoped>
* {
padding: 0;
margin: 0;
}
.mapStyle {
width: 100%;
/* height: 100%; */
position: absolute;
top: 0;
left: 0;
right: 0;
bottom: 0;
}
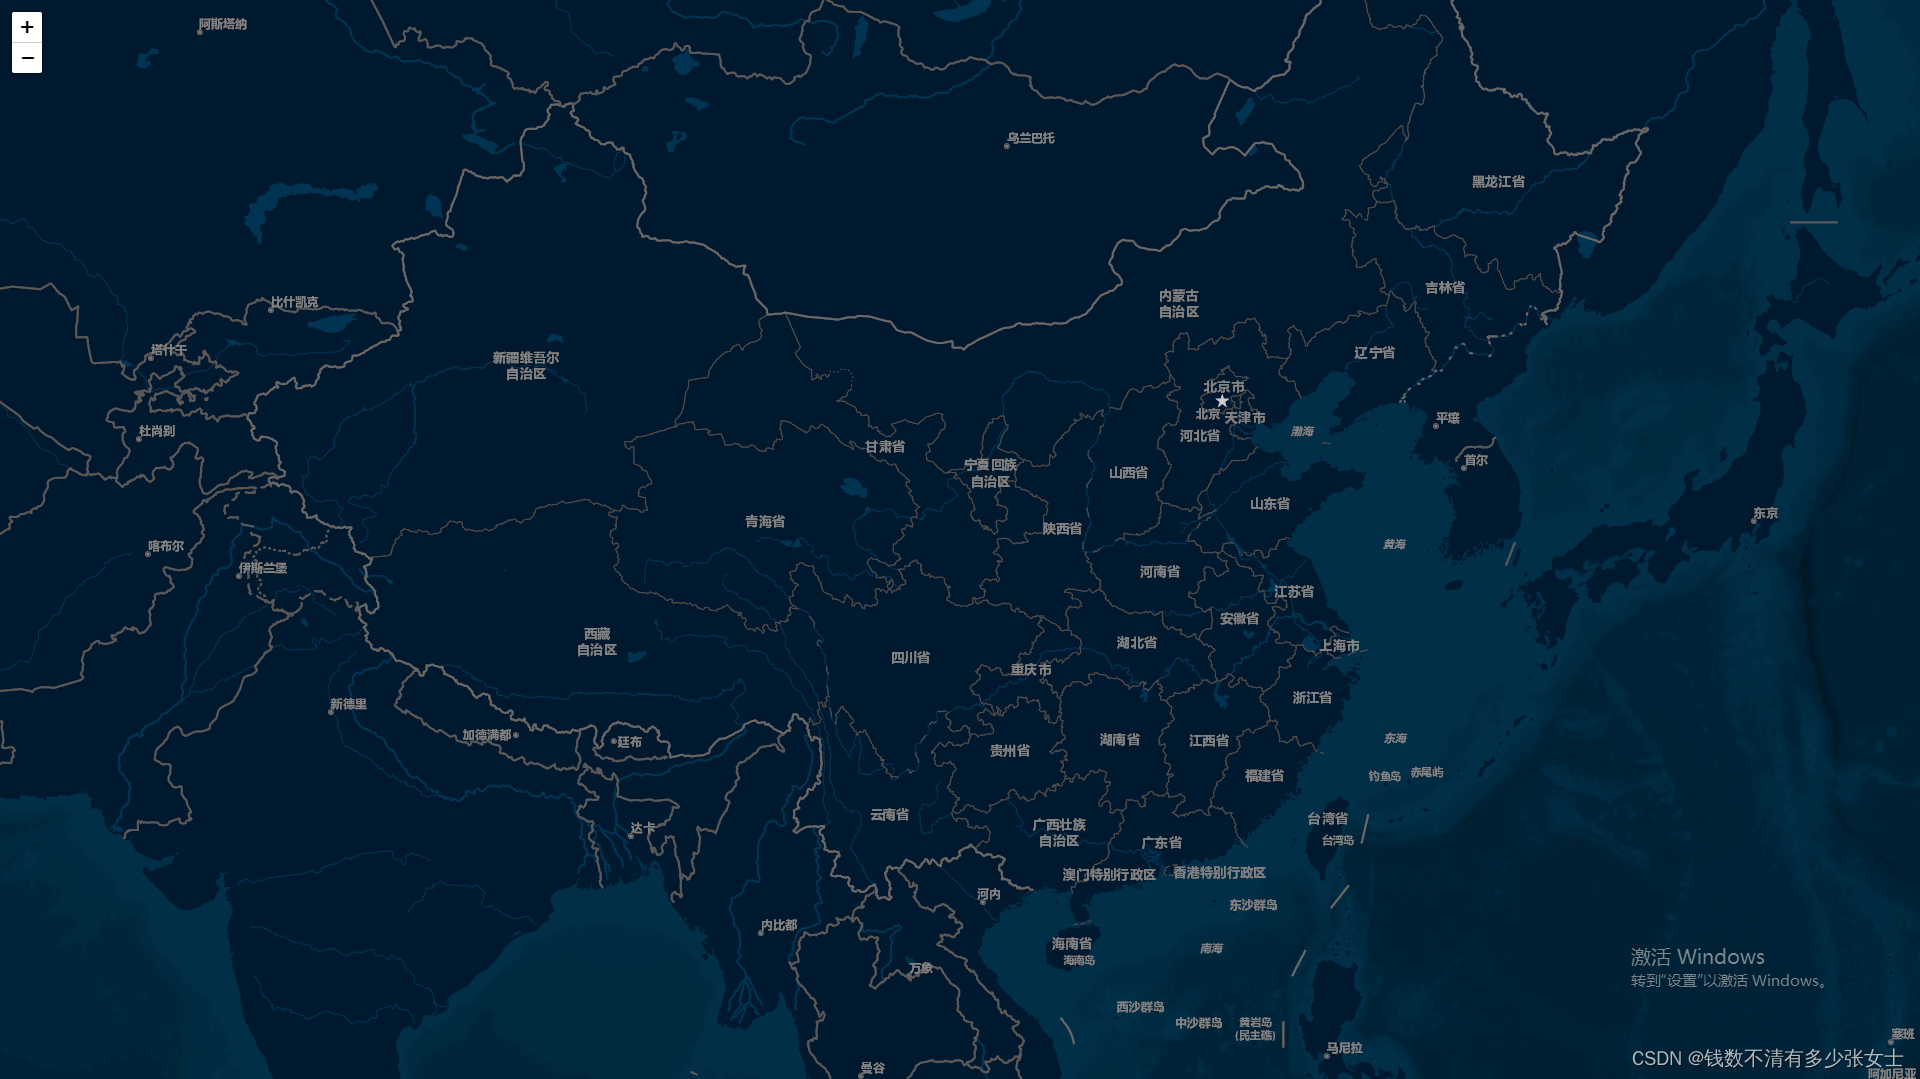
</style>结果展示:


 1155
1155


 被折叠的 条评论
为什么被折叠?
被折叠的 条评论
为什么被折叠?
 到【灌水乐园】发言


