


Ubuntu作为很多docker环境中的默认系统,还是值得学习的,本文包含在VMware中安装,网络相关配置,远程连接控制,以及LAMP环境安装配置,还做了部署DEMO演示。
下载
官网地址:http://mirrors.aliyun.com/ubuntu-releases/18.04/
这里选择桌面版:

下载完成之后:

安装


然后就是等待安装完成:

安装完成登录:

登录成功:

设置ip地址
先切换到管理员:

在linux系统中:#表示超级管理员,$表示普通管理员
然后安装net-tools:

然后输入:ifconfig查看ip地址

目前这个是用的桥接模式,这个ip是动态的,是dhcp自动分配的,可以设置固定下来。
安装vim:

ip的设置在/etc/netplan目录,文件:01-network-manager-all.yaml
查看这个文件的默认内容:
root@ubuntu:/# cat /etc/netplan/01-network-manager-all.yaml
# Let NetworkManager manage all devices on this system
network:
  version: 2
  renderer: NetworkManager
root@ubuntu:/#
将这个文件的内容修改为:
# Let NetworkManager manage all devices on this system
network:
  version: 2
  renderer: NetworkManager
  ethernets:
    ens33:
      dhcp4: no
      addresses: [192.168.3.200/24]
      gateway4: 192.168.3.1
      nameservers:
        addresses: [192.168.3.1,61.139.2.69]
注意: gateway4 需要参考宿主机,还有dns也需要参考宿主机

:wq保存并退出。
测试执行:netplan try

执行:netplan apply应用即可。
这样,就算重启,ip也是固定的了。
远程连接
先执行:

发现没有监听22端口的程序。
那么需要安装ssh服务。

然后启动服务:

这里使用:finalShell进行远程操作

连接成功的样子:

安装lamp
更新软件源

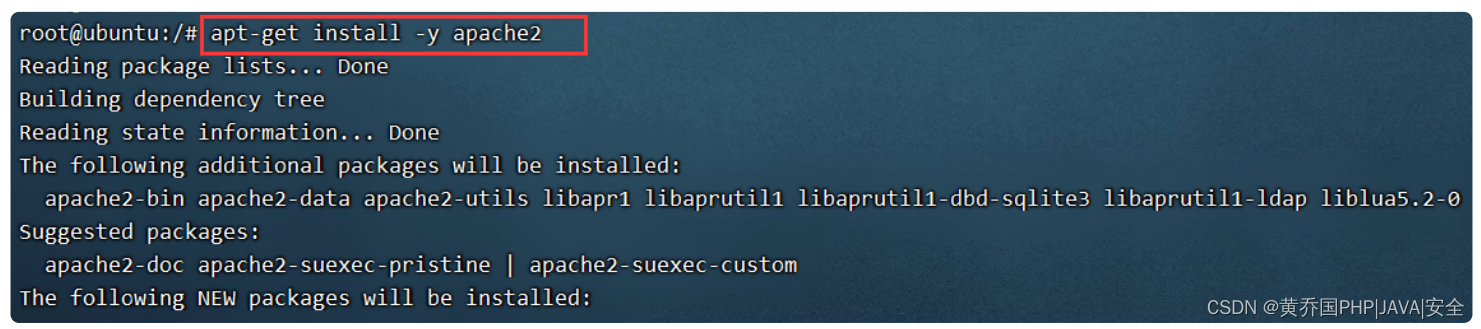
安装apache
查看状态:
systemctl status apache2

直接浏览器访问:

相关命令:
# 启动apache
systemctl start apache2
# 停止apache
systemctl stop apache2
# 重启apache
systemctl restart apache2
通过欢迎页,可以看到网站的根在/var/www目录下

安装mysql57
输入:
apt-get install -y mysql-server

安装完成后,需要进行安全设置:照着填即可,密码为了方便记忆,直接设置 12345678
mysql_secure_installation

# 完整过程如下:
root@ubuntu:/# mysql_secure_installation

Securing the MySQL server deployment.

Connecting to MySQL using a blank password.

VALIDATE PASSWORD PLUGIN can be used to test passwords
and improve security. It checks the strength of password
and allows the users to set only those passwords which are
secure enough. Would you like to setup VALIDATE PASSWORD plugin?

Press y|Y for Yes, any other key for No: y

There are three levels of password validation policy:

LOW    Length >= 8
MEDIUM Length >= 8, numeric, mixed case, and special characters
STRONG Length >= 8, numeric, mixed case, special characters and dictionary                  file

Please enter 0 = LOW, 1 = MEDIUM and 2 = STRONG: 0
Please set the password for root here.

New password:

Re-enter new password:

Estimated strength of the password: 50
Do you wish to continue with the password provided?(Press y|Y for Yes, any other key for No) : y
By default, a MySQL installation has an anonymous user,
allowing anyone to log into MySQL without having to have
a user account created for them. This is intended only for
testing, and to make the installation go a bit smoother.
You should remove them before moving into a production
environment.

Remove anonymous users? (Press y|Y for Yes, any other key for No) : y
Success.


Normally, root should only be allowed to connect from
'localhost'. This ensures that someone cannot guess at
the root password from the network.

Disallow root login remotely? (Press y|Y for Yes, any other key for No) : n

 ... skipping.
By default, MySQL comes with a database named 'test' that
anyone can access. This is also intended only for testing,
and should be removed before moving into a production
environment.


Remove test database and access to it? (Press y|Y for Yes, any other key for No) : n

 ... skipping.
Reloading the privilege tables will ensure that all changes
made so far will take effect immediately.

Reload privilege tables now? (Press y|Y for Yes, any other key for No) : y
Success.

All done!
root@ubuntu:/#
MySQL相关命令:
# 查看MySQL状态
systemctl status mysql
# 启动MySQL
systemctl start msyql
# 停止MySQL
systemctl stop mysql
登录MySQL试试

这个地方特别注意:还需要单独修改一下MySQL的密码

修改密码语句:
ALTER USER 'root'@'%' IDENTIFIED WITH mysql_native_password BY '12345678';
改完之后:

安装PHP
ubuntu默认带的是PHP7.2的版本
apt-get install -y php
接下来,我们需要告诉Apache首先提供PHP页面。
打开/etc/apache2/mods-enabled/dir.conf文件并将其更改为首先列出index.php。
原来是这样的:

改成这样:

重启apache :
systemctl restart apache2
在根目录下去创建一个phpinfo.php文件。
vim phpinfo.php
内容:
<?php
echo phpinfo();
保存,然后访问:

说明安装成功!
安装模块:
安装php模块很简单,直接输入如:即可安装成功。
apt install php-curl -y
apt install php-mysql -y
apt install php-mysqli -y
部署项目
直接将项目拷贝到/var/www/html里面即可。
这里简单部署一个开源的YzmCMS演示一下:
将在官网下载成功的压缩包上传到/var/www/html中:

上传上去之后:
 然后直接访问安装即可:

填写相关信息即可:

安装成功:


 668
668


 被折叠的 条评论
为什么被折叠?
被折叠的 条评论
为什么被折叠?
 到【灌水乐园】发言


