


ImGui Docking
本节主要是将 ImGui 从 master 分支移到 Docking 分支,然后修改之前的 ImGuiLayer 文件
首先 cd 到 imgui 目录,然后执行 git checkout docking 将其移到 docking 分支,之后返回上层文件夹进行 git add imgui 将其添加到我们的项目中。 git pull origin docking
Docking: 停靠,用于确定哪些控件边框被设置为与其父控件对齐以及如何根据父控件调整控件的大小的方式。
- 把多个窗口合并到一个窗口的分页
- 把窗口吸附到窗口边上
- 多视口,是指可以把imgui窗口拖出Windows窗口独立存在
我们之前实现的 ImGui 的各种事件的显示和 callback 现在全部交给 ImGui 来实现,所以移除了这部分的代码,并添加了几个新函数方便我们调用 ImGui 的函数
//ImGuiLayer.h
virtual void OnAttach() override;
		virtual void OnDetach() override;
		virtual void OnImGuiRender() override;

		void Begin();
		void End();
//ImGuiLayer.cpp
void ImGuiLayer::OnAttach()
	{
		// Setup Dear ImGui context
		IMGUI_CHECKVERSION();
		ImGui::CreateContext();
		ImGuiIO& io = ImGui::GetIO(); (void)io;
		io.ConfigFlags |= ImGuiConfigFlags_NavEnableKeyboard;       // Enable Keyboard Controls
		//io.ConfigFlags |= ImGuiConfigFlags_NavEnableGamepad;      // Enable Gamepad Controls
		io.ConfigFlags |= ImGuiConfigFlags_DockingEnable;           // Enable Docking
		io.ConfigFlags |= ImGuiConfigFlags_ViewportsEnable;         // Enable Multi-Viewport / Platform Windows
		//io.ConfigFlags |= ImGuiConfigFlags_ViewportsNoTaskBarIcons;
		//io.ConfigFlags |= ImGuiConfigFlags_ViewportsNoMerge;

		// Setup Dear ImGui style
		ImGui::StyleColorsDark();
		//ImGui::StyleColorsClassic();

		// When viewports are enabled we tweak WindowRounding/WindowBg so platform windows can look identical to regular ones.
		ImGuiStyle& style = ImGui::GetStyle();
		if (io.ConfigFlags & ImGuiConfigFlags_ViewportsEnable)
		{
			style.WindowRounding = 0.0f;
			style.Colors[ImGuiCol_WindowBg].w = 1.0f;
		}

		Application& app = Application::Get();
		GLFWwindow* window = static_cast<GLFWwindow*>(app.GetWindow().GetNativeWindow());

		// Setup Platform/Renderer backends
		ImGui_ImplGlfw_InitForOpenGL(window, true);
		ImGui_ImplOpenGL3_Init("#version 400");
	}

	void ImGuiLayer::OnDetach()
	{
		ImGui_ImplOpenGL3_Shutdown();
		ImGui_ImplGlfw_Shutdown();
		ImGui::DestroyContext();
	}


	void ImGuiLayer::OnImGuiRender()
	{
		static bool show = true;
		ImGui::ShowDemoWindow(&show);


	}

	void ImGuiLayer::Begin()
	{
		ImGui_ImplOpenGL3_NewFrame();
		ImGui_ImplGlfw_NewFrame();
		ImGui::NewFrame();
	}

	void ImGuiLayer::End()		//准备就绪,显示在窗口上
	{
		ImGuiIO& io = ImGui::GetIO();
		Application& app = Application::Get();
		io.DisplaySize = ImVec2((float)app.GetWindow().GetWidth(), (float)app.GetWindow().GetHeight());

		//Rendering
		ImGui::Render();
		ImGui_ImplOpenGL3_RenderDrawData(ImGui::GetDrawData());

		if (io.ConfigFlags & ImGuiConfigFlags_ViewportsEnable)
		{
			GLFWwindow* backup_current_context = glfwGetCurrentContext();
			ImGui::UpdatePlatformWindows();
			ImGui::RenderPlatformWindowsDefault();
			glfwMakeContextCurrent(backup_current_context);

		}
	}
在 Layer.h 中添加 OnImGuiRender 虚函数
virtual void OnImGuiRender() {}
LayerStack.h 中修改一些小问题:
原本的 itrator 我们换成了无符号整型,然后用相对于 begin 的偏移量来访问数据,这是因为 vector 在删除元素的时侯,原有的迭代器会失效
Application.h 中我们让 Application 类持有一个 ImGuiLayer 指针,然后在构造函数中进行初始化并将其加入 LayerStack
		m_ImGuiLayer = new ImGuiLayer();
		PushOverlay(m_ImGuiLayer);
最后在 SandBox 中进行一下简单测试: 在 Sample Layer 中加入
virtual void OnImGuiRender() override
	{
		ImGui::Begin("Test");
		ImGui::Text("Hello World");
		ImGui::End();
	}
将新的窗口拖入 Dear ImGui 中:
[外链图片转存失败,源站可能有防盗链机制,建议将图片保存下来直接上传(img-PXGrm5XK-1665283225311)(/Users/liangjie/Library/Application Support/typora-user-images/image-20221007163412873.png)]
本节遇到的问题:
LNK 2019
由于我们调用的函数所定义的某个文件在编译时没有正确链接导致的,错误显示如下:
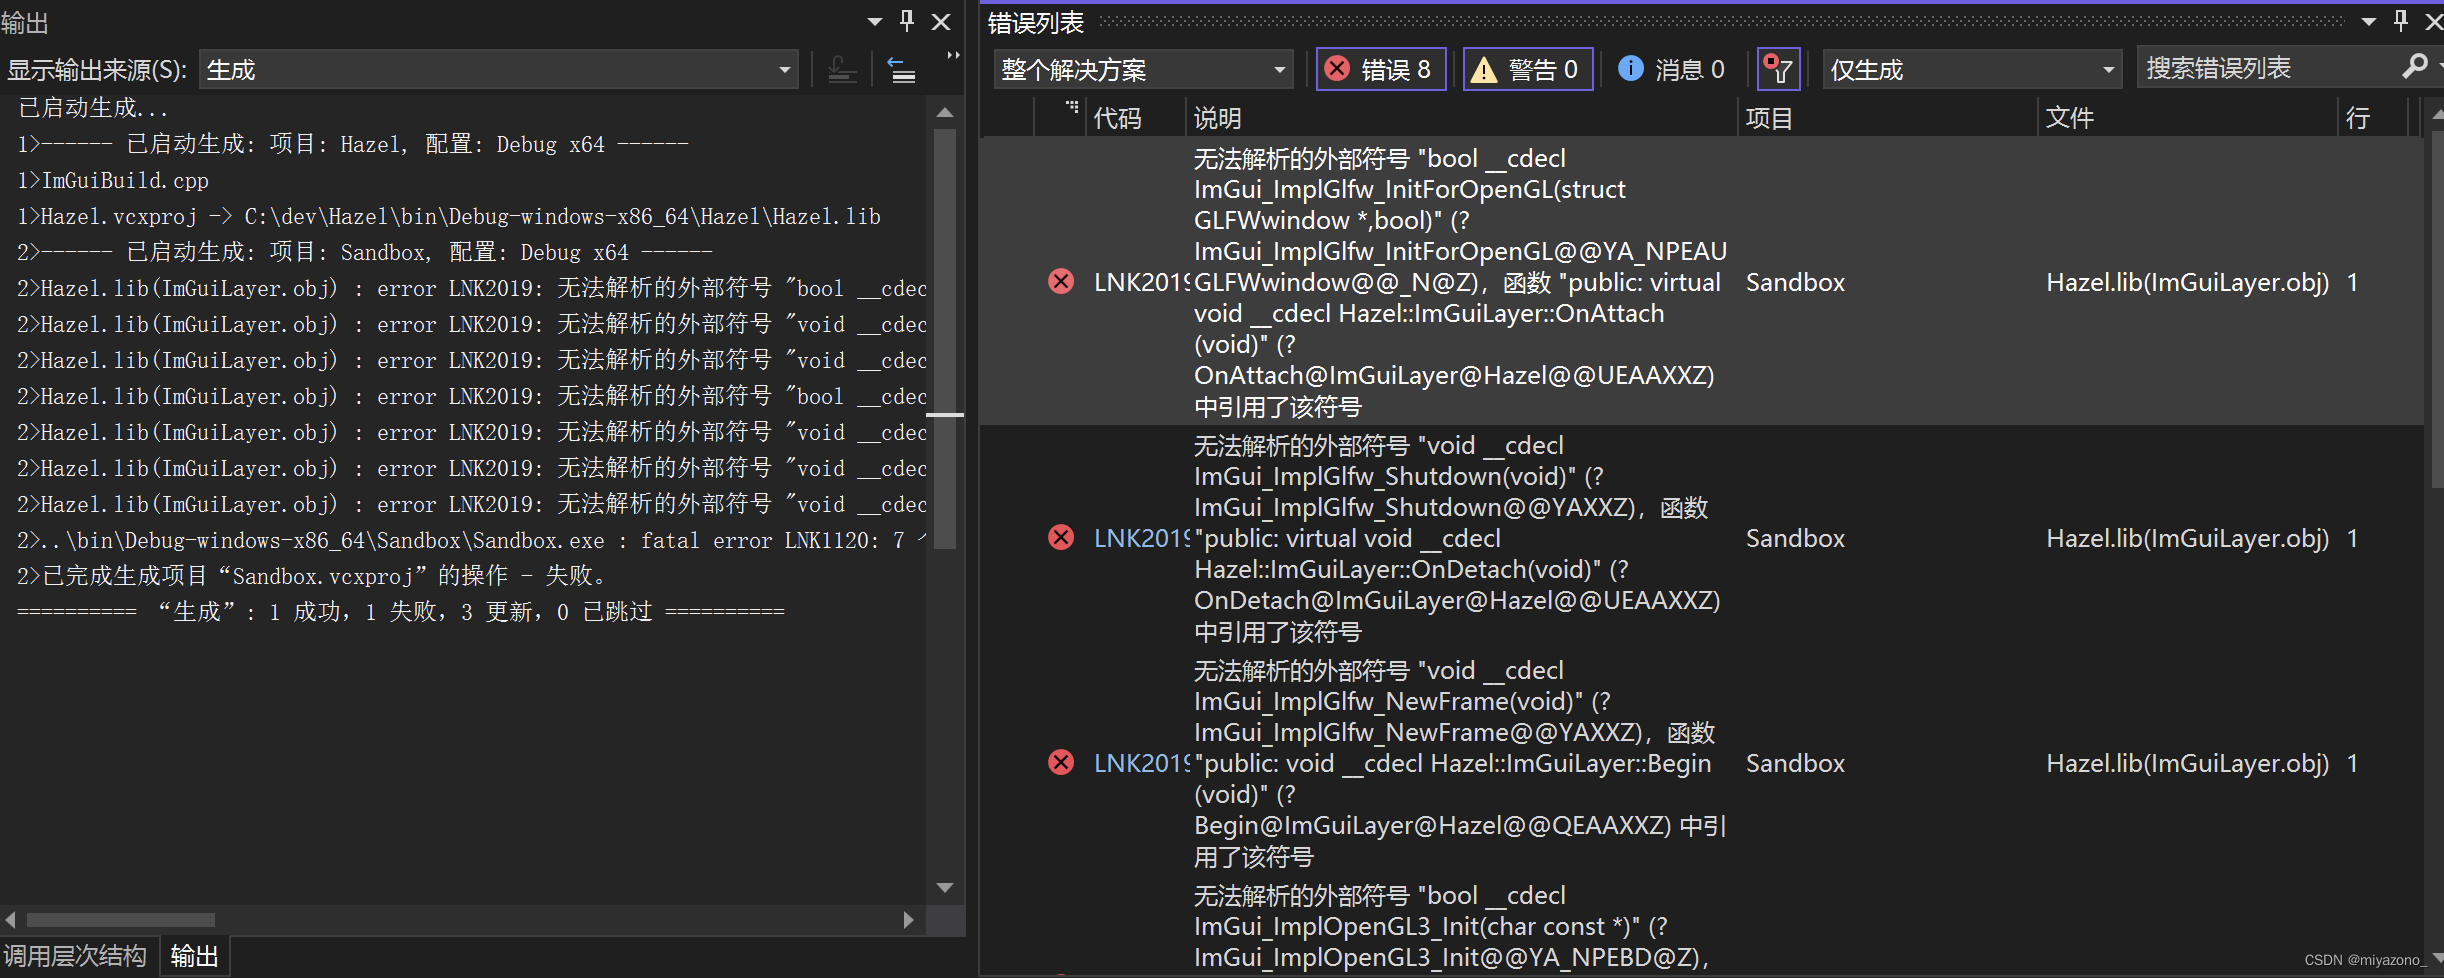
然后根据错误提示找到该函数
		ImGui_ImplOpenGL3_Shutdown();
		ImGui_ImplGlfw_Shutdown();
		ImGui::DestroyContext();
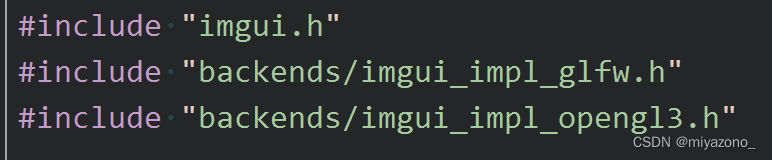
这个函数是在imgui_impl_glfw.cpp 和 imgui_impl_opengl3.cpp 中进行定义的,但是我们明明已经包含了该文件的头文件,为什么会连接失败呢?
然后打开该文件所在文件夹我们可以看到:
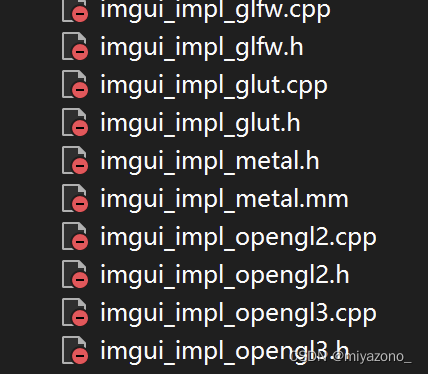
这几个文件是没有包含在项目中的,所以我们包含了头文件之后,并不会进行cpp 文件的编译,解决方案:
- 将这两个文件包含进我们的项目,然后进行编译
- 创建一个文件来将这两个 cpp 文件预先进行编译

之后便可以正常运行了。


 被折叠的 条评论
为什么被折叠?
被折叠的 条评论
为什么被折叠?
 到【灌水乐园】发言


