


zabbix自定义监控mysql主从
监控mysql主从状态
主数据库配置
先进主数据库修改一下root密码,然后直接配置从库的用户。
[root@localhost ~]# mysql
Welcome to the MariaDB monitor.  Commands end with ; or \g.
Your MariaDB connection id is 8
Server version: 10.3.28-MariaDB MariaDB Server

Copyright (c) 2000, 2018, Oracle, MariaDB Corporation Ab and others.

Type 'help;' or '\h' for help. Type '\c' to clear the current input statement.

MariaDB [(none)]> set password = password('123');
[root@localhost ~]# mysql -uroot -p123
Welcome to the MariaDB monitor.  Commands end with ; or \g.
Your MariaDB connection id is 9
Server version: 10.3.28-MariaDB MariaDB Server

Copyright (c) 2000, 2018, Oracle, MariaDB Corporation Ab and others.

Type 'help;' or '\h' for help. Type '\c' to clear the current input statement.

MariaDB [(none)]> grant replication slave on *.* to 'repl'@'192.168.171.135' identified by '123';
Query OK, 0 rows affected (0.001 sec)

MariaDB [(none)]>
MariaDB [(none)]> quit
Bye
#进配置文件修改一下配置
[root@localhost ~]# vim /etc/my.cnf.d/
auth_gssapi.cnf           mariadb-server.cnf
client.cnf                mysql-clients.cnf
enable_encryption.preset  oqgraph.cnf
galera.cnf
[root@localhost ~]# vim /etc/my.cnf.d/mariadb-server.cnf
log-bin = mysql_bin  #加这两行配置
server-id = 10
#重启服务
[root@localhost ~]# systemctl restart mariadb
[root@localhost ~]# mysql -uroot -p123
Welcome to the MariaDB monitor.  Commands end with ; or \g.
Your MariaDB connection id is 9
Server version: 10.3.28-MariaDB-log MariaDB Server

Copyright (c) 2000, 2018, Oracle, MariaDB Corporation Ab and others.

Type 'help;' or '\h' for help. Type '\c' to clear the current input statement.
#这里查看一下主数据库的状态。
MariaDB [(none)]> show master status;
+------------------+----------+--------------+------------------+
| File             | Position | Binlog_Do_DB | Binlog_Ignore_DB |
+------------------+----------+--------------+------------------+
| mysql_bin.000001 |      328 |              |                  |
+------------------+----------+--------------+------------------+
1 row in set (0.000 sec)

MariaDB [(none)]>
从数据库配置
#先进来把数据库密码改了然后在登陆进去。
[root@localhost ~]# mysql
Welcome to the MariaDB monitor.  Commands end with ; or \g.
Your MariaDB connection id is 9
Server version: 10.3.28-MariaDB MariaDB Server

Copyright (c) 2000, 2018, Oracle, MariaDB Corporation Ab and others.

Type 'help;' or '\h' for help. Type '\c' to clear the current input statement.

MariaDB [(none)]>
MariaDB [(none)]> set password = password('123');
#这里修改配置文件
[root@localhost ~]# vim /etc/my.cnf.d/mariadb-server.cnf
server-id = 20
relay-log = myrelay     #加这两行配置
#重启服务
[root@localhost ~]# systemctl restart mariadb
[root@localhost ~]# mysql -uroot -p123
MariaDB [(none)]> change master to master_host='192.168.171.134', master_user='repl', master_password='123', master_log_file='mysql_bin.000001', master_log_pos=328;
Query OK, 0 rows affected (0.005 sec)
#启动一下
MariaDB [(none)]> start slave;
Query OK, 0 rows affected (0.001 sec)

MariaDB [(none)]> show slave status\G;
Slave_IO_Running: Connecting   #发现这里不是yes这里我们去把主数据库那边的防火墙关掉然后在重启试试。
             Slave_SQL_Running: Yes
#关闭主防火墙
[root@localhost ~]# systemctl disable --now firewalld
Removed /etc/systemd/system/multi-user.target.wants/firewalld.service.
Removed /etc/systemd/system/dbus-org.fedoraproject.FirewallD1.service.
[root@localhost ~]#
[root@localhost ~]# setenforce 0
#然后在进入从数据库,把slave重启一下。
MariaDB [(none)]> stop slave;
Query OK, 0 rows affected (0.002 sec)

MariaDB [(none)]> start slave;
Query OK, 0 rows affected (0.001 sec)

MariaDB [(none)]> show slave status\G;
*************************** 1. row ***************************
                Slave_IO_State: Waiting for master to send event
                   Master_Host: 192.168.171.134
                   Master_User: repl
                   Master_Port: 3306
                 Connect_Retry: 60
               Master_Log_File: mysql_bin.000001
           Read_Master_Log_Pos: 328
                Relay_Log_File: myrelay.000003
                 Relay_Log_Pos: 555
         Relay_Master_Log_File: mysql_bin.000001
              Slave_IO_Running: Yes
             Slave_SQL_Running: Yes       #这里会看到都变成yes了

#然后再主数据库里面创建一个数据库
MariaDB [(none)]> create database linux;
Query OK, 1 row affected (0.000 sec)

MariaDB [(none)]> show databases;
+--------------------+
| Database           |
+--------------------+
| information_schema |
| linux              |
| mysql              |
| performance_schema |
+--------------------+
4 rows in set (0.000 sec)

MariaDB [(none)]>
#然后在进入从数据库看有没有同步
MariaDB [(none)]> show databases;
+--------------------+
| Database           |
+--------------------+
| information_schema |
| linux              |       #这里可以看到也生成了一个数据库
| mysql              |
| performance_schema |
+--------------------+
4 rows in set (0.000 sec)

MariaDB [(none)]>
然后在被监控的从数据库写脚本
[root@localhost ~]# cd /usr/local/etc/scripts/
[root@localhost scripts]# ls
check_process.sh  log.py
[root@localhost scripts]# vim mysqlms.sh
[root@localhost scripts]# cat mysqlms.sh
#!/bin/bash

count=$(mysql -uroot -p123 -e "show slave status\G" | grep -v grep | grep -c 'Yes')

if [ $count -ne 2 ];then
    echo '1'
else
    echo '0'
fi
[root@localhost scripts]#
#这里给他执行权限
[root@localhost scripts]# chmod +x mysqlms.sh
#然后运行脚本,这里输出0那说明那两个数据库的条件都是yes
[root@localhost scripts]# ./mysqlms.sh
0
#然后写入zabbix服务端的主配置文件
[root@localhost etc]# vim zabbix_agentd.conf
[root@localhost etc]# pwd
/usr/local/etc
[root@localhost etc]#
UserParameter=check_mysqlms, /usr/local/etc/scripts/mysqlms.sh   #在最后一行加入此配置文件
#这里需要把zabbix服务重启一下
[root@localhost ~]# pkill zabbix
[root@localhost ~]# ss -antl
State   Recv-Q  Send-Q   Local Address:Port   Peer Address:Port Process
LISTEN  0       80             0.0.0.0:3306        0.0.0.0:*
LISTEN  0       128            0.0.0.0:22          0.0.0.0:*
LISTEN  0       128               [::]:22             [::]:*
[root@localhost ~]# zabbix_agentd
[root@localhost ~]# ss -antl
State   Recv-Q  Send-Q   Local Address:Port    Peer Address:Port Process
LISTEN  0       80             0.0.0.0:3306         0.0.0.0:*
LISTEN  0       128            0.0.0.0:22           0.0.0.0:*
LISTEN  0       128            0.0.0.0:10050        0.0.0.0:*
LISTEN  0       128               [::]:22              [::]:*
[root@localhost ~]#
在zabbix服务端上测试
#先用命令测试一下
[root@localhost ~]# zabbix_get -s 192.168.171.135 -k check_mysqlms
0
[root@localhost ~]#
配置网页监控


#这里把slave停掉测试一下
MariaDB [(none)]> stop slave;
Query OK, 0 rows affected (0.001 sec)

MariaDB [(none)]> show slave status\G;
*************************** 1. row ***************************
                Slave_IO_State:
                   Master_Host: 192.168.171.134
                   Master_User: repl
                   Master_Port: 3306
                 Connect_Retry: 60
               Master_Log_File: mysql_bin.000001
           Read_Master_Log_Pos: 459
                Relay_Log_File: myrelay.000003
                 Relay_Log_Pos: 686
         Relay_Master_Log_File: mysql_bin.000001
              Slave_IO_Running: No
             Slave_SQL_Running: No     #这里的值都是no了


监控mysql主从延迟
#前面主从复制已经配置好了,现在只需要把从数据库的延迟的值取出来
[root@localhost ~]# mysql -uroot -p123 -e "show slave status\G" | grep 'Seconds_Behind_Master'
         Seconds_Behind_Master: 0
[root@localhost ~]#
#前面的操作只是把他的的一整行取出来,取他的值要awk
[root@localhost ~]# mysql -uroot -p123 -e "show slave status\G" | grep 'Seconds_Behind_Master'|awk '{print $2}'
0
[root@localhost ~]#
#然后利用这条命令写进脚本
[root@localhost ~]# cd /usr/local/etc/
[root@localhost etc]# ls
scripts  zabbix_agentd.conf  zabbix_agentd.conf.d
[root@localhost etc]# cd scripts/
[root@localhost scripts]# ls
check_process.sh  log.py  mysqlms.sh
[root@localhost scripts]# vim mysql_delay.sh
#!/bin/bash

count=$(mysql -uroot -p123 -e "show slave status\G" | grep 'Seconds_Behind_Master'|awk '{print $2}')

if [ $count -ne 0 ];then
    echo '1'
else
    echo '0'
fi

[root@localhost scripts]#
#给他加上权限运行一下
[root@localhost scripts]# chmod +x mysql_delay.sh
[root@localhost scripts]# ./mysql_delay.sh
0
#再写入监控的配置文件
[root@localhost etc]# vim zabbix_agentd.conf
UserParameter=check_mysql_delay, /usr/local/etc/scripts/mysql_delay.sh    #在最后一行写入
#这里再把服务重启一下
[root@localhost etc]# pkill zabbix
[root@localhost etc]# ss -antl
State   Recv-Q  Send-Q   Local Address:Port   Peer Address:Port Process
LISTEN  0       80             0.0.0.0:3306        0.0.0.0:*
LISTEN  0       128            0.0.0.0:22          0.0.0.0:*
LISTEN  0       128               [::]:22             [::]:*
[root@localhost etc]# zabbix_agentd
[root@localhost etc]# ss -antl
State   Recv-Q  Send-Q   Local Address:Port    Peer Address:Port Process
LISTEN  0       80             0.0.0.0:3306         0.0.0.0:*
LISTEN  0       128            0.0.0.0:22           0.0.0.0:*
LISTEN  0       128            0.0.0.0:10050        0.0.0.0:*
LISTEN  0       128               [::]:22              [::]:*
去zabbix服务端测试用命令测试一下
#这里可以看到他输出的值就是零
[root@localhost ~]# zabbix_get -s 192.168.171.135 -k check_mysql_delay
0
[root@localhost ~]#
配置zabbix网页


用户和组


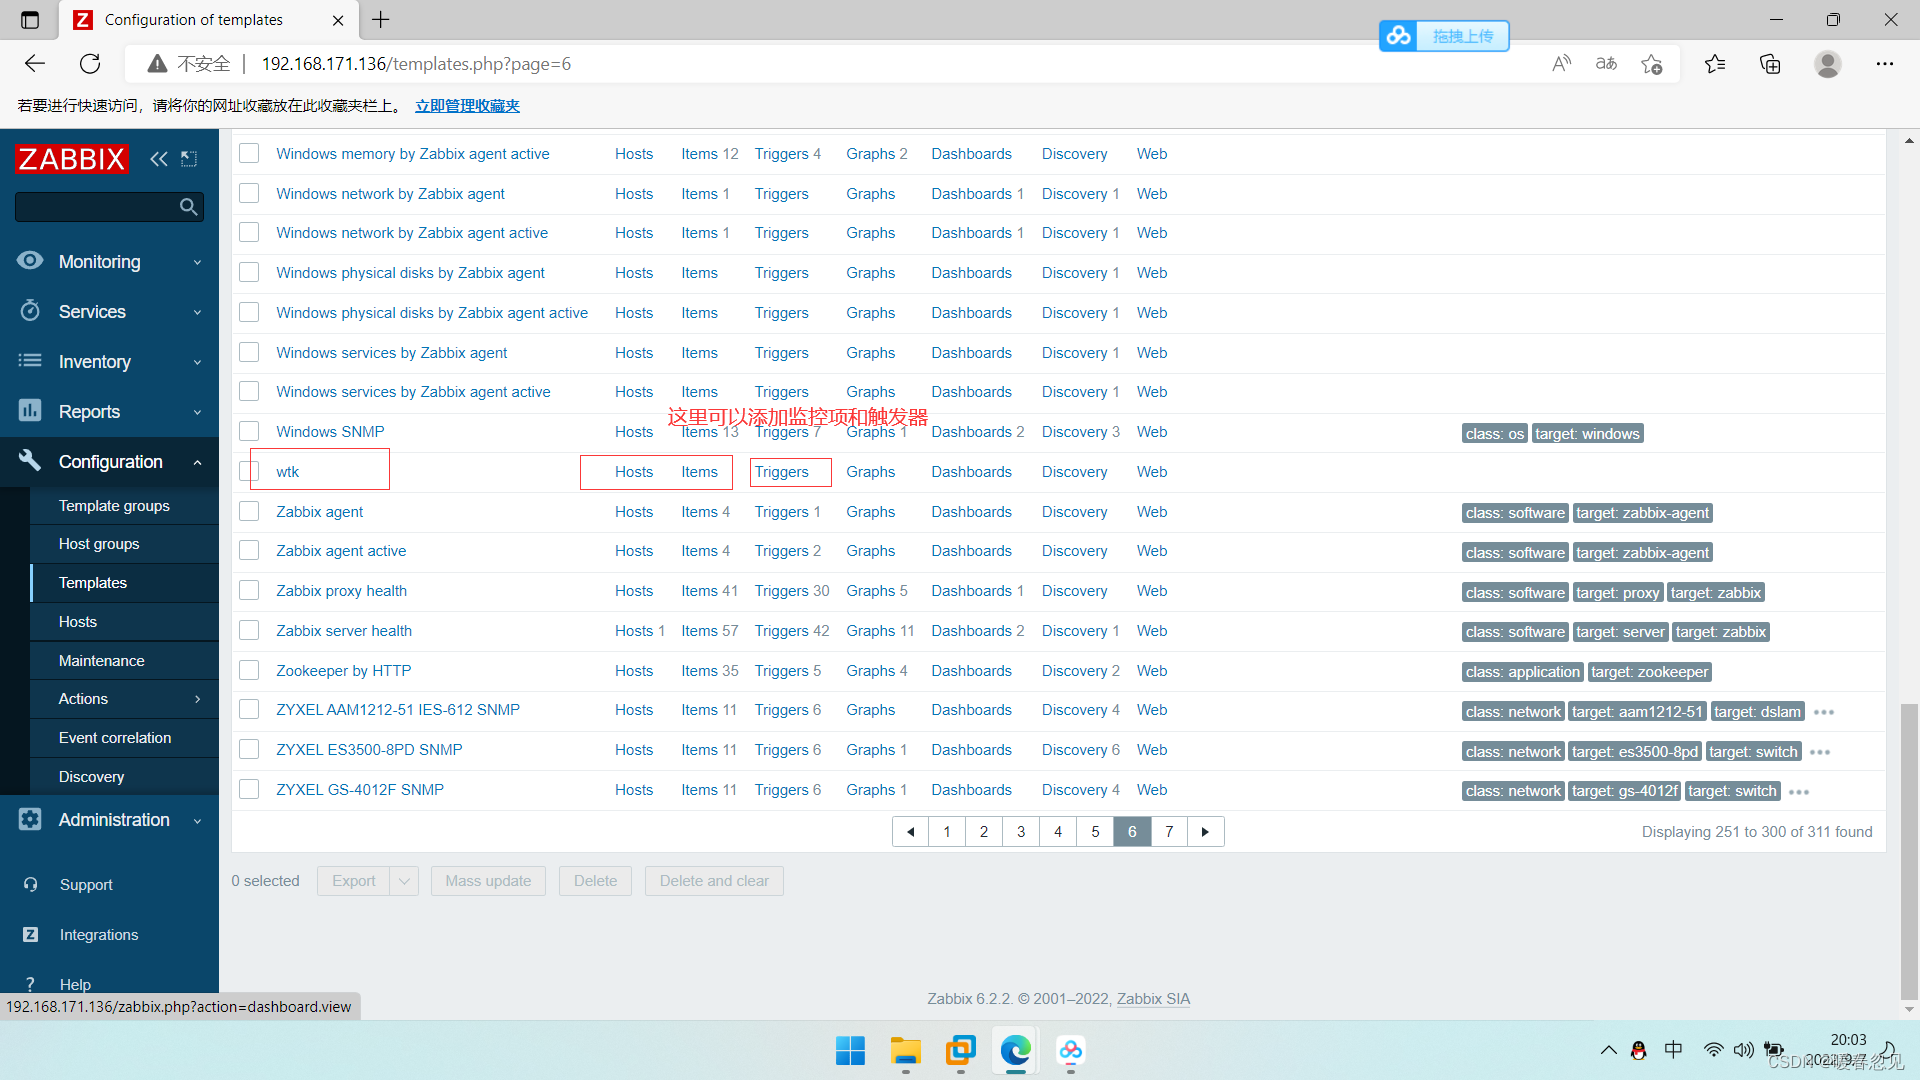
模板
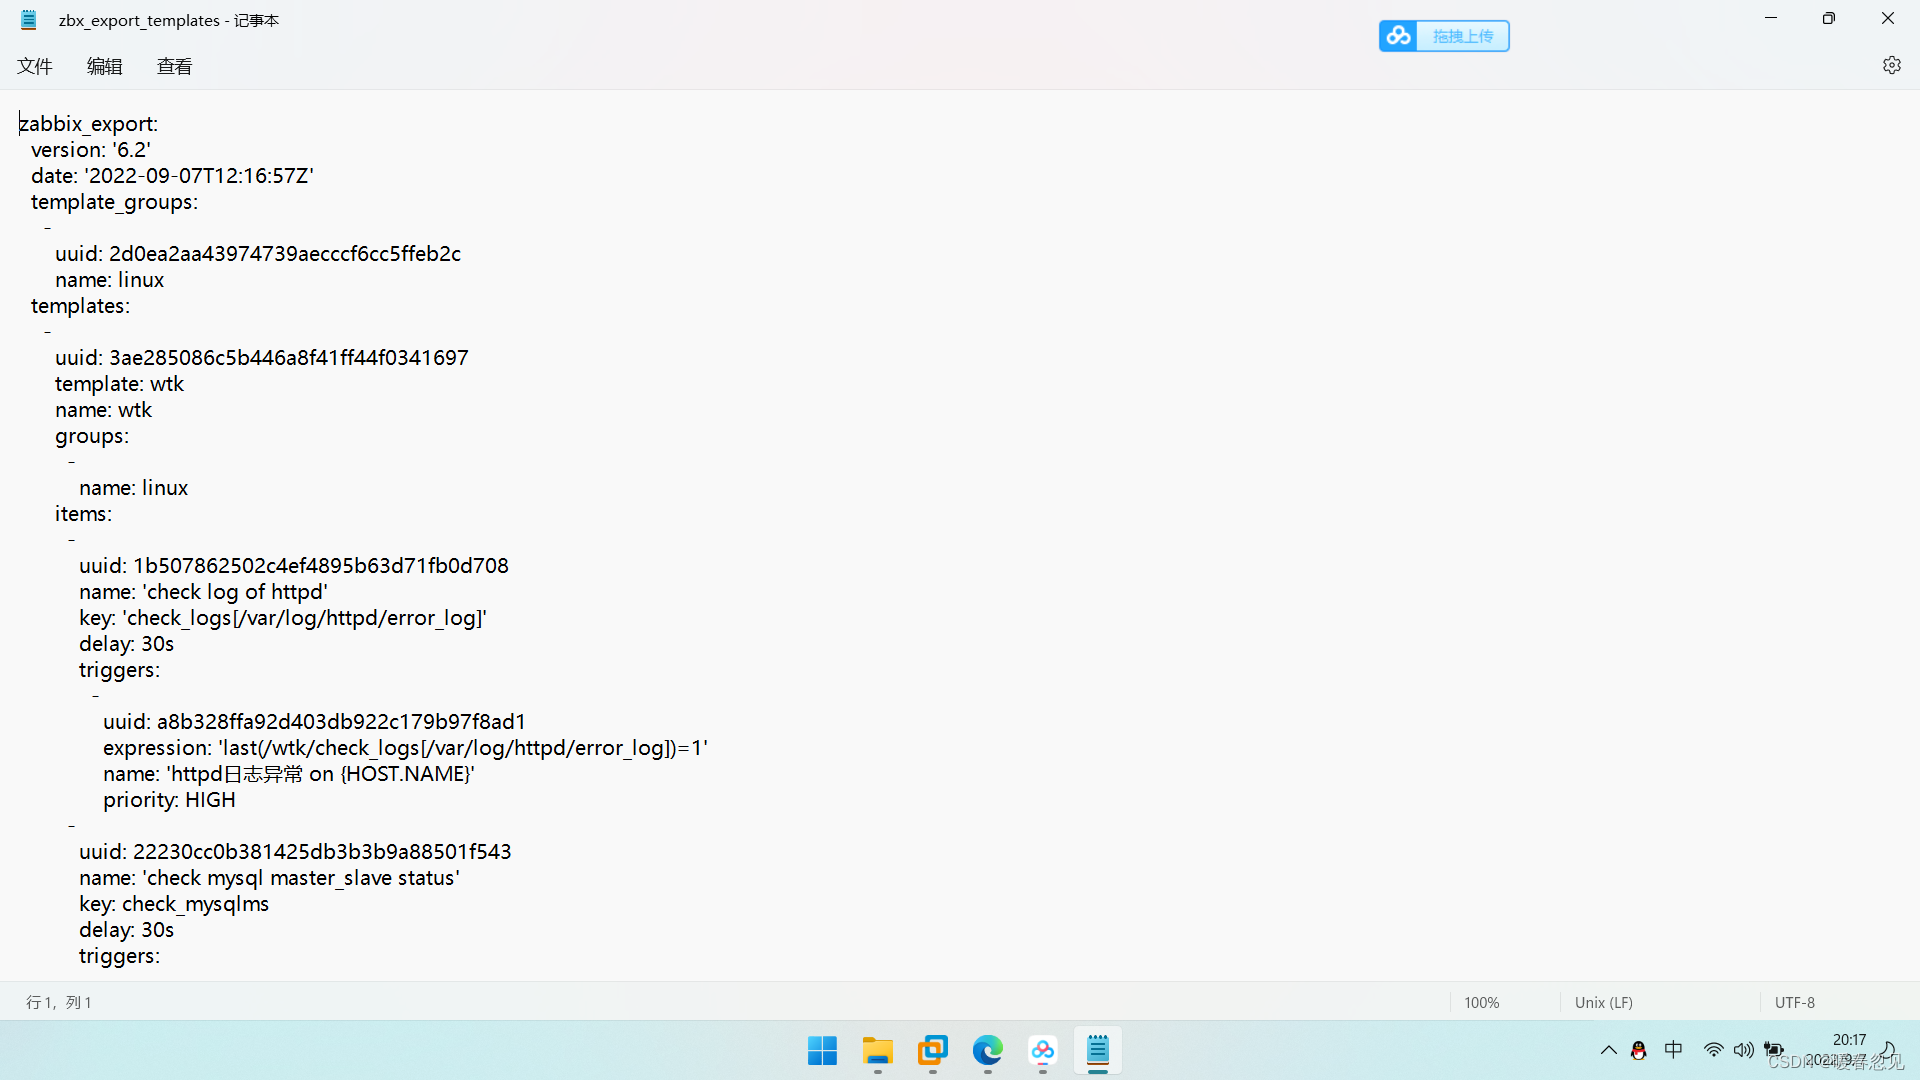
模板就是拿来快速添加哪些监控项、触发器、图表等等的

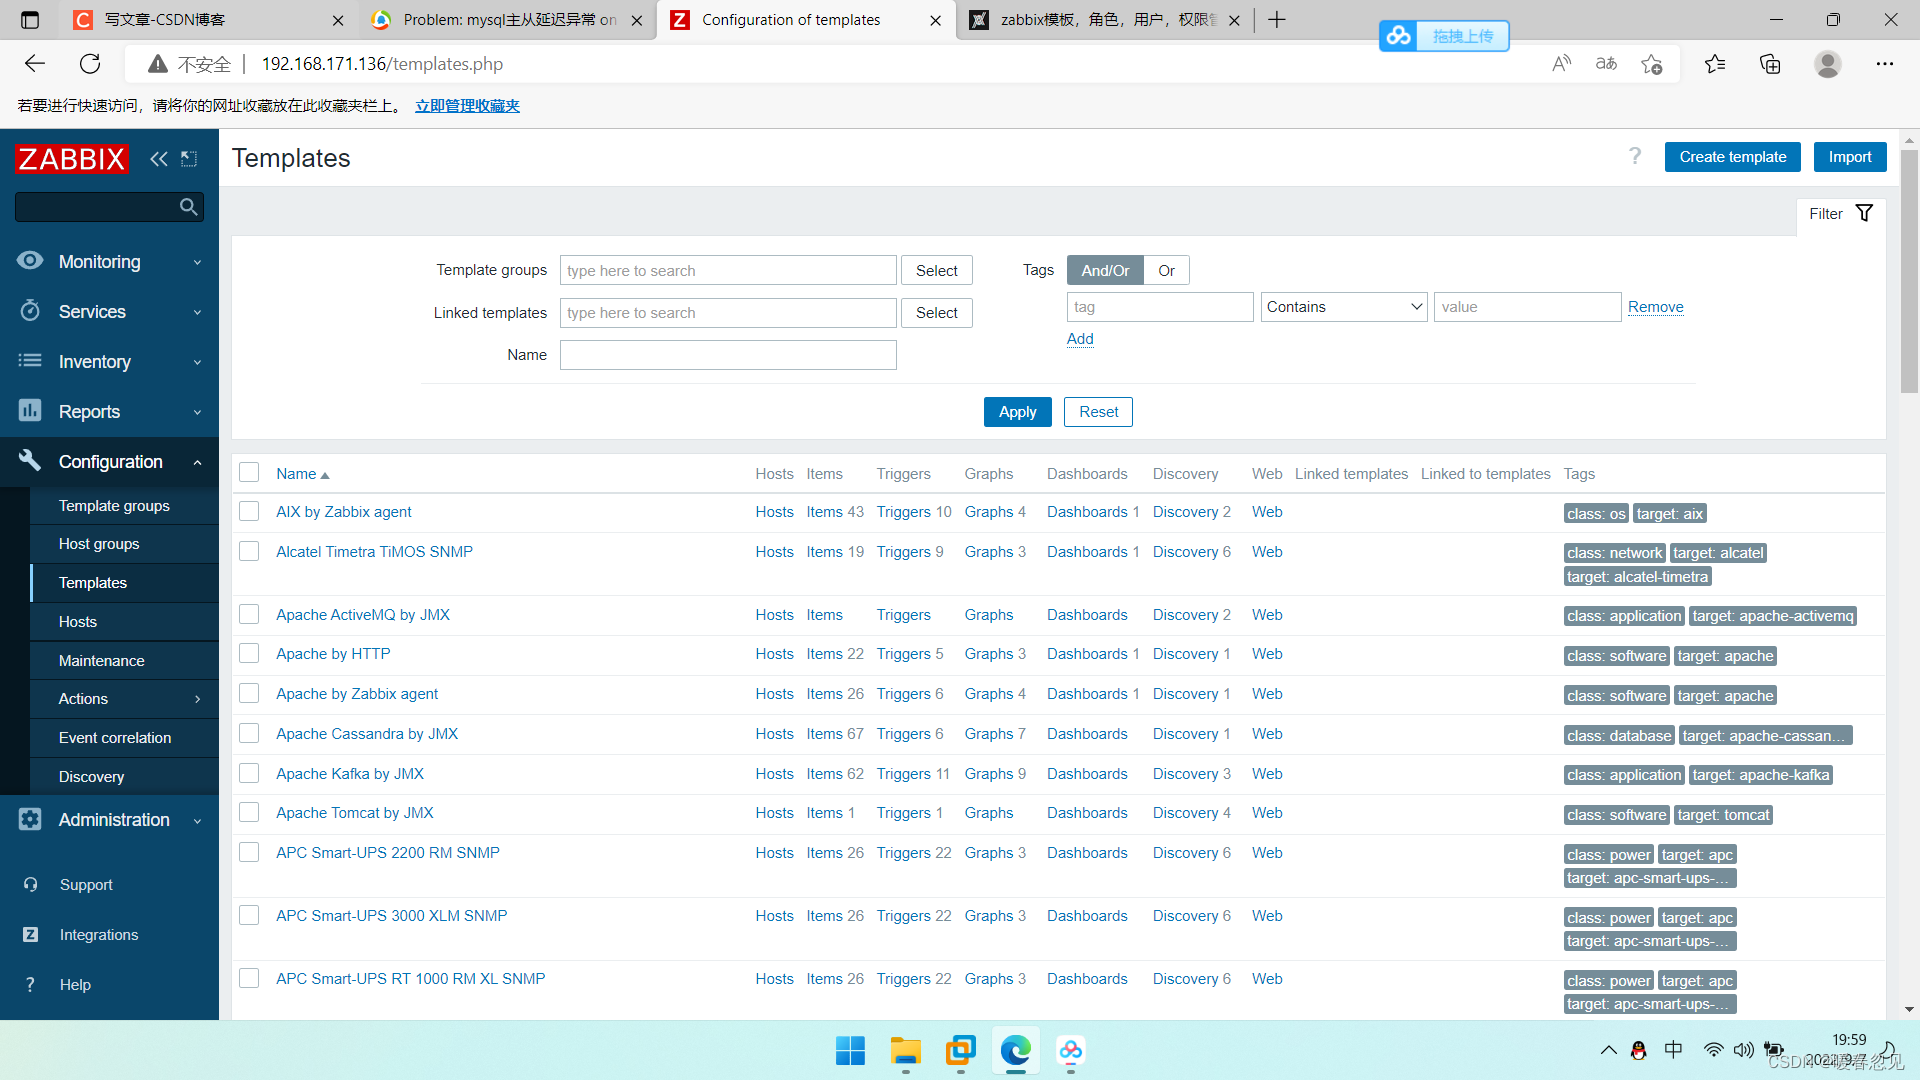

模板的监控项哪些参数也可以从别的地方copy而来
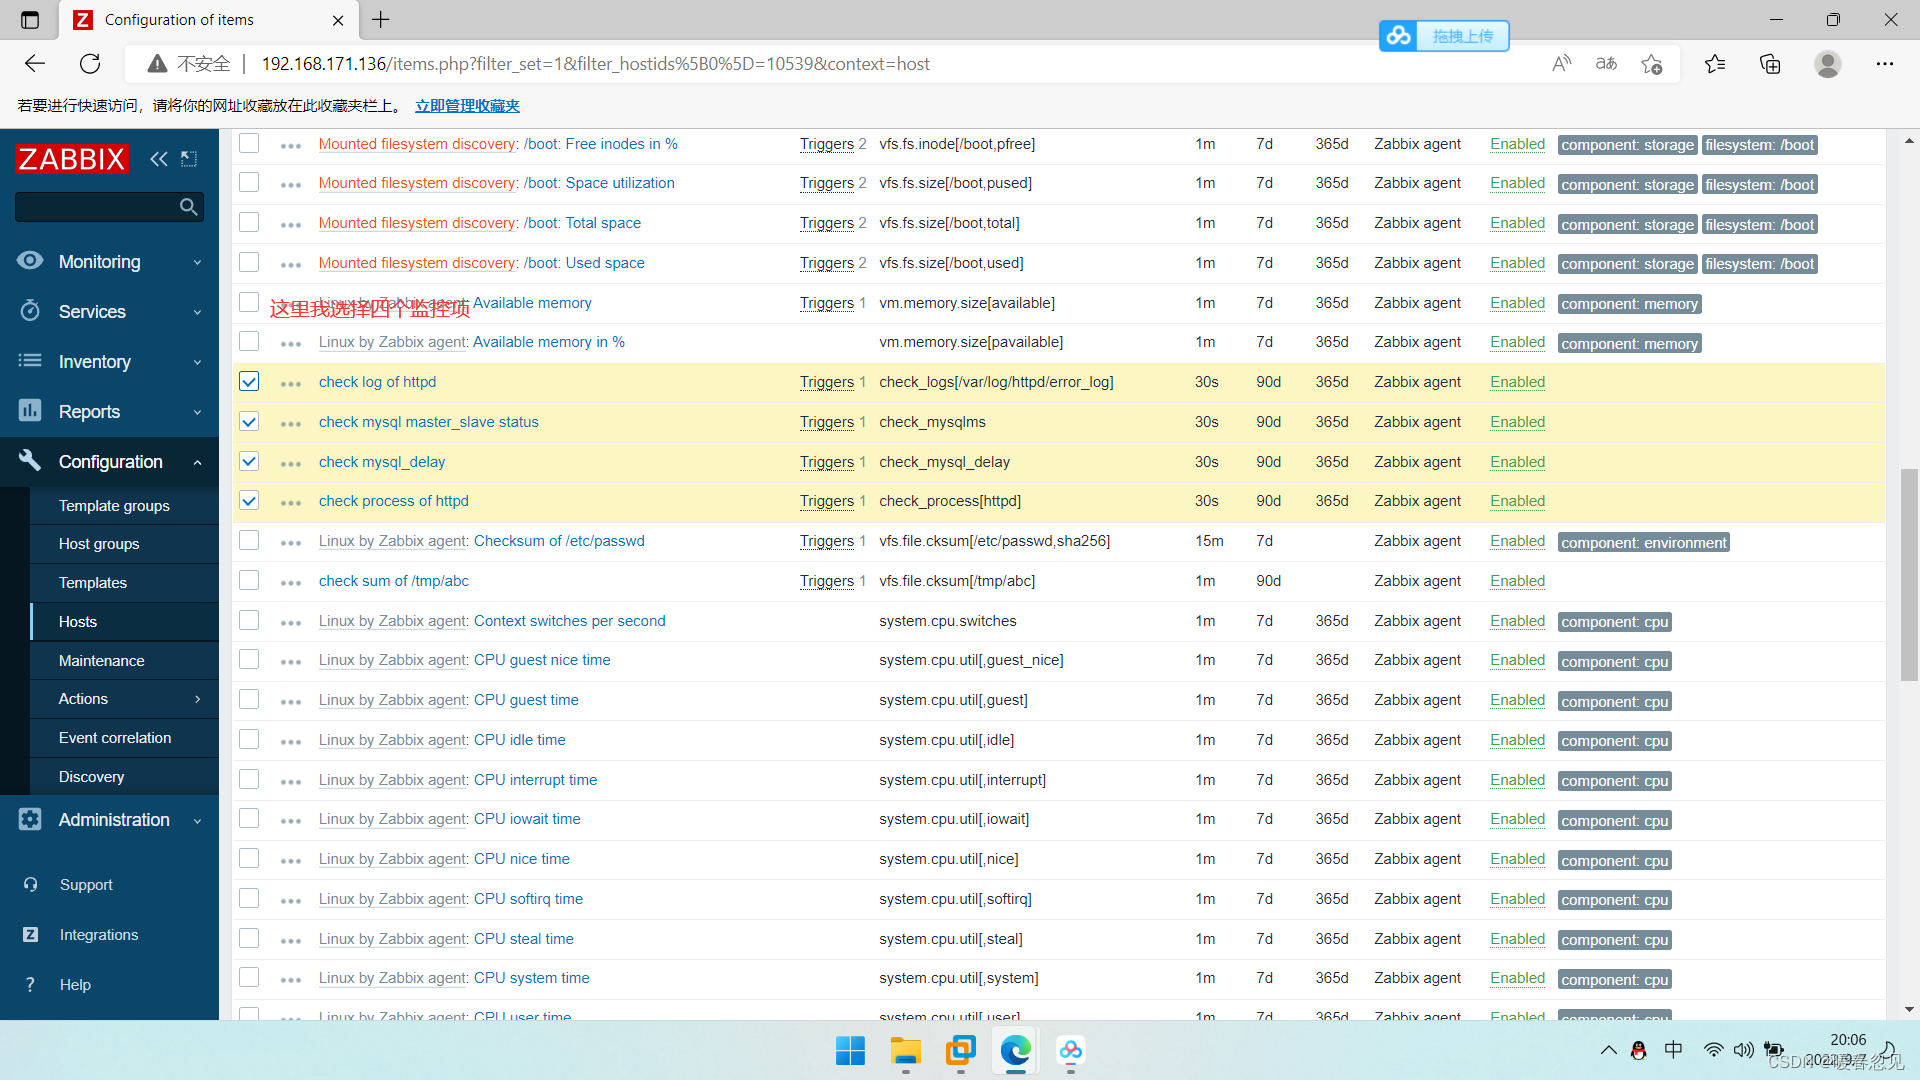
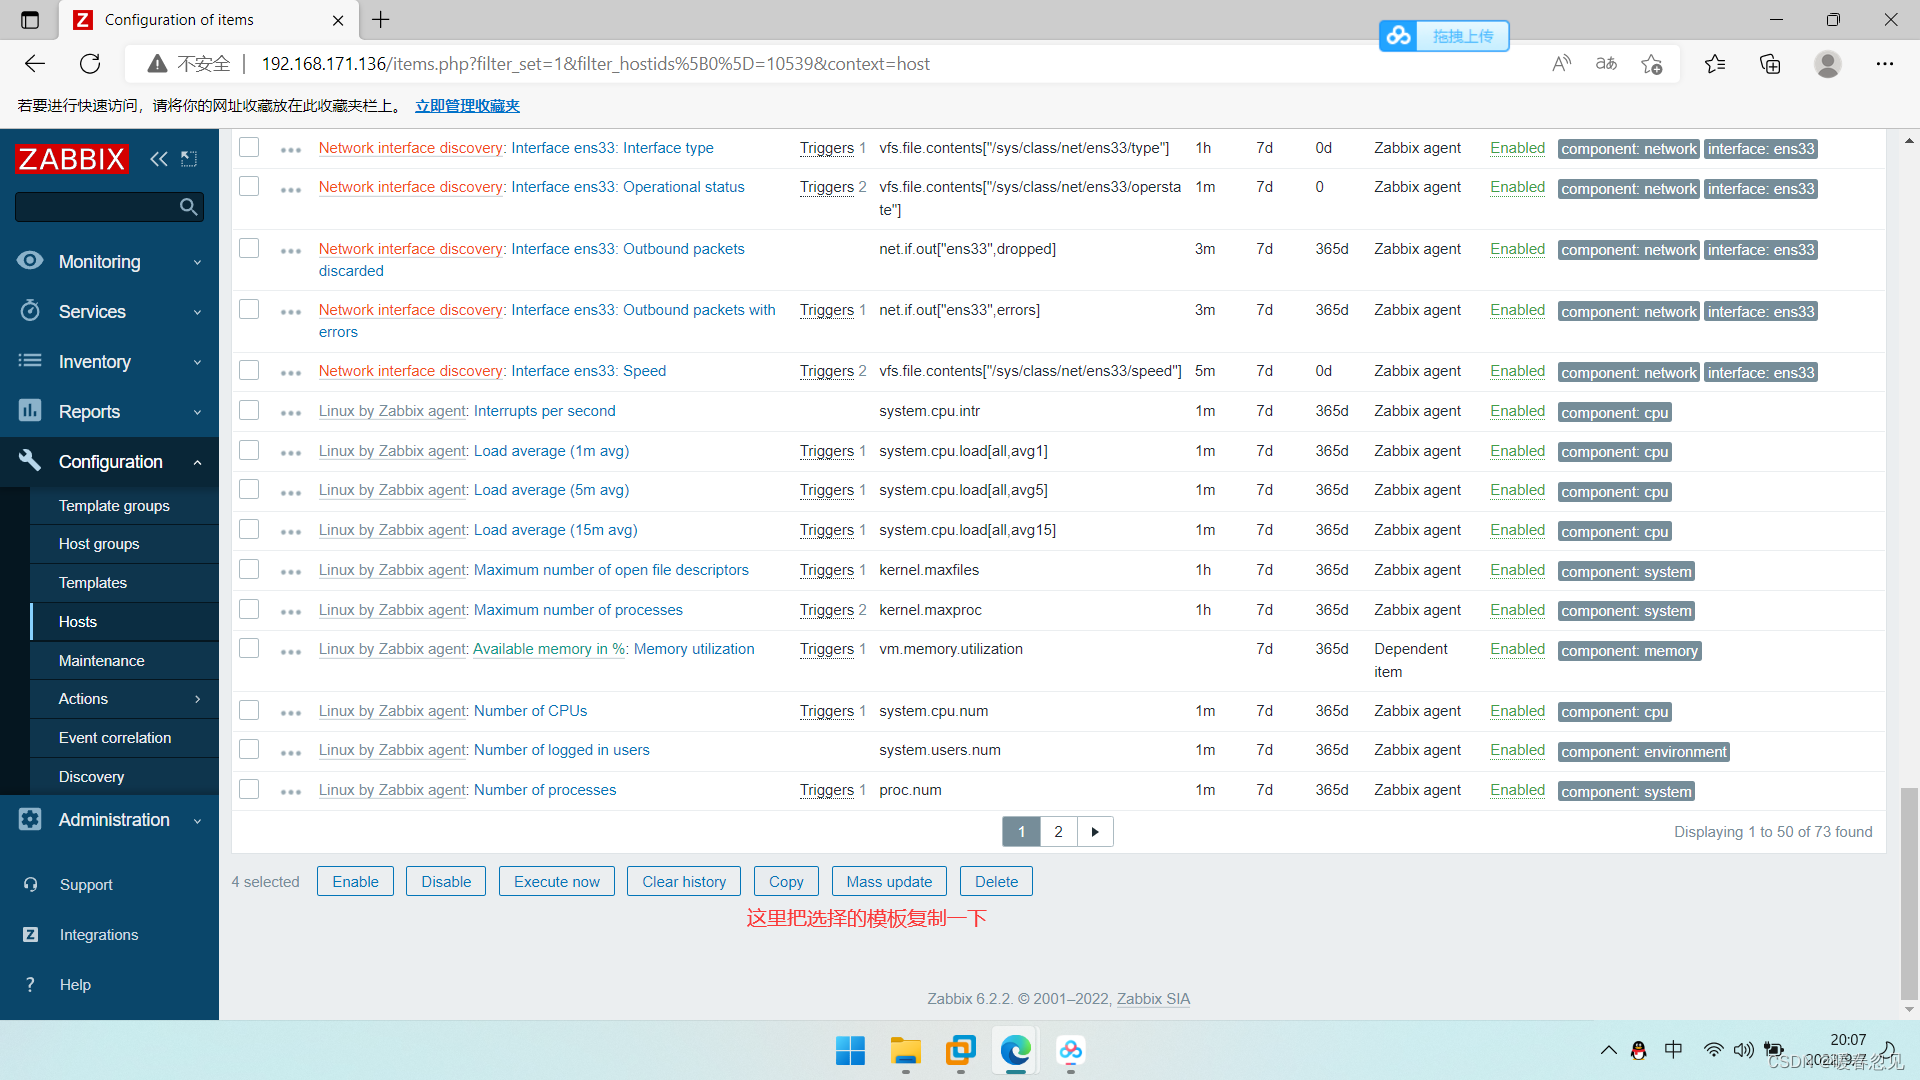
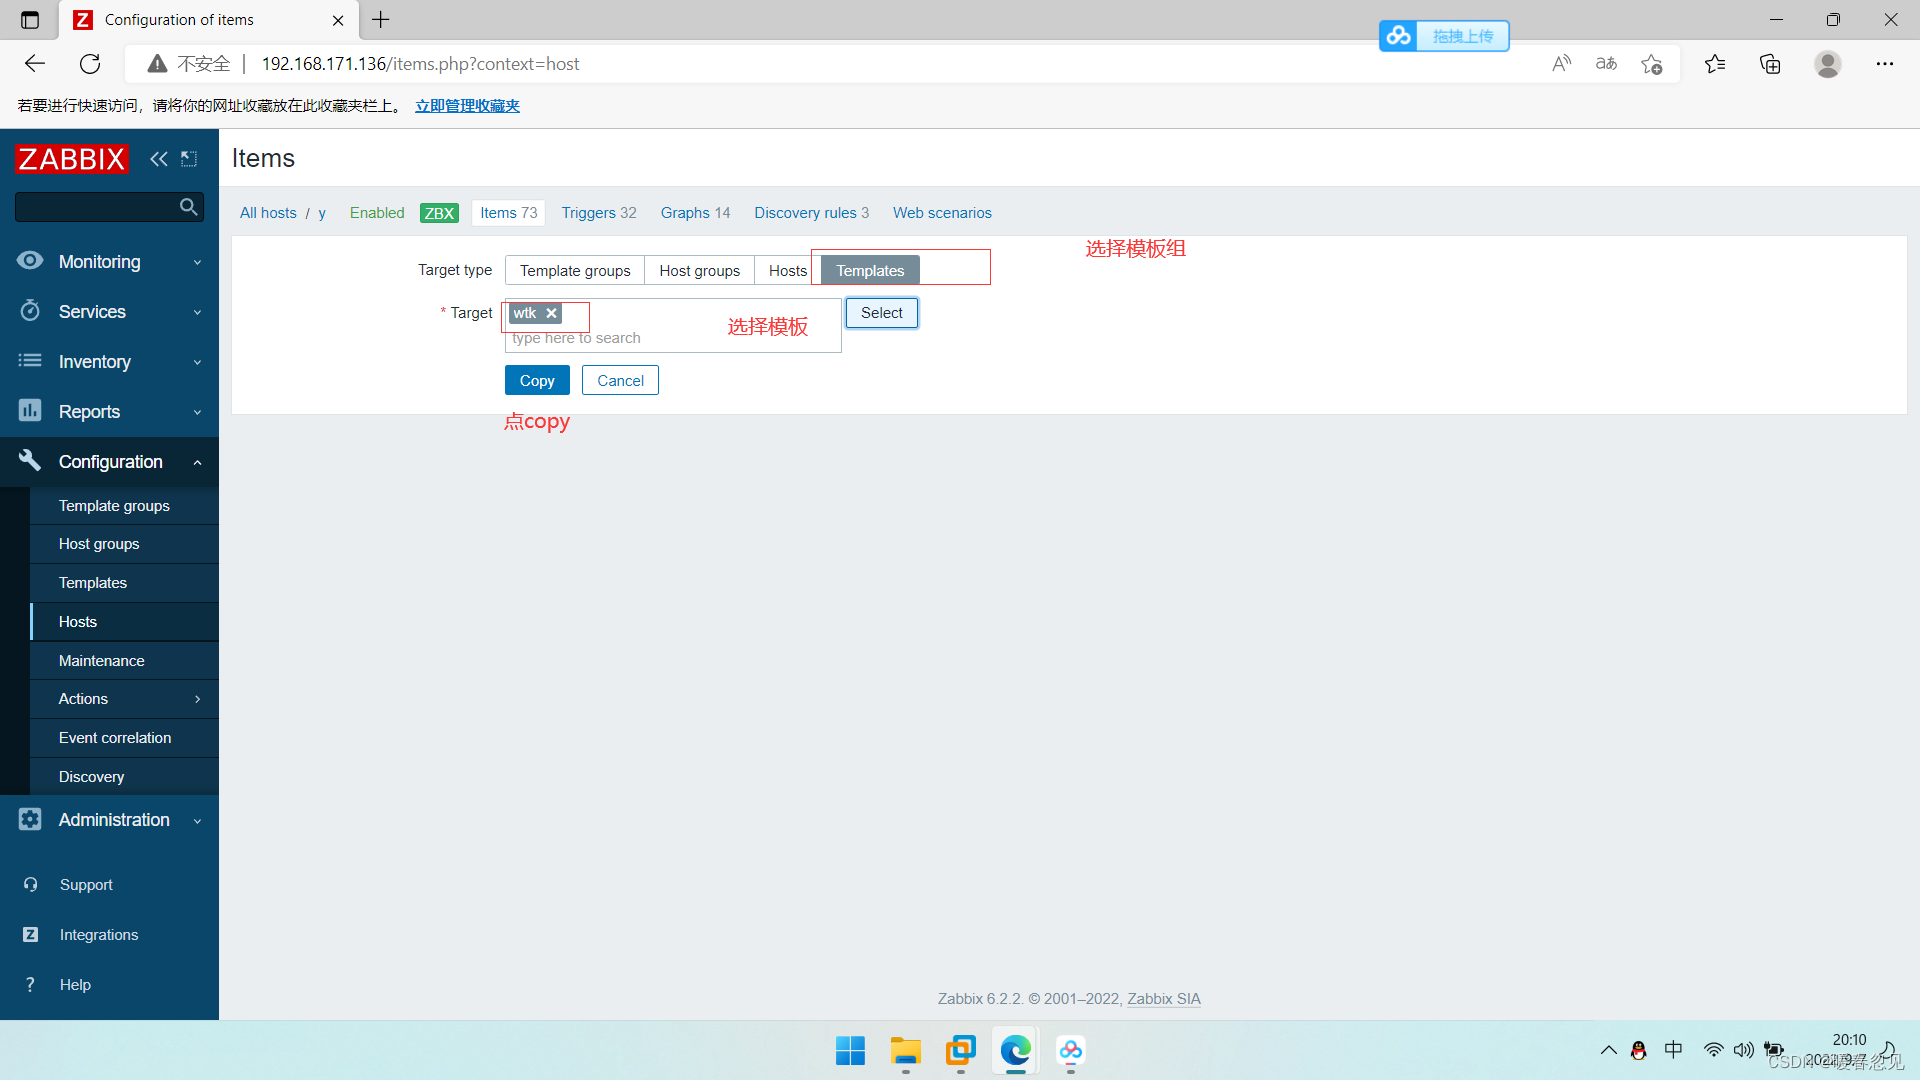
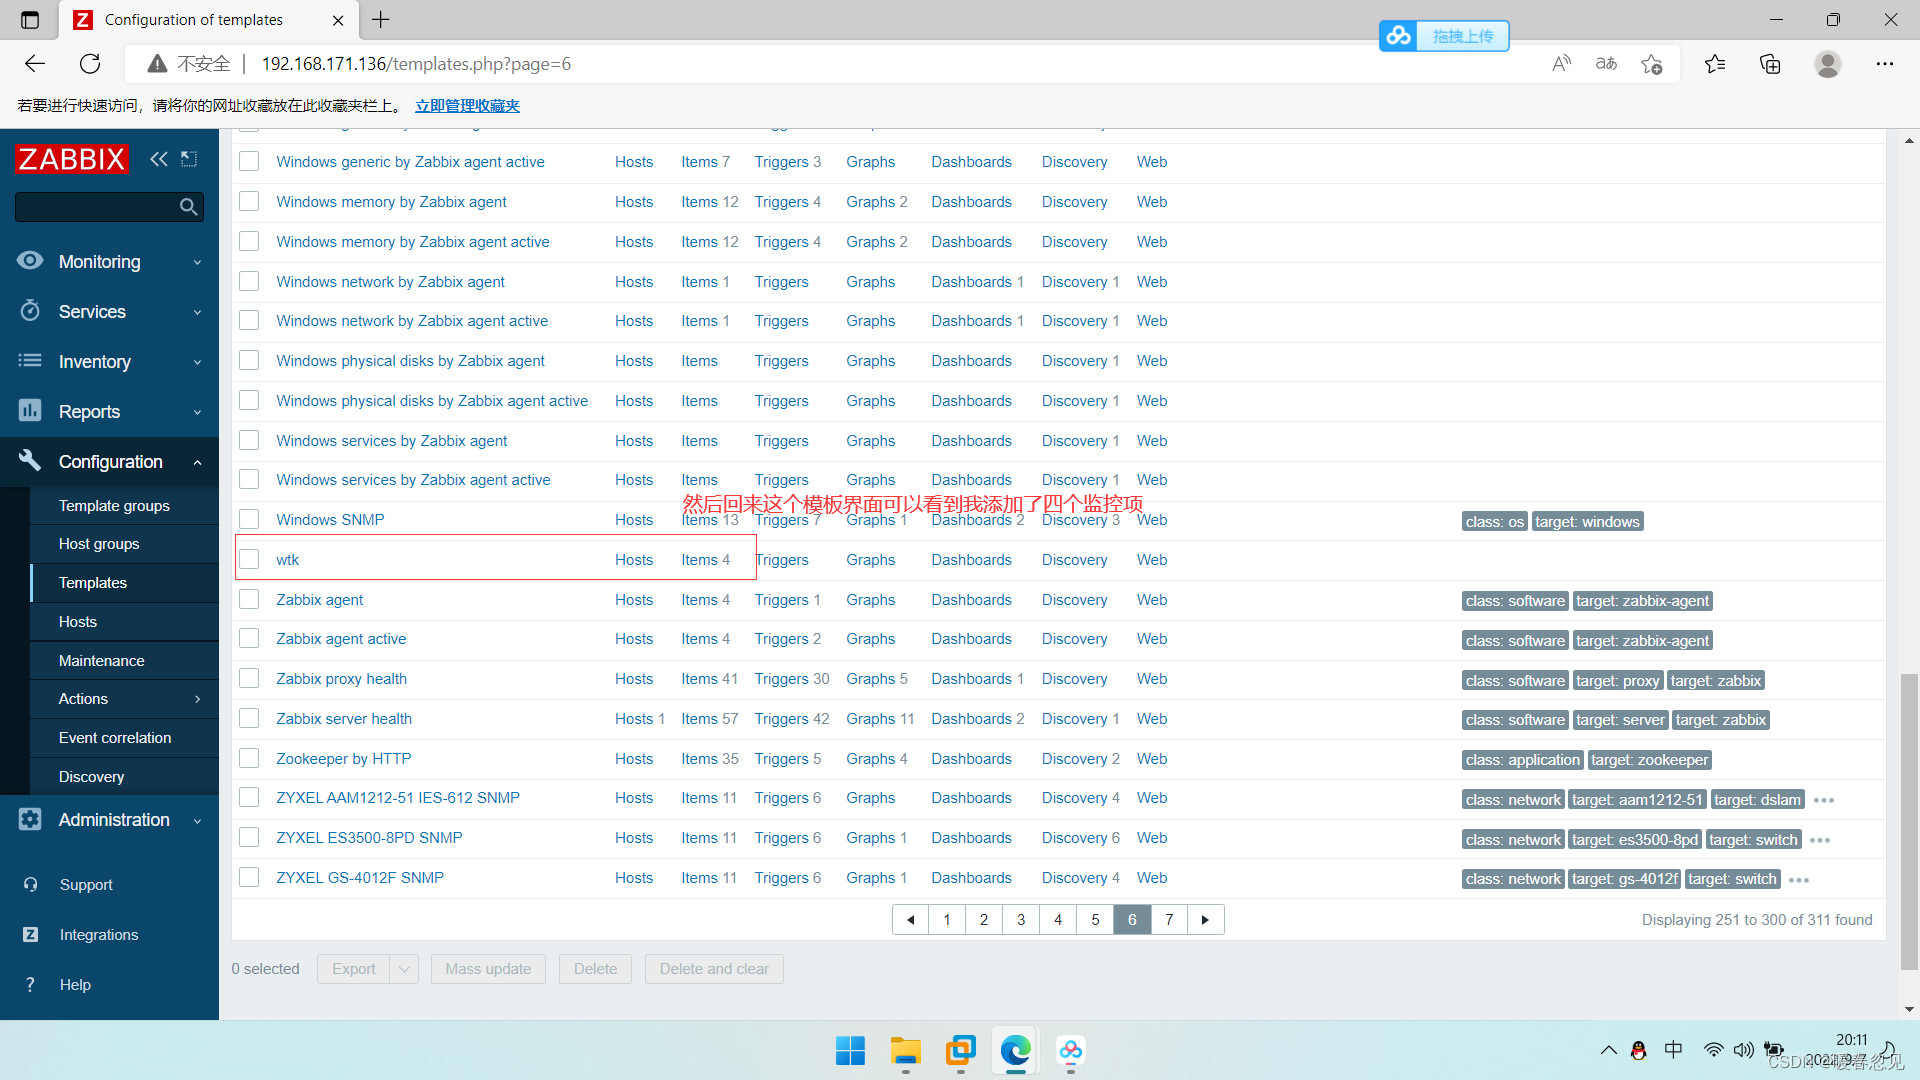
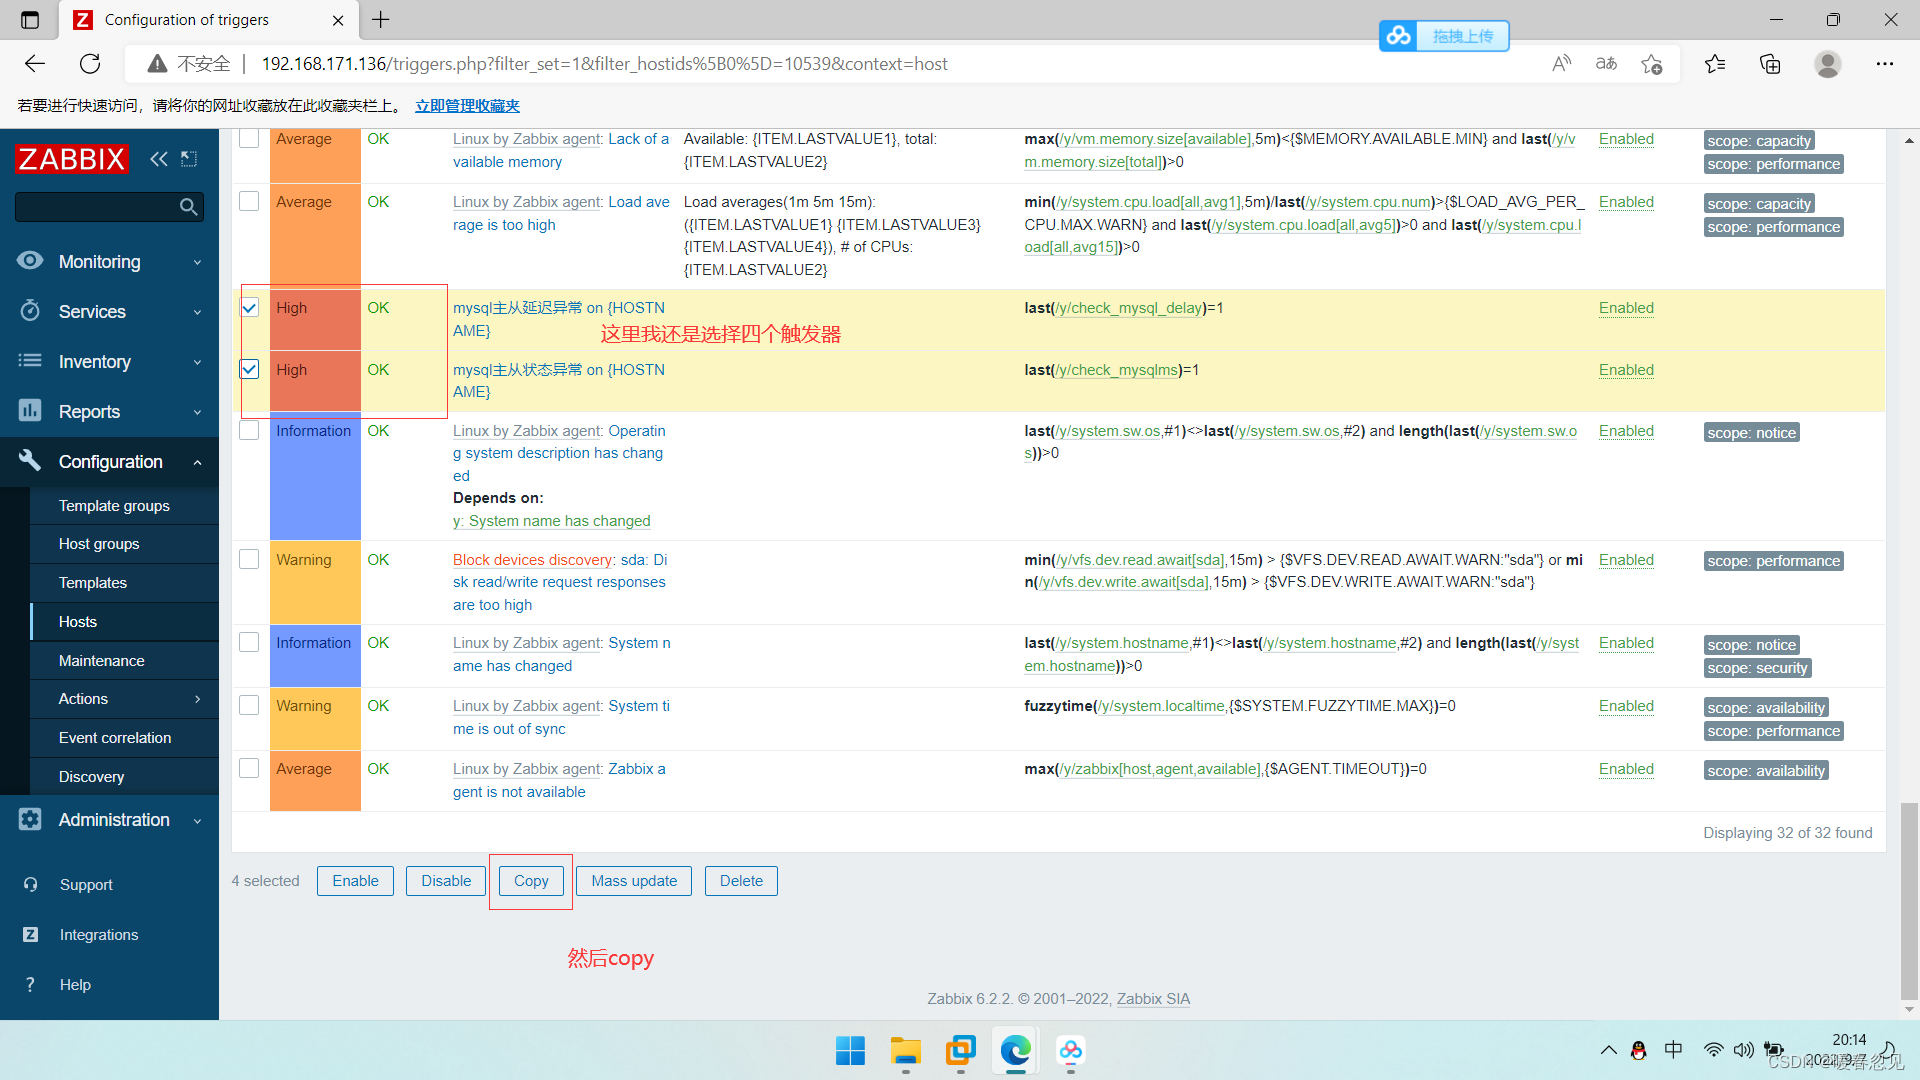


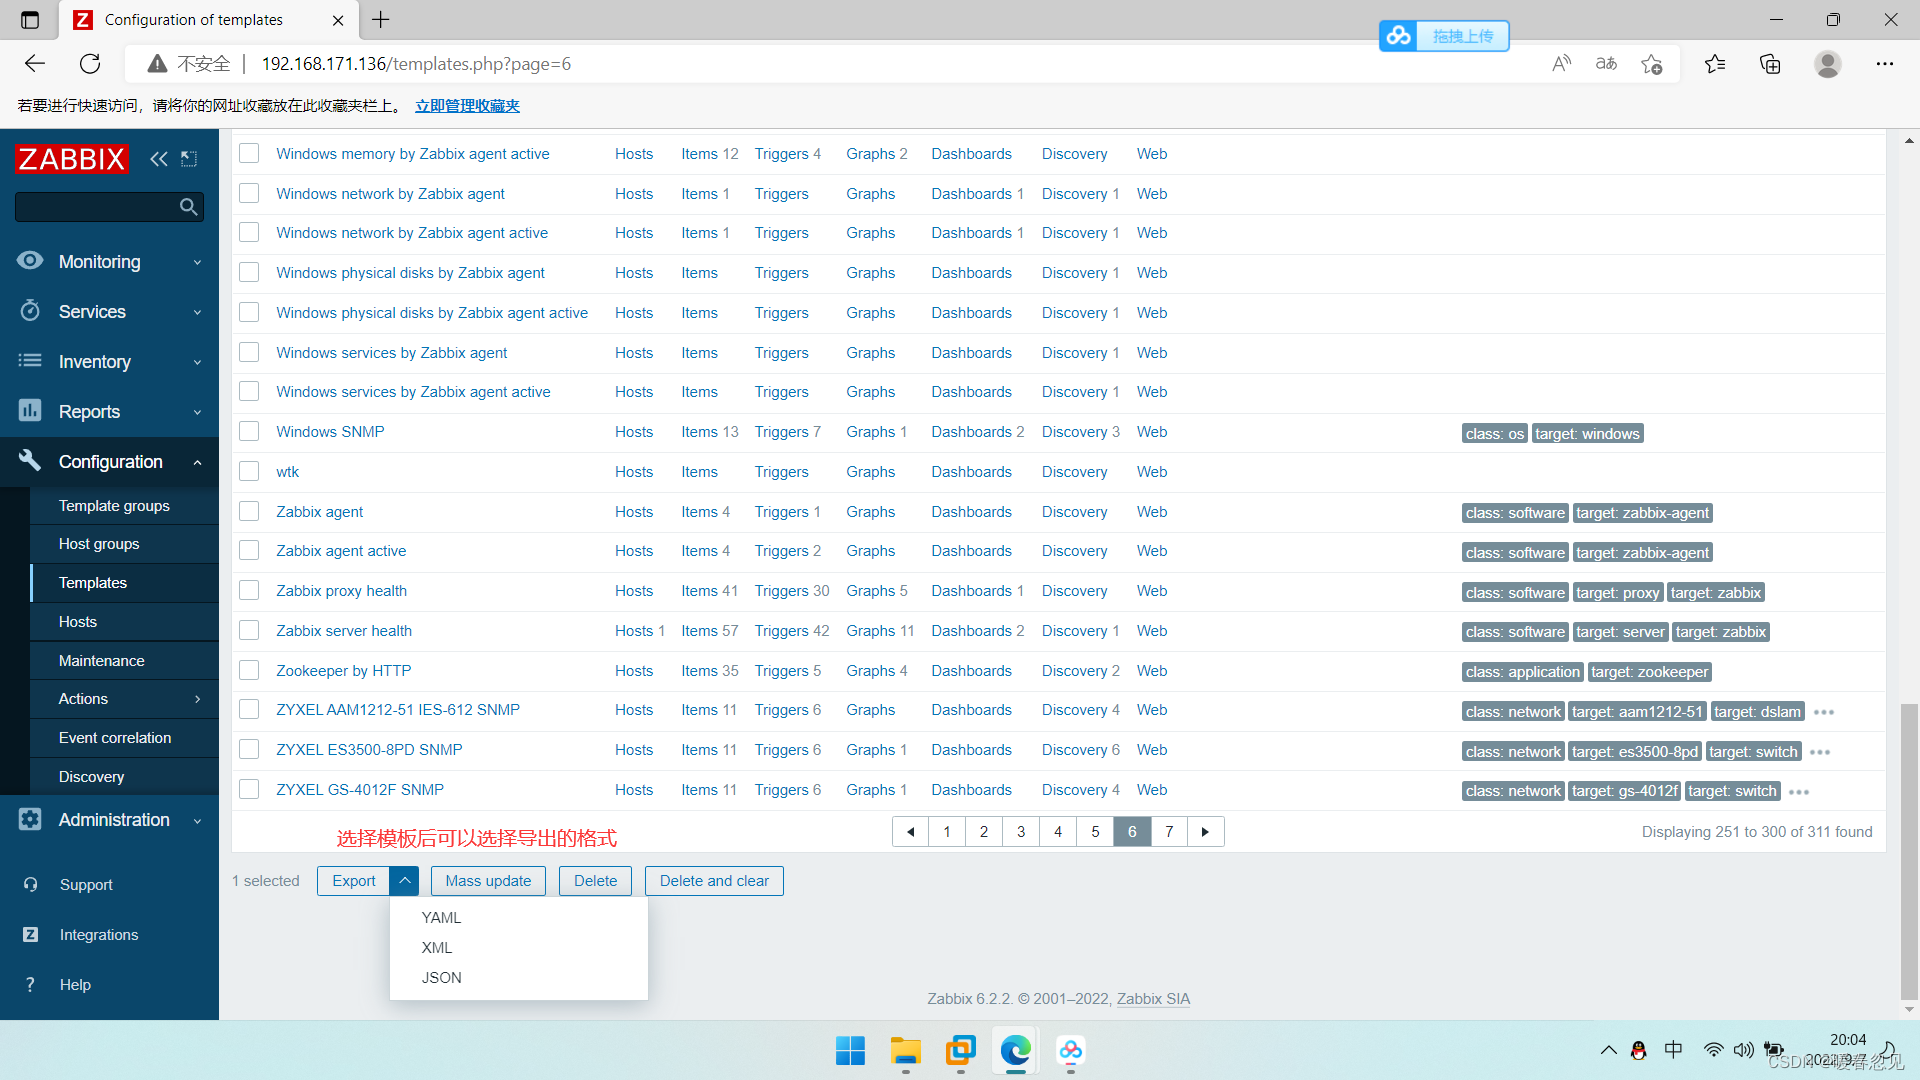
这里可以看到模板里面的监控项和触发器等,也可以根据需求修改然后在导入主机里面


 261
261


 被折叠的 条评论
为什么被折叠?
被折叠的 条评论
为什么被折叠?
 到【灌水乐园】发言


