


实验题目来自2021年春季学期山东大学软件学院计算机动画基础课程
本人比较菜,代码有很多bug以及莫名其妙的地方,发在这记录一下写代码的艰辛😭,仅供参考思路哦!
现在代码已经找不到了,请不要找我要文件啦!(当然,欢迎指正)
- 使用glfw,glad库,C++编写,参考LearnOpenGL
实验题目
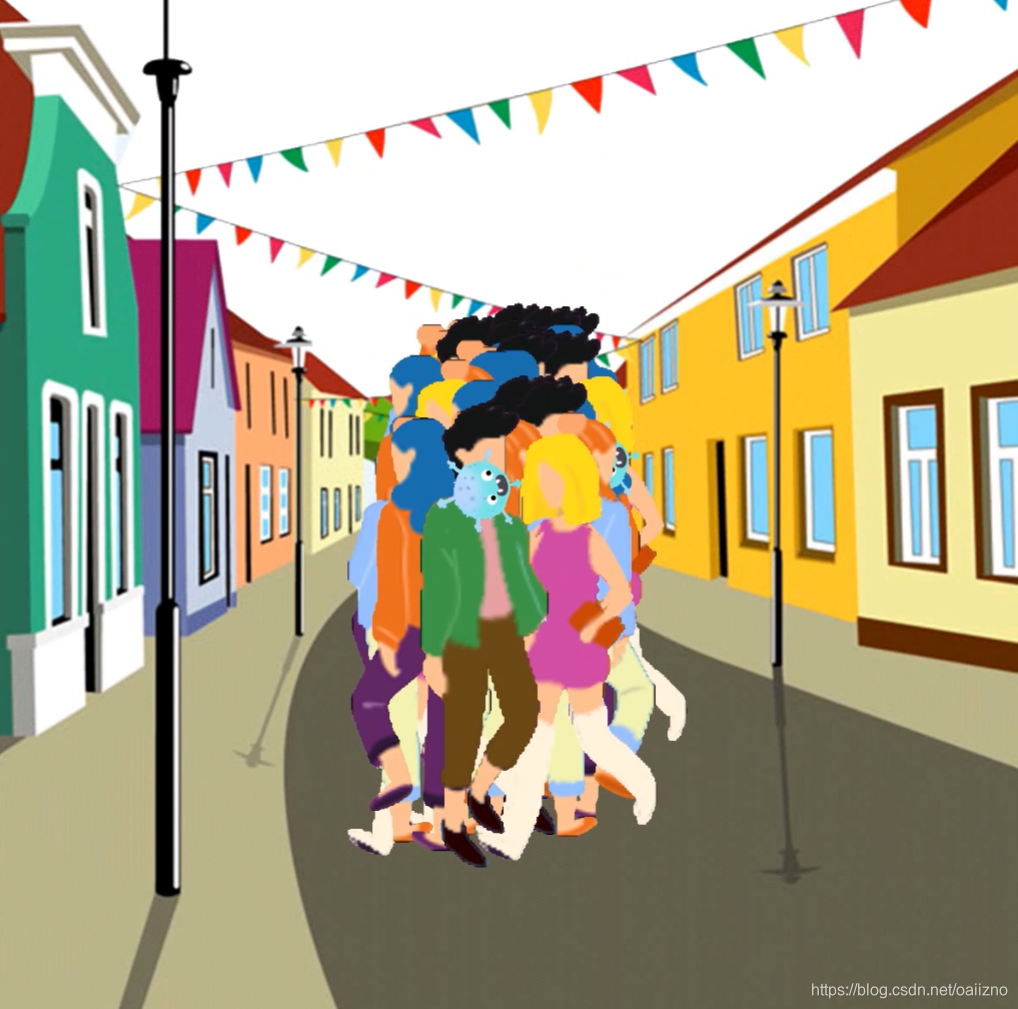
给出人群大规模流动和聚集活动的粒子动画,倡议取消群体性集会
可以是图形方式,也可以是图像方式
思路
定义粒子,其具有位置、速度等属性。因为要模拟人群,因此给粒子随机赋予一个纹理图片(不同的人),实现人流混杂的效果。
在粒子发射器(粒子初始位置)产生粒子,随着渲染循环,不断更新粒子的属性(位置),同时删除超过生命周期(在这里是移动到街道边缘)的粒子,为了节约资源,可以将其重新定位到粒子初始位置。
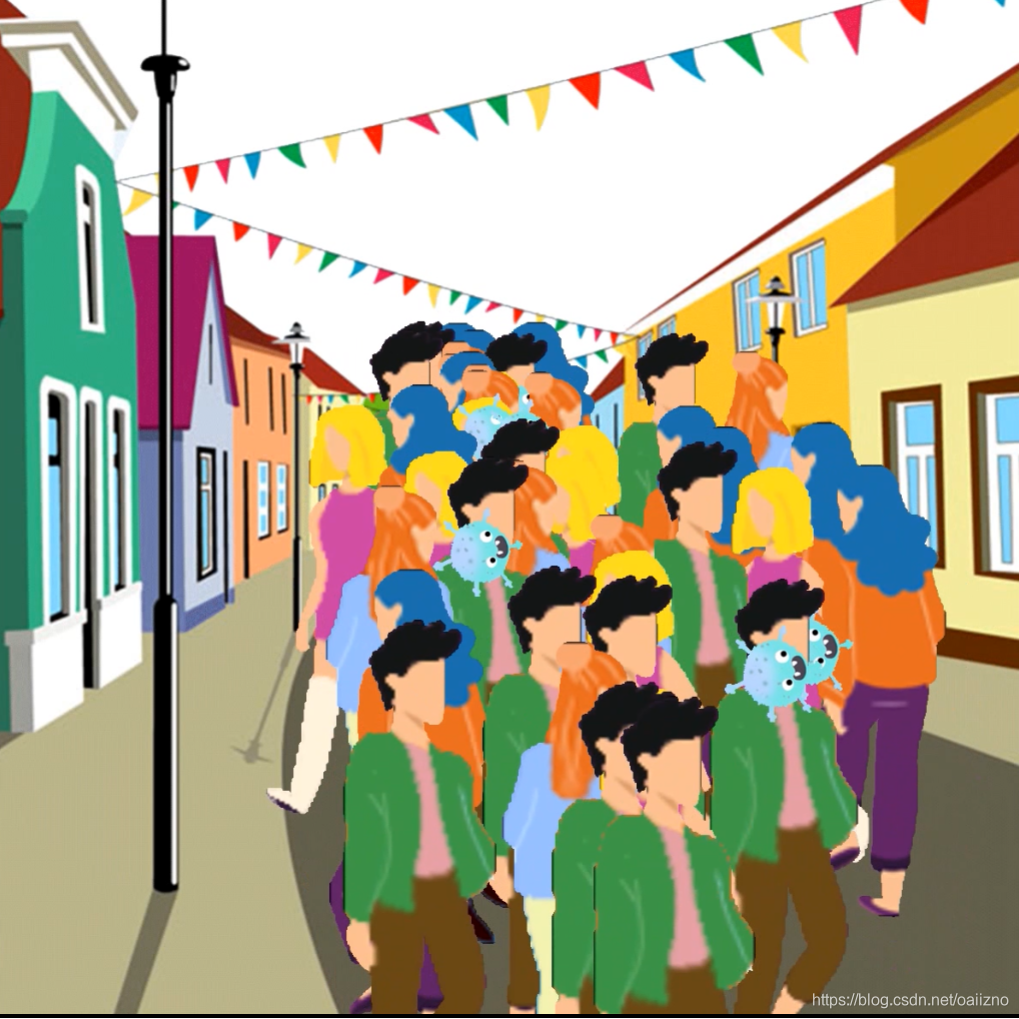
实现效果
步骤
-
初始化数组用于保存粒子及其位置属性。
-
为粒子随机的赋予纹理属性,即确定每个粒子对应的纹理图片,这里需要使用到随机数。
for (int i = 0; i < points; i++) { ptex[i] = rand() % 5 + 1; } -
初始化顶点数组用于绘制各个粒子以及背景图片。
-
绑定vao和vbo,注意粒子和背景需要使用两个不同的vao才能同时绘制。
-
编写函数用于随机改变粒子的属性值。因需要实现人群在街道里的大量涌动,而背景图是一张透视图,所以需要实现粒子近大远小的效果,这里可以用函数计算粒子所在位置的z值。(总之还是很粗糙啦)
//update the place of particles circular! void changePPos(int j) { //new position srand((unsigned int)time(0)); for (int i = 0; i < points; i++) { particles[i].x += (rand() % 1200 / 1200.0 - 0.5) / 10000.0; particles[i].y += (rand() % 1200 / 1200.0 - 0.5) / 12000.0; particles[i].z = 0.5 - particles[i].y; if (particles[i].x > 1.4 || particles[i].x < -0.3 || particles[i].y > 0.09 || particles[i].y < -1.5 || particles[i].z > 1.7 || particles[i].z < -1) { particles[i].x = 0; particles[i].y = 0; particles[i].z = 0; } } } -
在渲染循环中遍历所有粒子,调用函数不断随机改变其属性,并检查超出生命周期的粒子。对于每个粒子,可以使用同一个着色器,只要在渲染循环中不断改变其绑定的纹理即可实现多个例子绑定不同图片的效果。
// input
    // -----
    processInput(window);

    // render
    // ------
    glEnable(GL_DEPTH_TEST);
    glClearColor(1, 1, 1, 1.0f);
    glClear(GL_COLOR_BUFFER_BIT | GL_DEPTH_BUFFER_BIT); // also clear the depth buffer now!

     // bind textures on corresponding texture units
    glActiveTexture(GL_TEXTURE0);
    glBindTexture(GL_TEXTURE_2D, texture1);
    glActiveTexture(GL_TEXTURE1);
    glBindTexture(GL_TEXTURE_2D, texture2);
    glActiveTexture(GL_TEXTURE2);
    glBindTexture(GL_TEXTURE_2D, texture3);
    glActiveTexture(GL_TEXTURE3);
    glBindTexture(GL_TEXTURE_2D, texture4);
    glActiveTexture(GL_TEXTURE4);
    glBindTexture(GL_TEXTURE_2D, texture5);

    //background!
    // activate shader
    ourShader.use();
    // create transformations
    glm::mat4 model1 = glm::mat4(1.0f);
    glm::mat4 view1 = glm::mat4(1.0f); // make sure to initialize matrix to identity matrix first
    glm::mat4 projection1 = glm::mat4(1.0f);
    projection1 = glm::perspective(glm::radians(45.0f), (float)SCR_WIDTH / (float)SCR_HEIGHT, 0.1f, 100.0f);
    view1 = glm::translate(view1, glm::vec3(-0.3f, 0.0f, -3.0f));
    view1 = glm::scale(view1, glm::vec3(2, 2, 2));

    // pass transformation matrices to the shader
    ourShader.setMat4("projection1", projection1);
    ourShader.setMat4("view1", view1);
    ourShader.setMat4("model1", model1);
    glBindVertexArray(VAO_bg);
    glDrawArrays(GL_TRIANGLE_STRIP, 0, 4);


    //particles!
    // activate shader
    ourShader1.use();
    // create transformations
    glm::mat4 model2 = glm::mat4(1.0f);
    glm::mat4 view2 = glm::mat4(1.0f); // make sure to initialize matrix to identity matrix first
    //model1 = glm::mat4(1.0f);
    //view1 = glm::mat4(1.0f); // make sure to initialize matrix to identity matrix first
    view2 = glm::translate(view2, glm::vec3(0.0f, -0.1f, -3.0f));
    glm::mat4 projection2 = glm::mat4(1.0f);
    projection2 = glm::perspective(glm::radians(45.0f), (float)SCR_WIDTH / (float)SCR_HEIGHT, 0.1f, 100.0f);
    view2 = glm::scale(view2, glm::vec3(0.4, 0.4, 0.4));
    ourShader1.setMat4("projection1", projection2); // note: currently we set the projection matrix each frame, but since the projection matrix rarely changes it's often best practice to set it outside the main loop only once.
    ourShader1.setMat4("model1", model2);


    glBindVertexArray(VAO_pp);

    for (int i = 0; i < points; i++) {

        changePPos(i);
        view2 = init;
        view2 = glm::translate(view2, glm::vec3(particles[i].x, particles[i].y, particles[i].z));
        // pass transformation matrices to the shader

        if (ptex[i] == 5) {
            view2 = glm::scale(view2, glm::vec3(0.2, 0.2, 0.2));
            view2 = glm::translate(view2, glm::vec3(0, 1, 0.5));
        }


        ourShader1.setMat4("view1", view2);
        //set the texture
        ourShader1.setInt("texture", ptex[i]);

        //cout << endl;
        //Sleep(1.0);

        glDrawArrays(GL_TRIANGLE_STRIP, 0, 4*100);

    }
    Sleep(5.0);
    // glfw: swap buffers and poll IO events (keys pressed/released, mouse moved etc.)
    // -------------------------------------------------------------------------------
    glfwSwapBuffers(window);
    glfwPollEvents();
结论分析与体会
-
对于粒子动画的实现,最关键的就是五个基本步骤:
生成新的粒子并加入系统中;
赋予每一新粒子以一定的属性;
删除那些已经超过其生命周期的粒子;
更新原粒子的动态属性并对粒子进行移动和变换;
绘制并显示由有生命的粒子组成的图形。
在本实验中,为节省空间,可以将已过生命周期的粒子再放到初始位置并初始化。
粒子的属性包括速度、大小、位置、加速度、以及绑定的纹理等。
对于速度的不同,因为人潮的移动不具有恒定的加速度等数值,所以可以省略加速度、速度等设置,直接对粒子的位置进行随机增减,直观上就体现在完全随机的速度和加速度。
另外,由于要实现人潮涌动,又要保持随机性,可以每次为每个粒子随机绑定不同的纹理。 -
根据之前编写的代码,可以给绑定了不同纹理、在顶点着色器或片段着色器有不同操作的图像绑定不同的vao,以及不同的着色器。而本次实验中,虽然粒子绑定的纹理图像不同,但是每个粒子在顶点着色器或片段着色器执行的操作都是大致相似的,而且粒子数目多,若绑定不同的vao、建立不同的着色器,需要花费大量时间,也消耗较多内存。
因此,在本次实验中,可以将绑定vao的操作移动到渲染循环中,给所有的粒子都绑定同一个vao和着色器,但是不断改变其绑定的纹理图片,这样就可以实现不同的粒子绑定几种不同的纹理。 -
对于粒子动画,由于粒子较多,需要注意要考虑其间的遮挡关系。在OpenGL中,需要添加以下代码:
glEnable(GL_DEPTH_TEST);
glClear(GL_DEPTH_BUFFER_BIT);
这样,OpenGL就会执行深度检测,实现前面的人挡住了后面的人的效果。
一点不重要的
- 再次感谢某位同学一直以来的帮助!


 1532
1532


 被折叠的 条评论
为什么被折叠?
被折叠的 条评论
为什么被折叠?
 到【灌水乐园】发言


