


Pyqt5安装教程
安装准备
建议在anaconda中创建一个虚拟环境Pyqt5,有两种方法
①使用conda自带的Anaconda Prompt
打开Anaconda Prompt。创建虚拟环境会有一些包需要去下载,输入y即可。
# 创建Pyqt5虚拟环境
conda create -n Pyqt5 python=3.10
# 查看存在的虚拟环境
conda info -e
创建成功通过如上查看命令可以查看到该虚拟环境,并激活该虚拟环境。
# 激活Pyqt5虚拟环境
conda activate Pyqt5
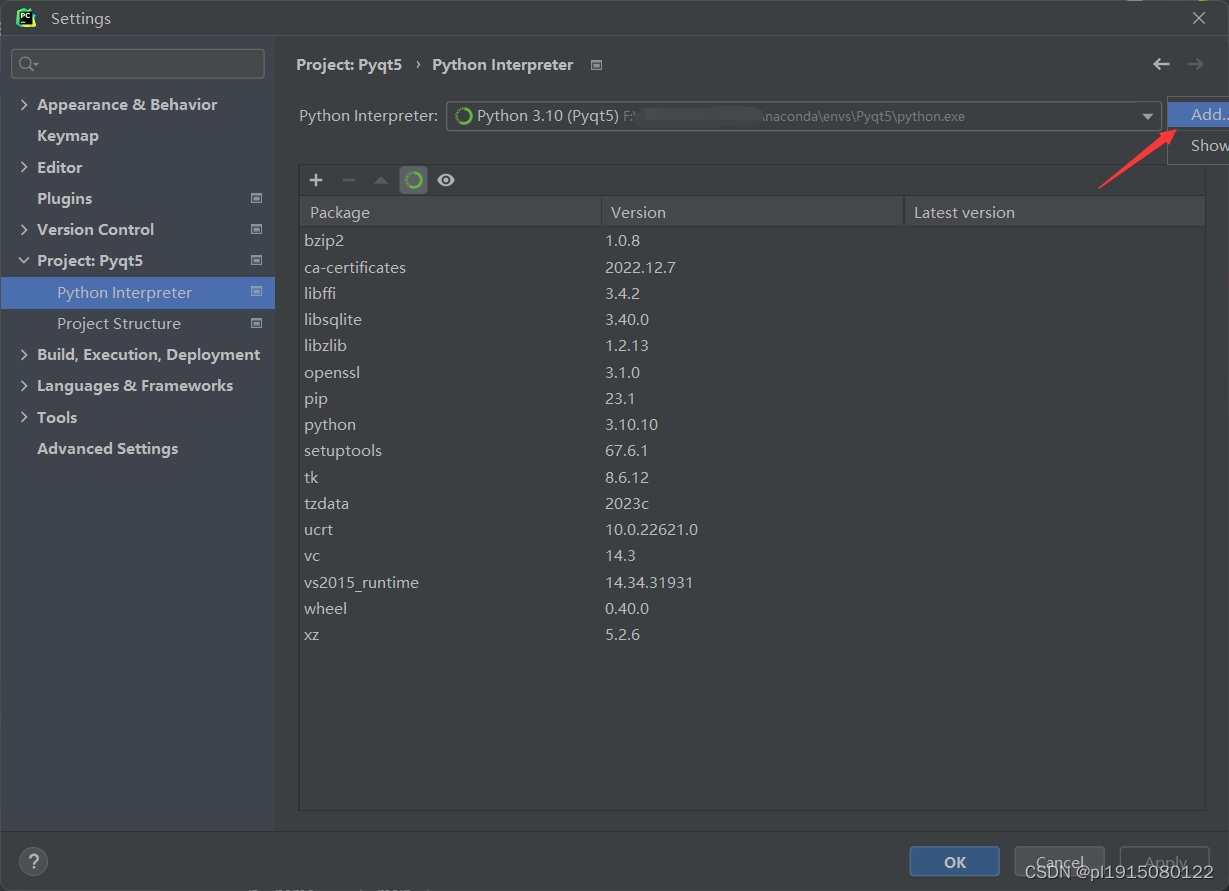
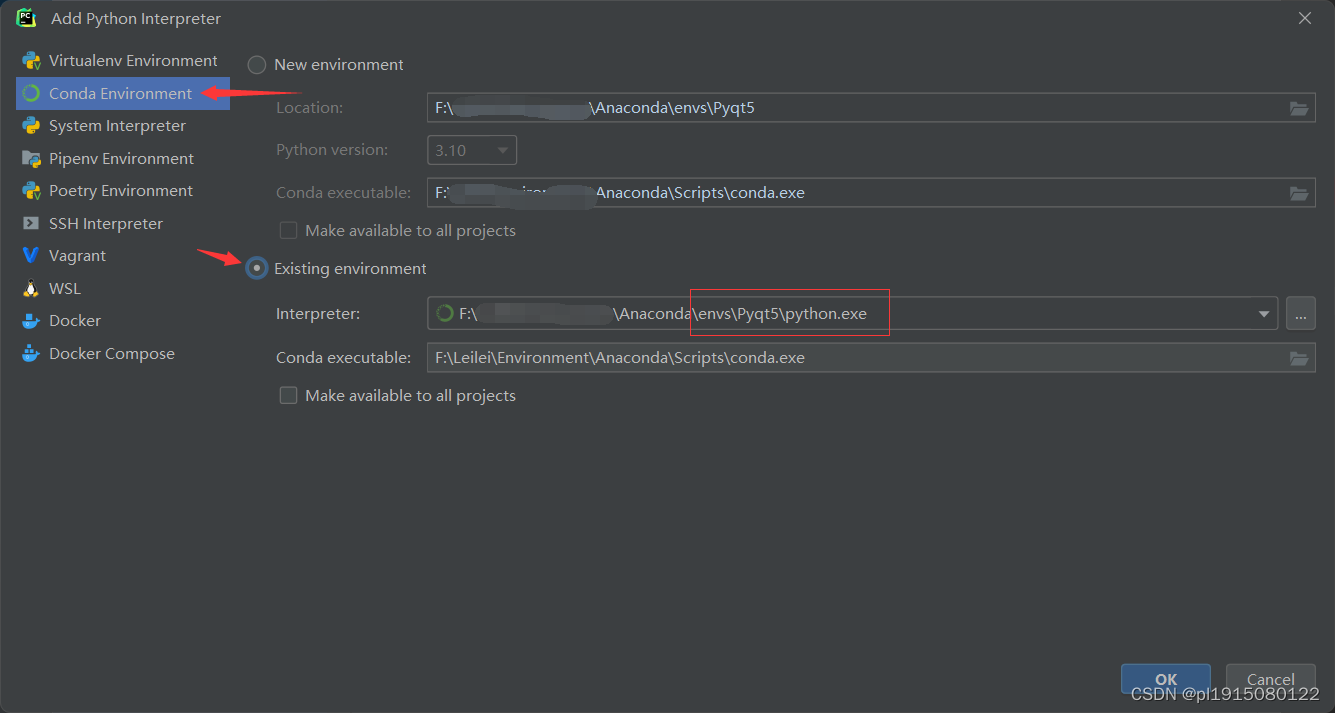
使用pycharm创建新项目与并导入该虚拟环境:
File -> Setting -> Project:Pyqt5 -> Python Interpreter
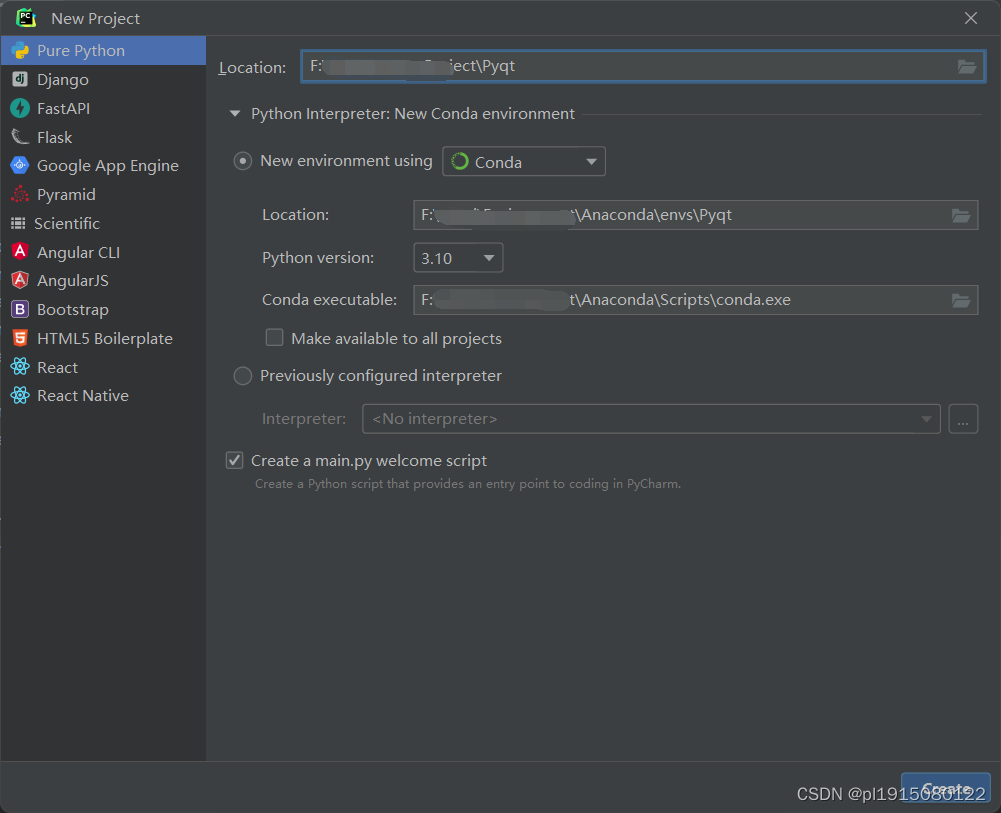
②使用pycharm新建一个项目以及环境
File -> New Project -> 输入自己需要创建的项目名以及地址,选择New environment using:Conda,新虚拟环境名:Pyqt5(在Location的 …\envs\后面),这里我选择python版本为3.10。
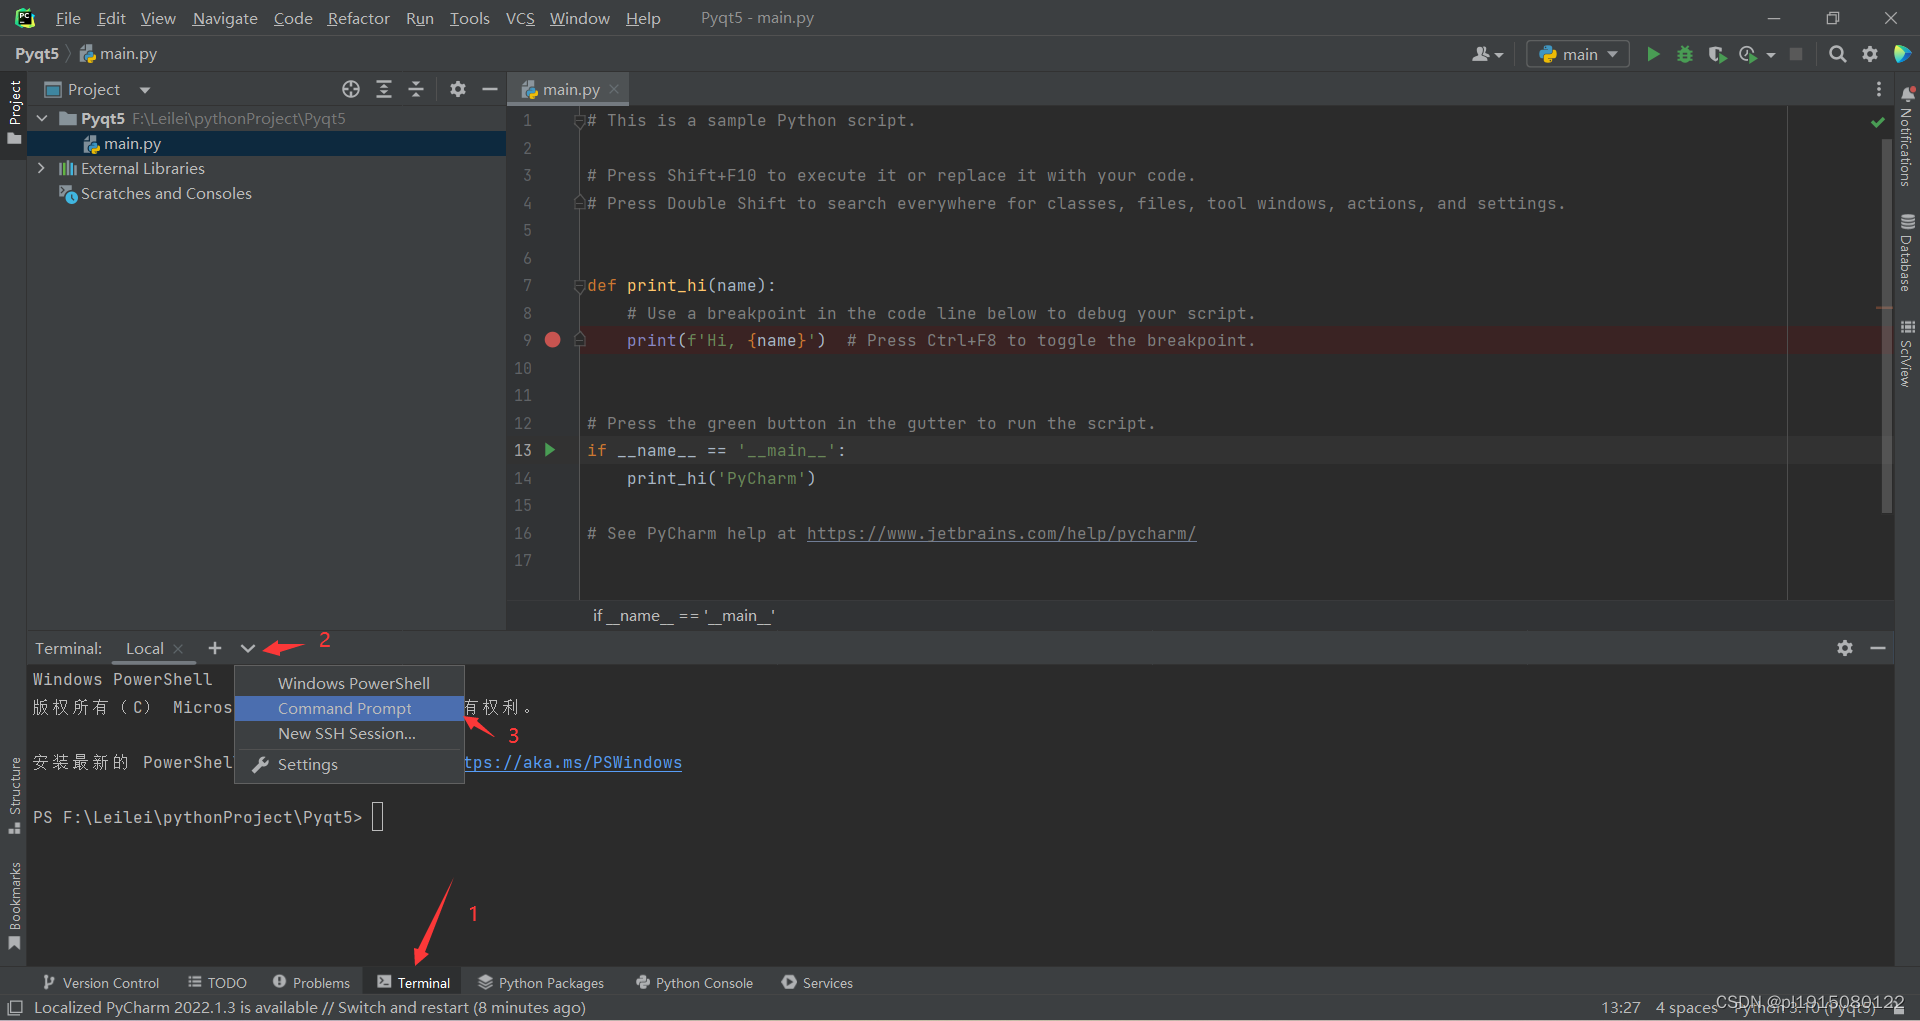
配置好虚拟环境之后,可以直接通过Anaconda Prompt在(Pyqt5)环境中输入命令,也可以直接在pycharm的终端中直接输入命令(Terminal),在此使用pycharm终端命令。
1.安装Pyqt5
安装PyQt5有两种方式:第一种通过pycharm中的File—settings—Project—Python Interpreter添加pyqt5;第二种通过pip install的方式进行安装。
推荐使用第二种的方式,第二种安装方式可以指定安装源,很快就可以安装完成。第一种的方式的安装源为https://pypi.org/,下载速度很慢。
# 安装PyQt5
pip3 install PyQt5 -i https://pypi.douban.com/simple
-i为指定安装源,建议选择国内源:
https://pypi.douban.com/simple

https://pypi.tuna.tsinghua.edu.cn/simple
出现如下字样则为安装成功
Installing collected packages: PyQt5-Qt5, PyQt5-sip, PyQt5
Successfully installed PyQt5-5.15.9 PyQt5-Qt5-5.15.2 PyQt5-sip-12.11.1
2.安装Pyqt5_tools
和安装Pyqt5一样的安装方式
pip3 install PyQt5-tools -i https://pypi.douban.com/simple
3.安装pyqt5designer
因为pyqt5_tools不在包含designer工具,需要单独去手动下载该工具
pip3 install PyQt5designer -i https://pypi.douban.com/simple
4.在pycharm中添加拓展插件
4.1pyqt5designer拓展插件
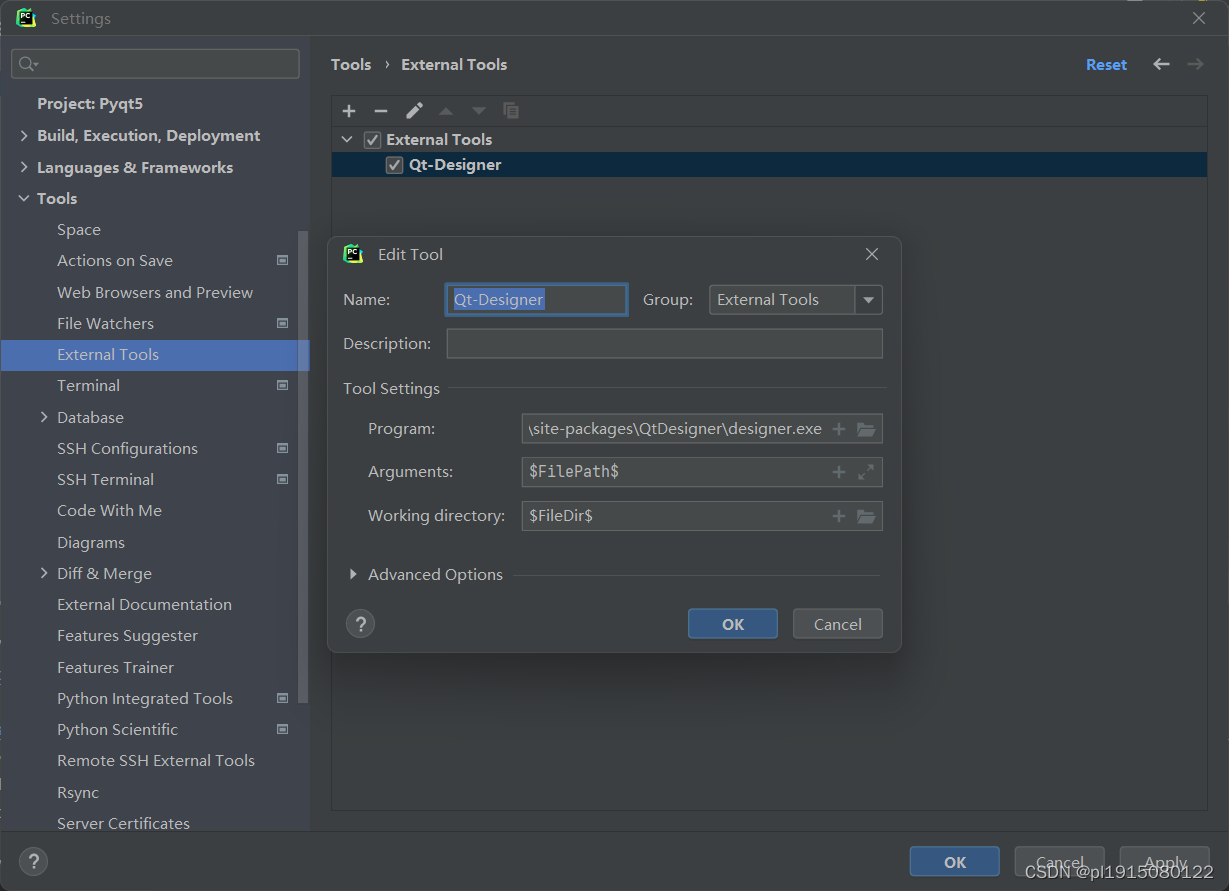
File->Setting->Tools->External Tools,点击+号, (Progran路径需要根据自己电脑anconda位置修改)
# Name
Qt-Designer
# Progran
F:\Leilei\Environment\Anaconda\envs\Pyqt5\Lib\site-packages\QtDesigner\designer.exe
#Arguments
$FilePath$
# Working directory
$FileDir$
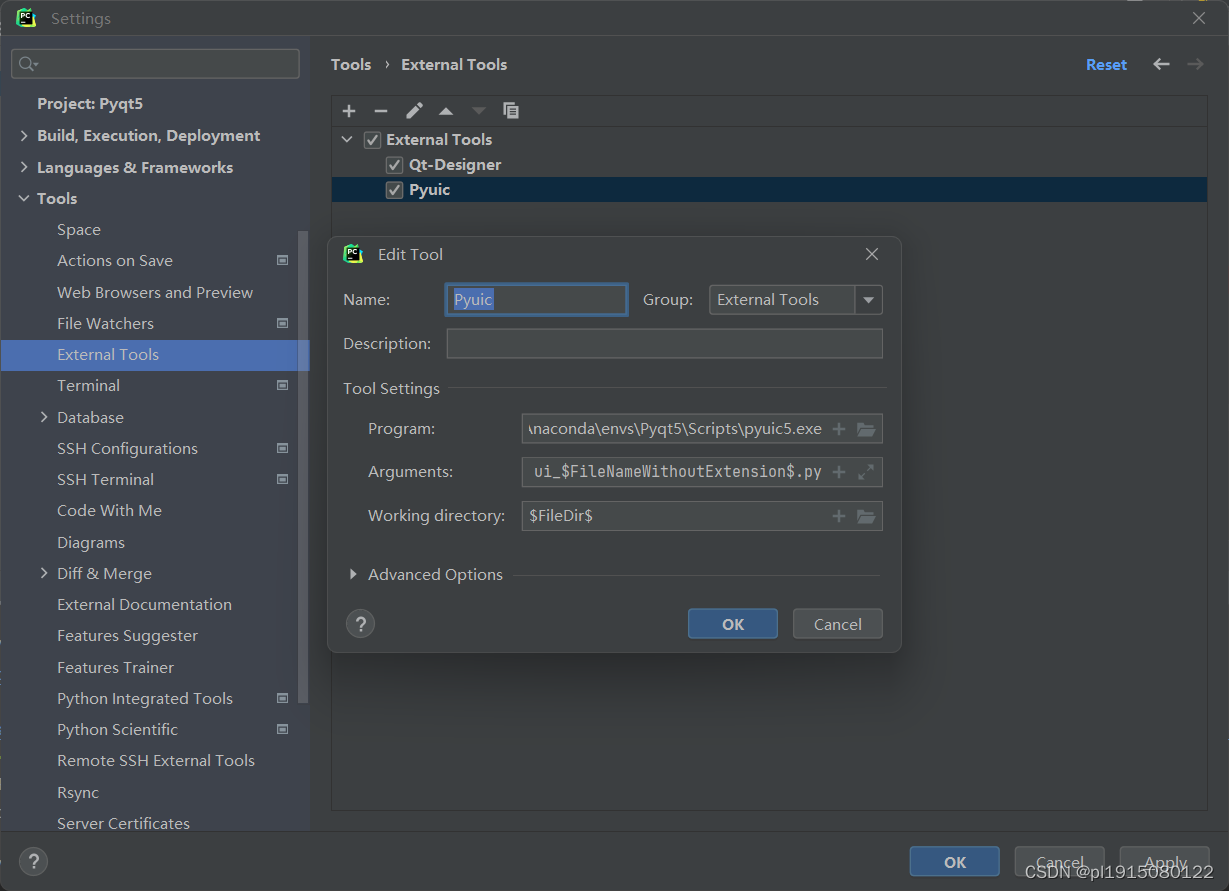
4.2Pyuic拓展插件
# Name
Pyuic
# Progran
F:\Leilei\Environment\Anaconda\envs\Pyqt5\Scripts\pyuic5.exe
#Arguments
$FileName$ -o ui_$FileNameWithoutExtension$.py
# Working directory
$FileDir$
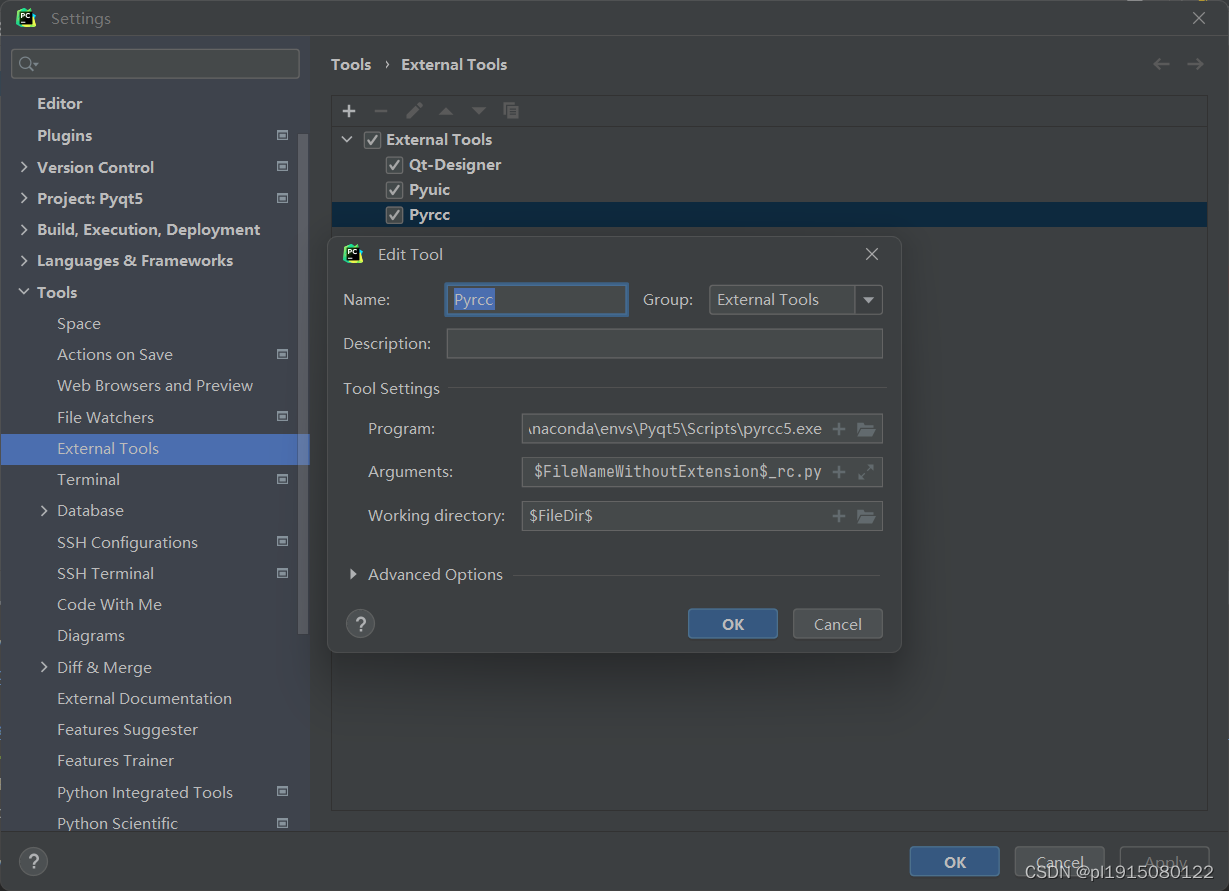
4.3Pyrcc拓展插件
# Name
Pyrcc
# Progran
F:\Leilei\Environment\Anaconda\envs\Pyqt5\Scripts\pyrcc5.exe
#Arguments
$FileName$ -o $FileNameWithoutExtension$_rc.py
# Working directory
$FileDir$
5.测试
5.1Qt-designer
右键选择:External Tools->Qt-Designer打开界面,点击“创建”按钮。
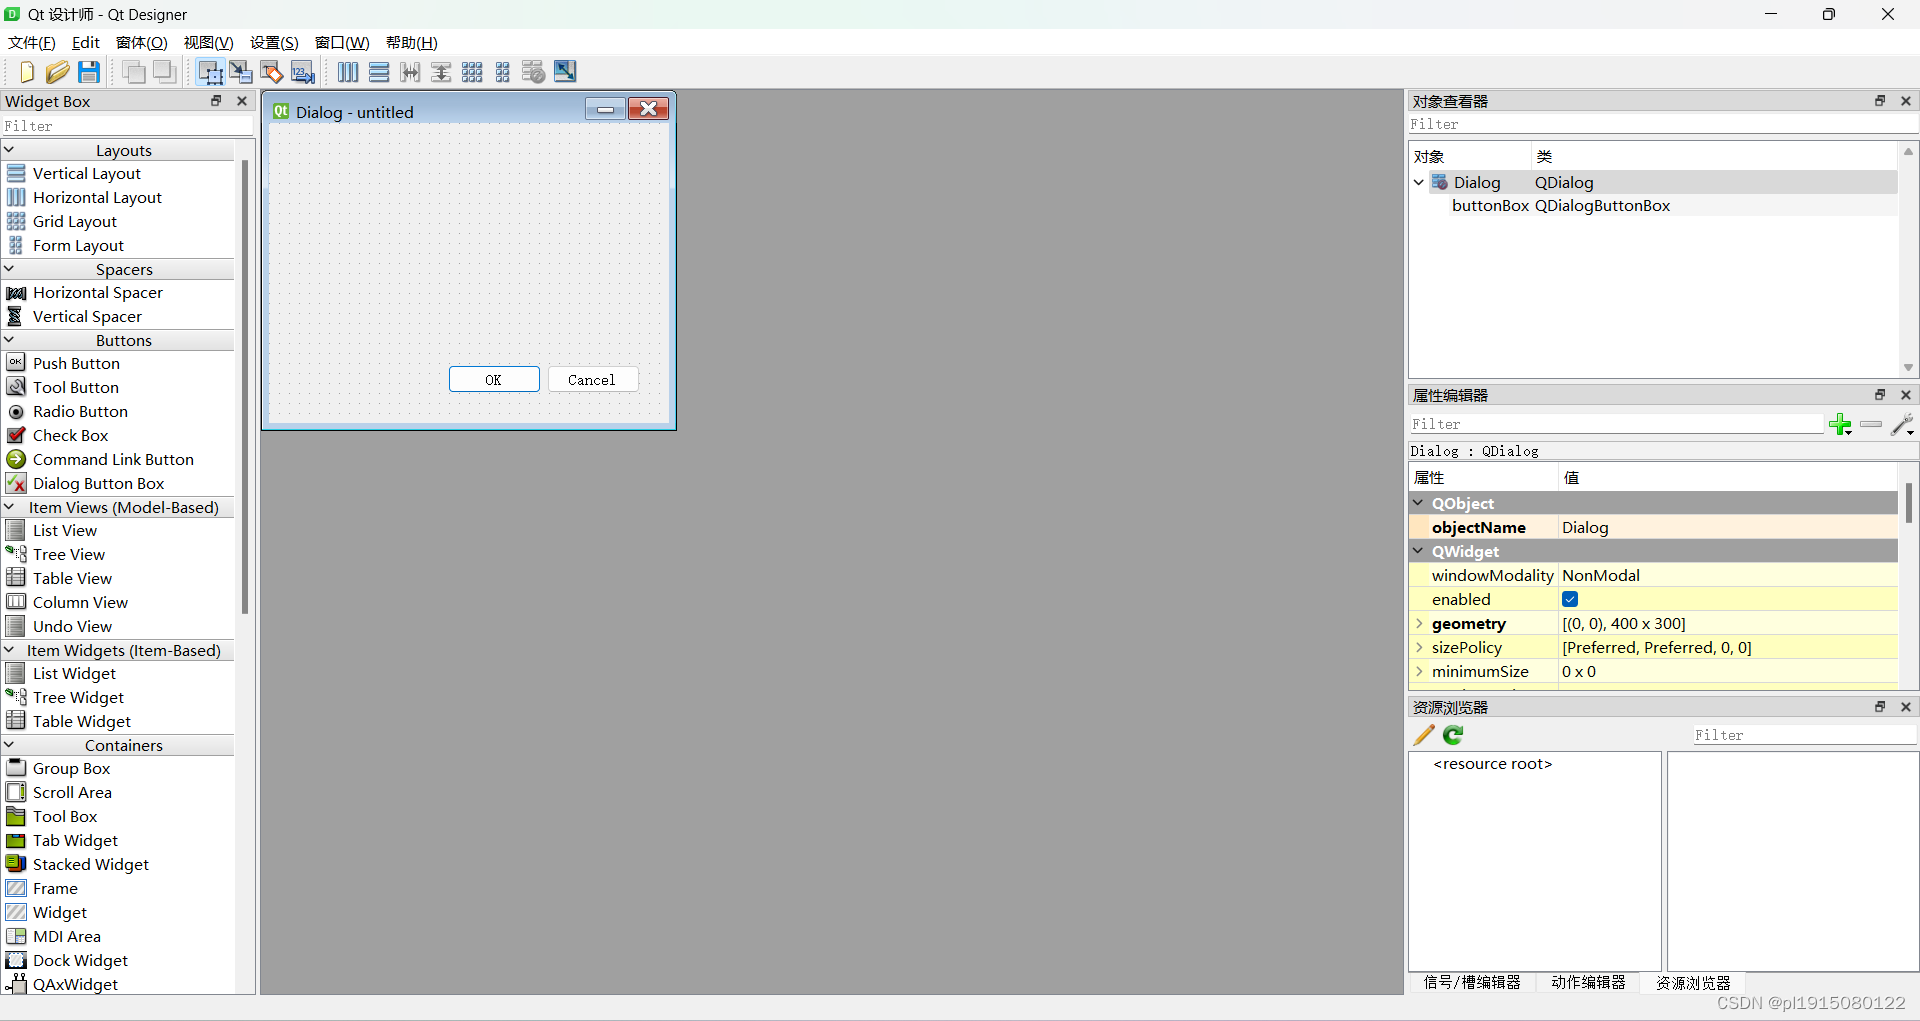
随便拖拽一些Button等控件进去,保存(ctrl + s)为test.ui文件
5.2 Pyuic
对test.ui文件右键External Tools->Pyuic,执行结束生成ui_test.py文件。
5.3 Pyrcc
详细的具体使用教程可以参考大佬的博客,可以从第三大点开始看。
https://blog.csdn.net/qq_45769063/article/details/121744539
文章参考链接:
https://blog.csdn.net/Mrbuyi/article/details/127993128


 1391
1391

 被折叠的 条评论
为什么被折叠?
被折叠的 条评论
为什么被折叠?
 到【灌水乐园】发言


