


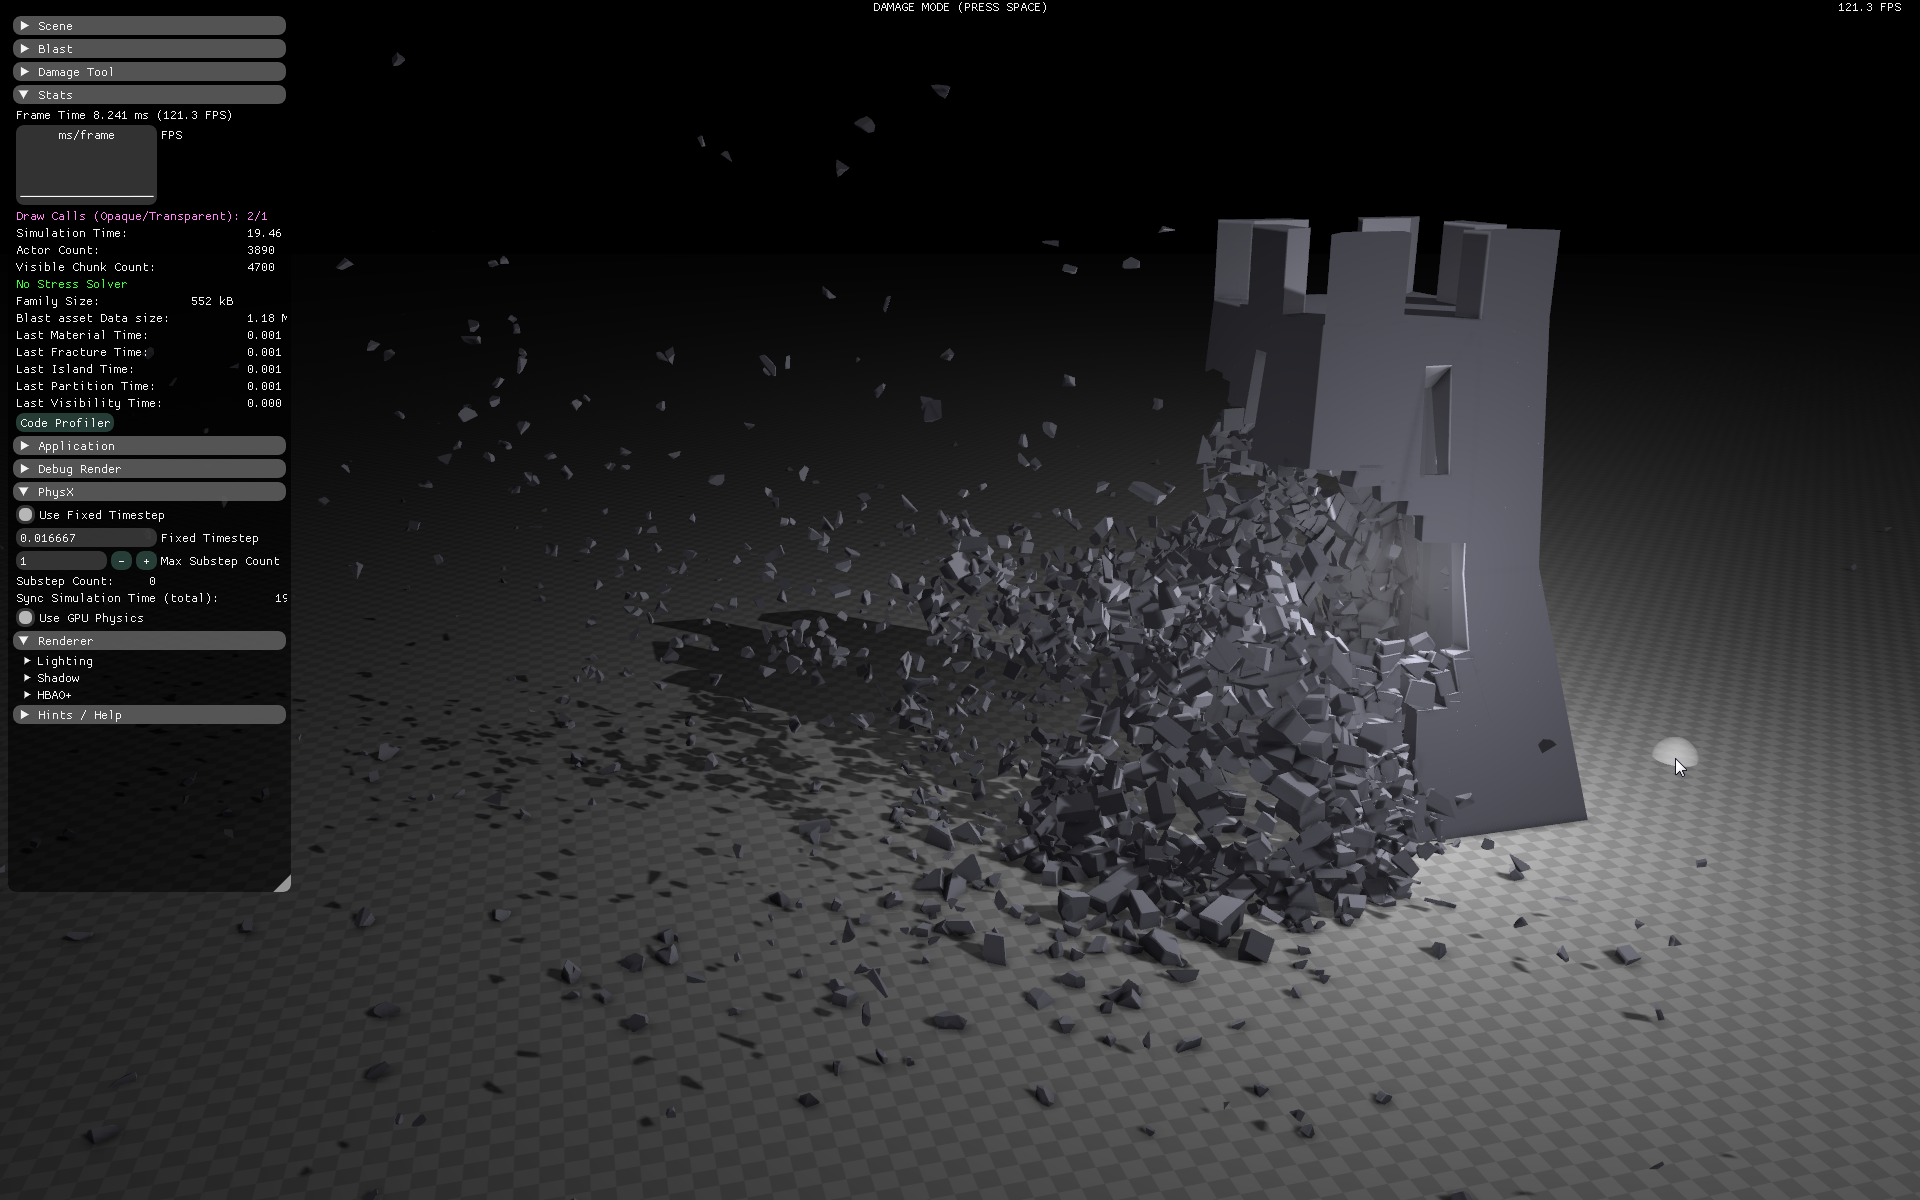
首先我们需要知道它用在哪里,这个Nvidia Flast主要是一套模拟破碎效果的方案,这里给出一些Nvidia的示例图:


运行场景test可以看到具体效果,在Unity的Hierarchy面板中可以看到主要的代码一共就两个,一个控制摄像机移动的代码挂载Main Camera物体下,另一个控制整个场景主要逻辑的代码demo被挂载在Demo的空物体上。其他预制都是场景中演示时需要用到的物体,包括一个directional Light灯光以及一个Plane用于放置生成出来的“City”的平板,一个用于演示施加受力点的HitSphere小球游戏物体。
抛开控制摄像机的常规移动逻辑代码不谈,这里Demo主要的逻辑放在Demo物体下的Demo代码中,而Demo的实现看起来也十分简单易懂,只有一个在Awake生命周期里实现生成模拟的“City”的代码方法generateCity以及一个在Update里实时检测Hit施加力的代码方法 applyRadialDamage。施加力的代码比较简单这里就不赘述了,源码如下所示:
    private IEnumerator applyRadialDamage(Vector3 position, float minRadius, float maxRadius, float compressive, float explosive = 3000.0f)
    {
        var hits = Physics.OverlapSphere(position, maxRadius);
        foreach (var hit in hits)
        {
            var rb = hit.GetComponentInParent<Rigidbody>();
            var family = hit.GetComponentInParent<CubeFamily>();
            if (rb != null && family != null)
            {
                family.ApplyRadialDamage(rb, position, minRadius, maxRadius, compressive);
            }
        }

        yield return new WaitForEndOfFrame();

        hits = Physics.OverlapSphere(position, maxRadius);
        foreach (var hit in hits)
        {
            var rb = hit.GetComponentInParent<Rigidbody>();
            if (rb != null)
            {
                rb.AddExplosionForce(explosive, position, maxRadius, 3.0f);
            }
        }
    }

    private void Update()
    {
        hitSphere.SetActive(false);
        bool isActive = false;
        if (true)
        {
            var ray = Camera.main.ScreenPointToRay(Input.mousePosition);
            RaycastHit hit;
            if (Physics.Raycast(ray, out hit))
            {
                hitSphere.transform.position = hit.point;
                isActive = true;
            }
        }

        _hitSphereSize += Input.GetAxis("Mouse ScrollWheel") * 10.0f;

        if (Input.GetMouseButton(0))
        {
            StartCoroutine(applyRadialDamage(hitSphere.transform.position, 0.0f, _hitSphereSize, 10.0f));
        }

        hitSphere.SetActive(isActive);
        hitSphere.transform.localScale = new Vector3(_hitSphereSize, _hitSphereSize, _hitSphereSize);
    }

    private float _hitSphereSize = 25.0f;
最重要的在与如何生成整个City的,其代码我们需要一段一段地品,我认为写得是很不错的就是开始理解的时候会有点困难(仅对于我来说)。
一开始便声明了如下四个变量:
        const int BUILDING_TYPE_COUNT = 5;
        Vector3 BUILDING_MIN_SIZE = new Vector3(10, 10, 10);
        Vector3 BUILDING_MAX_SIZE = new Vector3(50, 200, 50);

        List<CubeAsset> buildingTypes = new List<CubeAsset>(BUILDING_TYPE_COUNT);
从变量命名就能得知它所代表的含义,从上往上第一个指的是City的类型,也就是说生成的Hourse类型有且只有五种,第二、三个指的是Building的尺寸范围区间,这里使用Vector3 用来代表Building的长高宽,第四个List这里用到了第一个常量表示五个类型的具体表现形式。
接下来的代码讲述是如何构造这五个Building类型的:
        for (int i = 0; i < BUILDING_TYPE_COUNT; ++i)
        {
            CubeAsset.Settings settings = new CubeAsset.Settings();
            settings.depths.Add(new CubeAsset.DepthInfo(new Vector3(1, 1, 1), NvBlastChunkDesc.Flags.NoFlags));
            settings.depths.Add(new CubeAsset.DepthInfo(new Vector3(1, 2, 1), NvBlastChunkDesc.Flags.NoFlags));
            settings.depths.Add(new CubeAsset.DepthInfo(new Vector3(2, 3, 2), NvBlastChunkDesc.Flags.NoFlags));
            settings.depths.Add(new CubeAsset.DepthInfo(new Vector3(2, 2, 2), NvBlastChunkDesc.Flags.SupportFlag));
            settings.extents = new Vector3(Random.Range(BUILDING_MIN_SIZE.x, BUILDING_MAX_SIZE.x), Random.Range(BUILDING_MIN_SIZE.y, BUILDING_MAX_SIZE.y), Random.Range(BUILDING_MIN_SIZE.z, BUILDING_MAX_SIZE.z));
            settings.staticHeight = 10.0f;

            CubeAsset cubeAsset = CubeAsset.generate(settings);

            buildingTypes.Add(cubeAsset);
        }
这里本人琢磨了许久才明白其中的具体含义,首先我们需要知道它的生成具体过程,除开For看其中到底在循环什么,这里它在自己构造的depths字段里add了四个DepthInfo数据,我们需要知道它到底要干嘛。其实就是一个构造树的过程,最后的叶节点使用了supportFlag标签,其余三层非叶节点都给上了NoFlags标签。那么,这四个向量又是干嘛的呢,这里我也琢磨了很久,让我们看看它里面构造的类都干了什么吧,或者换一个说法,它用这个向量干了什么事,这里我们需要先跳过一些代码看这个CubeAsset类的generate函数都干了些什么。具体代码如下所示
  public static CubeAsset generate(Settings settings)
    {
        CubeAsset asset = new CubeAsset();
        asset.extents = settings.extents;

        List<NvBlastChunkDesc> solverChunks = new List<NvBlastChunkDesc>();
        List<NvBlastBondDesc> solverBonds = new List<NvBlastBondDesc>();

	    // initial params
	    List<uint> depthStartIDs = new List<uint>();
        List<Vector3> depthSlicesPerAxisTotal = new List<Vector3>();
        uint currentID = 0;
        Vector3 extents = settings.extents;

	    // Iterate over depths and create children
	    for (int depth = 0; depth<settings.depths.Count; depth++)
	    {
		    Vector3 slicesPerAxis = settings.depths[depth].slicesPerAxis;
            Vector3 slicesPerAxisTotal = (depth == 0) ? slicesPerAxis : Vector3.Scale(slicesPerAxis, (depthSlicesPerAxisTotal[depth - 1]));
            depthSlicesPerAxisTotal.Add(slicesPerAxisTotal);

		    depthStartIDs.Add(currentID);

		    extents.x /= slicesPerAxis.x;
		    extents.y /= slicesPerAxis.y;
		    extents.z /= slicesPerAxis.z;

		    for (uint z = 0; z< (uint)slicesPerAxisTotal.z; ++z)
		    {
			    uint parent_z = z / (uint)slicesPerAxis.z;
			    for (uint y = 0; y< (uint)slicesPerAxisTotal.y; ++y)
			    {
				    uint parent_y = y / (uint)slicesPerAxis.y;
				    for (uint x = 0; x< (uint)slicesPerAxisTotal.x; ++x)
				    {
					    uint parent_x = x / (uint)slicesPerAxis.x;
                        uint parentID = depth == 0 ? uint.MaxValue :
                        depthStartIDs[depth - 1] + parent_x + (uint)depthSlicesPerAxisTotal[depth - 1].x * (parent_y + (uint)depthSlicesPerAxisTotal[depth - 1].y * parent_z);

                        Vector3 position;
                        position.x = ((float)x - (slicesPerAxisTotal.x / 2) + 0.5f) * extents.x;
					    position.y = ((float)y - (slicesPerAxisTotal.y / 2) + 0.5f) * extents.y;
					    position.z = ((float)z - (slicesPerAxisTotal.z / 2) + 0.5f) * extents.z;

					    NvBlastChunkDesc chunkDesc;

                        chunkDesc.c0 = position.x;
                        chunkDesc.c1 = position.y;
                        chunkDesc.c2 = position.z;
					    chunkDesc.volume = extents.x * extents.y * extents.z;
                        chunkDesc.flags = (uint)settings.depths[depth].flag;
					    chunkDesc.userData = currentID++;
					    chunkDesc.parentChunkIndex = parentID;
					    solverChunks.Add(chunkDesc);

					    bool isStatic = false;

					    if (settings.depths[depth].flag == NvBlastChunkDesc.Flags.SupportFlag)
					    {
						    isStatic = position.y - (extents.y - asset.extents.y) / 2 <= settings.staticHeight;

						    // x-neighbor
						    if (x > 0 && (settings.bondFlags & BondFlags.X_BONDS) != 0)
						    {
							    Vector3 xNeighborPosition = position - new Vector3(extents.x, 0, 0);
                                uint neighborID = chunkDesc.userData - 1;

                                fillBondDesc(solverBonds, chunkDesc.userData, neighborID, position, xNeighborPosition, extents, extents.y* extents.z);
                            }

						    // y-neighbor
						    if (y > 0 && (settings.bondFlags & BondFlags.Y_BONDS) != 0)
						    {
							    Vector3 yNeighborPosition = position - new Vector3(0, extents.y, 0);
                                uint neighborID = chunkDesc.userData - (uint)slicesPerAxisTotal.x;

                                fillBondDesc(solverBonds, chunkDesc.userData, neighborID, position, yNeighborPosition, extents, extents.z* extents.x);
						    }

						    // z-neighbor
						    if (z > 0 && (settings.bondFlags & BondFlags.Z_BONDS) != 0)
						    {
							    Vector3 zNeighborPosition = position - new Vector3(0, 0, extents.z);
                                uint neighborID = chunkDesc.userData - (uint)slicesPerAxisTotal.x * (uint)slicesPerAxisTotal.y;

                                fillBondDesc(solverBonds, chunkDesc.userData, neighborID, position, zNeighborPosition, extents, extents.x* extents.y);
						    }
					    }

					    asset.chunks.Add(new BlastChunkCube(position, extents, isStatic));
				    }
			    }
		    }
	    }

        // Prepare solver asset desc
        asset.solverAssetDesc.chunkCount = (uint)solverChunks.Count;
        asset.solverAssetDesc.chunkDescs = solverChunks.ToArray();
        asset.solverAssetDesc.bondCount = (uint)solverBonds.Count;
        asset.solverAssetDesc.bondDescs = solverBonds.ToArray();

        // Reorder chunks
        uint[] chunkReorderMap = new uint[asset.solverAssetDesc.chunkCount];
        NvBlastExtUtilsWrapper.ReorderAssetDescChunks(asset.solverAssetDesc, chunkReorderMap);
	    BlastChunkCube[] chunksTemp = asset.chunks.ToArray();
	    for (uint i = 0; i < chunkReorderMap.Length; ++i)
	    {
		    asset.chunks[(int)chunkReorderMap[i]] = chunksTemp[i];
        }

        return asset;
    }
里面的实现太过繁杂,我们只挑其中的部分讲,首先看到这个方法是用来干嘛的,它有一个返回值返回它本身类CubeAsset,且它这里使用到了NvBlastExt,这才是最最关键的实现此效果的Dll引用,这里需要传入两个参数告诉我们的Flast我们破碎的每一块的方块信息,即抽象化为一个带有索引号的树状图,每一个节点包含有大小信息、位置信息以及父节点索引信息还有一个标签用于定义是否可交互。
NvBlastExtUtilsWrapper.ReorderAssetDescChunks(asset.solverAssetDesc, chunkReorderMap);回到前面,我们再说这个树状结构需要如何构建,这里它用了类似层序遍历将整个生成的树进行编辑遍历并将它add进这个List中以让它能够在dll中的方法中能够将需要用到的参数传入。我们在上面这段长代码片段中可以看到有四个for循环语句对立面的方法进行嵌套。可以将这个嵌套分为两大部分,第一部分是第一个for,这里每一层循环便是树状结构的一层的数据遍历以及传入。第二部分是后面四个for语句,这里的三层嵌套for的结束条件为之前传入的depth向量数据中的xyz值,由此可以得出它具体是在干嘛,我们可以抽象为第一个Vector3传入的是(1,1,1)这里将一个大的Box分成了一份,第二个Vector3(1,2,1)是将这个Box以y轴为根一分为二,第三个Vector3(2,3,2)是将已经一分为二的两个Box再进行切分,分别是以xyz轴分割成2、3、2份。第四个Vector3(2,2,2)则是将已经分成了这么多份的Box分别分割2、2、2份。这样讲或许还是太过抽象化,用浅显易懂的话来说就是,1,1,1生成初始Box,1,2,1将Box从y轴砍一刀,此时场上有两个盒子一上一下,在这两个盒子的基础上我们来看2,3,2就是x轴砍一刀,y轴砍两刀,z轴砍一刀。此时我们有2x2x3x2=24个盒子,在这24个盒子的基础上我们再xyz轴上各砍两刀,即有了24x2x2x2=192个盒子,至此我们就生成了深度为4的树状结构图。其中深度为4的叶节点我们都使用SupportFlags来标记它是能够交互的。这个示例demo其实一开始就已经将最后破碎的样子存储下来了,当你click给最上层根节点施加力的时候内部结构就会根据你施加力的位置来显示不同的破碎效果。

当然这个Demo只演示了简单的Box的破碎效果并不涉及复杂网格的破碎效果,但究其原理必定也是树状结构数据传入到底层的dll里再对最终的破碎效果进行模拟的。
以上只是本人对demo代码的理解,如有不对的地方还望指正,后续有补充的地方本人还会保持更新。
Nvidia似乎不止于做过Flast,还做过其他模拟的并且都以开源的形式释放出来以供他人使用:Access GameWorks Source on Github | NVIDIA Developer
在我琢磨着如何实现复杂模型时突然发现原来早有人研究过这个Flast并将它运用到了Unity里,这里附上大佬做过的完全体成品的Unity插件,在此附上链接以供他人参考使用:


 1176
1176


 被折叠的 条评论
为什么被折叠?
被折叠的 条评论
为什么被折叠?
 到【灌水乐园】发言


