


dataload:
输出多了一个掩码(masks)
return (torch.from_numpy(img), labels_out, self.im_files[index], shapes, masks)掩码是什么? 分割是预测的什么?
def polygon2mask(img_size, polygons, color=1, downsample_ratio=1):
    """
    Args:
        img_size (tuple): The image size.
        polygons (np.ndarray): [N, M], N is the number of polygons,
            M is the number of points(Be divided by 2).
    """
    mask = np.zeros(img_size, dtype=np.uint8)
    polygons = np.asarray(polygons)
    polygons = polygons.astype(np.int32)
    shape = polygons.shape
    polygons = polygons.reshape(shape[0], -1, 2)
    cv2.fillPoly(mask, polygons, color=(255, 255, 255))
    cv2.imshow('im', mask)
    cv2.waitKey(0)
    nh, nw = (img_size[0] // downsample_ratio, img_size[1] // downsample_ratio)
    # NOTE: fillPoly firstly then resize is trying the keep the same way
    # of loss calculation when mask-ratio=1.
    mask = cv2.resize(mask, (nw, nh))
    return mask

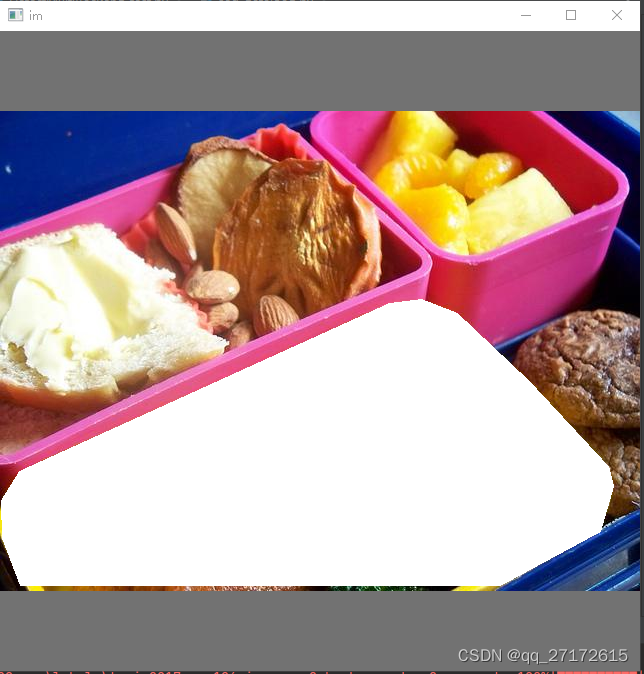
可以看到,分割其实是预测的形状。
分割模型:
除了模型头发生了变化,躯干和脖子还是检测模型。
nc: 80  # number of classes
depth_multiple: 0.33  # model depth multiple
width_multiple: 0.5  # layer channel multiple
anchors:
  - [10,13, 16,30, 33,23]  # P3/8
  - [30,61, 62,45, 59,119]  # P4/16
  - [116,90, 156,198, 373,326]  # P5/32

# YOLOv5 v6.0 backbone
backbone:
  # [from, number, module, args]
  [[-1, 1, Conv, [64, 6, 2, 2]],  # 0-P1/2
   [-1, 1, Conv, [128, 3, 2]],  # 1-P2/4
   [-1, 3, C3, [128]],
   [-1, 1, Conv, [256, 3, 2]],  # 3-P3/8
   [-1, 6, C3, [256]],
   [-1, 1, Conv, [512, 3, 2]],  # 5-P4/16
   [-1, 9, C3, [512]],
   [-1, 1, Conv, [1024, 3, 2]],  # 7-P5/32
   [-1, 3, C3, [1024]],
   [-1, 1, SPPF, [1024, 5]],  # 9
  ]

# YOLOv5 v6.0 head
head:
  [[-1, 1, Conv, [512, 1, 1]],
   [-1, 1, nn.Upsample, [None, 2, 'nearest']],
   [[-1, 6], 1, Concat, [1]],  # cat backbone P4
   [-1, 3, C3, [512, False]],  # 13

   [-1, 1, Conv, [256, 1, 1]],
   [-1, 1, nn.Upsample, [None, 2, 'nearest']],
   [[-1, 4], 1, Concat, [1]],  # cat backbone P3
   [-1, 3, C3, [256, False]],  # 17 (P3/8-small)

   [-1, 1, Conv, [256, 3, 2]],
   [[-1, 14], 1, Concat, [1]],  # cat head P4
   [-1, 3, C3, [512, False]],  # 20 (P4/16-medium)

   [-1, 1, Conv, [512, 3, 2]],
   [[-1, 10], 1, Concat, [1]],  # cat head P5
   [-1, 3, C3, [1024, False]],  # 23 (P5/32-large)

   [[17, 20, 23], 1, Segment, [nc, anchors, 32, 256]],  # Detect(P3, P4, P5)
  ]
模型头:
相对检测模型:
1:多了一个 nm mask掩码, 设置的固定值32.
此时输出变成117. xywh + 置信度 + 分类热编码(80) + 32(掩码值)
2:多了一个proto。 只选了一张步长最小的特征图作预测,所以它预测的是最精细。
3:输出多了一个,proto的预测值。
class Segment(Detect):
    # YOLOv5 Segment head for segmentation models
    def __init__(self, nc=80, anchors=(), nm=32, npr=256, ch=(), inplace=True):
        super().__init__(nc, anchors, ch, inplace)
        self.nm = nm  # number of masks
        self.npr = npr  # number of protos
        self.no = 5 + nc + self.nm  # number of outputs per anchor
        self.m = nn.ModuleList(nn.Conv2d(x, self.no * self.na, 1) for x in ch)  # output conv
        self.proto = Proto(ch[0], self.npr, self.nm)  # protos
        self.detect = Detect.forward

    def forward(self, x):
        p = self.proto(x[0])
        x = self.detect(self, x)
        return (x, p) if self.training else (x[0], p) if self.export else (x[0], p, x[1])
损失函数:
build_targets:
目标检测
gain:(图片索引,类别,x, y, w, h, 先验眶索引) 长度7
分割:
gain:(图片索引,类别,x, y, w, h, 先验眶索引, 掩码索引) 长度8
            for i in range(batch):
                num = (targets[:, 0] == i).sum()  # find number of targets of each image
                ti.append(torch.arange(num, device=self.device).float().view(1, num).repeat(na, 1) + 1)  # (na, num)
            ti = torch.cat(ti, 1)  # (na, nt)


targets = torch.cat((targets.repeat(na, 1, 1), ai[..., None], ti[..., None]), 2)
1: 求面积 目标检测wh的面积
marea = xywhn[i][:, 2:].prod(1)2: 将xywh,映射到。掩码特征图:
mxyxy = xywh2xyxy(xywhn[i] * torch.tensor([mask_w, mask_h, mask_w, mask_h], device=self.device))3:生成掩码:
打印一下看看。
                for bi in b.unique():
                    j = b == bi  # matching index
                    if self.overlap:
                        mask_gti = torch.where(masks[bi][None] == tidxs[i][j].view(-1, 1, 1), 255.0, 0.0)
                    else:
                        mask_gti = masks[tidxs[i]][j]
                    imgsss = mask_gti[0].numpy().astype('uint8')
                    cv2.imshow('im', imgsss)
                    cv2.waitKey(0)
一张特征图,w*h 个网格 每个网格3个先验眶,都有一个掩码。
pred:特征图预测的后32为(1, 3, 80, 80, 5 + 80 + 32) 表示掩码预测
proto: 掩码特征图,在前面模型头。预测 (32, 160, 160) 要预测32个掩码坐标,所以通道是32,表示32个特征。
个人理解: proto是预测的形状,pred是具有位置信息。两个相乘就行了。
pred_mask = (pred @ proto.view(self.nm, -1)).view(-1, *proto.shape[1:]) 总结:
1: 生成掩码标签图:列如(8, 160, 160)。 8表示8个标签, 8张图片。
2: forword: 调用 proto(输出为(32, c, c)) proto 有一个上采样,所以步长为4
为什么需要proto?
如果不加proto。那么就掩码坐标预测,就只能放在输出的最后一位(1, 3, 80, 80, 117)
因为模型输出的掩码是固定的32位,实际数据可能是54, 64个掩码。所以无法设计损失函数。
加了proto之后:
例如掩码的图片为(160, 160)。 模型输出也是(160, 160)。损失函数是不是很好设计,而且由此可以猜想,模型学到的掩码应该是一个形状。
3: 位置,掩码综合预测。
第二步,只是预测了掩码的形状。但是没有位置,但是目标检测就是位置预测。另外一个,第二步预测的是一个特征图,需要把结果映射到32位掩码上。
yolo的实现很简单。用目标检测输出 * proto就行了。
(n, 32) @ (32, w, h) = (n, w, h)
最后加入到损失函数让它学习就行了L((n, w, h), (n, w, h))
总的说,就是先预测一下形状。然后将形状映射到位置上。最后只学习形状上最重要的32个点位。


 2万+
2万+


 被折叠的 条评论
为什么被折叠?
被折叠的 条评论
为什么被折叠?
 到【灌水乐园】发言


