可视化-threejs文字滚动效果

27 篇文章 15 订阅

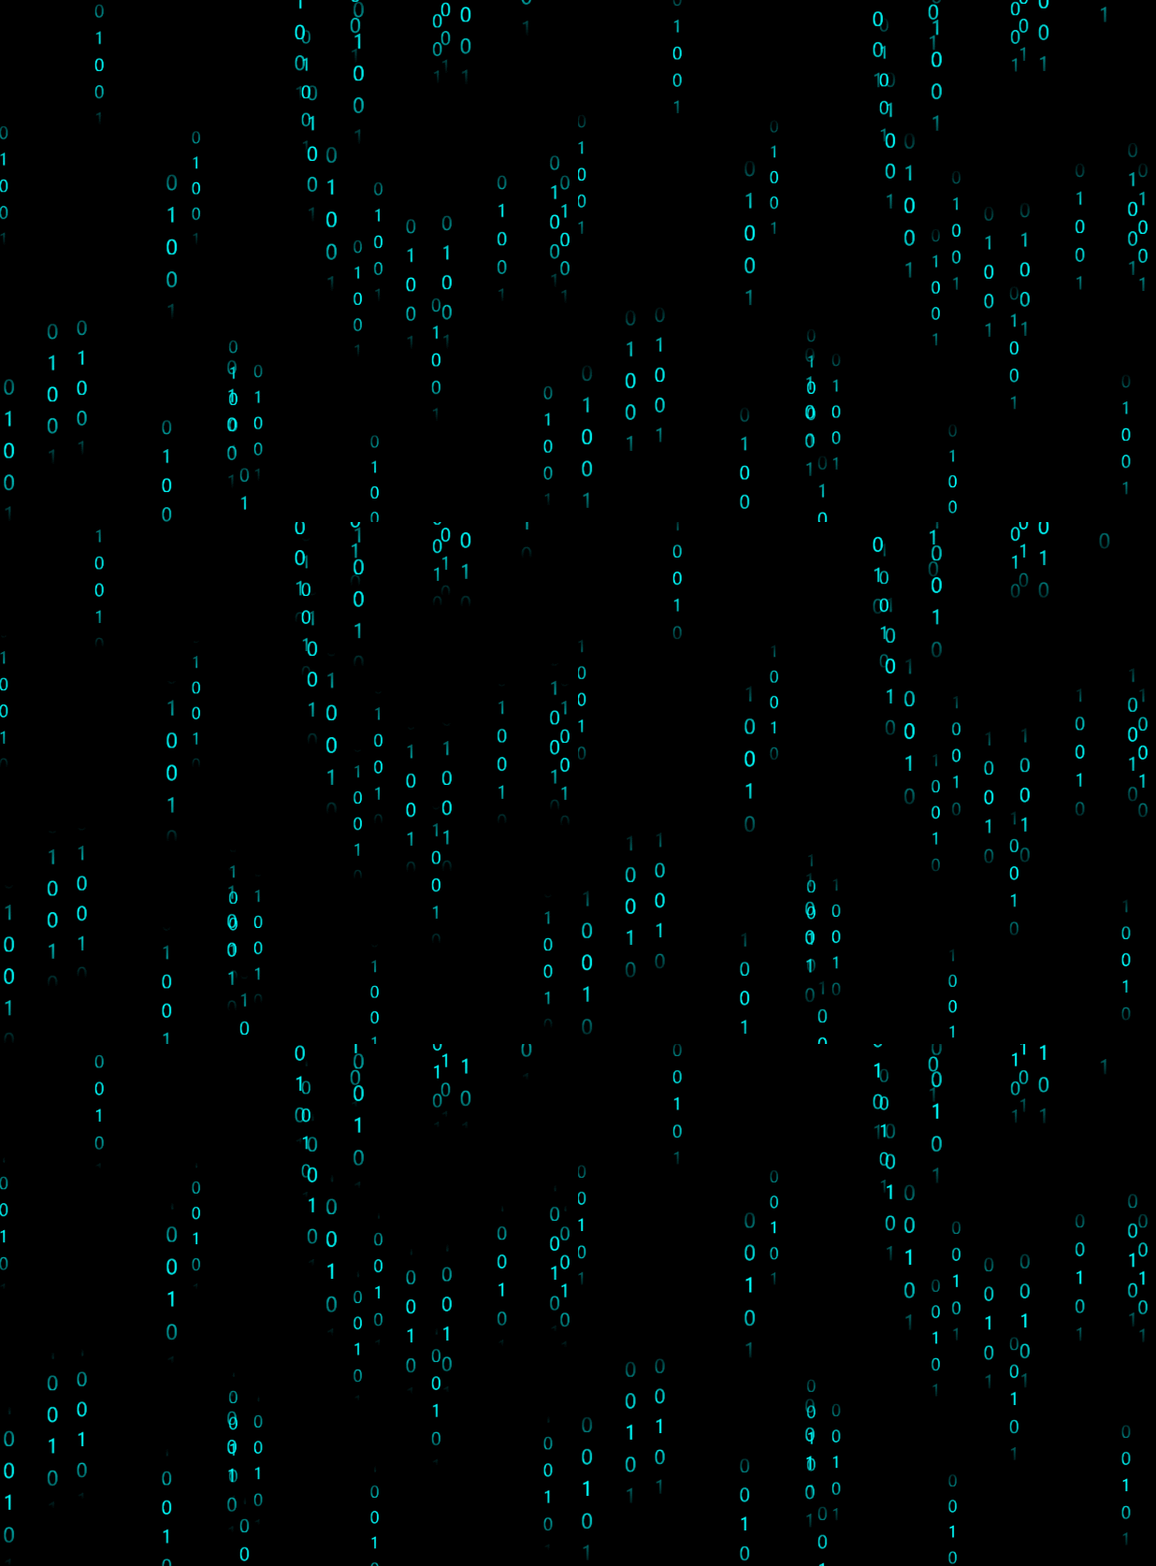
在这里插入图片描述

	var texture_up;
    this.planeUp = []
	var flyShader = {
        vertexshader: `
        varying vec2 vUv;
        varying float u_opacity;
        uniform sampler2D texture;
        uniform float time;
        uniform float vsize;
        uniform float vheight;
        void main() { 
            vUv = vec2(uv.x,uv.y - time);
            float op = (position.y + vheight / 2.0) / vheight;   
            u_opacity = sin( op * 3.1415);
            vec4 mvPosition = modelViewMatrix * vec4(position, 1.0);
            gl_Position = projectionMatrix * mvPosition;
            gl_PointSize = vsize * 300.0 / (-mvPosition.z);
        }`,
        fragmentshader: `
            varying vec2 vUv;
            varying float u_opacity;
            uniform sampler2D texture;
            uniform vec3 vcolor; 
            void main() {
                gl_FragColor = vec4(vcolor,u_opacity)*texture2D( texture, vUv );
            }
        `
    }
	function initContent() {
        // 生成内容
        var w = 16, h = 64; // 宽高
        texture_up = createCanvas(w, h, '101010', 4); // 展示的字体
        texture_up.wrapS = THREE.RepeatWrapping; // 纹理设置
        texture_up.wrapT = THREE.RepeatWrapping;
        for (let index = 0; index < 40; index++) {
            var p = addUpPlane(w, h, texture_up, new THREE.Vector3(random(), random(), random()));
            thm.scene.add(p);
            thm.planeUp.push(p);
        }
    }
    /**
     * [addUpPlane 创建mesh]
     *
     * @param   {[type]}  width     [width 宽度]
     * @param   {[type]}  height    [height 高度]
     * @param   {[type]}  textur    [textur 纹理]
     * @param   {[type]}  position  [position 位置]
     *
     * @return  {[type]}            [return mesh]
     */
    function addUpPlane(width, height, textur, position) {
        textur.repeat.x = 1;
        textur.repeat.y = 1;
        var planeGeometry = new THREE.PlaneBufferGeometry(width, height, 1, 32);
        var material = new THREE.ShaderMaterial({
            uniforms: {
                time: { value: 0 },// time
                texture: { value: textur }, // 图片
                vsize: { value: 400 }, // 大小
                vcolor: { value: new THREE.Color(0.0, 1.0, 1.0) }, // 颜色
                vheight: { value: height }
            },
            transparent: true,
            depthTest: false,
            fragmentShader: flyShader.fragmentshader,
            vertexShader: flyShader.vertexshader
        })
        var plane_up = new THREE.Mesh(planeGeometry, material);
        plane_up.rotation.x -= Math.PI / 2;
        plane_up.position.copy(position);
        return plane_up;
    }
    /**
     * [createCanvas 创建纹理]
     *
     * @param   {[type]}  w     [w 宽度]
     * @param   {[type]}  h     [h 高度]
     * @param   {[type]}  text  [text 字体]
     * @param   {[type]}  dpi   [dpi 越高纹理越清晰]
     *
     * @return  {[type]}        [return 纹理]
     */
    function createCanvas(w, h, text, dpi) {
        //数字展示动效 
        dpi = dpi || 4;
        text = String(text);
        var width = w * dpi;
        var height = h * dpi;
        let canvas = document.createElement('canvas');
        canvas.width = width;
        canvas.height = height;
        var ctx = canvas.getContext("2d");
        ctx.fillStyle = "rgba(0,0,0,0)";
        var size = width / 2;
        ctx.font = size + "px 微软雅黑"//和css中的font一样,不过没有了行高
        ctx.textAlign = 'left'//和css中的text-align一样
        ctx.textBaseline = 'left'//这个是文本基线的意思
        ctx.fillStyle = '#ffffff';//你的字体颜色  
        for (let i = 0; i < text.length; i++) {
            ctx.fillText(text[i], (width - size) / 2, i * (height / (text.length - 1)));
        }
        var textur = new THREE.Texture(canvas);
        textur.needsUpdate = true;
        return textur;
    }
// rennder 
// 设置纹理偏移
        if (texture_up) {
            texture_up.offset.y -= dt / 4; 
        }
        thm.planeUp.forEach(function (elem) {
            if (elem.material) {
                elem.material.uniforms.time.value += dt / 5;
            }
        })
  • 3
    点赞
  • 5
    收藏
    觉得还不错? 一键收藏
  • 打赏
    打赏
  • 0
    评论
当然可以!Three.js 是一个用于创建 3D 可视化场景的 JavaScript 库。它基于 WebGL 技术,可以在现代浏览器中实现高性能的 3D 渲染效果。你可以使用 Three.js 创建各种类型的可视化,包括游戏、数据可视化、虚拟现实等。 要开始使用 Three.js 进行可视化,首先需要引入它的库文件。你可以在官方网站(https://threejs.org/)上下载最新版本的 Three.js,然后将其引入到你的 HTML 文件中。 接下来,你可以使用 Three.js 提供的 API 来创建场景、相机、光源和物体等。例如,你可以创建一个场景对象: ```javascript var scene = new THREE.Scene(); ``` 然后创建一个相机对象,并设置其位置和朝向: ```javascript var camera = new THREE.PerspectiveCamera(75, window.innerWidth / window.innerHeight, 0.1, 1000); camera.position.z = 5; ``` 接着,你可以创建一个渲染器对象,并将其绑定到 HTML 文档中的某个元素上: ```javascript var renderer = new THREE.WebGLRenderer(); renderer.setSize(window.innerWidth, window.innerHeight); document.body.appendChild(renderer.domElement); ``` 最后,你可以创建物体并将其添加到场景中: ```javascript var geometry = new THREE.BoxGeometry(); var material = new THREE.MeshBasicMaterial({ color: 0x00ff00 }); var cube = new THREE.Mesh(geometry, material); scene.add(cube); ``` 然后就可以在动画循环中更新场景并渲染: ```javascript function animate() { requestAnimationFrame(animate); // 更新物体的状态 cube.rotation.x += 0.01; cube.rotation.y += 0.01; // 渲染场景 renderer.render(scene, camera); } animate(); ``` 这只是一个简单的示例,你可以根据自己的需求使用 Three.js 创建更复杂的可视化效果。如果需要更多的帮助和示例代码,你可以参考 Three.js 的官方文档和示例库。
评论
添加红包

请填写红包祝福语或标题

红包个数最小为10个

红包金额最低5元

当前余额3.43前往充值 >
需支付:10.00
成就一亿技术人!
领取后你会自动成为博主和红包主的粉丝 规则
hope_wisdom
发出的红包

打赏作者

菜鸡饶

你的鼓励将是我创作的最大动力

¥1 ¥2 ¥4 ¥6 ¥10 ¥20
扫码支付:¥1
获取中
扫码支付

您的余额不足,请更换扫码支付或充值

打赏作者

实付
使用余额支付
点击重新获取
扫码支付
钱包余额 0

抵扣说明:

1.余额是钱包充值的虚拟货币,按照1:1的比例进行支付金额的抵扣。
2.余额无法直接购买下载,可以购买VIP、付费专栏及课程。

余额充值