


 本文详细介绍了在WindowsSubsystemforLinux(WSL)2环境下安装CUDAToolkit、Conda、deepspeed和flash-attention,以及如何解决安装过程中的问题,包括调整WSL版本、配置环境变量和使用GitLFS管理大型模型部署的过程。
WSL是在Windows上跑的Linux子系统,但是在Windows环境下,安装deepspeed和flash-attention有很大的坑(deepspeed确实能安装成功,但是flash-attention安了好久确实也没有成功)
准备工作
修改WSL的版本为2
在终端执行wsl -l -v显示wsl版本
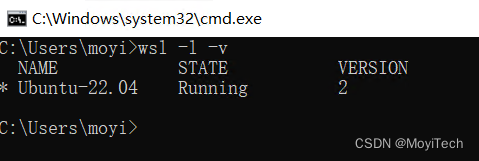
执行wsl --set-version Ubuntu-22.04,即可将wsl版本转换为2。如果出现需要下载更新等提示,点击更新即可。
安装Cuda Toolkit
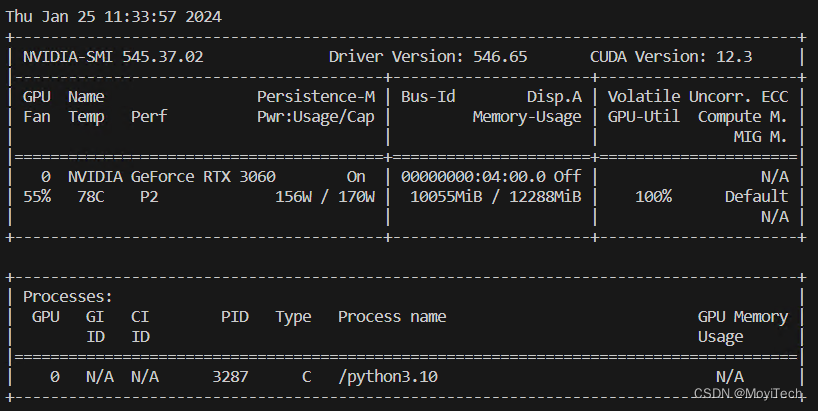
Nvidia的驱动在Windows和WSL平台是通用的,可使用nvidia-smi命令查看
NVIDIA Toolkit下载地址:https://developer.nvidia.com/cuda-downloads
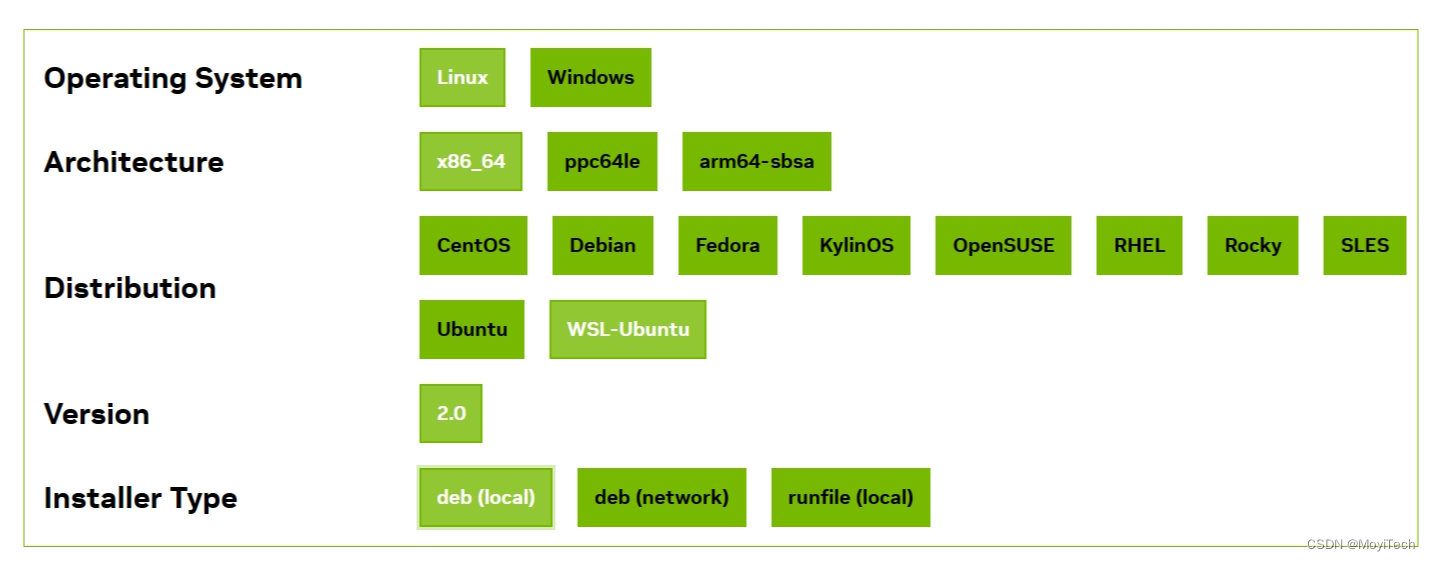
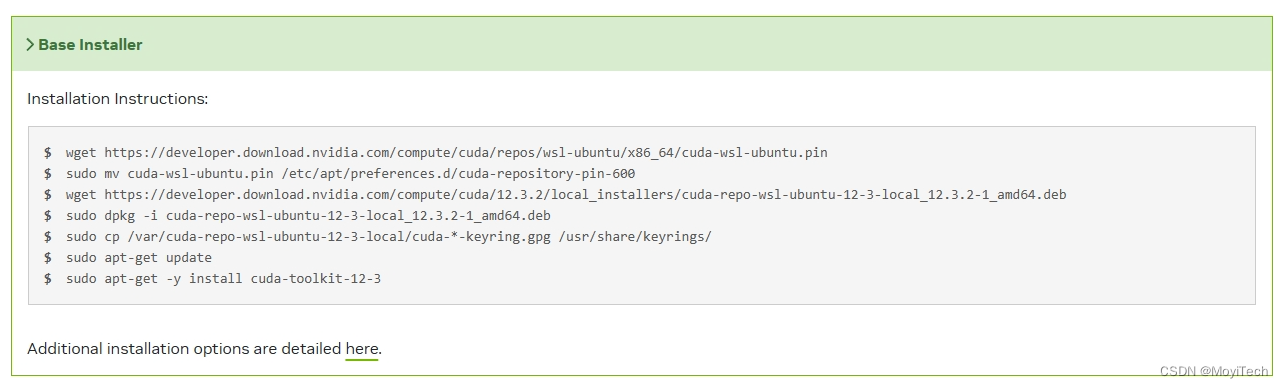
在 wsl 命令行按照图示的指令运行就行。
安装完成后nvcc -V应该是显示不出来版本的。需要在~/.bashrc文件下做环境变量的配置。vim ~/.bashrc 在最下面添加这几行。
export PATH=/usr/local/cuda/bin:$PATH
export LD_LIBRARY_PATH=/usr/local/cuda/lib64:$LD_LIBRARY_PAT
刷新环境 source ~/.bashrc,运行nvcc -V会有 CUDA版本的输出
安装Conda
这里选择安装Miniconda
打开清华大学镜像站:https://mirrors.tuna.tsinghua.edu.cn/anaconda/miniconda/
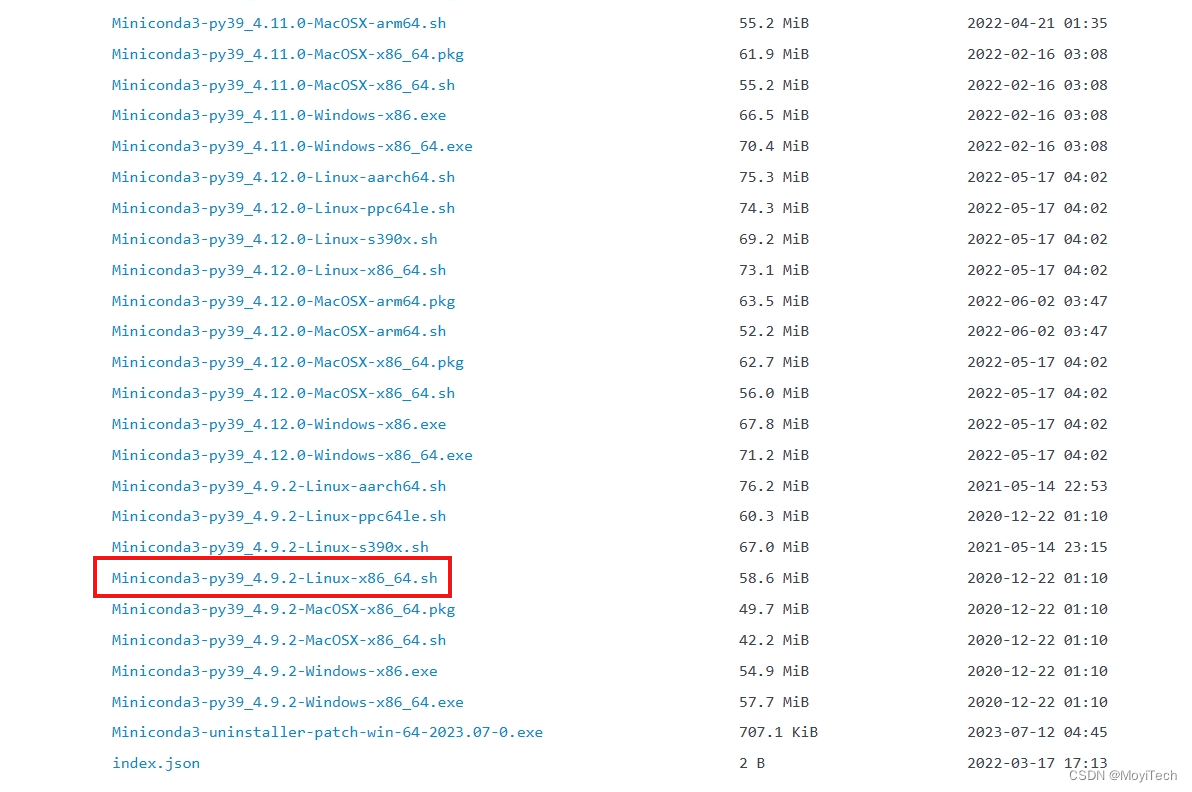
选择相应的Linux版本右键复制链接,在终端使用wget命令进行下载
wget https://mirrors.tuna.tsinghua.edu.cn/anaconda/miniconda/Miniconda3-py39_4.9.2-Linux-x86_64.sh
赋执行权
chmod +x ./Miniconda3-py39_4.9.2-Linux-x86_64.sh
运行安装脚本
./Miniconda3-py39_4.9.2-Linux-x86_64.sh
跟着提示一步一步来就可以了
安装完成后,为conda添加清华源
conda config --add channels https://mirrors.bfsu.edu.cn/anaconda/pkgs/main # 添加conda下载源,目的是它自动生成的一个配置文件,
为pip添加清华源
pip config set global.index-url https://pypi.mirrors.ustc.edu.cn/simple # 修改pip下载源
Deepspeed
在Windows下,deepspeed安装好费劲,但是在Linux环境下,装好gpu版本torch后,直接pip install deepspeed即可
FlashAttention
flash-attn用于推理加速
github下载较慢,可使用gitee镜像
git clone https://github.com/Dao-AILab/flash-attention
cd flash-attention && pip install .
下方安装可选,安装可能比较缓慢。
pip install csrc/layer_norm
pip install csrc/rotary
Git+LFS
sudo apt-get update
sudo apt-get install git-lfs
git lfs install
模型部署(Qwen-1.8B)
模型地址:https://www.modelscope.cn/models/qwen/Qwen-1_8B-Chat/summary
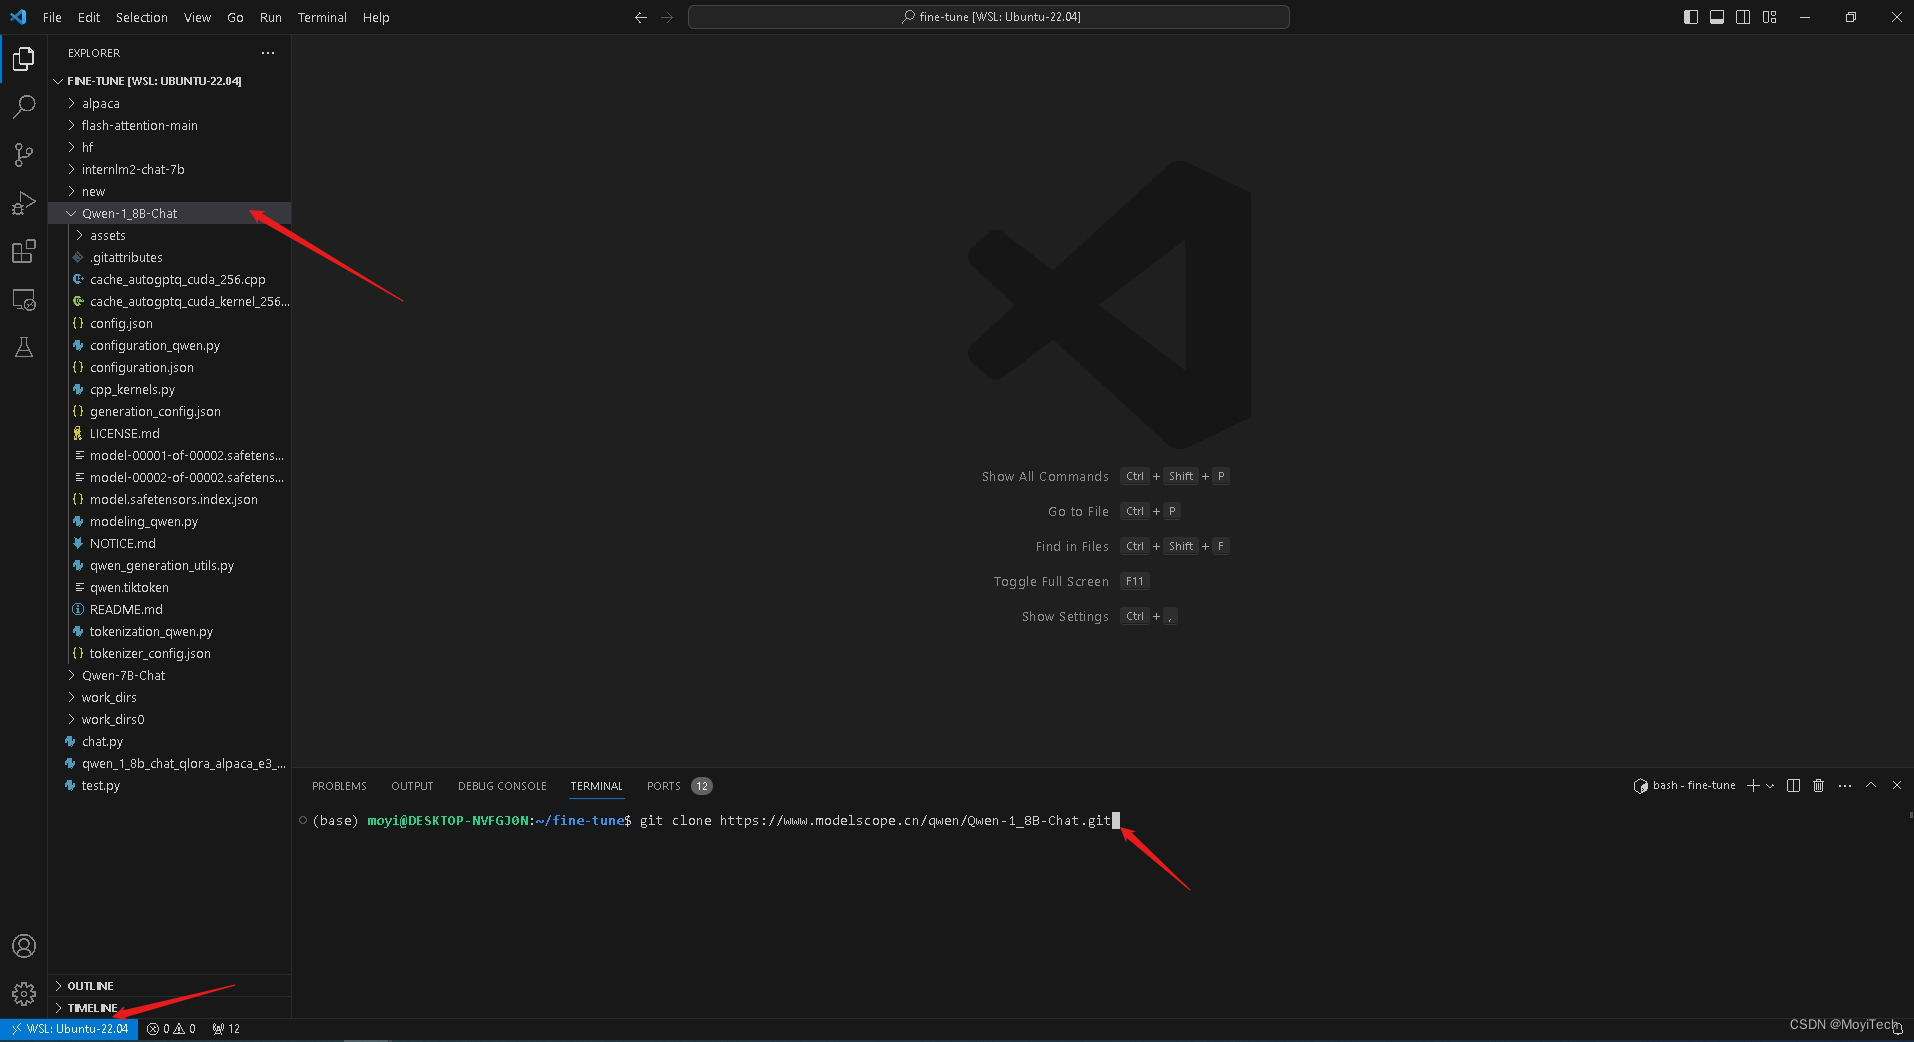
首先,我们使用Visual Studio Code进入到WSL环境,将其clone下来
git clone https://www.modelscope.cn/qwen/Qwen-1_8B-Chat.git
按照提示,安装依赖
pip install transformers==4.32.0 accelerate tiktoken einops scipy transformers_stream_generator==0.0.4 peft deepspeed
接着,新建chat.py,写入一下内容(注意,不要在Qwen-1_8B-Chat内创建):
from modelscope import AutoModelForCausalLM, AutoTokenizer, GenerationConfig

# Note: The default behavior now has injection attack prevention off.
tokenizer = AutoTokenizer.from_pretrained("./Qwen-1_8B-Chat", revision='master', trust_remote_code=True)

model = AutoModelForCausalLM.from_pretrained("./Qwen-1_8B-Chat", revision='master', device_map="auto", trust_remote_code=True).eval()

# 第一轮对话 1st dialogue turn
response, history = model.chat(tokenizer, "你好", history=None)
print(response)
# 你好!很高兴为你提供帮助。

# 第二轮对话 2nd dialogue turn
response, history = model.chat(tokenizer, "给我讲一个年轻人奋斗创业最终取得成功的故事。", history=history)
print(response)

# 第三轮对话 3rd dialogue turn
response, history = model.chat(tokenizer, "给这个故事起一个标题", history=history)
print(response)

response, _ = model.chat(tokenizer, "你好呀", history=None, system="请用二次元可爱语气和我说话")
print(response)

response, _ = model.chat(tokenizer, "My colleague works diligently", history=None, system="You will write beautiful compliments according to needs")
print(response)


 953
953

 被折叠的 条评论
为什么被折叠?
被折叠的 条评论
为什么被折叠?
 到【灌水乐园】发言


