


说在前面
- 操作系统:win11
- rust版本:rustc 1.77.0-nightly
- bevy版本:0.12
- github:这里
问题提出
-
在
three.js中,可以通过使用ConvexGeometry从给定的三维点集合生成凸包(Convex Hull)import { ConvexGeometry } from 'three/addons/geometries/ConvexGeometry.js';例如:
const geometry = new ConvexGeometry( points );
const material = new THREE.MeshBasicMaterial( { color: 0x00ff00 } );
const mesh = new THREE.Mesh( geometry, material );
scene.add( mesh );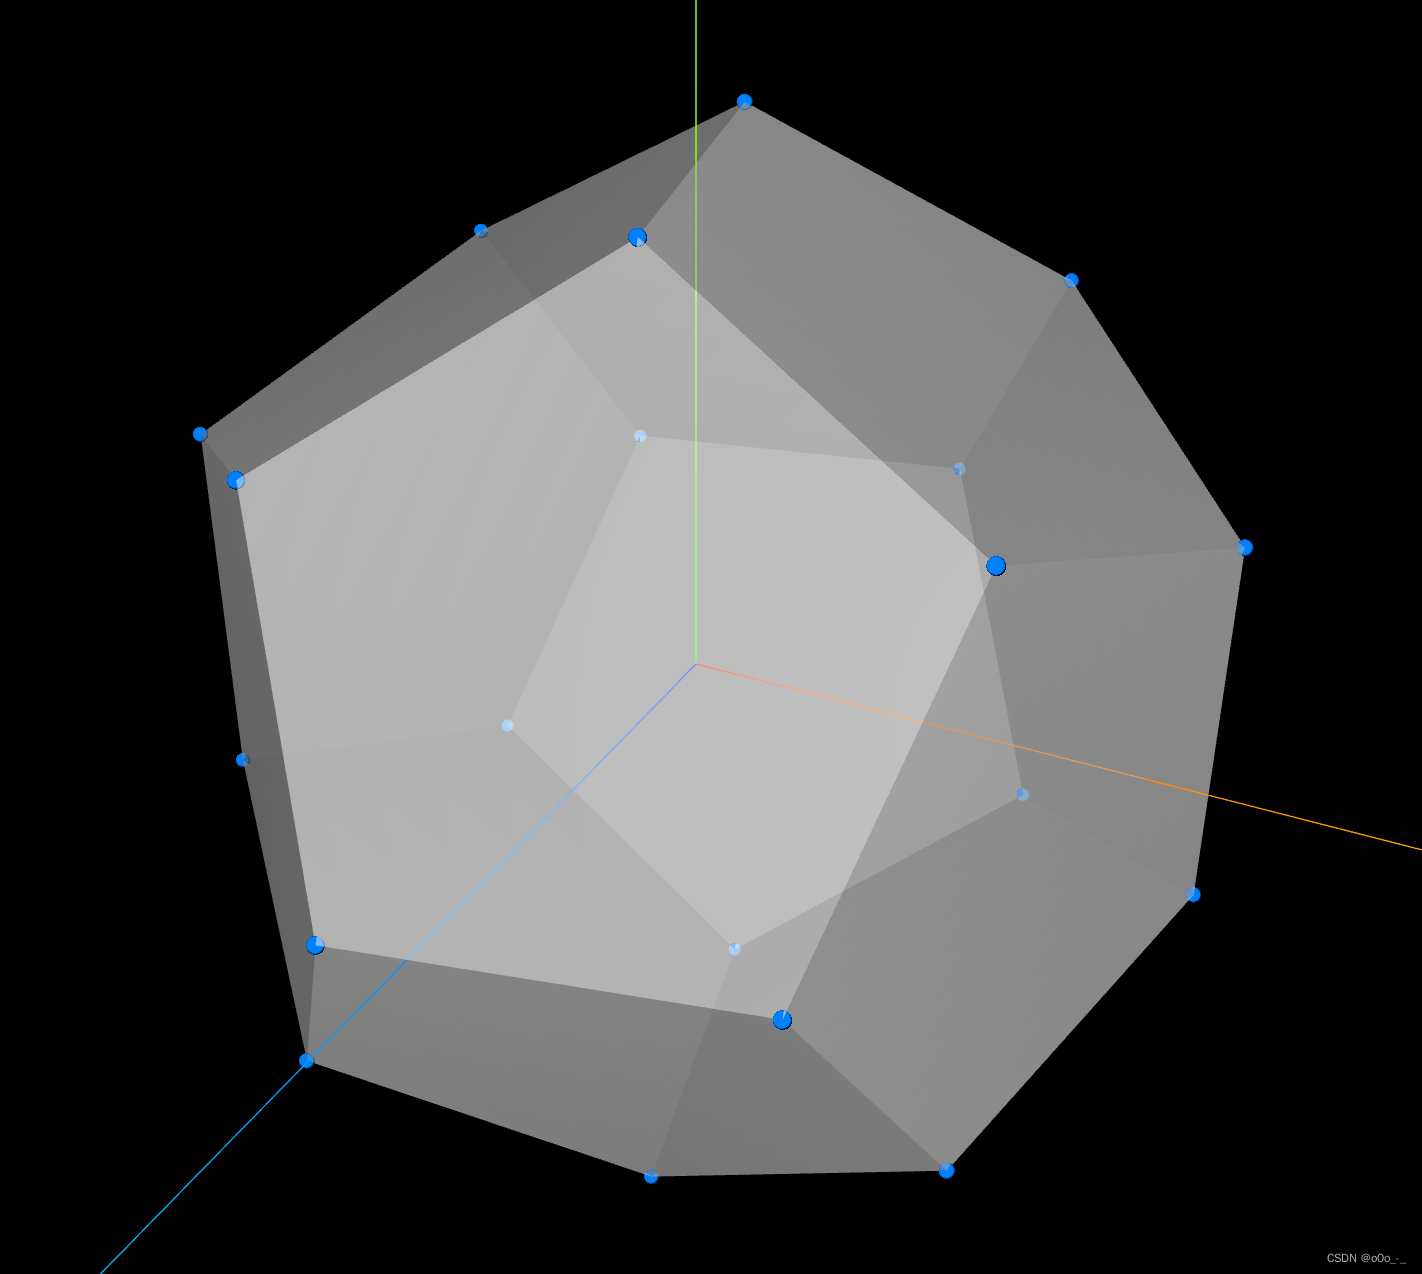
-
但是在
bevy中如何实现呢?
Rapier
- 在当前
bevy的版本中,并没有类似的实现,目前支持的shape也比three.js少:- Box
- Capsule
- Circle
- Cube
- Cylinder
- Icosphere
- Plane
- Quad
- RegularPolygon
- Torus
- UVSphere
- 所以,如果要构造
ConvexHull,只能借助第三方库(或者自己实现,可以参考three.js实现) - 这里我们借助一个物理库
rapier来实现 - 关于rapier
这里
具体实现
-
首先我们通过点集构造
ConvexHull,rapier可以直接完成这一步:let collider = Collider::convex_hull(&points);但是该方法构造的是一个
Collider,实际上是无法直接当成Mesh使用的 -
然后我们将其转换成
ConvexPolyhedronlet convex = c.as_convex_polyhedron().unwrap(); -
该结构中包含一个凸包的所有属性,例如点、边、面等,事实上,它提供了一个方法,能够直接转换成TriangleMesh所需要的数据:
impl ConvexPolyhedron {
    /// Discretize the boundary of this convex polyhedron as a triangle-mesh.
    pub fn to_trimesh(&self) -> (Vec<Point3<Real>>, Vec<[u32; 3]>) {
        let mut indices = Vec::new();

        for face in self.faces() {
            let i1 = face.first_vertex_or_edge;
            let i2 = i1 + face.num_vertices_or_edges;
            let first_id = self.vertices_adj_to_face()[i1 as usize] as u32;

            for idx in self.vertices_adj_to_face()[i1 as usize + 1..i2 as usize].windows(2) {
                indices.push([first_id, idx[0] as u32, idx[1] as u32]);
            }
        }

        (self.points().to_vec(), indices)
    }
}
但是不包含
normal数据,导致光照对其没有作用
-
所以我们需要自己实现一个相似的方法,首先我们来看看测试数据,实际上它有20个点,共12个面,每个面是一个正五边形,所以使用TriangleMesh来表达的话,一共是36个三角形
-
再让我们来看看
bevy中构造一个TriangleMesh需要哪些数据:fn create_simple_parallelogram() -> Mesh { // Create a new mesh using a triangle list topology, where each set of 3 vertices composes a triangle. Mesh::new(PrimitiveTopology::TriangleList) // 顶点数据 .with_inserted_attribute( Mesh::ATTRIBUTE_POSITION, vec![[0.0, 0.0, 0.0], [1.0, 2.0, 0.0], [2.0, 2.0, 0.0], [1.0, 0.0, 0.0]] ) // uv数据 在本文中我们并不需要 .with_inserted_attribute( Mesh::ATTRIBUTE_UV_0, vec![[0.0, 1.0], [0.5, 0.0], [1.0, 0.0], [0.5, 1.0]] ) // 法线 .with_inserted_attribute( Mesh::ATTRIBUTE_NORMAL, vec![[0.0, 0.0, 1.0], [0.0, 0.0, 1.0], [0.0, 0.0, 1.0], [0.0, 0.0, 1.0]] ) // 三角形的顶点索引 .with_indices(Some(Indices::U32(vec![ 0, 3, 1, 1, 3, 2 ]))) } -
对比我们需要的数据,以及
to_trimesh方法,发现我们少了normal数据,不过这个数据在face中就有,那么所有条件就具备了 -
完整代码
let plist: Vec<f32> = vec![0., 3.568220853805542, 9.341723442077637, 5.773502826690674, 5.773502826690674, 5.773502826690674, -5.773502826690674, 5.773502826690674, 5.773502826690674, 3.568220853805542, 9.341723442077637, 0., -3.568220853805542, 9.341723442077637, 0., 9.341723442077637, 0., 3.568220853805542, 9.341723442077637, 0., -3.568220853805542, 5.773502826690674, 5.773502826690674, -5.773502826690674, 5.773502826690674, -5.773502826690674, -5.773502826690674, 0., -3.568220853805542, -9.341723442077637, 0., 3.568220853805542, -9.341723442077637, -5.773502826690674, -5.773502826690674, -5.773502826690674, -9.341723442077637, 0., -3.568220853805542, -5.773502826690674, 5.773502826690674, -5.773502826690674, -3.568220853805542, -9.341723442077637, 0., -5.773502826690674, -5.773502826690674, 5.773502826690674, -9.341723442077637, 0., 3.568220853805542, 0., -3.568220853805542, 9.341723442077637, 3.568220853805542, -9.341723442077637, 0., 5.773502826690674, -5.773502826690674, 5.773502826690674]; let points: Vec<Vec3> = plist .array_chunks() .into_iter() .map(|&v: &[f32; 3]| Vec3::from_array(v)) .collect(); // 通过点集构造convex hull let collider = Collider::convex_hull(&points); if let Some(c) = collider { let convex = c.as_convex_polyhedron().unwrap(); // 取convex hull的所有面 let faces = convex.raw.faces(); // 取点集 let points = convex.raw.points(); // 取映射关系 let face_to_vertices = convex.raw.vertices_adj_to_face(); let mut positions = Vec::new(); // 法向量 用于处理光照 let mut normals = Vec::new(); let mut indices = Vec::new(); // 遍历所有的面 for face in faces { let i1 = face.first_vertex_or_edge; let i2 = i1 + face.num_vertices_or_edges; for idx in i1..i2 { let point = points[face_to_vertices[idx as usize] as usize]; // 重新构造点集 points是原始点集 positions.push([point.x, point.y, point.z]); // 面上的所有点的朝向与面相同 normals.push([face.normal.x, face.normal.y, face.normal.z]); } for idx in i1 + 1..i2 - 1 { // 构造顶点索引 indices.push([i1, idx as u32, idx + 1 as u32]); } } // 构造Mesh let mesh = Mesh::new(PrimitiveTopology::TriangleList) .with_inserted_attribute(Mesh::ATTRIBUTE_POSITION, positions) .with_inserted_attribute(Mesh::ATTRIBUTE_NORMAL, normals) .with_indices(Some(Indices::U32(indices.concat()))); commands.spawn(PbrBundle { mesh: meshes.add(mesh), material: materials.add(Color::rgb_u8(124, 144, 255).into()), transform: Transform::from_xyz(0.0, 1., 0.0).with_scale(Vec3::new(0.1, 0.1, 0.1)), ..default() }); } -
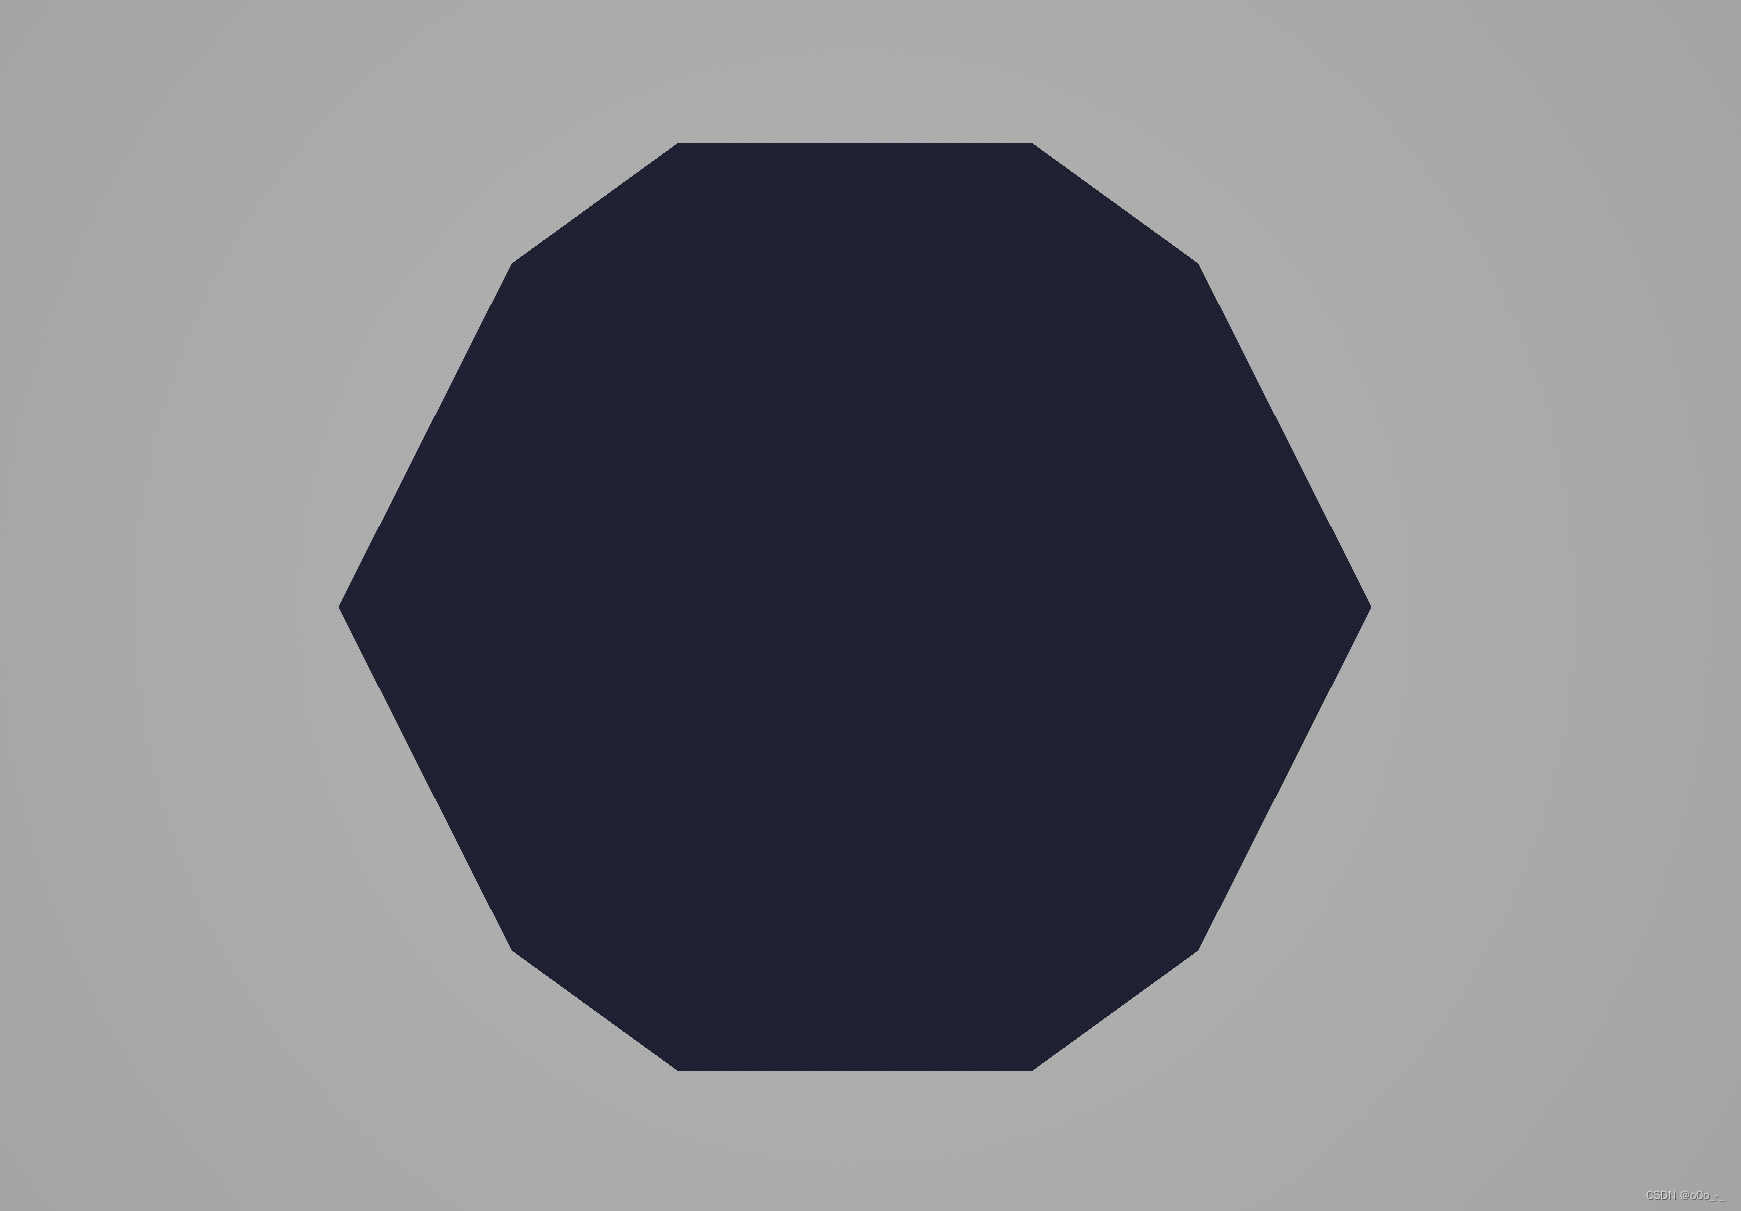
结果(gif)


 1751
1751


 被折叠的 条评论
为什么被折叠?
被折叠的 条评论
为什么被折叠?
 到【灌水乐园】发言


