


前言
前文提要:
FariyGUI × Cocos Creator 入门
FairyGUI × Cocos Creator 3.x 使用方式
个人demo:https://gitcode.net/qq_36286039/fgui_cocos_demo_dust
个人demo可能会更新其他代码,还请读者阅读本文内容,自行理解并实现。
官方demo:https://github.com/fairygui/FairyGUI-cocoscreator/tree/ccc3.0
场景切换
阅读一下FairyGUI官方给的Cocos Creator 3.x 的 demo,可以看见它是怎么场景切换的。
- 场景里挂一个常驻节点
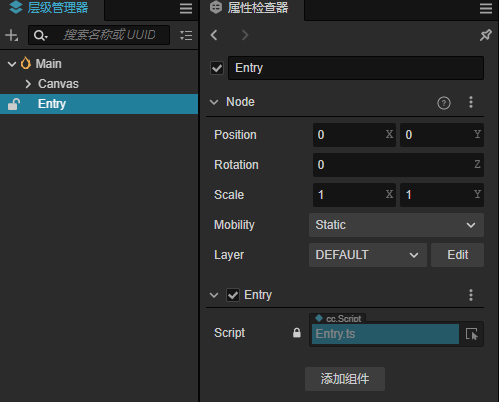
- 挂上一个脚本Entry.ts
import * as cc from 'cc';
const { ccclass, property } = cc._decorator;
import * as fgui from "fairygui-cc";
import Main from './Main';


@ccclass
export default class Entry extends cc.Component {

    private _currentDemo: cc.Component = null!;

    onLoad() {
        fgui.GRoot.create();
        this.node.on("scene_replace", this._onDemoStart, this);
        this.addComponent(Main);
    }

    private _onDemoStart(demoStr: string) {
        let demo: cc.Component = this.addComponent(demoStr)!;
        this._currentDemo = demo;
    }

    start() {

    }
}
这一行代码帮助我们先切换到第一个场景:
this.addComponent(Main);
- 在Main.ts的onload里加载fgui界面:
	public onLoad() {
        cc.assetManager.loadBundle("UI", (err, res) => {
            fgui.UIPackage.loadPackage(res, "MainPkg", this._onUILoaded.bind(this));
        });
	}

    private _onUILoaded() {
        this._view = fgui.UIPackage.createObject("MainPkg", "Main").asCom;
        this._view.makeFullScreen();
        fgui.GRoot.inst.addChild(this._view);
        this.StartBtn = this._view.getChild("StartBtn");
        this._initBtnEvents();
    }
其中MainPkg对应fgui中的包名,Main对应包内的组件名,这些代码观察demo即可。
- 在Main中切换场景
private _onStartGame() {
    this.node.emit("scene_replace", "Game");
    this.destroy();
}
这段代码帮我们从Main脚本切换到Game脚本
- Game.ts脚本的onLoad
    public onLoad() {
        let UIBundle = null;
        cc.assetManager.loadBundle("UI", (err, res) => {
            UIBundle = res;
            fgui.UIPackage.loadPackage(UIBundle, "GamePkg", this._onUILoaded.bind(this));
        });
    }

    private _onUILoaded(err, pkg) {
        this._view = fgui.UIPackage.createObject("GamePkg", "Game").asCom;
        this._view.makeFullScreen();
        fgui.GRoot.inst.addChild(this._view);
        this.BackBtn = this._view.getChild("BackBtn");
        this.BackBtn.on(cc.Node.EventType.TOUCH_END, this._onClickBack, this);
    }
- 从Game返回到Main
    private _onClickBack(evt: Event): void {
        fgui.GRoot.inst.removeChildren(0, -1, true);
        this.node.emit("scene_replace", "Main");
        this.destroy();
    }


 1598
1598


 被折叠的 条评论
为什么被折叠?
被折叠的 条评论
为什么被折叠?
 到【灌水乐园】发言


