


前言
博客园提供了个人首页背景的模板,但却是让人觉得一言难尽。对于一个不了解css,html的小白来说,想要自定义自己的blog背景确实有点难,于是乎我仔细研究了一下,终于找到了一个适合于我们这些门外汉的方法,现在给大家分享一下。
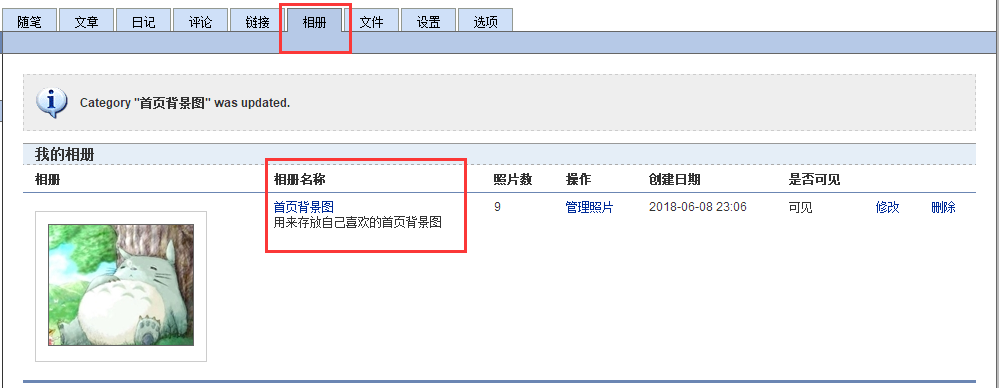
一、将选定的背景图上传至博客园服务器
- 方法一:将选定的图片上传至自己博客园的相册中(自己可以新增一个相册,用来存放首页背景图)
- 方法二:新增随笔,在随笔中上传背景图
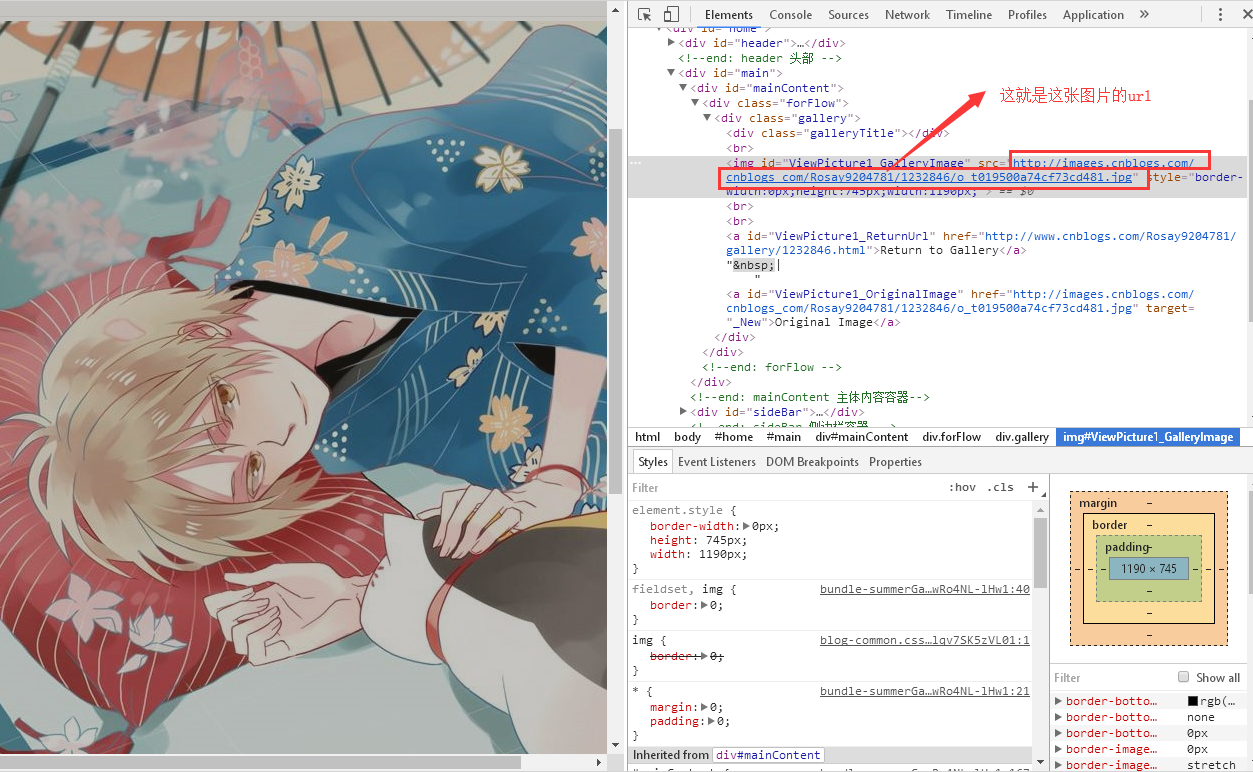
二、获取上传至博客园服务器背景图的url
- 打开相册,选择自己喜欢的图片,点进去。然后在那篇博客中,找到图片所在位置:鼠标右键--->审查元素,将url复制下来
三、修改博客源码
- 首先:找到“页面定制css代码框”粘贴复制下面代码:个人首页--->管理--->设置--->页面定制css代码
/*simplememory*/
#google_ad_c1, #google_ad_c2 {
    display:none;}
.syntaxhighlighter a, .syntaxhighlighter div, .syntaxhighlighter code, .syntaxhighlighter table, .syntaxhighlighter table td,
.syntaxhighlighter table tr, .syntaxhighlighter table tbody, .syntaxhighlighter table thead, .syntaxhighlighter table caption,
.syntaxhighlighter textarea {

font-size: 14px!important;
}
#home {

opacity: 0.80;
margin: 0 auto;
width: 85%;
min-width: 950px;
background-color: #fff;
padding: 30px;
margin-top: 30px;
margin-bottom: 50px;
box-shadow: 0 2px 6px rgba(100, 100, 100, 0.3);
}
#blogTitle h1 {

font-size: 30px;
font-weight: bold;
font-family: "Comic Sans MS";
line-height:
 最低0.47元/天 解锁文章


 945
945


 被折叠的 条评论
为什么被折叠?
被折叠的 条评论
为什么被折叠?
 到【灌水乐园】发言


