


文章目录
1 前言
在腾讯云服务器上使用nodejs搭建websocket服务器。
2 准备工作
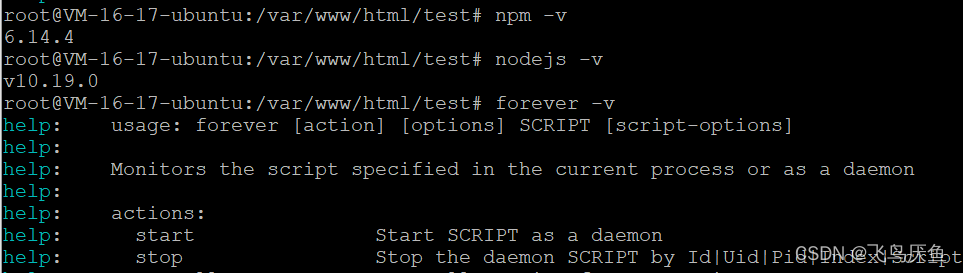
2.1 安装nodejs
安装环境
sudo apt install nodejs
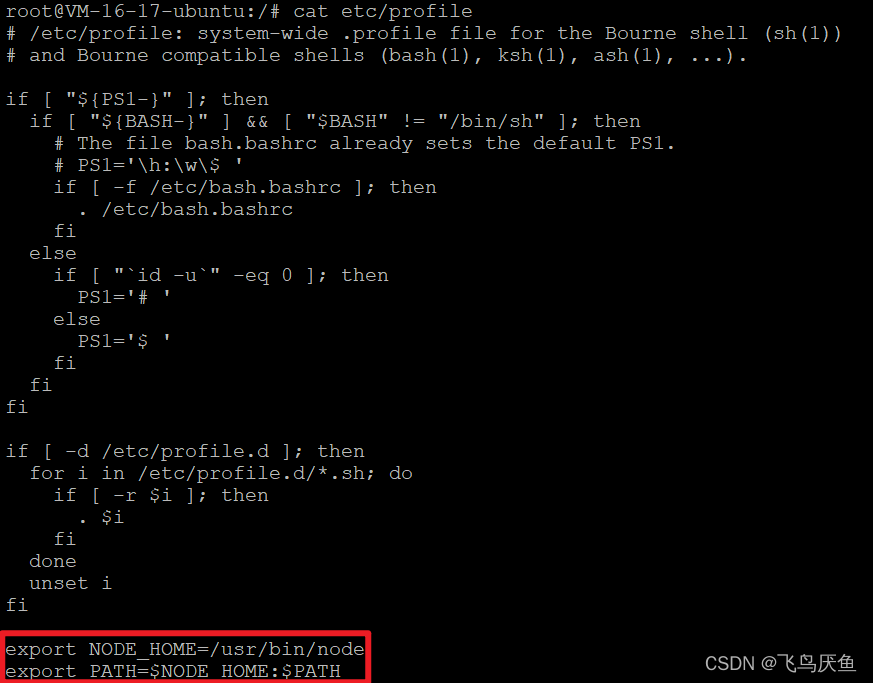
执行whereis nodejs
找到bin文件路径

bin文件路径如下

在etc/profile中添加环境
2.2 安装npm
sudo apt install npm
sudo npm install ws
sudo npm install forever
3 打开端口

在腾讯云防火墙中添加3001的端口
4 编写websocket服务端——js

我是在date目录下创建了nodejs文件夹,然后将编写js文件,存为demo.js
代码来源:websocket 学习–简单使用,nodejs搭建websocket服务器,到模拟股票,到实现聊天室
demo.js
var WebSocketServer = require('ws').Server,
wss = new WebSocketServer({ port: 3001});
wss.on('connection', function (ws) {
    console.log('client connected');
    ws.on('message', function (message) {
        console.log(message);
		ws.send("服务端接收到请求后,发送给客户端的数据");
    });

});
注意使用的端口和设定的一致。
然后执行命令运行,可以使用forever去运行js
forever start demo.js
注意js可能需要路径,看你当前在哪个目录下。
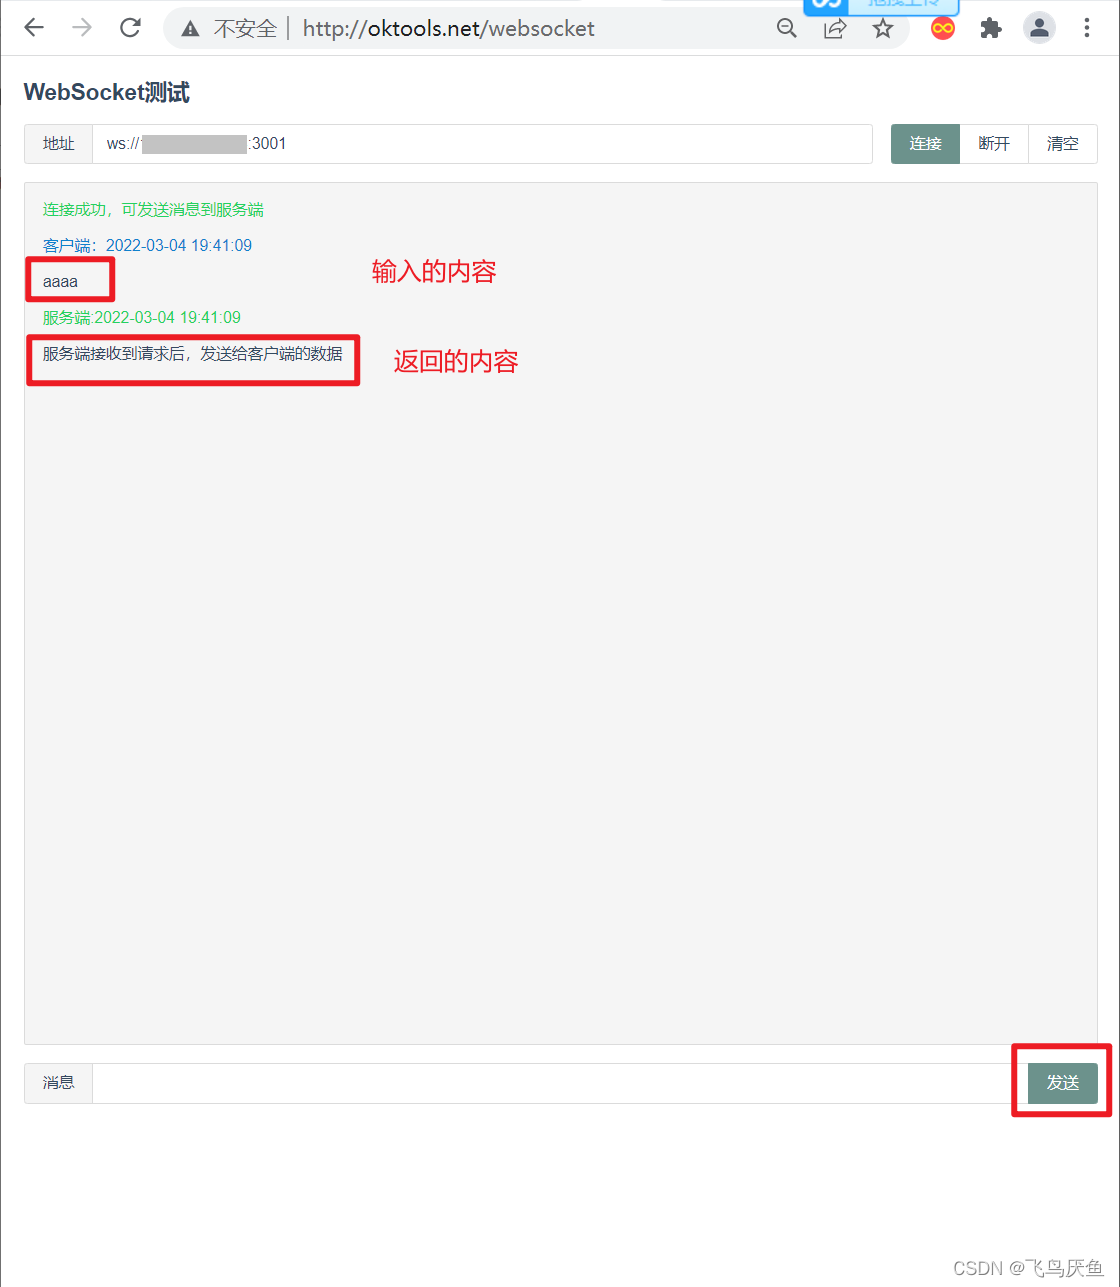
4.1 测试websocket服务端
http://oktools.net/websocket
这个网址可以测试你的websocket服务端是否可以被连接。
5 编写wesocket客户端——html
安装apach2,搭建web服务器
在var/www/html目录下编写需要的html文件

其中index.html是你的服务器的公网ip访问的网址
我编写的在test目录下

所以我的访问网址是
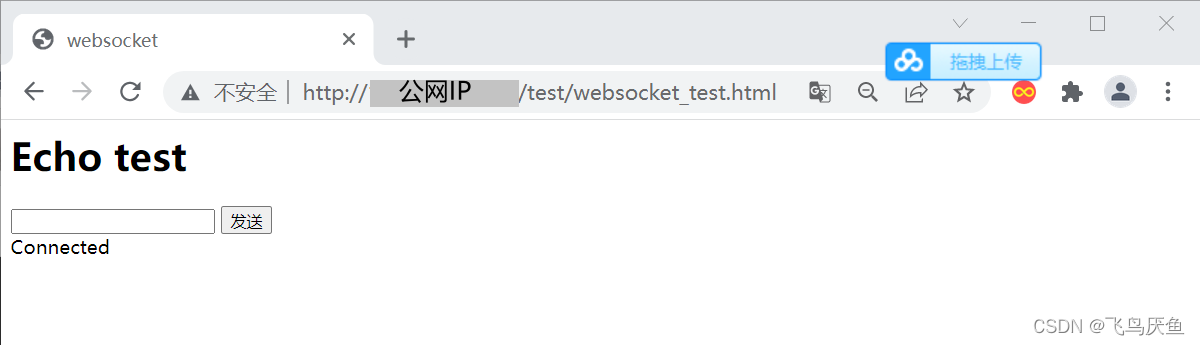
http://your_public_ip/test/websocket_test.html
需要输入你的公网ip代替your_public_ip
代码来源:websocket简介,nodejs做服务端的websocket,用nodejs实现websocket和socket_io整合的server端与client端
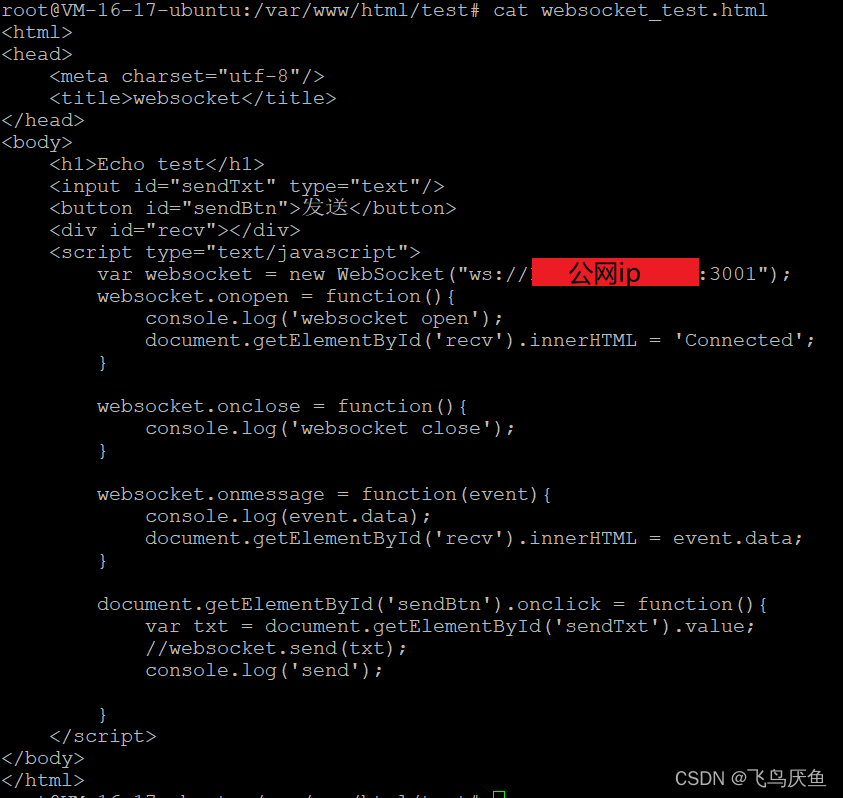
注意要填写代码中的"ws://公网ip:端口"
<html>
<head>
    <meta charset="utf-8"/>
    <title>websocket</title>
</head>
<body>
    <h1>Echo test</h1>
    <input id="sendTxt" type="text"/>
    <button id="sendBtn">发送</button>
    <div id="recv"></div>
    <script type="text/javascript">
        var websocket = new WebSocket("ws://公网ip:端口");
        websocket.onopen = function(){
            console.log('websocket open');
            document.getElementById('recv').innerHTML = 'Connected';
        }

        websocket.onclose = function(){
            console.log('websocket close');
        }

        websocket.onmessage = function(event){
            console.log(event.data);
            document.getElementById('recv').innerHTML = event.data;
        }

        document.getElementById('sendBtn').onclick = function(){
            var txt = document.getElementById('sendTxt').value;
            websocket.send(txt);

        }
    </script>
</body>
</html>
最终呈现的是如下画面
6 查看端口使用情况
lsof -i:3001

如图可以看到第一个作为监听,以及第二个是网页。
你可以尝试用http://oktools.net/websocket连通后再查看,会多出来一个。
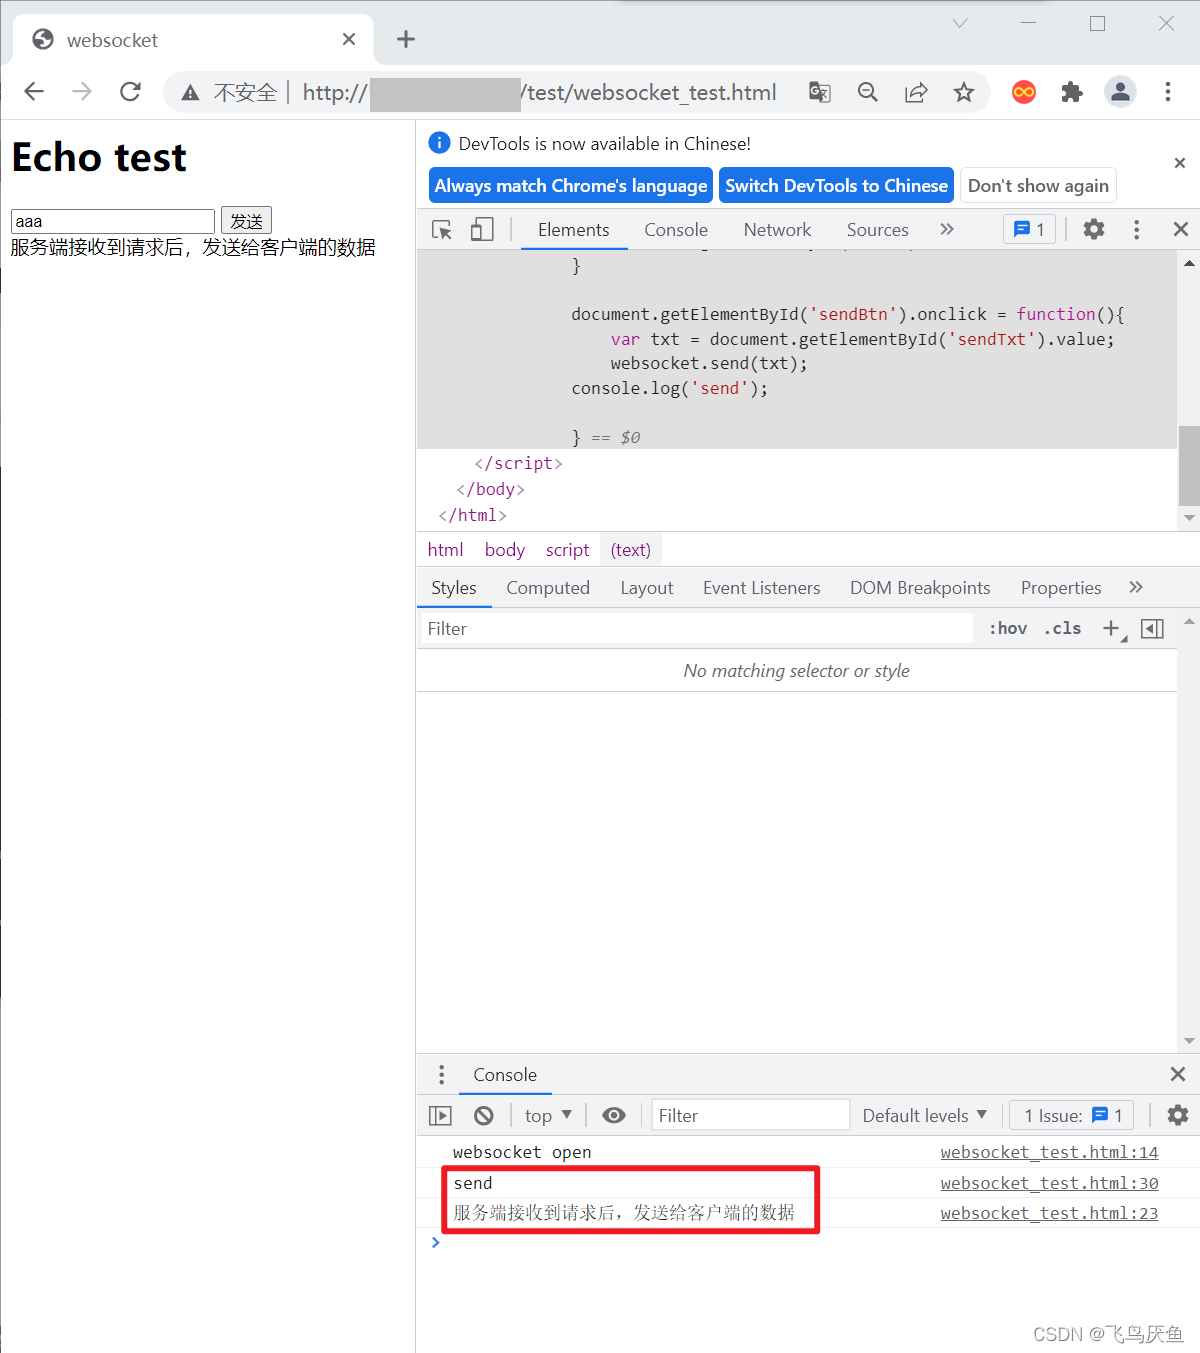
7 运行结果
在你的客户端输入aaa,查看console。
8 遇到的问题
Error: listen EADDRNOTAVAIL: address not available
未连通,可以看看你的防火墙是否打开


 1291
1291


 被折叠的 条评论
为什么被折叠?
被折叠的 条评论
为什么被折叠?
 到【灌水乐园】发言


