


简介
本教程将指导您如何在 Visual Studio Code (VSCode) 中安装和自定义配置 Continue 插件,并使用 Claude 3.5 模型进行 AI 开发。通过本教程,您将能够高效地利用 AI 助手提升开发效率。(本方法访问所有大模型均无需梯子)
重点注意事项
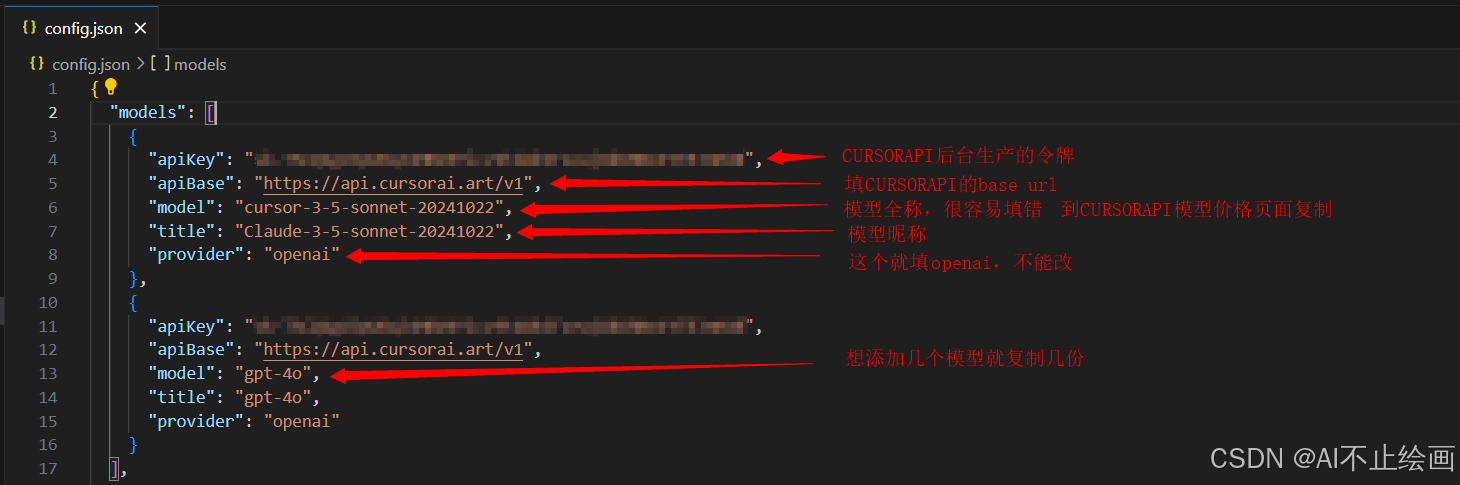
重点:无论是用 Openai GPT系列模型还是 Claude系列模型或其他任何模型,均只需修改Continue的config.json配置文件即可!!
API KEY: 在大模型API平台 CURSOR API 令牌页面新建获得。例:sk-1Qpxob9KYXq6b6oCypgyxjFwuiA817KfPAHo8XET7HjWQqU
Base URL: https://api.cursorai.art/v1/
主流模型全称:claude-3-5-sonnet-20241022、claude-3-5-sonnet-20240620、gpt-4o、gpt-4o-mini
所需工具与前提条件
- 安装了最新版本的 Visual Studio Code
- 网络连接,用于下载插件(访问所有大模型均无需梯子)
- 拥有 Claude 3.5 模型的 API 密钥
- 基本的编程知识,建议熟悉 JavaScript 或 Python
详细步骤指南
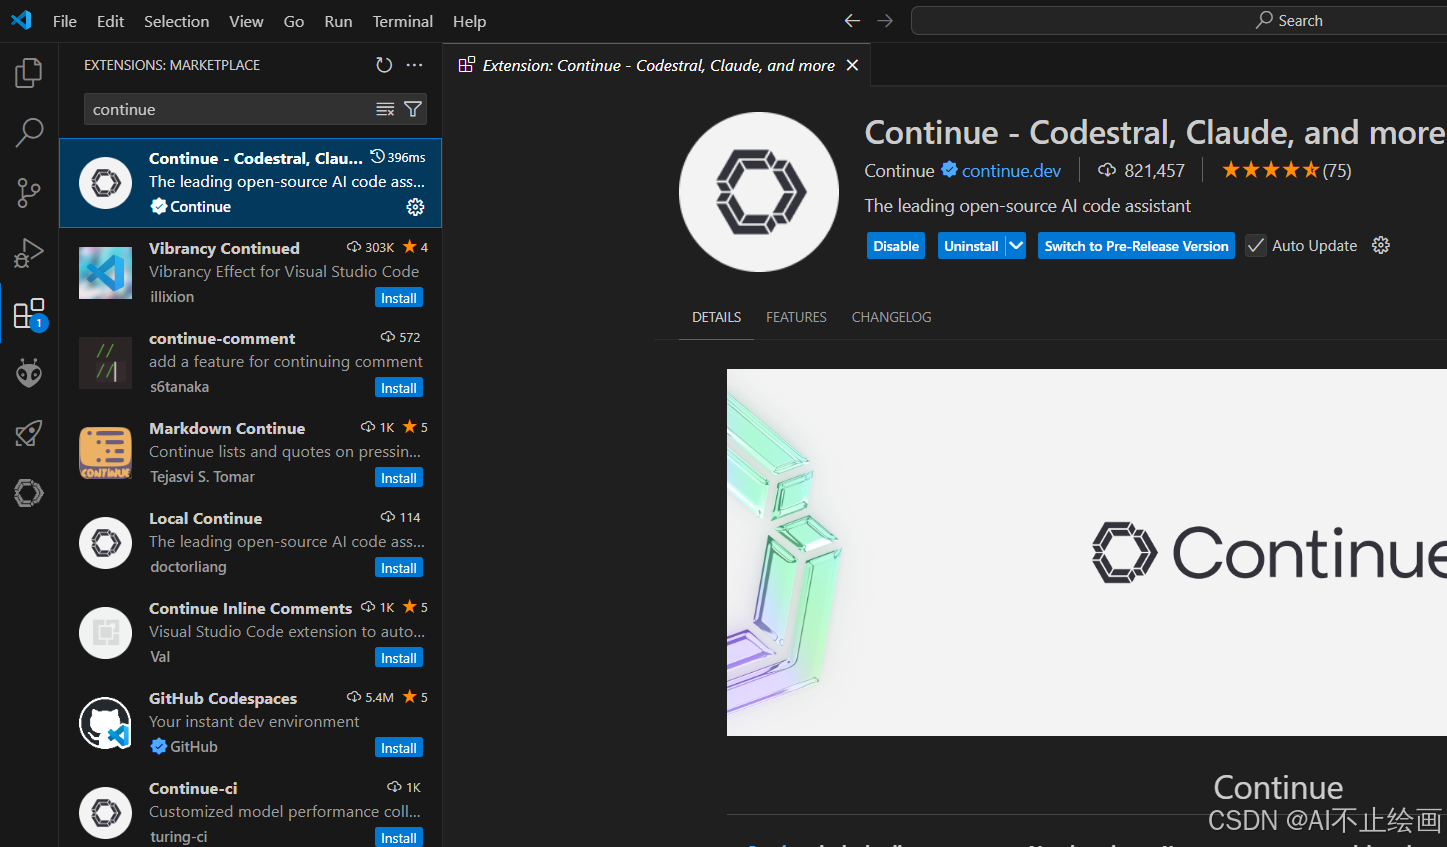
1. 安装 Continue 插件
打开 VSCode,进入扩展市场(快捷键 Ctrl+Shift+X),搜索 “Continue”,然后点击安装。
2. 配置 Claude 3.5 模型
在 VSCode 中,按 Ctrl+Shift+P 打开命令面板,输入 “Continue : Open configution file”,然后"models"中增加模型配置。例如:
{
"apiKey": "你的apikey",
"apiBase": "https://api.cursorai.art/v1",
"model": "cursor-3-5-sonnet-20241022",
"title": "Claude-3-5-sonnet-20241022",
"systemMessage": "You are an expert software developer. You give helpful and concise responses.",
"provider": "openai"
}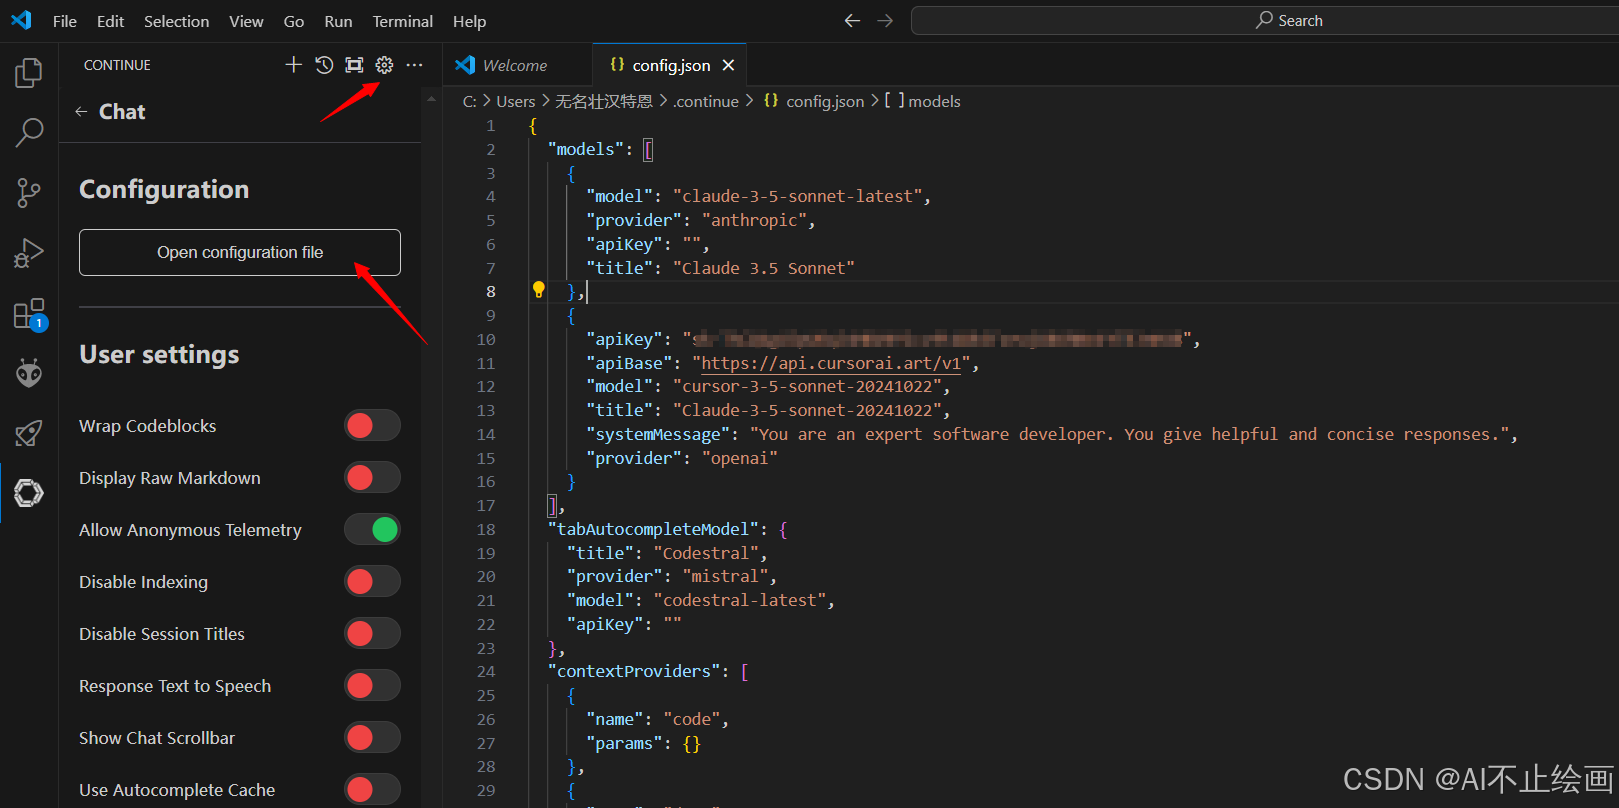 *注意模型配置之间要用英文逗号相隔,最后一个模型不需要逗号!!!
2. 自定义插件设置
根据您的开发需求,调整 Continue 插件的User setting,例如使用谷歌来搜索文档等。
4. 使用 Continue 进行 AI 开发
在代码编辑器中,选择刚刚配置的模型,输入@,可以让Continue读取任意文件,插件将使用 Claude 3.5 模型生成代码优化建议。
5. 配置自动补全模型(选配)
在模型配置文件中,修改"tabAutocompleteModel"部分的代码为:
  "tabAutocompleteModel":     {
    "apiKey": "你的apikey",
    "apiBase": "https://api.cursorai.art/v1",
    "model": "gpt-4o-mini",
    "title": "gpt-4o-mini",
    "provider": "openai"
  }
示例与演示
代码优化示例
import requests
from bs4 import BeautifulSoup
import csv
from time import sleep
def crawl_website(url, output_file):
# 设置请求头,模拟浏览器访问
headers = {
'User-Agent': 'Mozilla/5.0 (Windows NT 10.0; Win64; x64) AppleWebKit/537.36 (KHTML, like Gecko) Chrome/91.0.4472.124 Safari/537.36'
}
try:
# 发送GET请求获取页面内容
response = requests.get(url, headers=headers)
response.raise_for_status() # 检查请求是否成功
# 使用BeautifulSoup解析HTML
soup = BeautifulSoup(response.text, 'html.parser')
# 提取数据 (这里以提取所有标题为例)
titles = soup.find_all('h2') # 根据实际网页结构调整选择器
# 保存数据到CSV文件
with open(output_file, 'w', newline='', encoding='utf-8') as f:
writer = csv.writer(f)
writer.writerow(['Title']) # 写入表头
for title in titles:
writer.writerow([title.text.strip()])
print(f"数据已保存到 {output_file}")
except requests.RequestException as e:
print(f"爬取过程中出现错误: {e}")
# 添加延迟,避免频繁请求
sleep(2)
# 使用示例
if __name__ == "__main__":
target_url = "https://example.com" # 替换为你要爬取的网站
output_file = "crawled_data.csv"
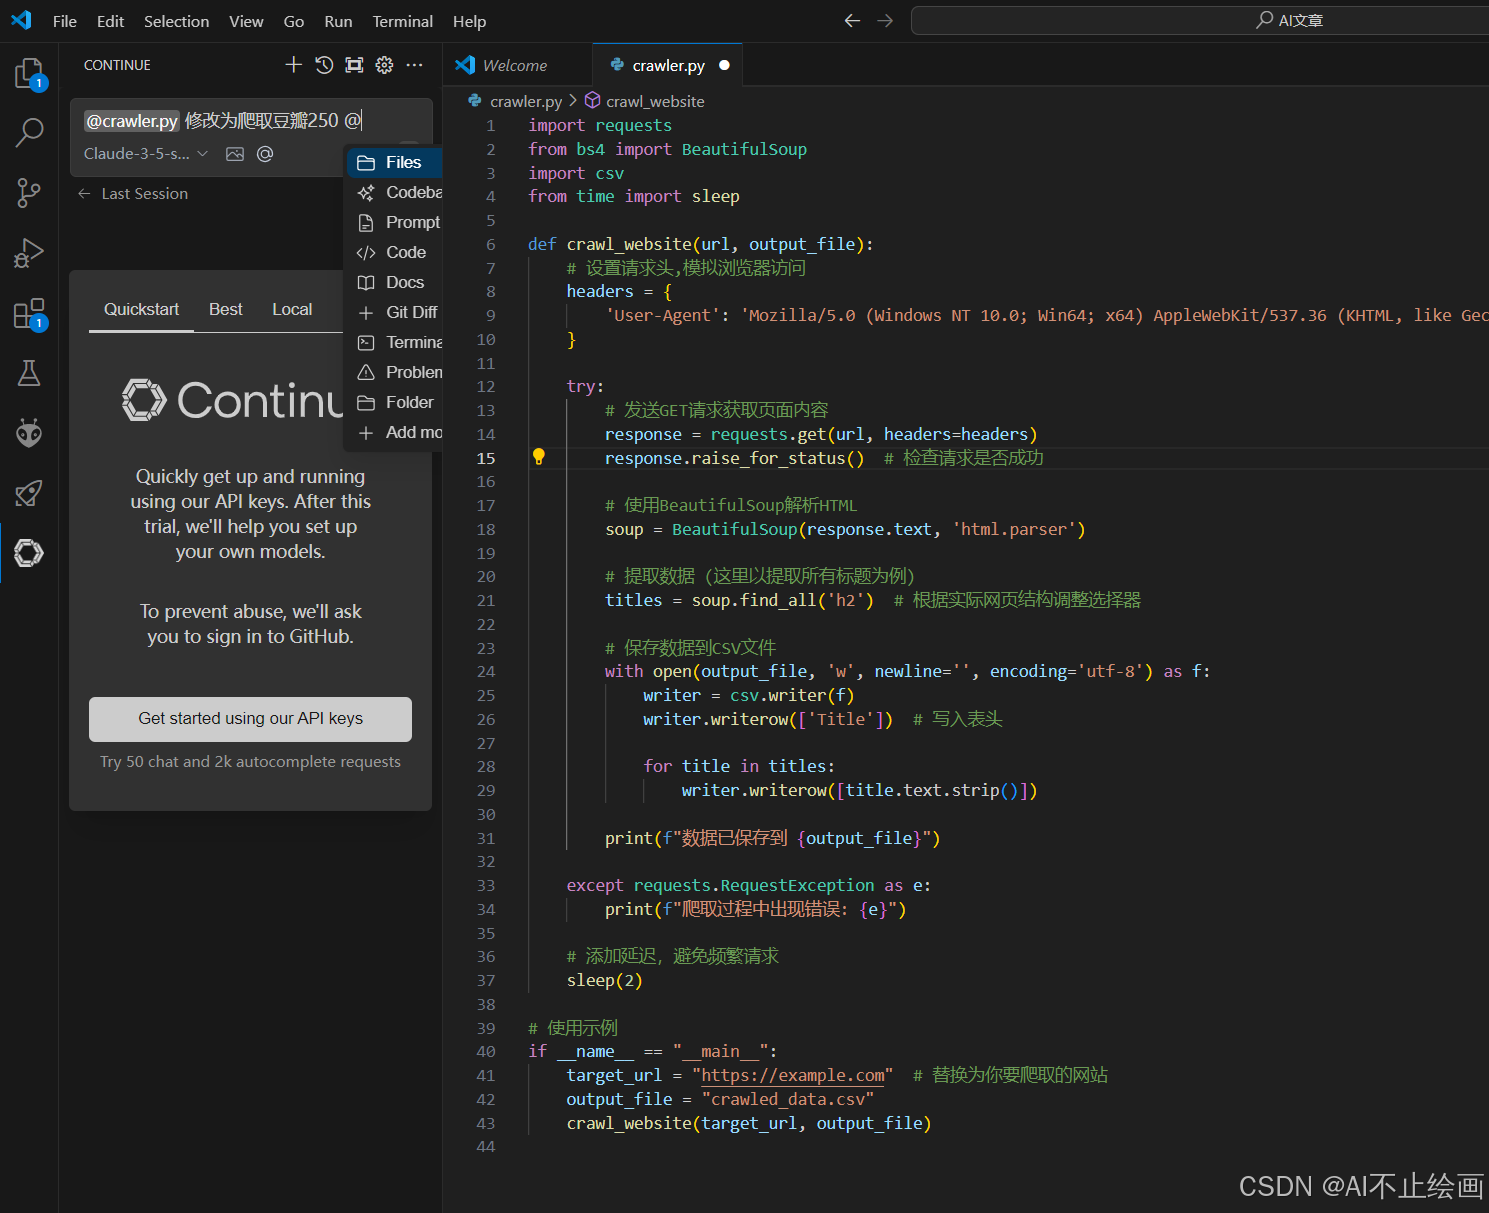
crawl_website(target_url, output_file)使用 Continue 生成的优化建议:(prompt:修改为分页爬取豆瓣250)
import requests
from bs4 import BeautifulSoup
import csv
from time import sleep
import random

def crawl_douban_top250(output_file, items_per_page=25):
    base_url = "https://movie.douban.com/top250"
    headers = {
        'User-Agent': 'Mozilla/5.0 (Windows NT 10.0; Win64; x64) AppleWebKit/537.36 (KHTML, like Gecko) Chrome/91.0.4472.124 Safari/537.36',
        'Accept': 'text/html,application/xhtml+xml,application/xml;q=0.9,image/webp,*/*;q=0.8',
        'Accept-Language': 'zh-CN,zh;q=0.9,en;q=0.8',
    }

    total_pages = 10
    movies_data = []

    try:
        for page in range(total_pages):
            start_index = page * items_per_page
            url = f"{base_url}?start={start_index}"

            print(f"正在爬取第{page + 1}页...")
            response = requests.get(url, headers=headers)
            response.raise_for_status()

            soup = BeautifulSoup(response.text, 'html.parser')
            movie_items = soup.find_all('div', class_='item')

            if not movie_items:
                print(f"警告:第{page + 1}页没有找到电影数据")
                continue

            for item in movie_items:
                try:
                    rank = item.find('em').text
                    title = item.find('span', class_='title').text
                    info = item.find('div', class_='bd').find('p').text.strip()

                    info_lines = [line.strip() for line in info.split('\n') if line.strip()]
                    year = info_lines[1].split('/')[0].strip()
                    director = info_lines[0].split('导演: ')[1].split('主演:')[0].strip()

                    rating = item.find('span', class_='rating_num').text
                    votes = item.find('div', class_='star').find_all('span')[-1].text
                    votes = ''.join(filter(str.isdigit, votes))

                    movies_data.append([rank, title, year, director, rating, votes])
                    print(f"已爬取:{title}")
                except Exception as e:
                    print(f"处理电影数据时出现错误: {e}")
                    continue

        delay = random.uniform(3, 7)
        print(f"等待 {delay:.2f} 秒后继续...")
        sleep(delay)

        with open(output_file, 'w', newline='', encoding='utf-8-sig') as f:
            writer = csv.writer(f)
            writer.writerow(['排名', '电影名', '年份', '导演', '评分', '评价人数'])
            writer.writerows(movies_data)

            print(f"爬取完成!共爬取 {len(movies_data)} 部电影")
            print(f"数据已保存到 {output_file}")

    except requests.RequestException as e:
        print(f"网络请求错误: {e}")
    except Exception as e:
        print(f"程序执行错误: {e}")

if __name__ == "__main__":
    output_file = "douban_top250.csv"
    crawl_douban_top250(output_file)
提示与注意事项
提示:确保您的 API 密钥安全,不要在公共代码库中泄露。
注意:在调用 API 时,请务必添加 try 重试机制,以提升代码的健壮性。
常见问题解答
Q1: 如何获取 Claude 3.5 的 API 密钥?
A1: 您可以访问 CURSOR API,注册并登录,在令牌页面新建令牌获取 API 密钥。
Q2: Continue 插件不工作怎么办?
A2: 请检查您的 API 密钥是否正确配置,并确保您的网络连接正常。此外,查看 VSCode 的输出面板以获取错误日志。
Q3: 如何自定义提示模板?
A3: 在 Continue 插件的设置页面中,找到 “Workspace prompts path” 选项,输入您自定义的提示内容。
Q4: Claude 3.5不支持一键写入代码?
A3: 这是官方原因,Anthropic 目前不提供任何自动完成模型。把模型换成gpt-4o就可以了。
总结
通过本教程,您已经学会如何在 VSCode 中安装和配置 Continue 插件,利用自定义key 使用 Openai gpt系列模型 或 Claude 3.5 模型提升 AI 开发效率。合理配置和使用这些工具,可以显著提高您的开发生产力。
接下来,您可以探索更多 Continue 插件的高级功能,或尝试集成其他 AI 模型以满足更复杂的开发需求。


 1万+
1万+

 被折叠的 条评论
为什么被折叠?
被折叠的 条评论
为什么被折叠?
 到【灌水乐园】发言


