


一、配置前准备
- 下载caffe:https://github.com/BVLC/caffe
- 安装依赖项:
sudo apt-get install -y libprotobuf-dev libleveldb-dev libsnappy-dev libopencv-dev libboost-all-dev libhdf5-serial-dev
sudo apt-get install -y libgflags-dev libgoogle-glog-dev liblmdb-dev protobuf-compiler
sudo apt-get install -y protobuf-c-compiler protobuf-compiler
- 安装glog(防止配置caffe,在make时候把报错(fatal error: glog/logging.h: No such file or directory))
- 下载地址:https://github.com/google/glog
- sudo apt-get install autoconf automake libtool
编译和安装:
- cd到解压文件夹下
-
二、配置Caffe./autogen.sh ./configure make make install
- Cd到caffe目录下,将Makefile.config.example,更名为Makefile.config
cp Makefile.config.example Makefile.config2.打开并修改配置文件
sudo test
#修改文件:
(a)若使用cudnn,则
#USE_CUDNN := 1修改成:USE_CUDNN := 1
(b)若使用opencv版本为3,则
#OPENCV_VERSION := 3修改为:OPENCV_VERSION := 3
(c)若使用ptyhon来编写layer,则
#WITH_PYTHON_LAYER := 1修改为WITH_PYTHON_LAYER := 1
(d)注释两行
#-gencode arch=compute_20,code=sm_20 \
#-gencode arch=compute_20,code=sm_21 \
3. 修改makefile文件
sudo gedit Makefile
将NVCCFLAGS +=-ccbin=$(CXX) -Xcompiler-fPIC $(COMMON_FLAGS)
替换为
NVCCFLAGS += -D_FORCE_INLINES -ccbin=$(CXX) -Xcompiler -fPIC $(COMMON_FLAGS)
4. 编译caffe并且测试
make clean
make –j8
make test –j8
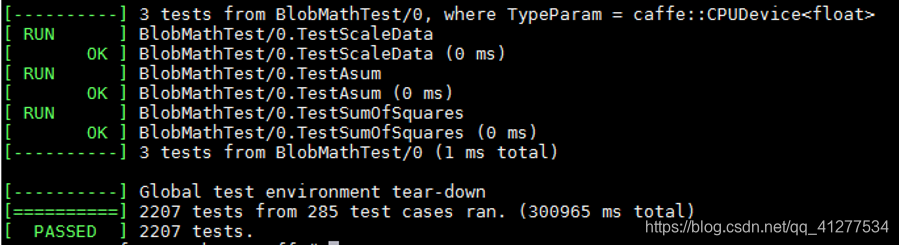
make runtest –j85.如果执行runtest后,输出PASSED,说明测试成功。
三、 #安装python接口#
Cd到caffe
Make pycaffe
gedit ~/.bashrc
#添加:
export PYTHONPATH=/path/to/caffe/python:$PYTHONPATH
#生效
source ~/.bashrc
成功


 6900
6900


 被折叠的 条评论
为什么被折叠?
被折叠的 条评论
为什么被折叠?
 到【灌水乐园】发言


