


引言
基于mmdetection框架搭建SOLO环境,配置十分麻烦,必须严格指定对应的版本。
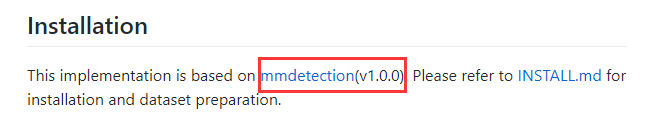

上图显示的两个是最关键的版本!!!但是现在mmdetection已经更新到2.14.0,mmcv已经更新到1.3.8。笔者亲测最新的版本是无法运行SOLO的。
因此,环境搭建总结如下:
环境配置
SOLO(mmdet1.0版): https://github.com/WXinlong/SOLO
1. 创建虚拟环境
conda create -n solo python==3.7.3

conda activate solo
2. 指定版本安装pytorch=1.4.0, torchvision=0.5.0
pip install torch==1.4.0 torchvision==0.5.0 -i https://pypi.tuna.tsinghua.edu.cn/simple
3. clone版本为 V1.0.0 的mmdetection.(必须是1.0.0版本!!!!!)
git clone -b v1.0.0 https://github.com/open-mmlab/mmdetection.git

cd mmdetection
安装所需module:
conda install opencv
pip install cython numpy albumentations==0.3.2 imagecorruptions matplotlib pytest-runner mmcv==0.2.15 numpy Pillow==6.2.2 six terminaltables asynctest codecov flake8 isort pytest  pytest-cov pytest-runner xdoctest==0.10.0 yapf kwarray pycocotools -i https://pypi.tuna.tsinghua.edu.cn/simple
如果不行就单独安装
pip install XX -i https://pypi.tuna.tsinghua.edu.cn/simple
cython
numpy
albumentations==0.3.2
imagecorruptions
matplotlib  # 5
pytest-runner  # 必须在mmcv之前安装(依赖库),否则会报错!!!!!!!!!
mmcv==0.2.15  # 0.2.16版本也可以
numpy
Pillow==6.2.2
six  # 10
terminaltables
asynctest
codecov
flake8
isort   # 15
pytest
pytest-cov
pytest-runner
xdoctest==0.10.0
yapf  # 20
kwarray
pycocotools
4. 安装完成之后对环境进行编译
python setup.py develop
成功后终端显示如下:

5.在当前mmdetection路径下clone SOLO源码:
git clone https://github.com/WXinlong/SOLO.git

cd SOLO
6. 安装所需module并对环境进行编译:
pip install scipy

python setup.py develop
成功后终端显示如下:

7.环境测试
SOLO目录下创建名为 checkpoints的文件夹,并把demo所需model存入此文件夹
Decoupled_SOLO_R50_3x:
https://cloudstor.aarnet.edu.au/plus/s/dXz11J672ax0Z1Q/download
运行测试指令:
cd demo

python inference_demo.py
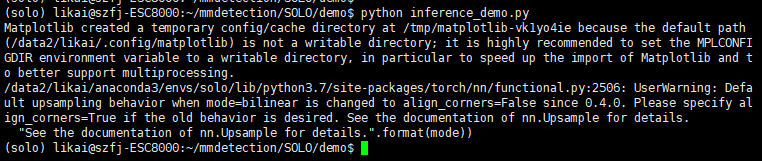 结果图会在demo文件夹中

结果如下:

到此就成功搭建了SOLO的环境了!
参考链接:
https://blog.csdn.net/weixin_43776003/article/details/117753319


 484
484


 被折叠的 条评论
为什么被折叠?
被折叠的 条评论
为什么被折叠?
 到【灌水乐园】发言


