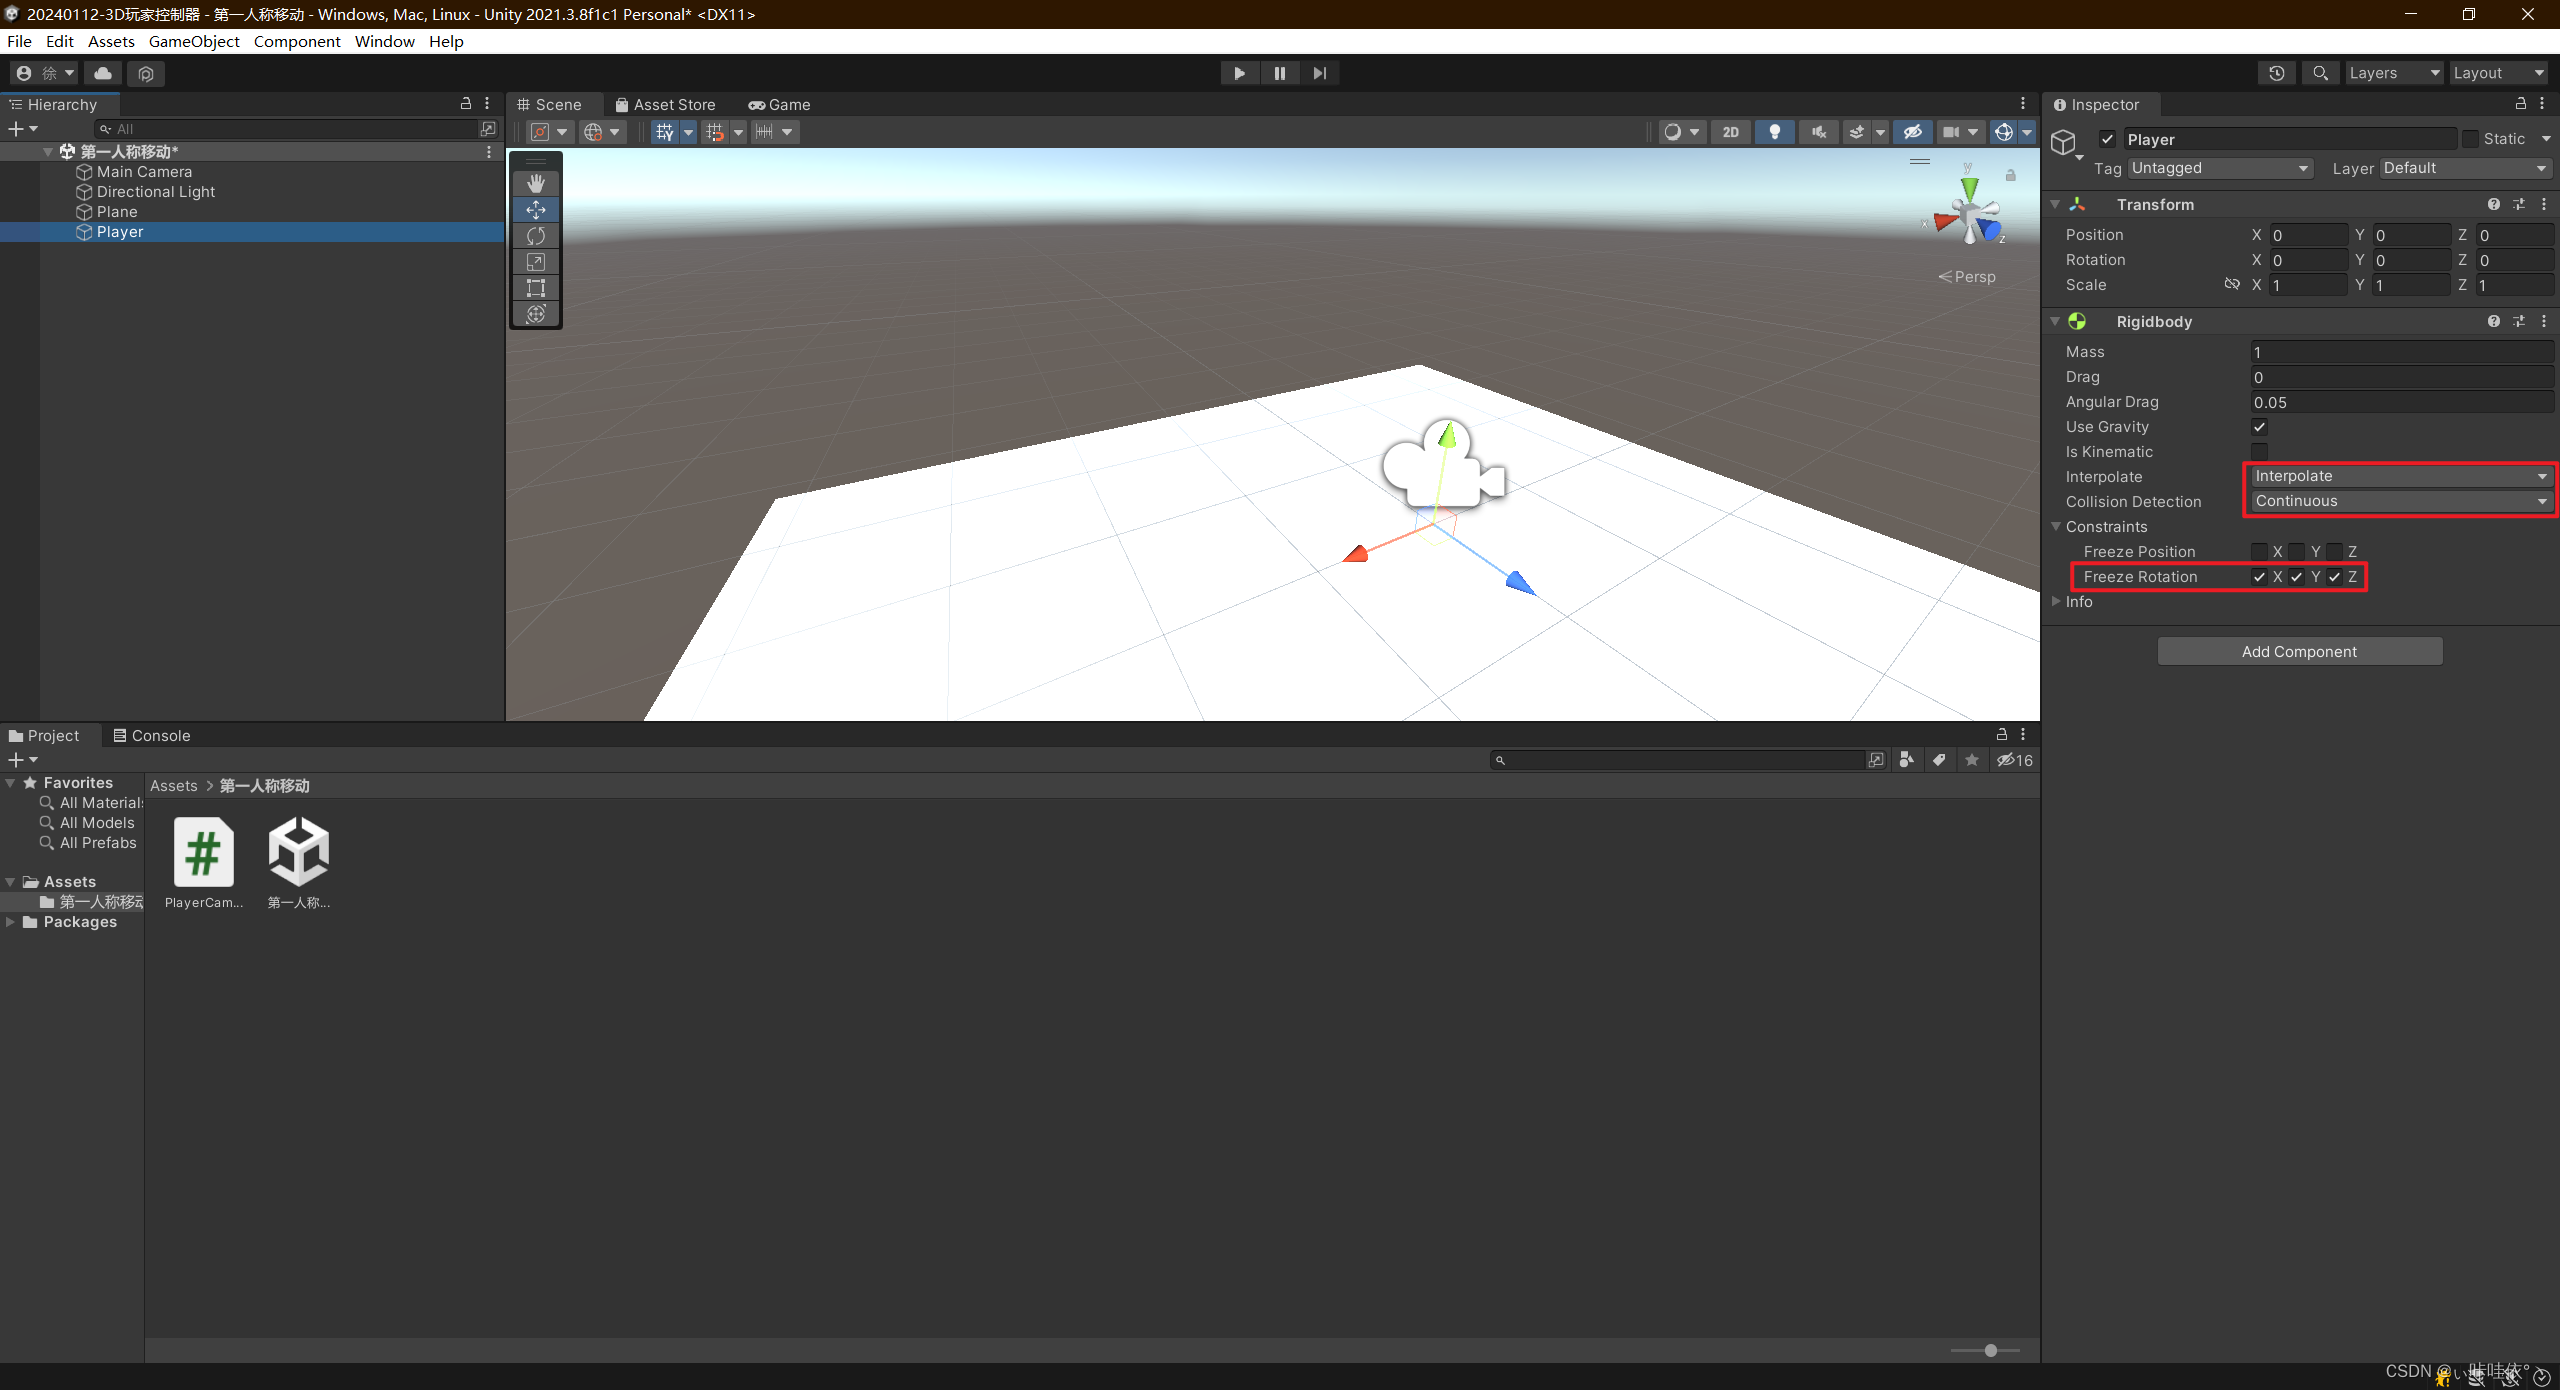
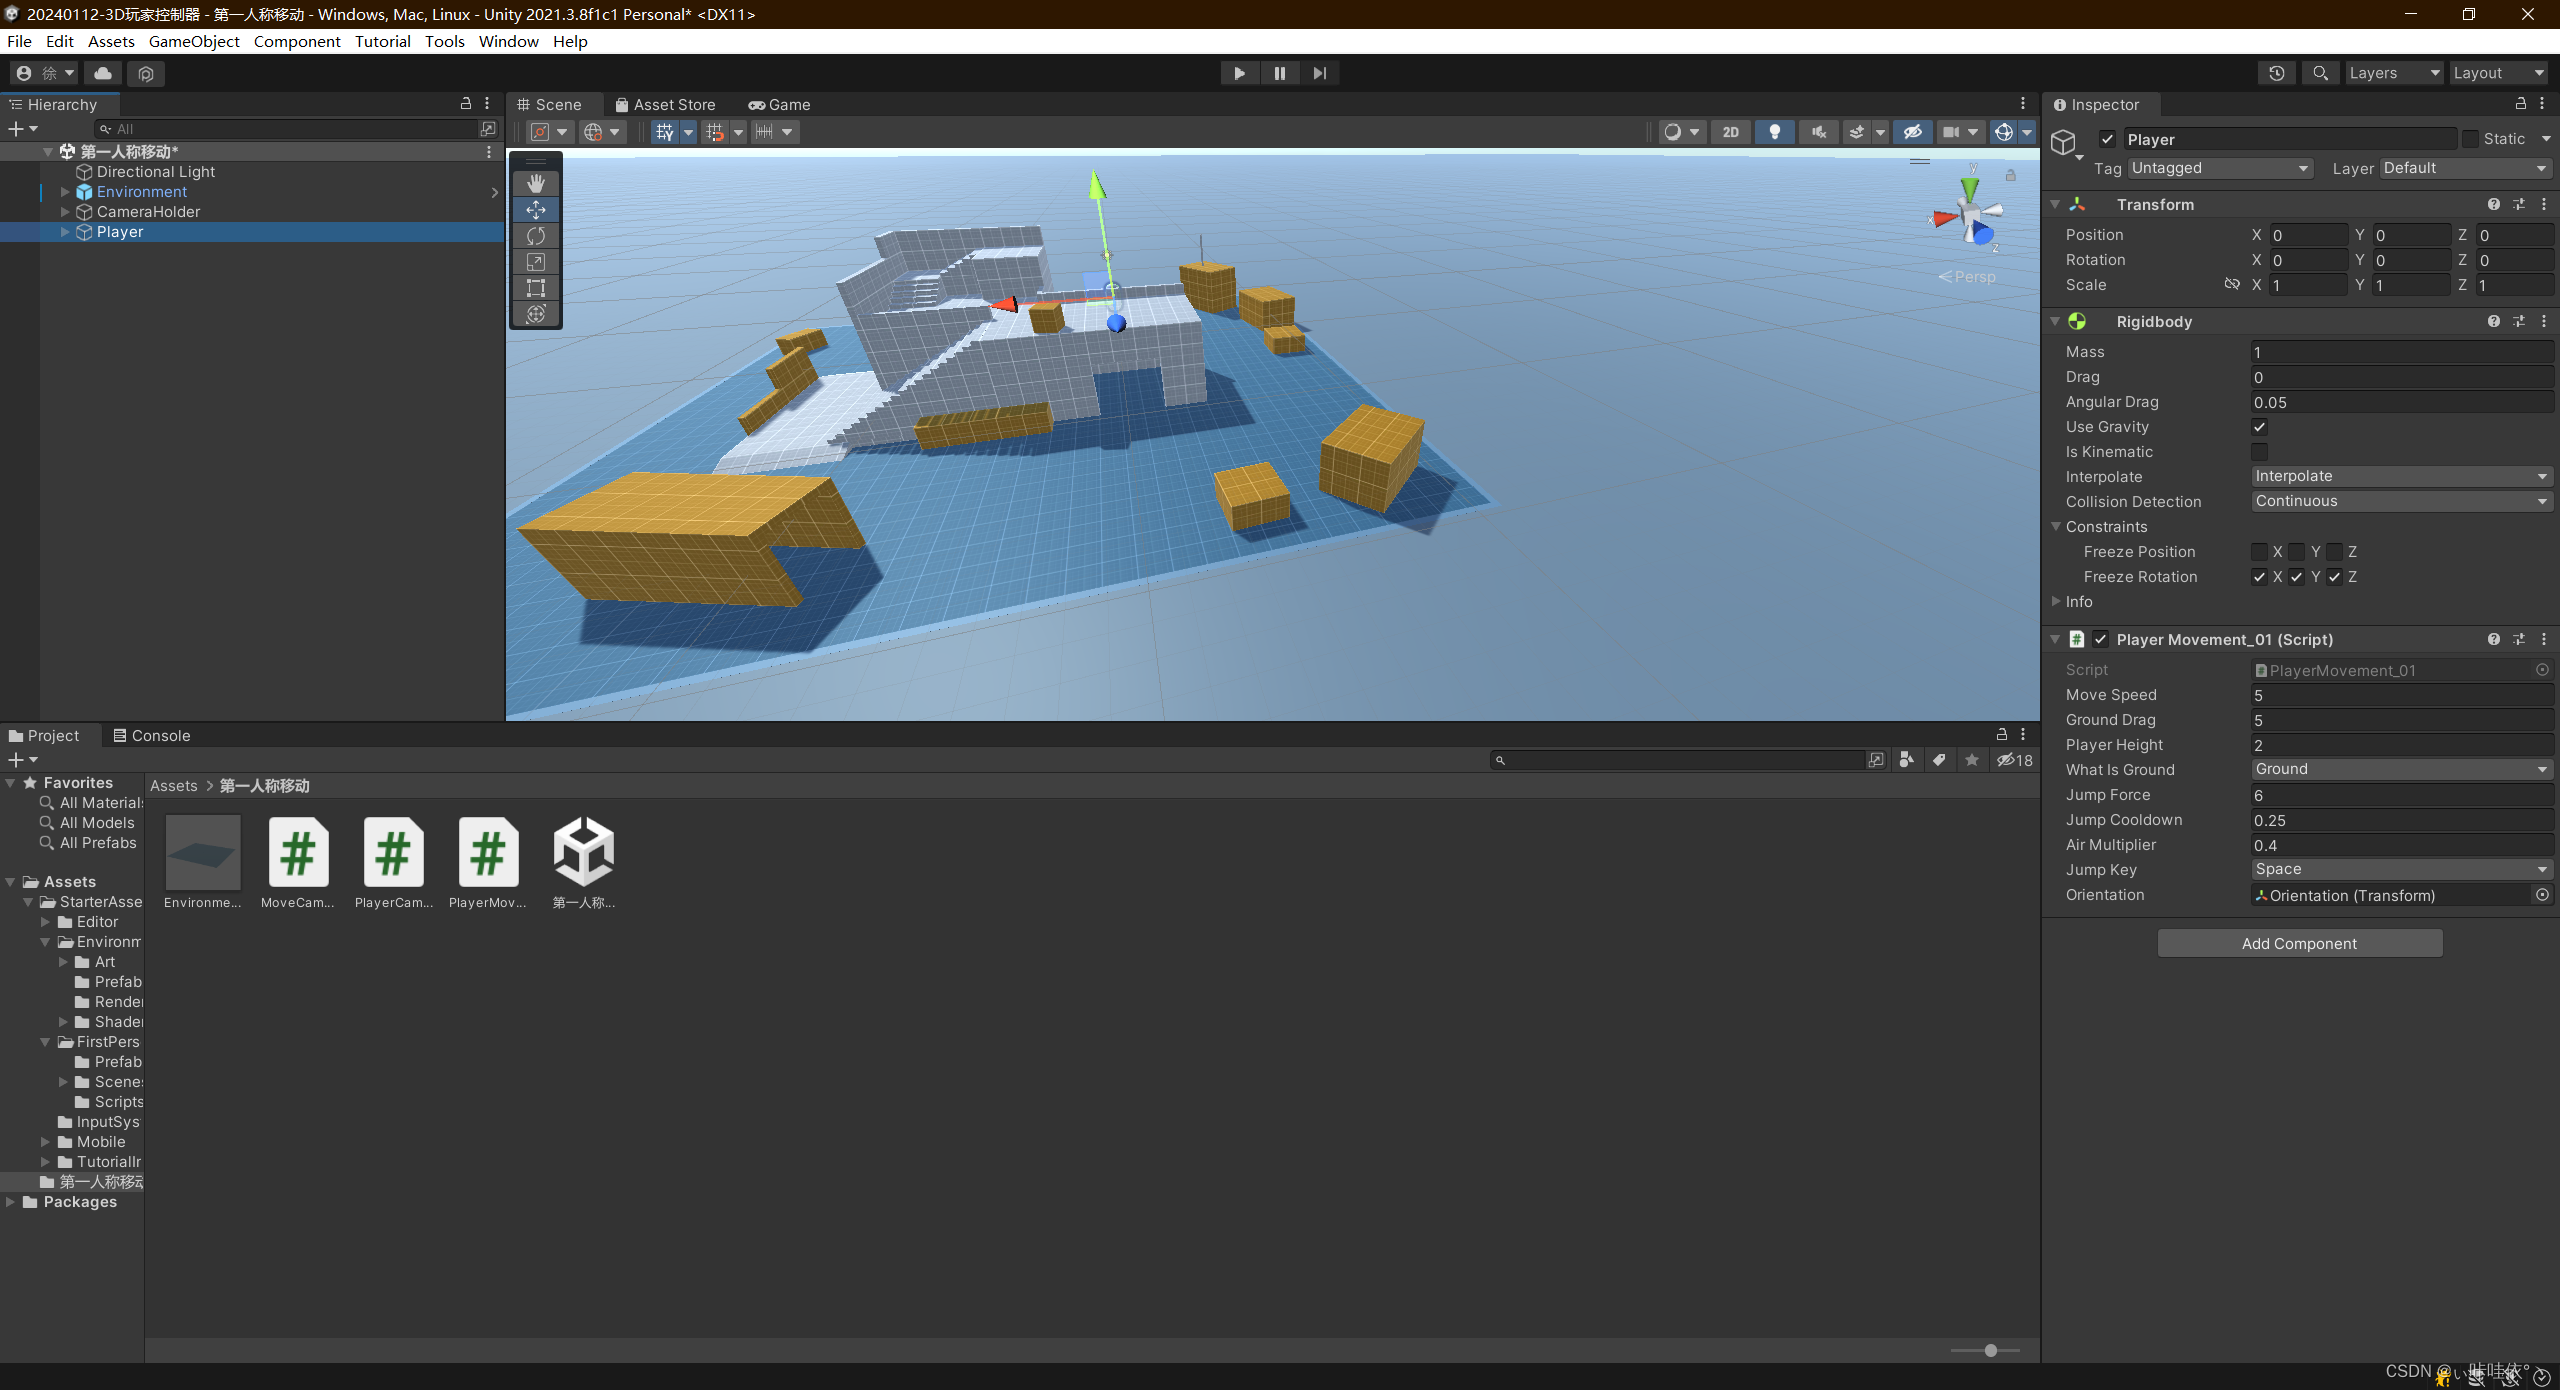
1、创建一个空物体,挂载Rigidbody组件,并设置相应参数
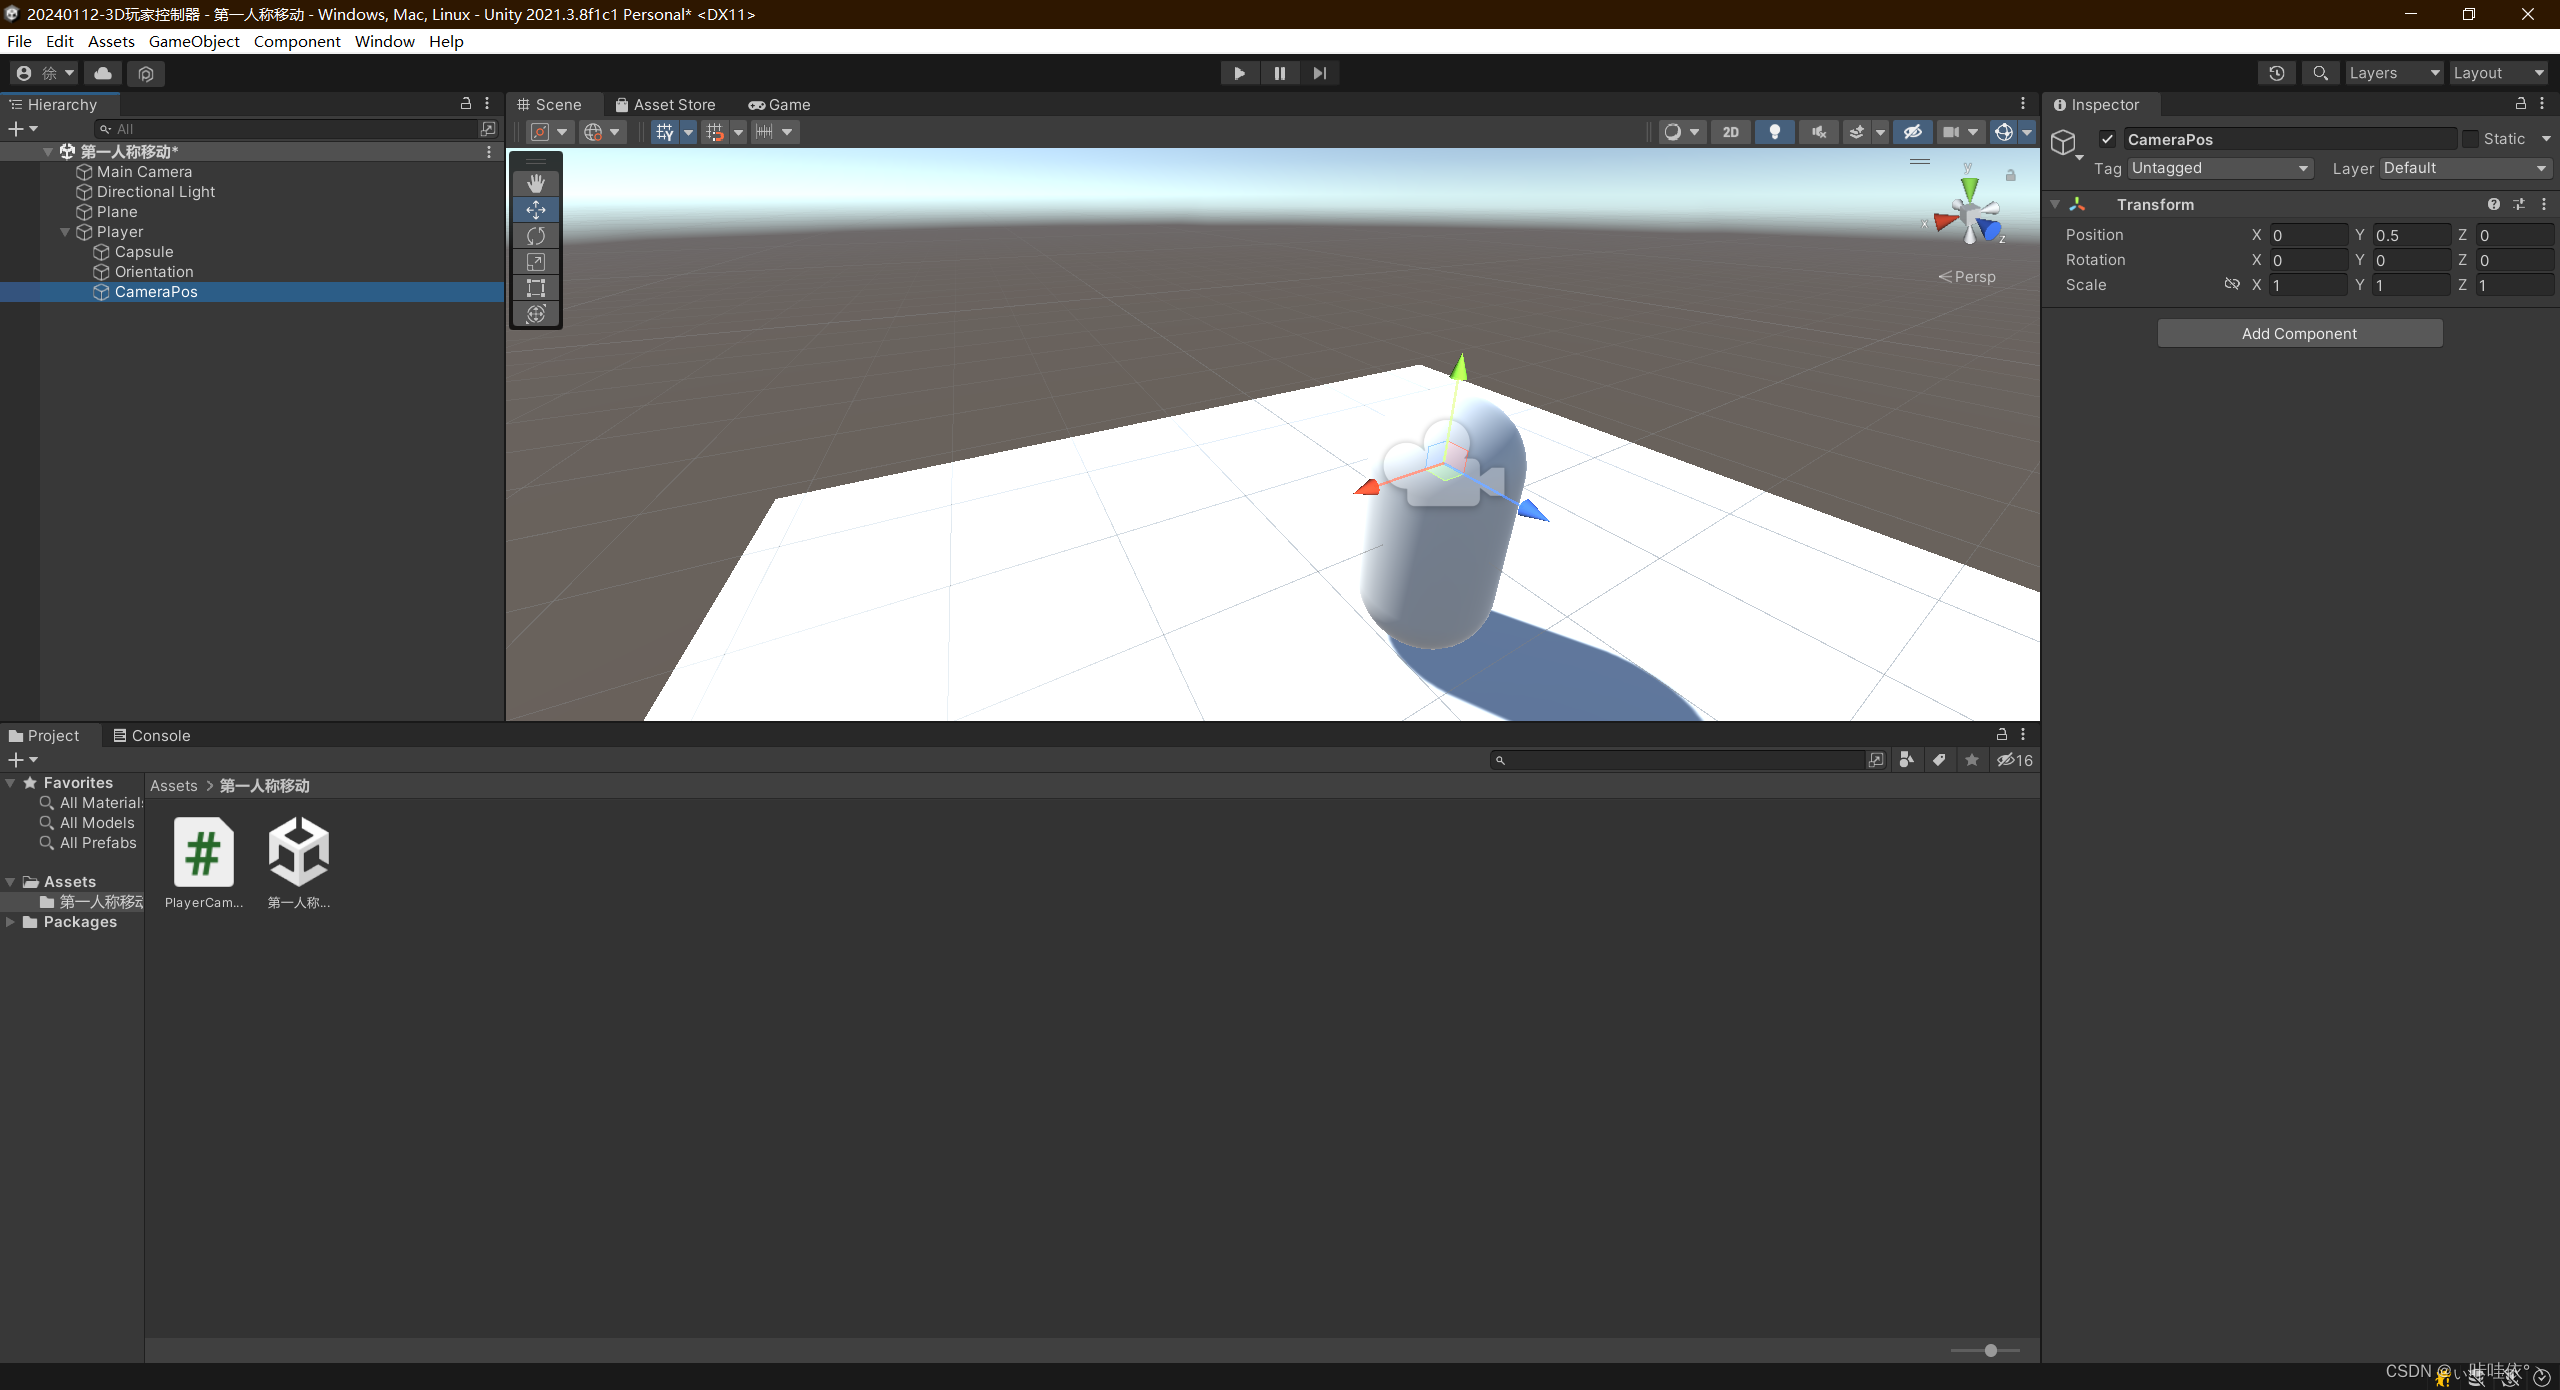
2、在上述空物体下创建一个胶囊体,两个空物体,一个用来控制朝向,另一个用来控制摄像机
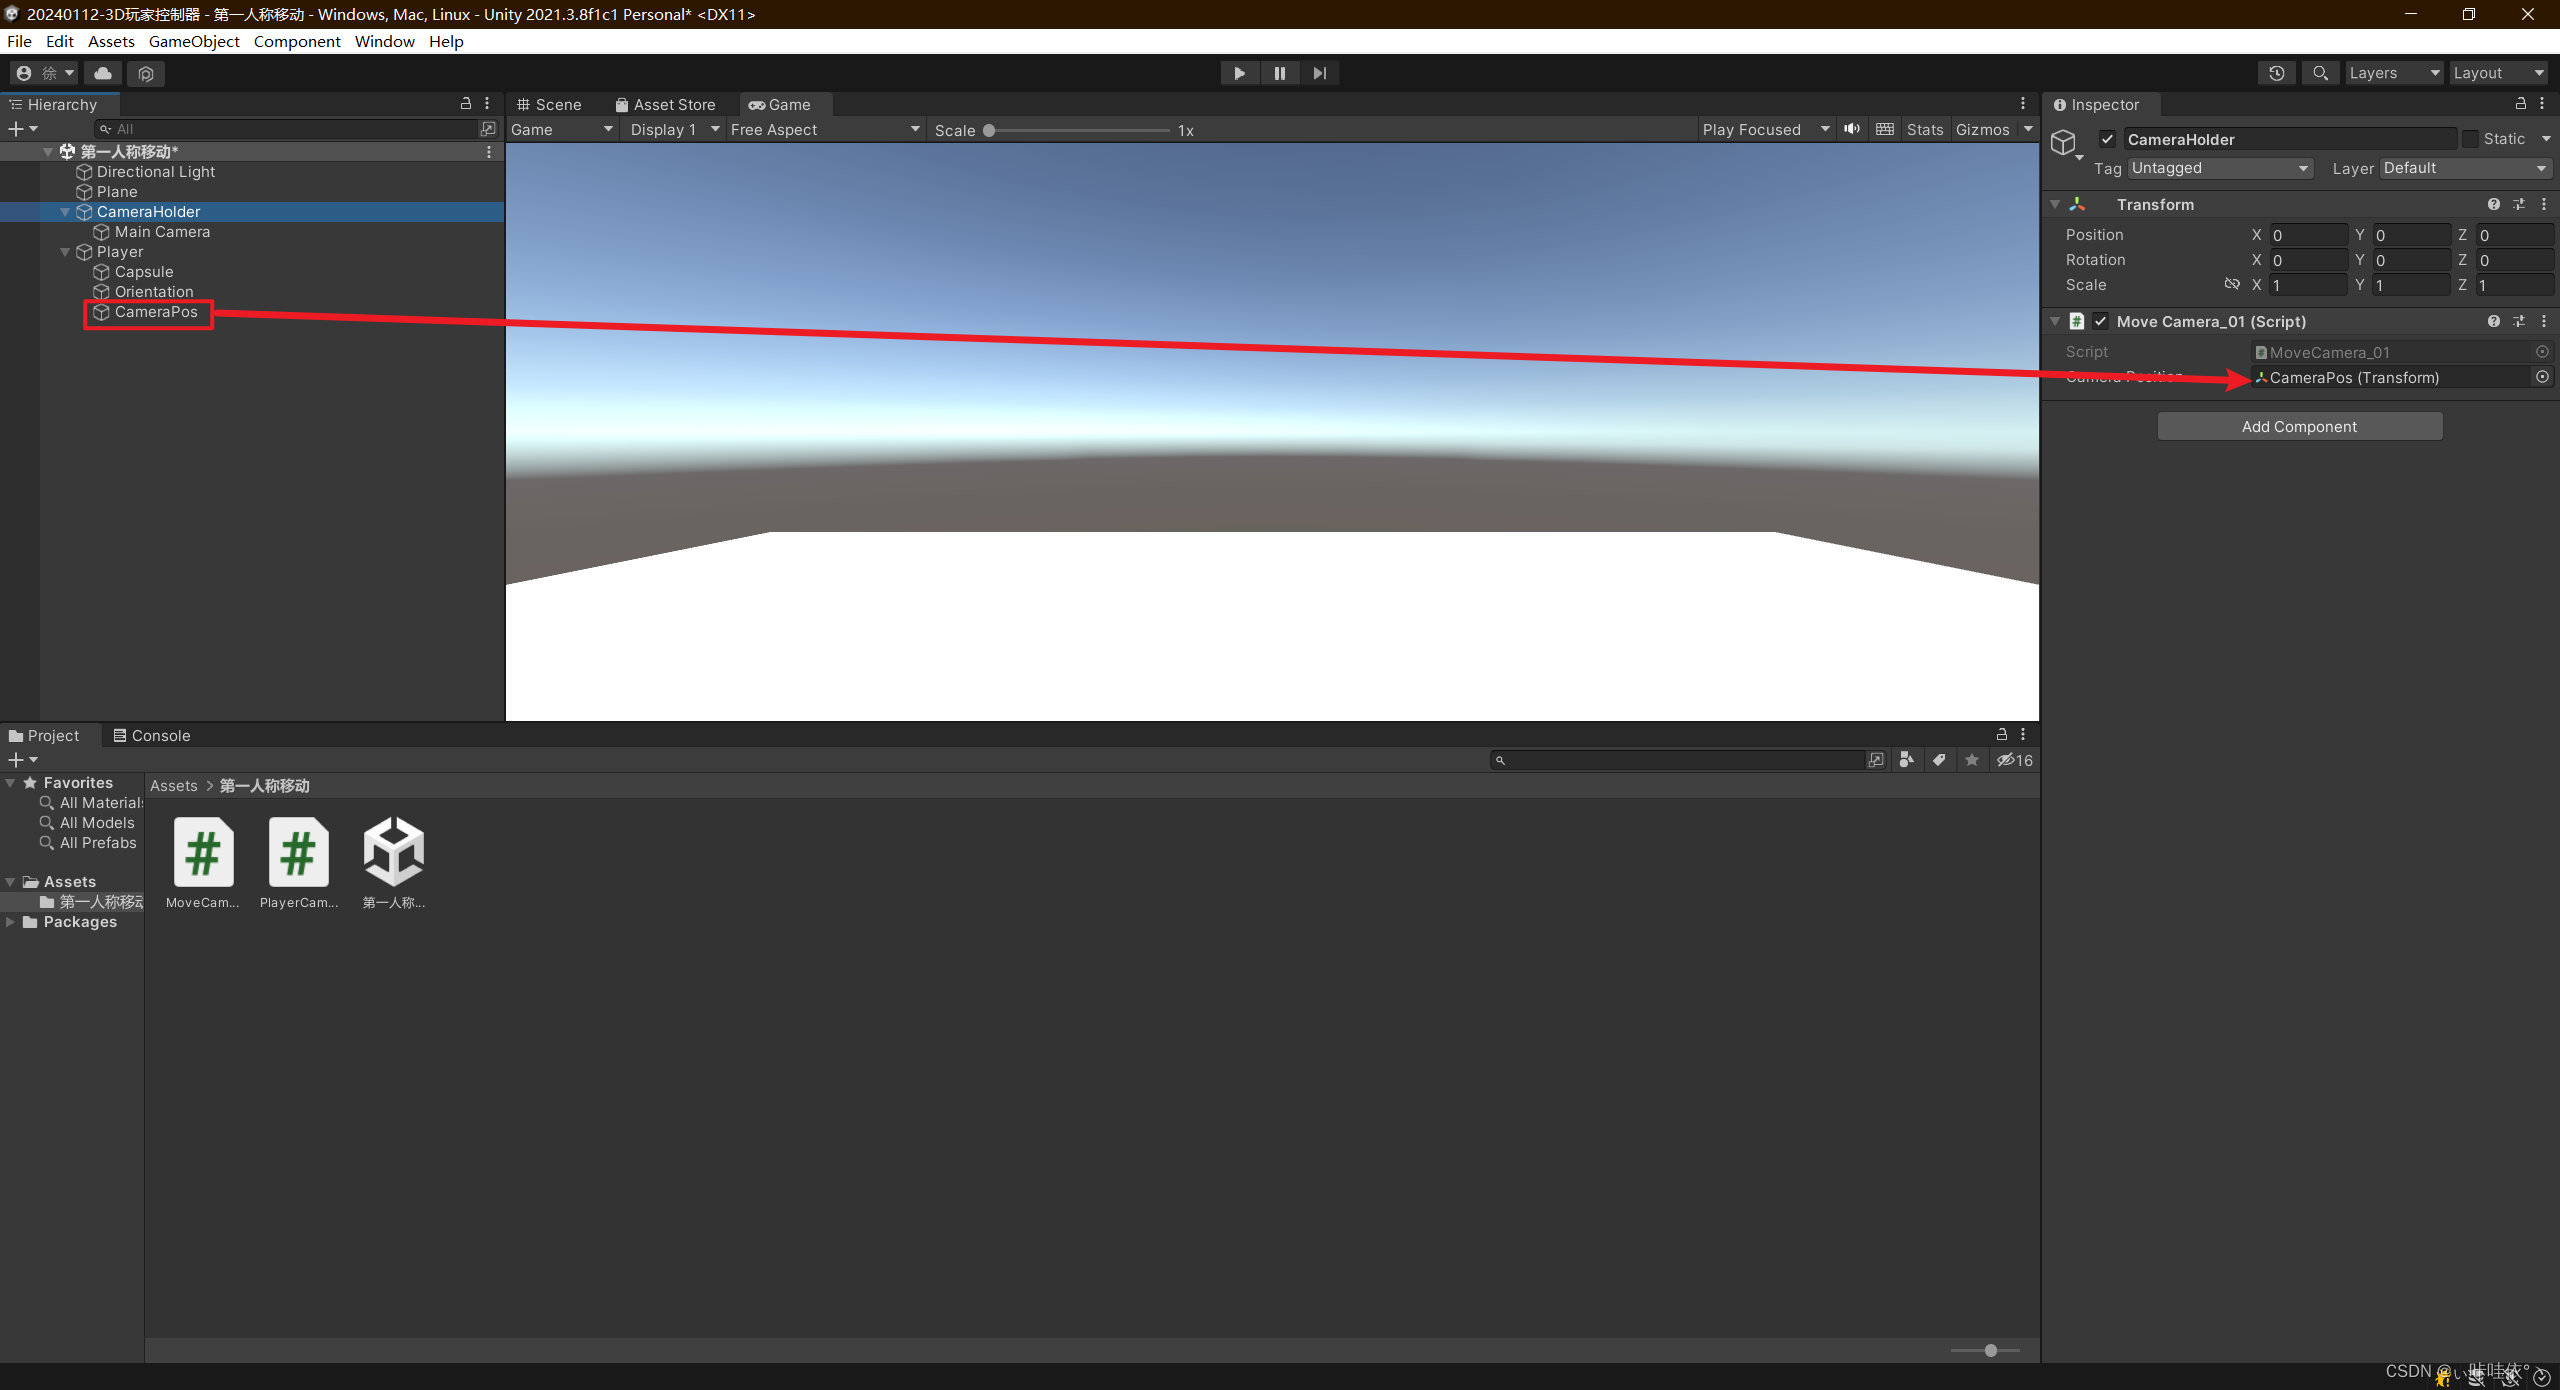
3、给摄像机创建一个父物体,并挂载脚本MoveCamera_01.cs
using System.Collections;
using System.Collections.Generic;
using UnityEngine;

public class MoveCamera_01 : MonoBehaviour
{
    public Transform cameraPosition;
    private void Update()
    {
        transform.position = cameraPosition.position;
    }
}
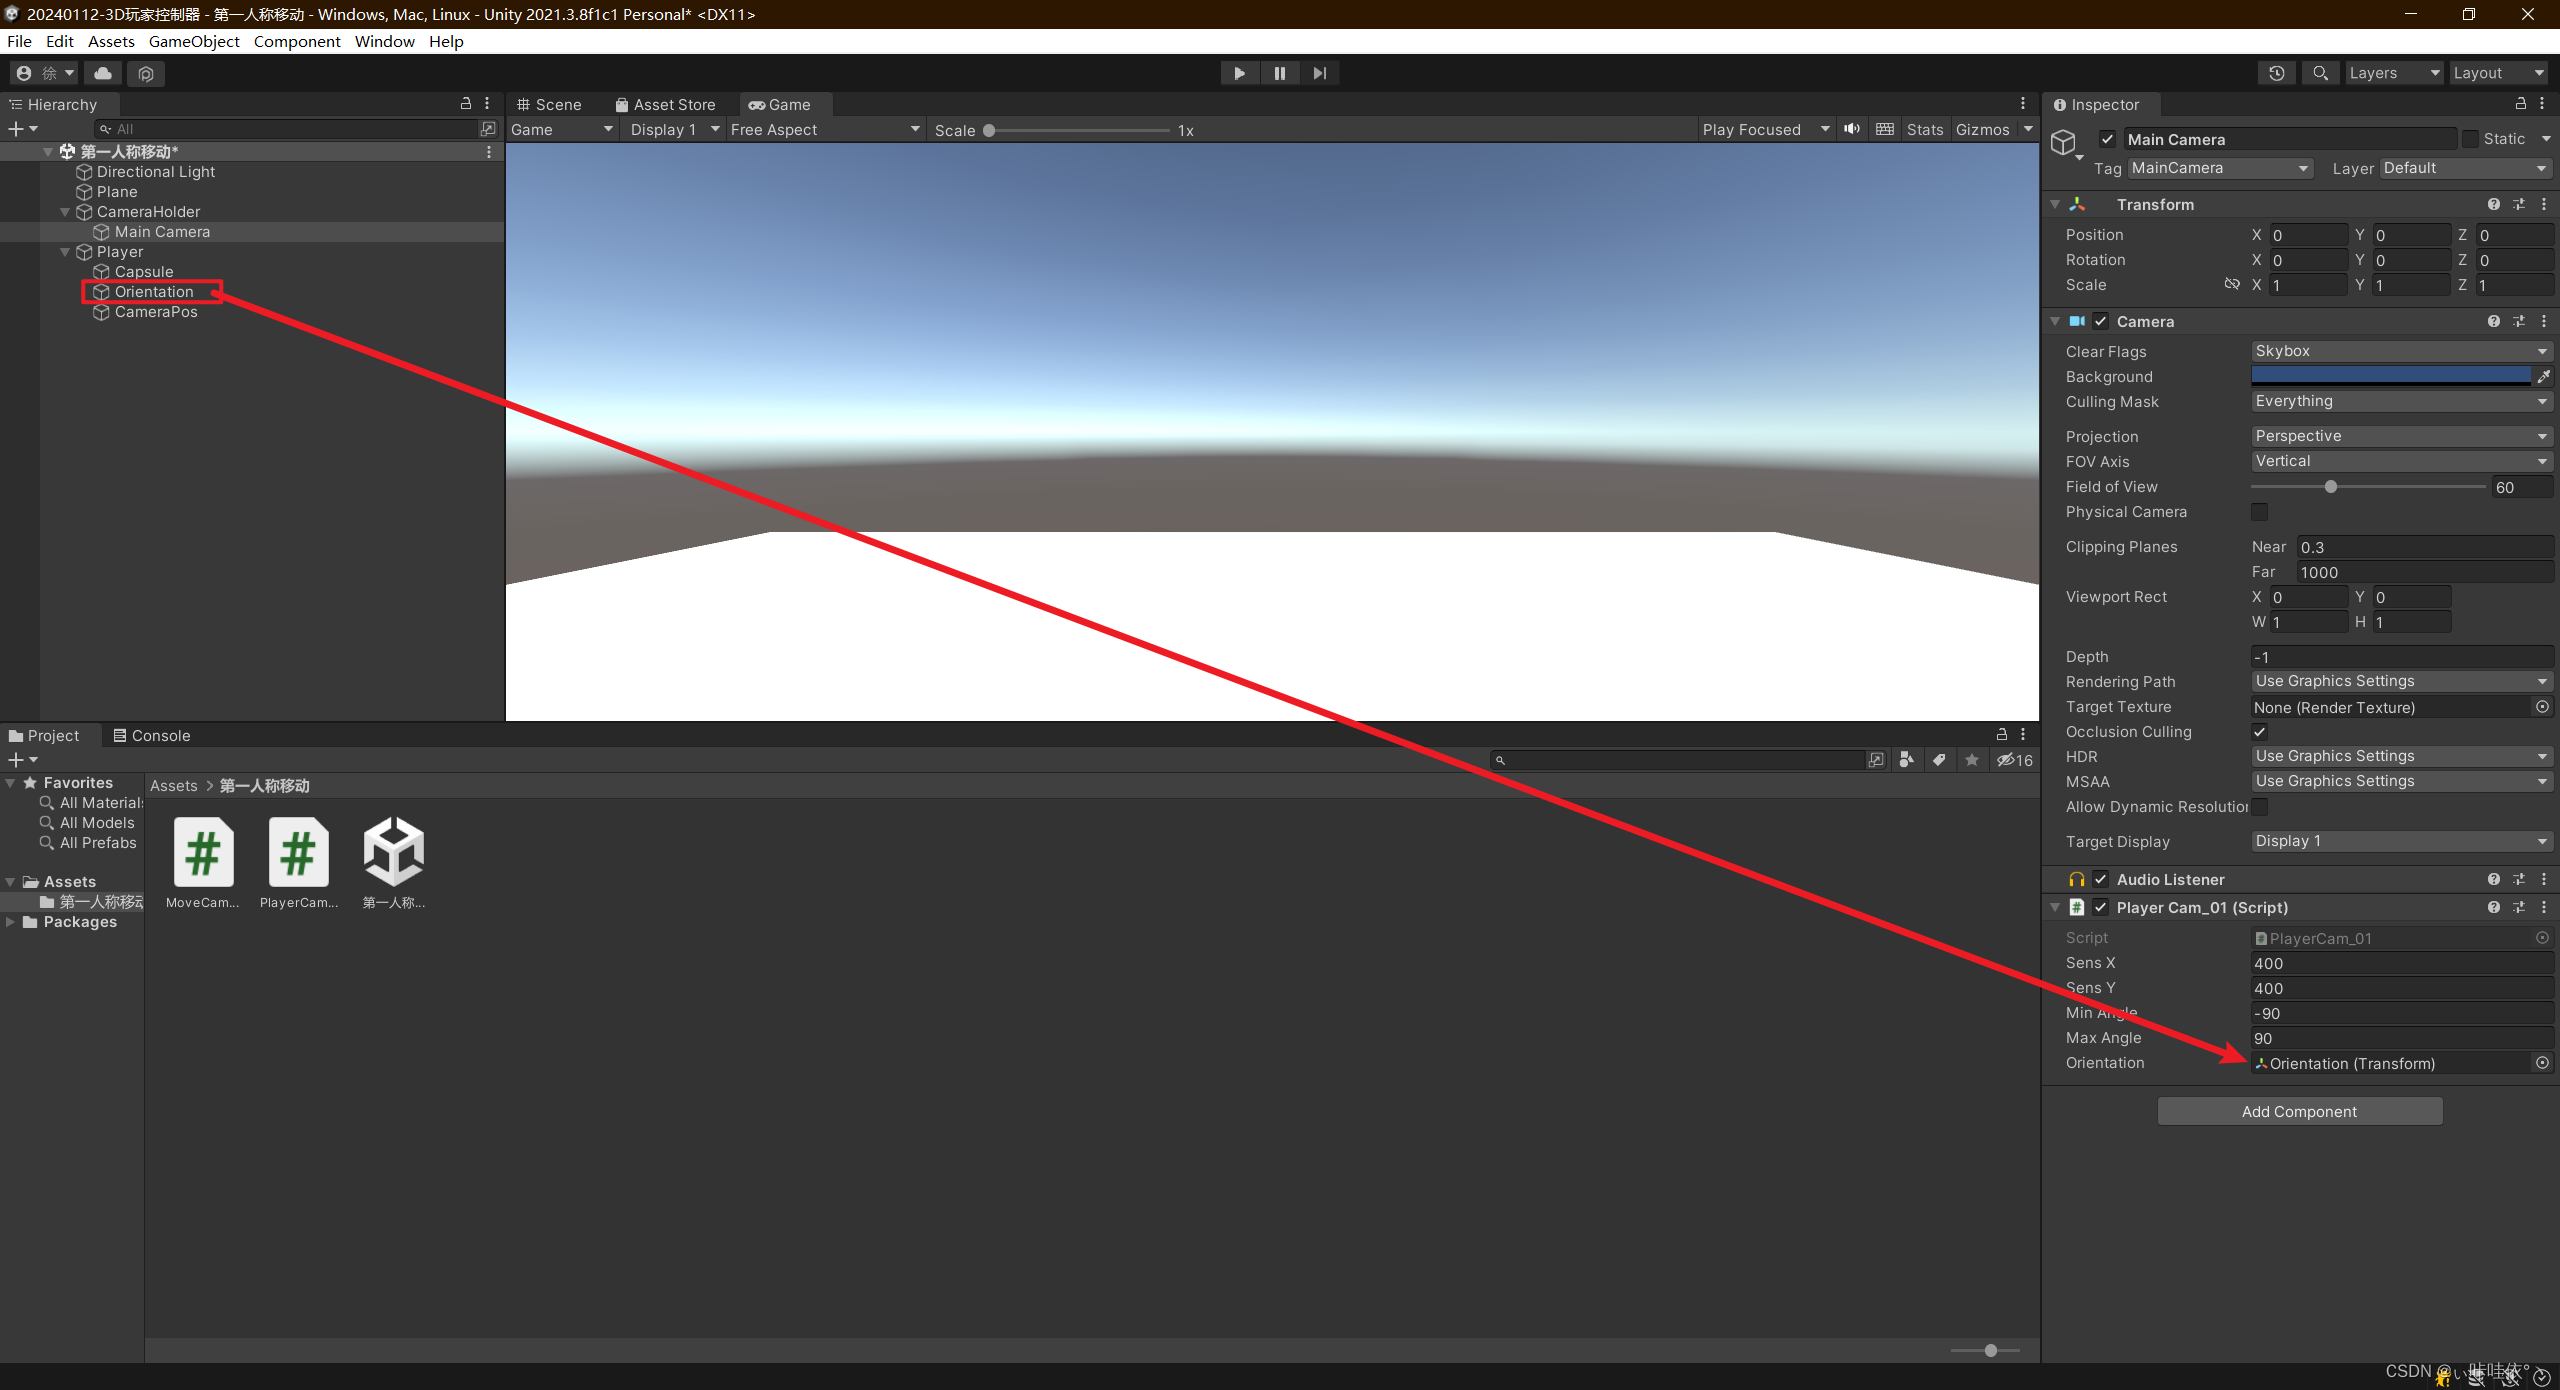
4、给摄像机挂载脚本PlayerCam_01.cs
using System.Collections;
using System.Collections.Generic;
using UnityEngine;
public class PlayerCam_01 : MonoBehaviour
{
public float sensX = 400;
public float sensY = 400;
public float minAngle = -90f;
public float maxAngle = 90f;
public Transform orientation;
private float xRotation;
private float yRotation;
private void Start()
{
Cursor.lockState = CursorLockMode.Locked;
Cursor.visible = false;
}
private void Update()
{
float mouseX = Input.GetAxisRaw("Mouse X") * Time.deltaTime * sensX;
float mouseY = Input.GetAxisRaw("Mouse Y") * Time.deltaTime * sensY;
yRotation += mouseX;
xRotation -= mouseY;
xRotation = Mathf.Clamp(xRotation, minAngle, maxAngle);
transform.rotation = Quaternion.Euler(xRotation, yRotation, 0);
orientation.rotation = Quaternion.Euler(0, yRotation, 0);
}
}
5、给主角挂载脚本PlayerMovement_01.cs
using System.Collections;
using System.Collections.Generic;
using UnityEngine;
public class PlayerMovement_01 : MonoBehaviour
{
public float moveSpeed = 7;
public float groundDrag = 5;
public float playerHeight = 2;
public LayerMask whatIsGround;
private bool grounded;
public float jumpForce = 6;
public float jumpCooldown = 0.25f;
public float airMultiplier = 0.4f;
private bool readyToJump = true;
public KeyCode jumpKey = KeyCode.Space;
public Transform orientation;
private float h;
private float v;
private Vector3 moveDirection;
private Rigidbody rb;
private void Start()
{
rb = GetComponent<Rigidbody>();
rb.freezeRotation = true;
}
private void Update()
{
grounded = Physics.Raycast(transform.position, Vector3.down, playerHeight * 0.5f + 0.2f, whatIsGround);
MyInput();
SpeedControl();
if (grounded)
rb.drag = groundDrag;
else
rb.drag = 0;
}
private void FixedUpdate()
{
MovePlayer();
}
private void MyInput()
{
h = Input.GetAxisRaw("Horizontal");
v = Input.GetAxisRaw("Vertical");
if (Input.GetKey(jumpKey) && readyToJump && grounded)
{
readyToJump = false;
Jump();
Invoke(nameof(ResetJump), jumpCooldown);
}
}
private void MovePlayer()
{
moveDirection = orientation.forward * v + orientation.right * h;
if (grounded)
{
rb.AddForce(moveDirection.normalized * moveSpeed * 10f, ForceMode.Force);
}
else if (!grounded)
{
rb.AddForce(moveDirection.normalized * moveSpeed * 10f * airMultiplier, ForceMode.Force);
}
}
private void SpeedControl()
{
Vector3 flatVel = new Vector3(rb.velocity.x, 0f, rb.velocity.z);
if (flatVel.magnitude > moveSpeed)
{
Vector3 limitedVel = flatVel.normalized * moveSpeed;
rb.velocity = new Vector3(limitedVel.x, rb.velocity.y, limitedVel.z);
}
}
private void Jump()
{
rb.velocity = Vector3.zero;
rb.AddForce(transform.up * jumpForce, ForceMode.Impulse);
}
private void ResetJump()
{
readyToJump = true;
}
}


 本文介绍了如何在Unity中创建对象,挂载Rigidbody、相机脚本和角色移动脚本,实现角色朝向控制、摄像机跟随以及基本的跳跃功能。


 3804
3804

 被折叠的 条评论
为什么被折叠?
被折叠的 条评论
为什么被折叠?
 到【灌水乐园】发言


