


0 前言
上一篇详细学习了Horovod相关知识,因此,这一篇便开始尝试Horovod的实战练习。
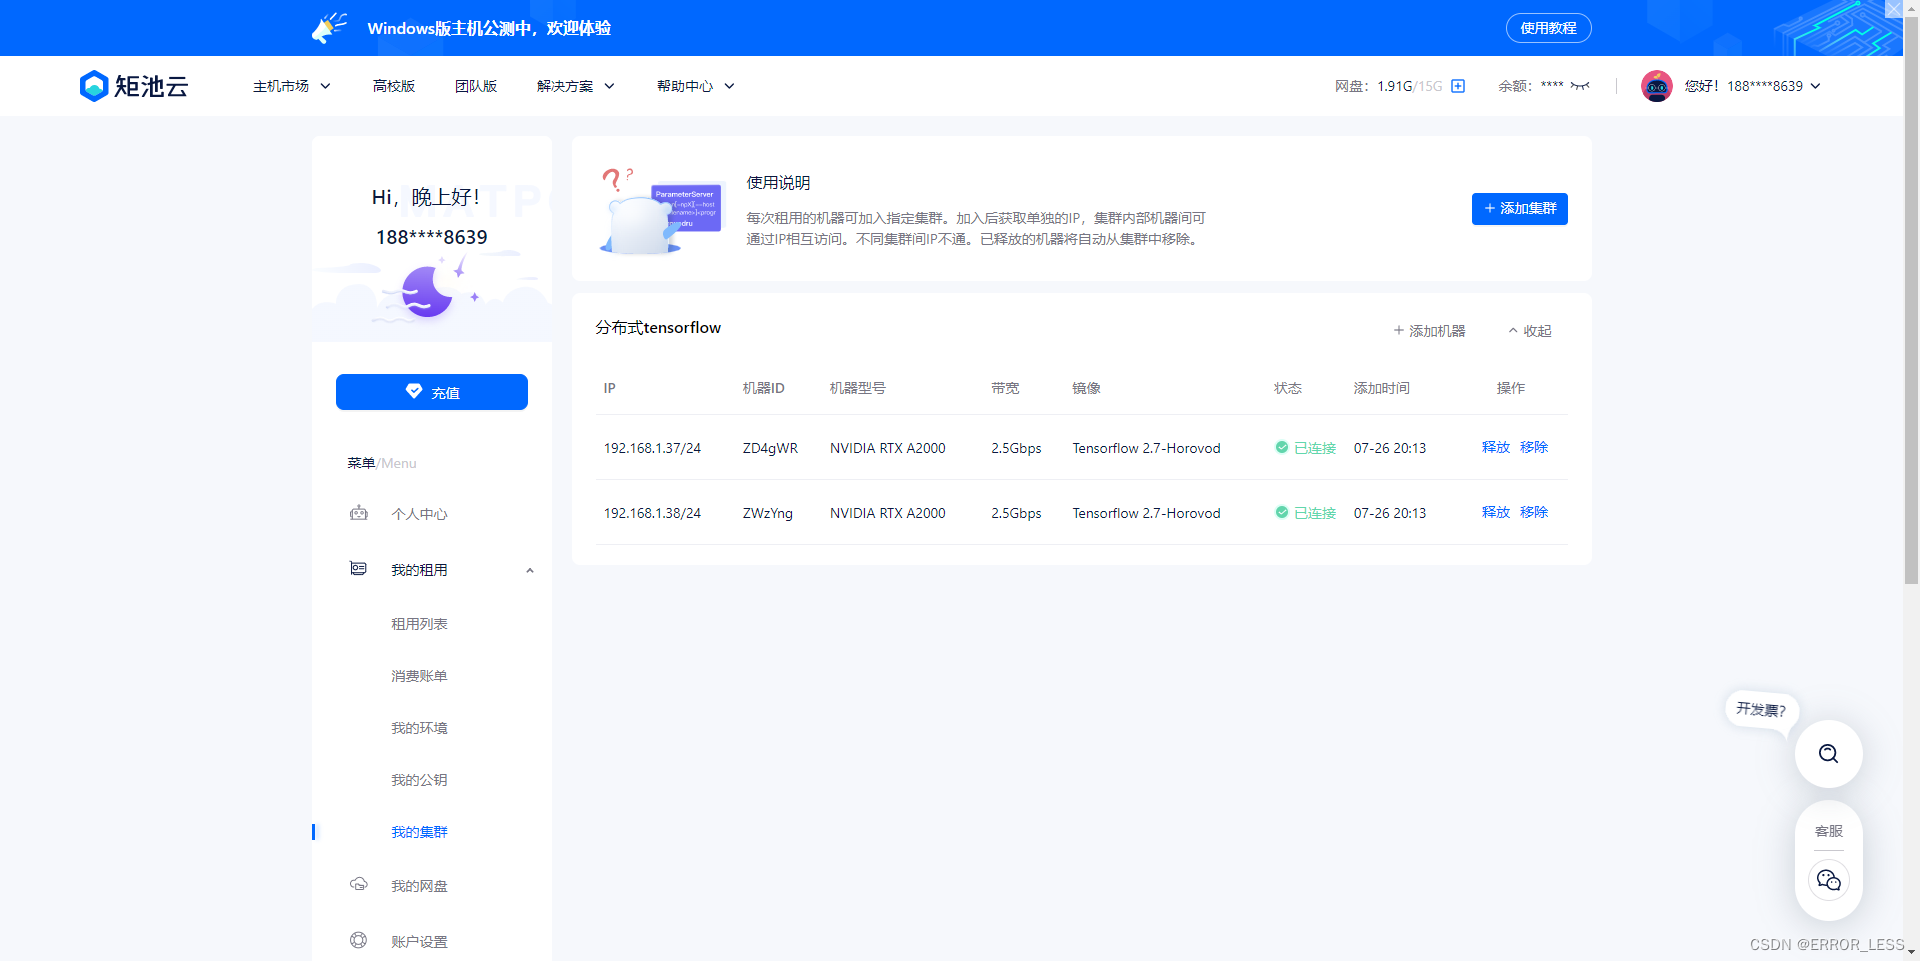
实验环境为矩池云的机器,里边提供了打包好的horovod镜像,因此暂未考虑如何安装的问题。
1 单机多卡
1.0 硬件配置
为节省money,使用单机双卡配置

1.1 源码
import sys

import tensorflow as tf

import horovod
import horovod.tensorflow.keras as hvd


def main():
    # Horovod: initialize Horovod.
    hvd.init()

    # Horovod: pin GPU to be used to process local rank (one GPU per process)
    gpus = tf.config.experimental.list_physical_devices('GPU')
    for gpu in gpus:
        tf.config.experimental.set_memory_growth(gpu, True)
    if gpus:
        tf.config.experimental.set_visible_devices(gpus[hvd.local_rank()], 'GPU')

    (mnist_images, mnist_labels), _ = \
        tf.keras.datasets.mnist.load_data(path='mnist-%d.npz' % hvd.rank())

    dataset = tf.data.Dataset.from_tensor_slices(
        (tf.cast(mnist_images[..., tf.newaxis] / 255.0, tf.float32),
                 tf.cast(mnist_labels, tf.int64))
    )
    dataset = dataset.repeat().shuffle(10000).batch(128)

    mnist_model = tf.keras.Sequential([
        tf.keras.layers.Conv2D(32, [3, 3], activation='relu'),
        tf.keras.layers.Conv2D(64, [3, 3], activation='relu'),
        tf.keras.layers.MaxPooling2D(pool_size=(2, 2)),
        tf.keras.layers.Dropout(0.25),
        tf.keras.layers.Flatten(),
        tf.keras.layers.Dense(128, activation='relu'),
        tf.keras.layers.Dropout(0.5),
        tf.keras.layers.Dense(10, activation='softmax')
    ])

    # Horovod: adjust learning rate based on number of GPUs.
    scaled_lr = 0.001 * hvd.size()
    opt = tf.optimizers.Adam(scaled_lr)

    # Horovod: add Horovod DistributedOptimizer.
    opt = hvd.DistributedOptimizer(
        opt, backward_passes_per_step=1, average_aggregated_gradients=True)

    # Horovod: Specify `experimental_run_tf_function=False` to ensure TensorFlow
    # uses hvd.DistributedOptimizer() to compute gradients.
    mnist_model.compile(loss=tf.losses.SparseCategoricalCrossentropy(),
                        optimizer=opt,
                        metrics=['accuracy'],
                        experimental_run_tf_function=False)

    callbacks = [
        # Horovod: broadcast initial variable states from rank 0 to all other processes.
        # This is necessary to ensure consistent initialization of all workers when
        # training is started with random weights or restored from a checkpoint.
        hvd.callbacks.BroadcastGlobalVariablesCallback(0),

        # Horovod: average metrics among workers at the end of every epoch.
        #
        # Note: This callback must be in the list before the ReduceLROnPlateau,
        # TensorBoard or other metrics-based callbacks.
        hvd.callbacks.MetricAverageCallback(),

        # Horovod: using `lr = 1.0 * hvd.size()` from the very beginning leads to worse final
        # accuracy. Scale the learning rate `lr = 1.0` ---> `lr = 1.0 * hvd.size()` during
        # the first three epochs. See https://arxiv.org/abs/1706.02677 for details.
        hvd.callbacks.LearningRateWarmupCallback(initial_lr=scaled_lr, warmup_epochs=3, verbose=1),
    ]

    # Horovod: save checkpoints only on worker 0 to prevent other workers from corrupting them.
    if hvd.rank() == 0:
        callbacks.append(tf.keras.callbacks.ModelCheckpoint('./checkpoint-{epoch}.h5'))

    # Horovod: write logs on worker 0.
    verbose = 1 if hvd.rank() == 0 else 0

    # Train the model.
    # Horovod: adjust number of steps based on number of GPUs.
    mnist_model.fit(dataset, steps_per_epoch=500 // hvd.size(), callbacks=callbacks, epochs=24, verbose=verbose)


if __name__ == '__main__':
    if len(sys.argv) == 4:
        # run training through horovod.run
        np = int(sys.argv[1])
        hosts = sys.argv[2]
        comm = sys.argv[3]
        print('Running training through horovod.run')
        horovod.run(main, np=np, hosts=hosts, use_gloo=comm == 'gloo', use_mpi=comm == 'mpi')
    else:
        # this is running via horovodrun
        main()
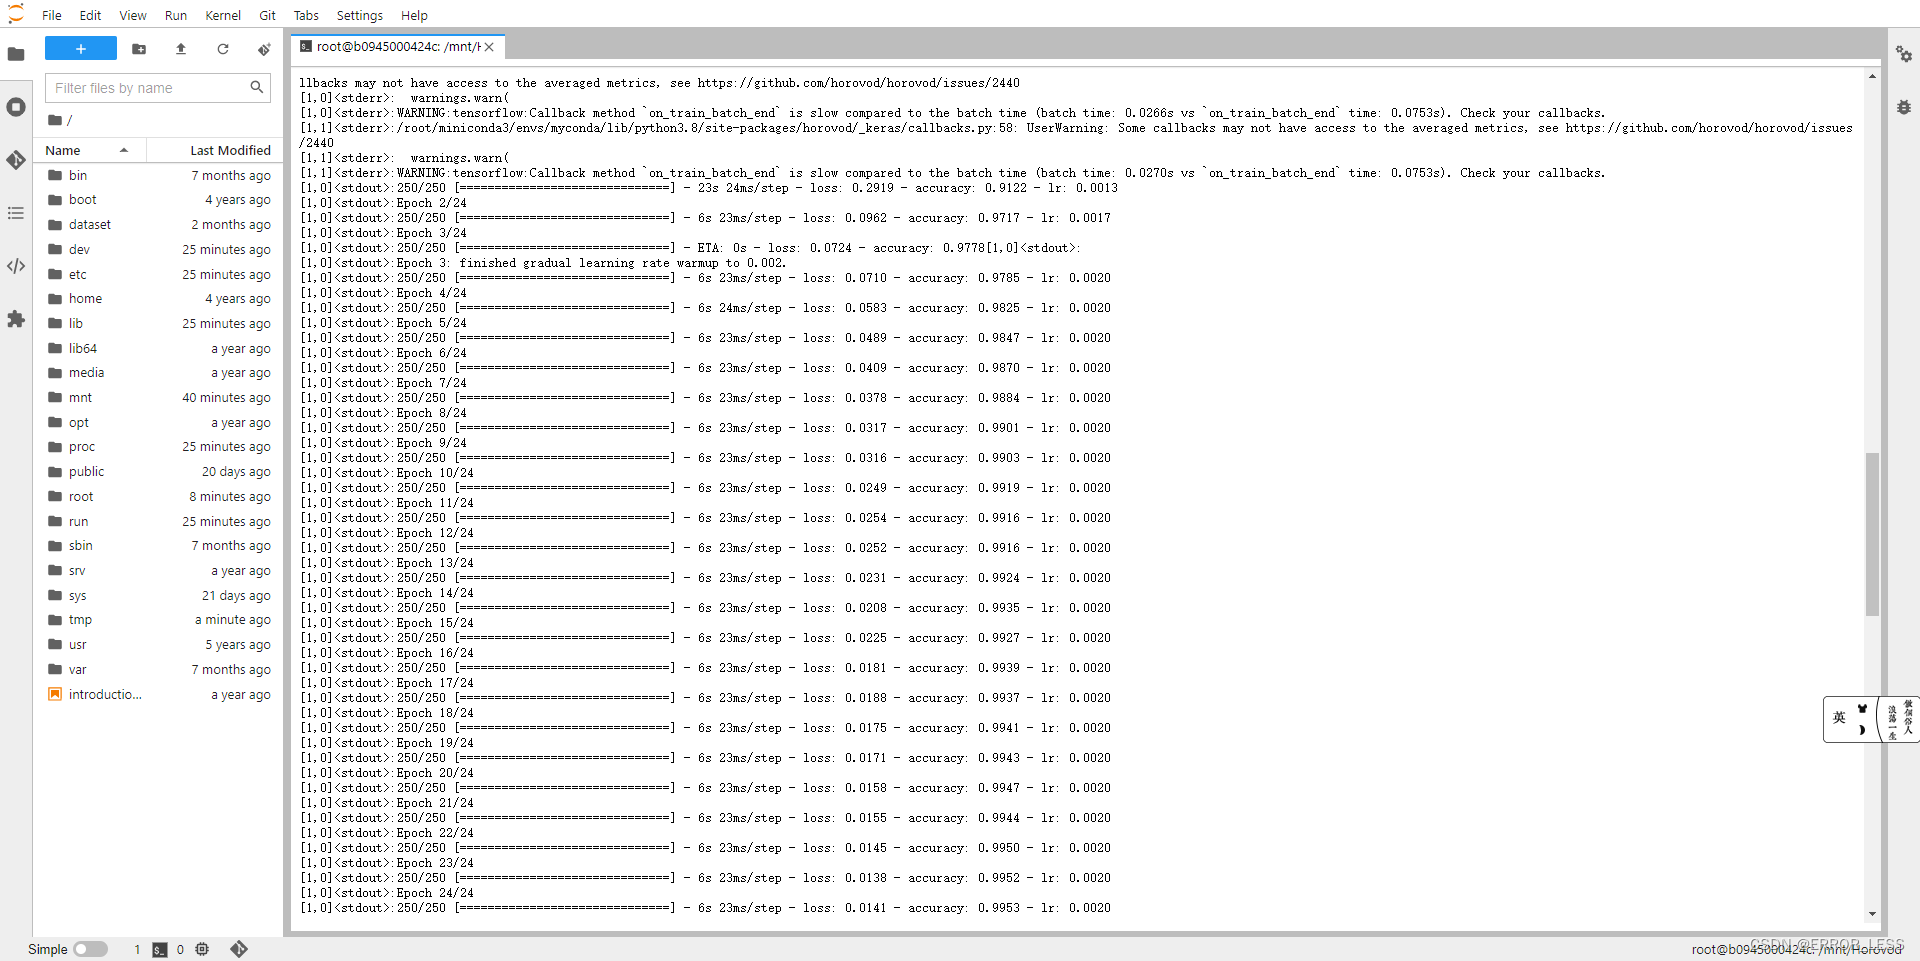
1.2 运行
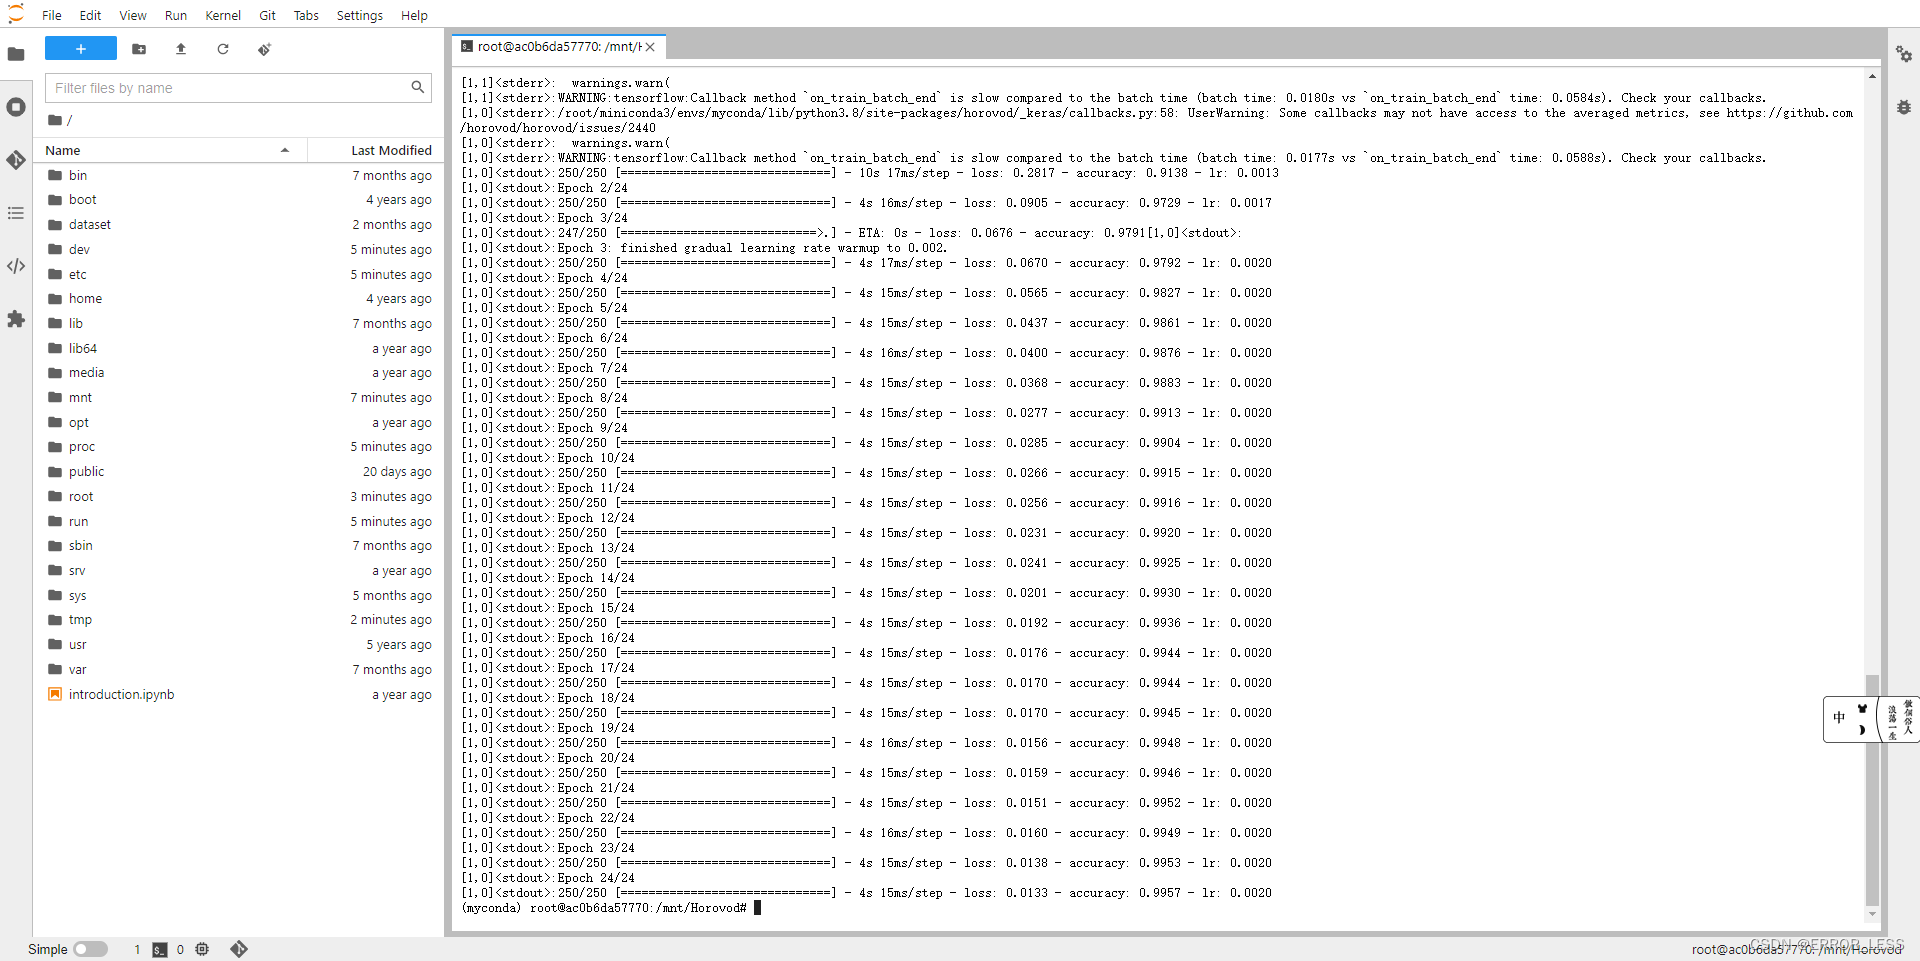
horovodrun -np 2 -H localhost:2 python tensorflow2_keras_mnist.py
2 多机多卡
2.0 硬件配置
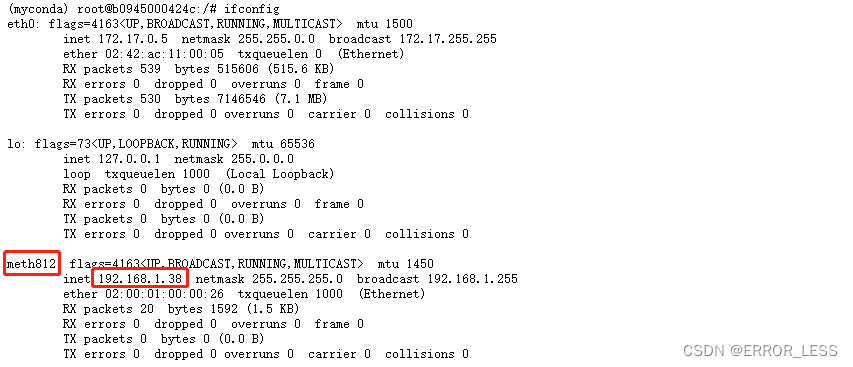
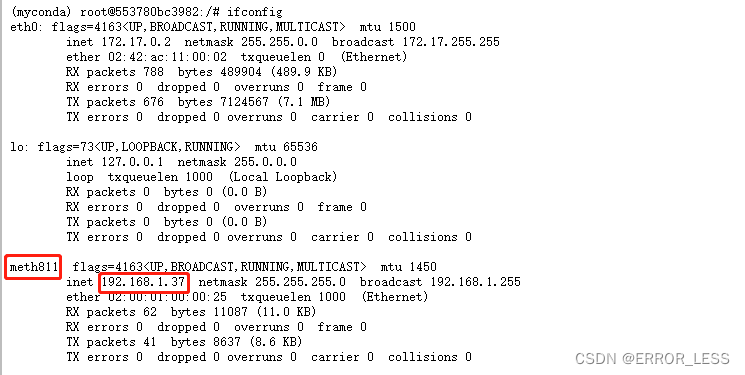
同样本着节约测试成本的考虑,采用了双机双卡的硬件配置。IP分别为192.168.1.37,192.168.1.38。
2.1 配置环境
- 登录任一节点进行节点间的ssh连通。
(myconda) root@b0945000424c:/# ssh-keygen -t rsa # 一路enter即可,生成公私钥
	Generating public/private rsa key pair.
	Enter file in which to save the key (/root/.ssh/id_rsa):
	Enter passphrase (empty for no passphrase):
	Enter same passphrase again:
	Your identification has been saved in /root/.ssh/id_rsa.
	Your public key has been saved in /root/.ssh/id_rsa.pub.
	The key fingerprint is:
	SHA256:rCyXYDDQwFCxn+4SsIGB4vrCyBg9ZK20yXaNlxrZeqk root@b0945000424c
	The key's randomart image is:
	+---[RSA 2048]----+
	|B+o.             |
	|+o..             |
	|+.+.             |
	|+.++.. .         |
	|.X +== .S        |
	|+ Xo=o=o         |
	|=+ +o==.         |
	|+oo.ooo          |
	| . .Eo           |
	+----[SHA256]-----+

(myconda) root@b0945000424c:/# ssh-copy-id root@192.168.1.37 #分发给其他节点,输入对应秘钥。
	/usr/bin/ssh-copy-id: INFO: Source of key(s) to be installed: "/root/.ssh/id_rsa.pub"
	The authenticity of host '192.168.1.37 (192.168.1.37)' can't be established.
	ECDSA key fingerprint is SHA256:mBoJB3tizC3nKPNphS7AKrsWtjiRt31P2VPuNys+9y4.
	Are you sure you want to continue connecting (yes/no)? yes
	/usr/bin/ssh-copy-id: INFO: attempting to log in with the new key(s), to filter out any that are already installed
	/usr/bin/ssh-copy-id: INFO: 1 key(s) remain to be installed -- if you are prompted now it is to install the new keys
	root@192.168.1.37's password:

	Number of key(s) added: 1

	Now try logging into the machine, with:   "ssh 'root@192.168.1.37'"
	and check to make sure that only the key(s) you wanted were added.
- 查看两台机器的网卡
- 添加环境变量
两台机器都要执行
(myconda) root@b0945000424c:/# export NCCL_SOCKET_IFNAME=meth811,meth812
(myconda) root@b0945000424c:/# export GLOO_IFACE=meth811,meth812
(myconda) root@b0945000424c:/# export NCCL_DEBUG=INFO #可选,如需获得额外的nccl信息
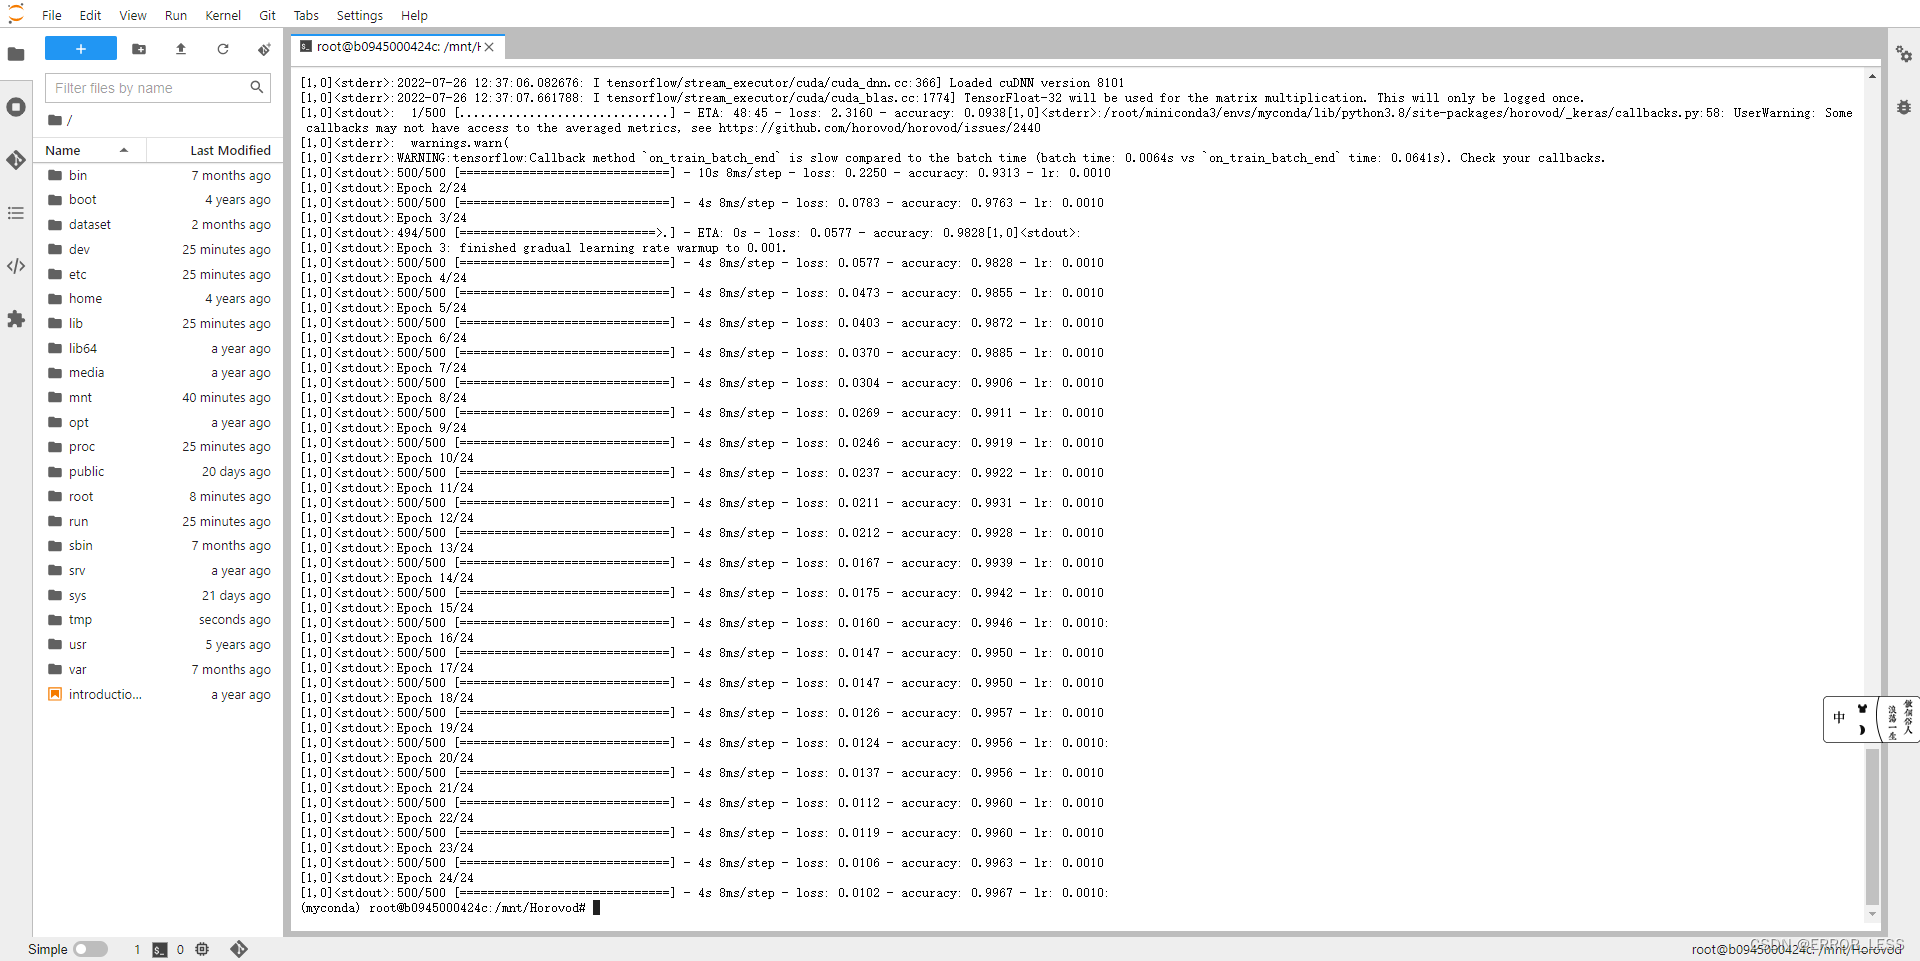
2.2 运行
-
常规运行
(myconda) root@b0945000424c:/mnt/Horovod# horovodrun -np 2 -H 192.168.1.37:1,192.168.1.38:1 --network-interface "192.168.1.37/24,192.168.1.38/24" python tensorflow2_keras_mnist.py
参数说明:
-np:后面的数字代表指定的总进程数(其实就是总GPU数)
-H:指定各计算节点所运行卡数,格式为 IP:GPU数,多个节点之间逗号隔开,本机的信息也需要配置,所有节点都需要写入。例如 192.168.1.37:1 代表 IP 为 192.168.1.37,有 1 张GPU。
network-interface:指定各计算节点的 IP,需要与 H 的参数对应。
-
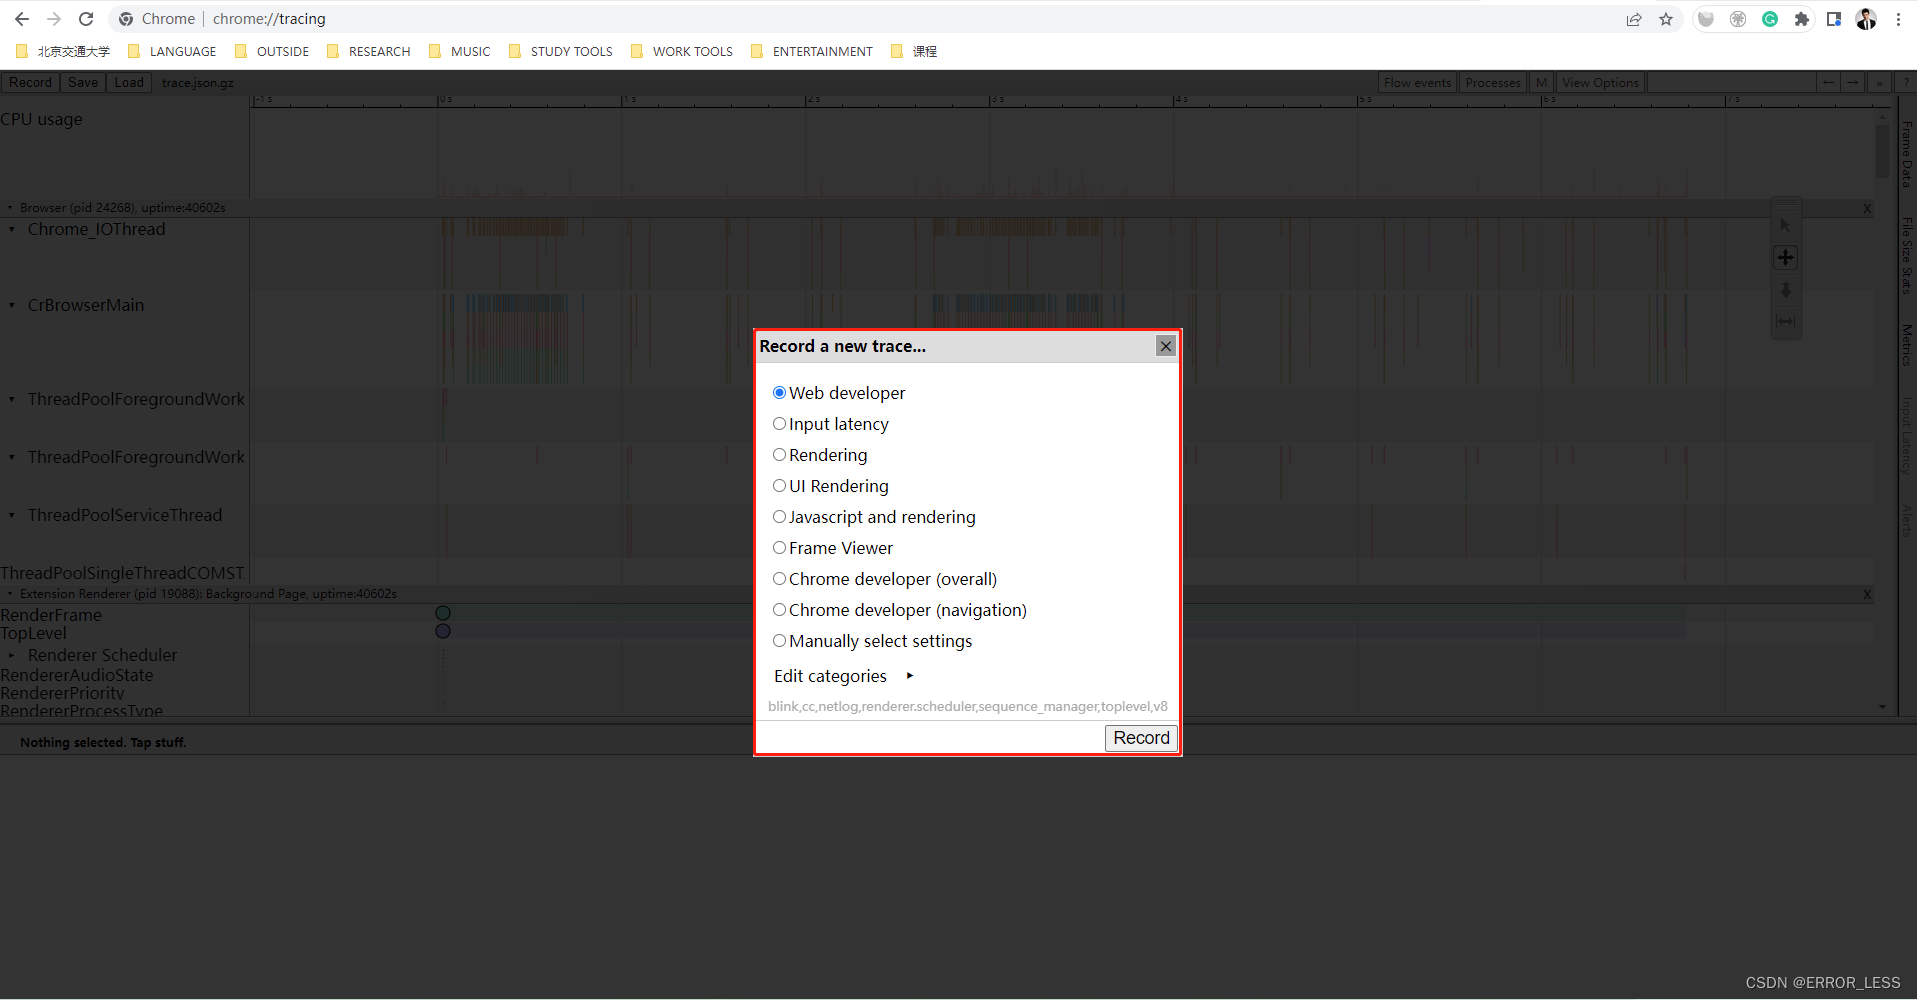
如需性能分析,按以下方式运行
(myconda) root@b0945000424c:/mnt/Horovod# horovodrun -np 1 --timeline-filename /path/to/timeline.json python tensorflow2_keras_mnist.py
可以在谷歌浏览器的
chrome://tracing/打开时间线文件进行一些性能的跟踪。
这里不能打开该时间线文件的原因是:源码中并未设置--timeline-filename命令参数,实际上训练完并没有生成时间线文件
查看后发现确实没有这个文件,因此,需在测试源码中添加--timeline-filename这个参数


 1042
1042


 被折叠的 条评论
为什么被折叠?
被折叠的 条评论
为什么被折叠?
 到【灌水乐园】发言


