


1. 编译 ESP-IDF 需要以下软件包,执行以下命令安装
sudo apt-get install git wget flex bison gperf python3 python3-pip python3-setuptools cmake ninja-build ccache libffi-dev libssl-dev dfu-util libusb-1.0-0
2. 下载源码
mkdir -p ~/esp
cd ~/esp
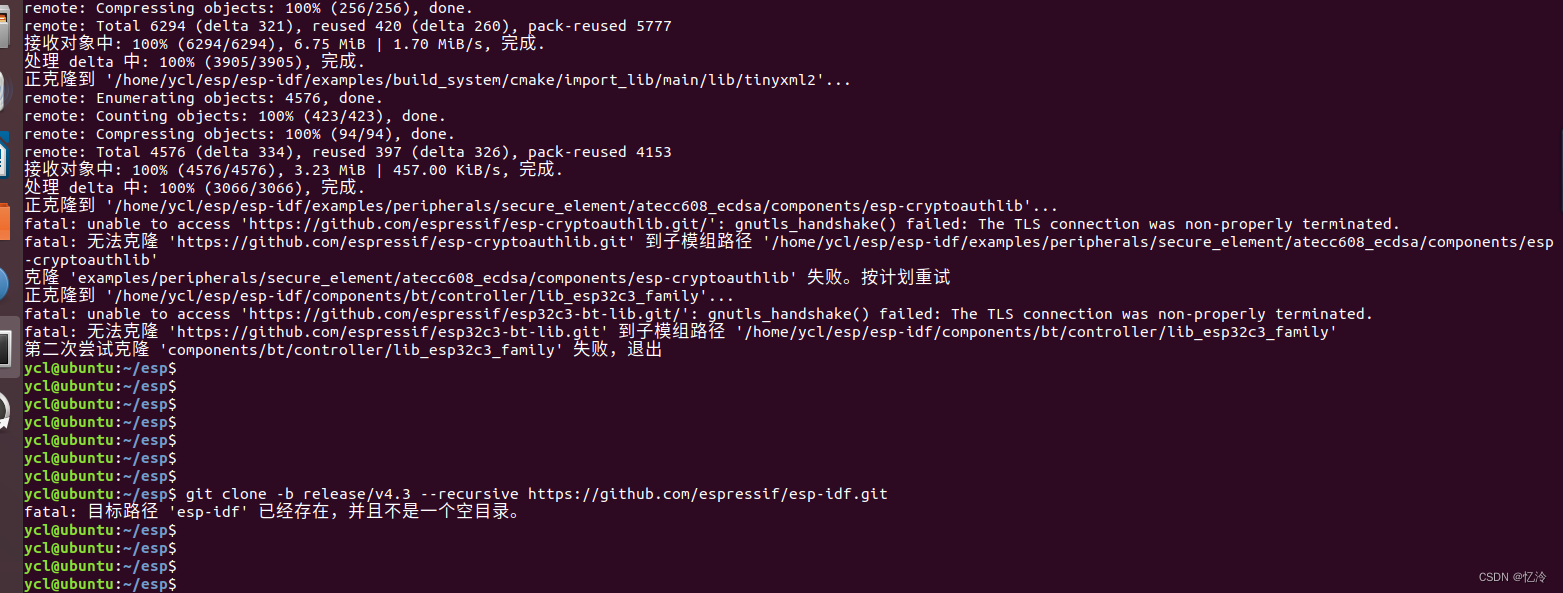
git clone -b release/v4.3 --recursive https://github.com/espressif/esp-idf.git
ESP-IDF 将下载至 ~/esp/esp-idf
2.1问题出现及解决:
2.1.1 :The TLS connection was non-properly terminated

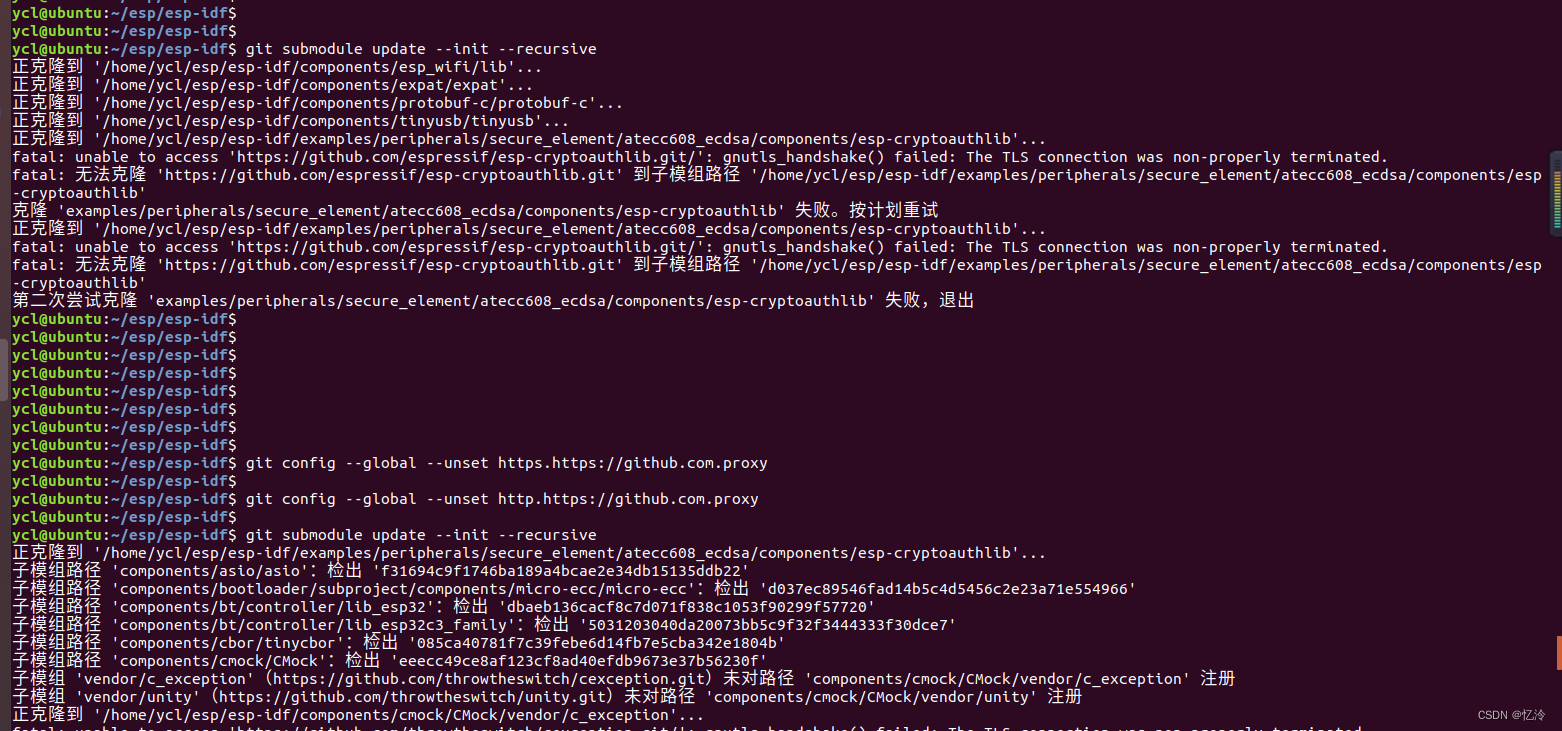
解决:重置代理

git config --global --unset https.https://github.com.proxy
git config --global --unset http.https://github.com.proxy
参考博客:
https://blog.csdn.net/m0_53175055/article/details/122833415
2.2.2 :Error in the pull function

解决:将 url: https -> git

参考博客:
https://blog.csdn.net/bingyu9875/article/details/102568686
2.2.3 :无法递归进子模组路径

解决:

参考博客:(。这链接真是长的离谱。。)
https://blog.csdn.net/weixin_44142550/article/details/103199392?utm_medium=distribute.pc_aggpage_search_result.none-task-blog-2aggregatepagefirst_rank_ecpm_v1~rank_v31_ecpm-1-103199392.pc_agg_new_rank&utm_term=%E6%97%A0%E6%B3%95%E9%80%92%E5%BD%92%E8%BF%9B%E5%AD%90%E6%A8%A1%E7%BB%84%E8%B7%AF%E5%BE%84&spm=1000.2123.3001.4430
2.2.4:目标路径 ‘esp-idf’ 已经存在,并且不是一个空目录
clone过程中报错,之后再次执行clone命令,报该错误
解决:
进入esp-idf执行git submodule update --init --recursive
3. 除了 ESP-IDF 本身,您还需要安装 ESP-IDF 使用的各种工具,比如编译器、调试器、 Python 包等
cd ~/esp/esp-idf
./install.sh
在运行时出现下载失败的情况(一直停在某进度不动)
执行 ./install.sh前执行
export IDF_GITHUB_ASSETS=“dl.espressif.com/github_assets” 使安装工具时优先选择 Espressif 下载服务器
执行该脚本将 ESP-IDF 所需的编译工具默认安装在用户的根目录中,即 $HOME/.espressif
4. 设置环境变量
此时,您刚刚安装的工具尚未添加至 PATH 环境变量,无法通过“命令窗口”使用这些工具。因此,必须设置一些环境变量,这可以通过 ESP-IDF 提供的另一个脚本完成
在需要运行 ESP-IDF 的终端窗口运行以下命令: . $HOME/esp/esp-idf/export.sh
需要经常运行 ESP-IDF时,可以为 执行export.sh 创建一个别名更方便
 1. 在  $HOME的 ( .bashrc )shell配置文件中添加
   alias get_idf='. $HOME/esp/esp-idf/export.sh'

2. 通过重启终端窗口或运行 source [path to profile],如 source ~/.bashrc 来刷新配置
   文件
之后便可以在 终端上执行 get_idf 来设置或刷新 esp-idf 环境
5.
之后便可以在 ~/esp/目录下 创建工程 编译烧录 了


 1675
1675


 被折叠的 条评论
为什么被折叠?
被折叠的 条评论
为什么被折叠?
 到【灌水乐园】发言


