


学习Ray Tracing in One Weekend这本书时,吭哧吭哧码完所有代码,准备渲染终极封面图,点击启动开始渲染!等了五个小时发现:怎么一半都没到
一看CPU正处于一核有难多核围观的情况,这怎么行,开个多线程全部跑起来
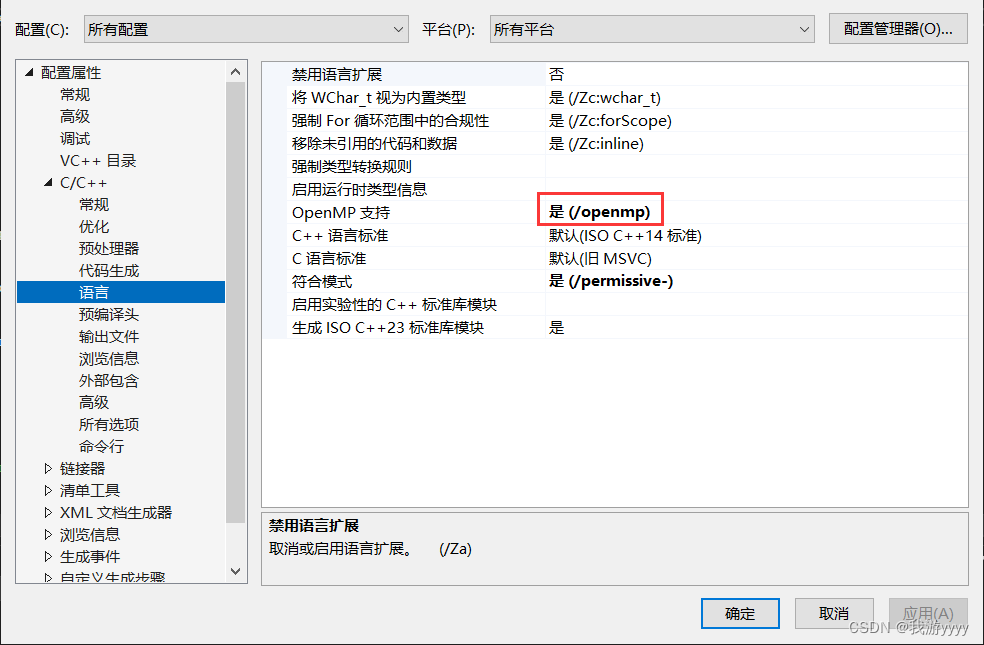
1.首先打开visual studio的OMP支持
点击项目,按Alt + Enter打开属性,
C/C++下的语言中,OpenMP选择“是”
2.找到渲染循环,加上头文件#include <omp.h>
在for循环前加上 omp_set_num_threads(25); //开启线程数
#pragma omp parallel for
点击调整小一点的图片,光线反弹深度调小试试效果,结果当然:一坨雪花
这是因为原作者是直接一边渲染一边写入,按照顺序写入图片文件中。开启多线程之后,由于for循环被打乱,同一排有多个像素同时渲染,谁先渲染完谁写入,像素顺序完全改变。
3.解决方法:使用一个数组,记录每个像素的颜色,渲染时写入到数组中指定的位置,当全部渲染玩再按照顺序全部写入到文件中
	void render(const hittable& world)
	{
		int now = 0;
		initialize();
		vector<vector<color>> colorBuffer(image_height);
		for (int i = 0;i < image_height;++i)
		{
			colorBuffer[i].resize(image_width);
		}

		omp_set_num_threads(25);
#pragma omp parallel for
		for (int j = 0; j < image_height; ++j) {

			for (int i = 0; i < image_width; ++i) {
				color pix_color(0, 0, 0);
				for (int sample = 0; sample < samples_per_pixel; ++sample)
				{
					ray r = get_ray(i, j);
					pix_color += ray_color(r,max_depth, world);
				}
				cout << "\rScanlines remaining: " << now<<" " << flush;
				write_color(colorBuffer, pix_color,samples_per_pixel,j,i);
				++now;
			}
		}


		string filename = "./" + head + "depth" + to_string(max_depth) + "samples" + to_string(samples_per_pixel) + ".ppm";
		std::ofstream ofs; // save the framebuffer to file
		ofs.open(filename);
		// Render
		ofs << "P3\n" << image_width << ' ' << image_height << "\n255\n";
		static const interval intensity(0.000, 0.999);
		for (int j = 0; j < image_height; ++j)
		{
			for (int i = 0; i < image_width; ++i)
			{
				ofs << static_cast<int>(256 * intensity.clamp(colorBuffer[j][i].x())) << ' '
			        << static_cast<int>(256 * intensity.clamp(colorBuffer[j][i].y())) << ' '
			        << static_cast<int>(256 * intensity.clamp(colorBuffer[j][i].z())) << '\n';
			}
		}


		cout << "\rDone.              \n";
		ofs.close();
	}
void write_color(std::vector<std::vector<color>>& colorBuffer, color pixel_color,int samples_per_pixel,int i,int j) {
// Write the translated [0,255] value of each color component.
auto r = pixel_color.x();
auto g = pixel_color.y();
auto b = pixel_color.z();
auto scale = 1.0 / samples_per_pixel;
r *= scale;
g *= scale;
b *= scale;
r = linear_to_gamma(r);
g = linear_to_gamma(g);
b = linear_to_gamma(b);
color thecolor(r,g,b);
colorBuffer[i][j] = thecolor;
}准备完毕开启渲染,CPU占用立马100%!
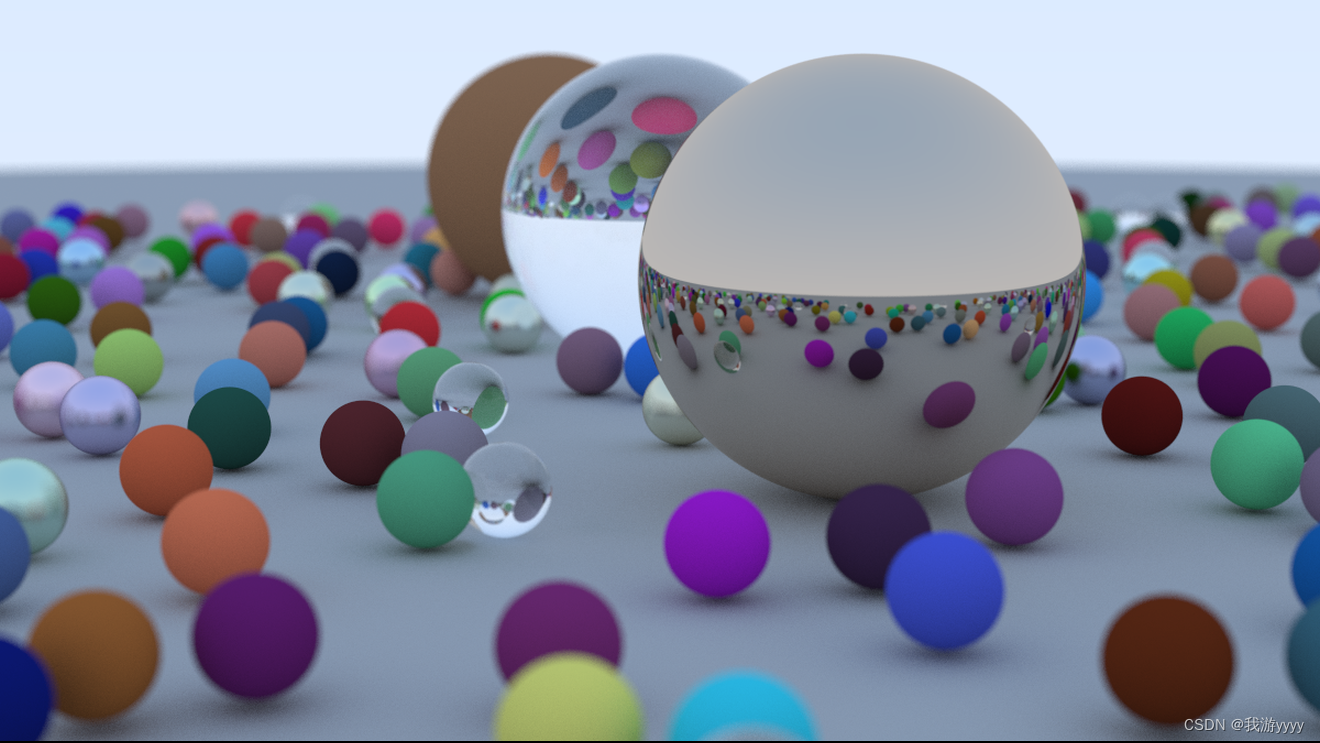
速度提升非常明显,全部渲染时间越40分钟
渲染结果相当漂亮


 666
666


 被折叠的 条评论
为什么被折叠?
被折叠的 条评论
为什么被折叠?
 到【灌水乐园】发言


