


目录
2.2.3 将大的txt分解成多个小txt,txt以图片名字命名
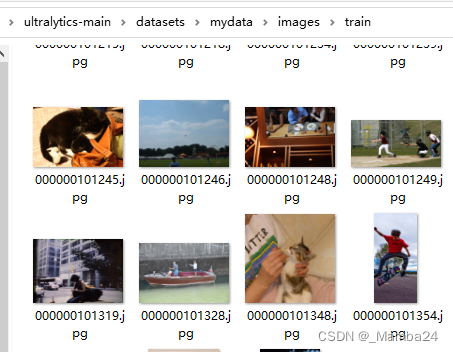
2.2.4 将txt中对应的路径的图片复制到images/train
3.1、设置官方配置文件:default.yaml,可自行修改。
0、引言
本文是使用YOLOv8-Detect训练自己的数据集,数据集包含COCO数据集的人猫狗数据以及自己制作的人猫狗数据集,类别为0:person、1:cat、2:dog三类,大家可根据自己的数据集类别进行调整。
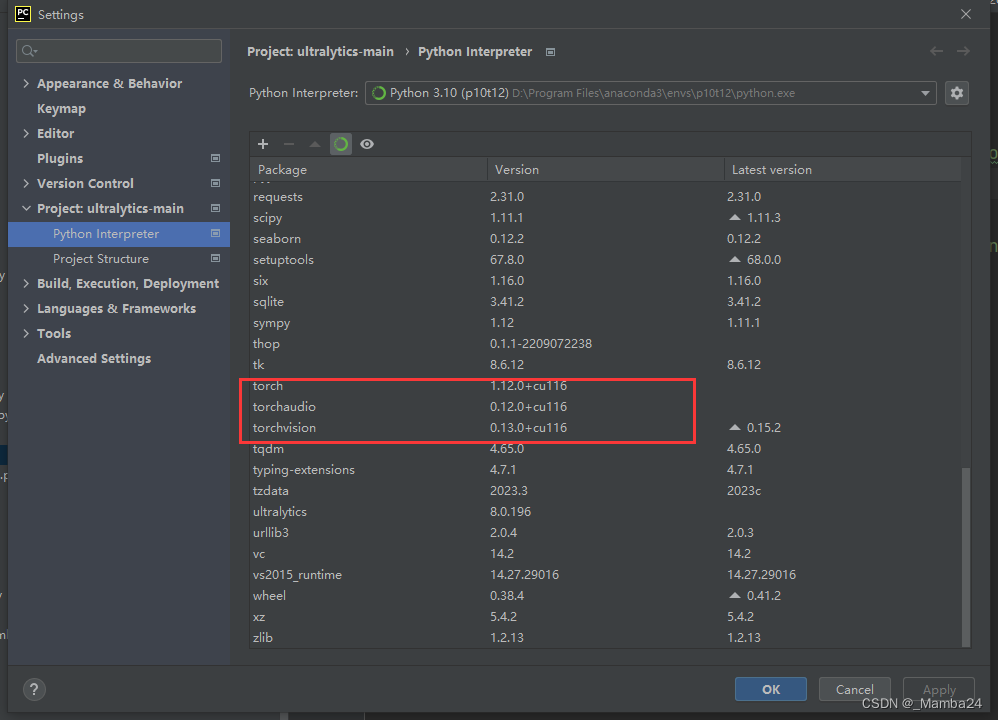
1、环境准备
可以参考这篇博客:深度学习环境搭建-CSDN博客
本文环境:
- Windows10
- python:3.10
- cuda:11.6
- pytorch:1.12.0
- torchvision:0.13.0
2、数据集准备
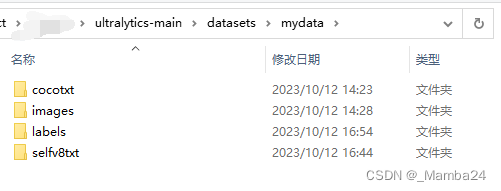
2.1、创建数据集存放的文件夹
mydata
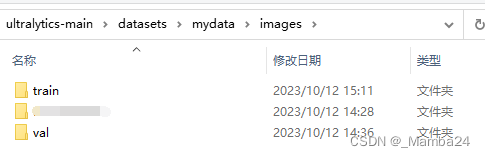
______images
____________train
_________________001.jpg
____________val
_________________002.jpg
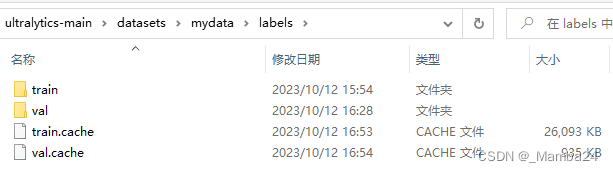
______labels
____________train
_________________001.txt
____________val
_________________002.txt 本人的数据都存放在mydata文件夹中(自定义命名)

目录结构如下:images存放训练集和验证集图片,labels存放训练集和验证集txt
2.2、准备用于YOLOv8-Detect训练的txt
2.2.1 COCO数据集json文件转为xml
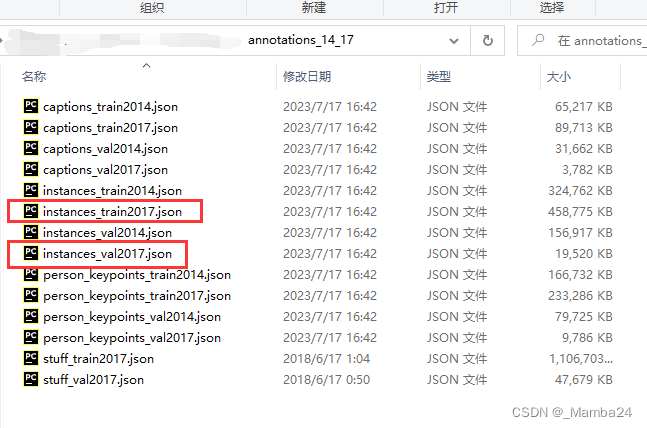
从官网下载CoCo数据集的json文件
import argparse, json
import cytoolz
from lxml import etree, objectify
import os, re

def instance2xml_base(anno):
    E = objectify.ElementMaker(annotate=False)
    anno_tree = E.annotation(
        E.folder('VOC2014_instance/{}'.format(anno['category_id'])),
        E.filename(anno['file_name']),
        E.source(
            E.database('MS COCO 2014'),
            E.annotation('MS COCO 2014'),
            E.image('Flickr'),
            E.url(anno['coco_url'])
        ),
        E.size(
            E.width(anno['width']),
            E.height(anno['height']),
            E.depth(3)
        ),
        E.segmented(0),
    )
    return anno_tree

def instance2xml_bbox(anno, bbox_type='xyxy'):
    """bbox_type: xyxy (xmin, ymin, xmax, ymax); xywh (xmin, ymin, width, height)"""
    assert bbox_type in ['xyxy', 'xywh']
    if bbox_type == 'xyxy':
        xmin, ymin, w, h = anno['bbox']
        xmax = xmin+w
        ymax = ymin+h
    else:
        xmin, ymin, xmax, ymax = anno['bbox']
    E = objectify.ElementMaker(annotate=False)
    anno_tree = E.object(
        E.name(anno['category_id']),
        E.bndbox(
            E.xmin(xmin),
            E.ymin(ymin),
            E.xmax(xmax),
            E.ymax(ymax)
        ),
        E.difficult(anno['iscrowd'])
    )
    return anno_tree


def parse_instance(content, outdir):
    # print('11111',content)
    categories = {d['id']: d['name'] for d in content['categories']}
    # merge images and annotations: id in images vs image_id in annotations
    merged_info_list = list(map(cytoolz.merge, cytoolz.join('id', content['images'], 'image_id', content['annotations'])))

    # print('111111111111',merged_info_list)
    # convert category id to name
    for instance in merged_info_list:
        instance['category_id'] = categories[instance['category_id']]
    # group by filename to pool all bbox in same file
    for name, groups in cytoolz.groupby('file_name', merged_info_list).items():
        anno_tree = instance2xml_base(groups[0])
        # if one file have multiple different objects, save it in each category sub-directory
        filenames = []
        # print(groups)
        for group in groups:
            filenames.append(os.path.join(outdir, re.sub(" ", "_", group['category_id']), os.path.splitext(name)[0] + ".xml"))
            anno_tree.append(instance2xml_bbox(group, bbox_type='xyxy'))
        for filename in filenames:
            etree.ElementTree(anno_tree).write(filename, pretty_print=True)
        print("Formating instance xml file {} done!".format(name))

def main(args):
    if not os.path.exists(args.output_dir):
        os.makedirs(args.output_dir)
    content = json.load(open(args.anno_file, 'r'))
    if args.type == 'instance':
        # make subdirectories
        sub_dirs = [re.sub(" ", "_", cate['name']) for cate in content['categories']]
        for sub_dir in sub_dirs:
            sub_dir = os.path.join(args.output_dir, str(sub_dir))
            if not os.path.exists(sub_dir):
                os.makedirs(sub_dir)
        parse_instance(content, args.output_dir)


if __name__ == "__main__":
    parser = argparse.ArgumentParser()
    parser.add_argument("--anno_file", help="annotation file for object instance/keypoint", default=r'D:\CoCoData\annotations_14_17\instances_train2017.json')
    parser.add_argument("--type", type=str, default='instance', help="object instance or keypoint", choices=['instance', 'keypoint'])
    parser.add_argument("--output_dir", help="output directory for voc annotation xml file", default=r'D:\CoCoData\CoCoXml')
    args = parser.parse_args()
    main(args)
修改文件存放的路径和保存xml文件的路径。

运行后得到80个文件夹,分别为80类的xml文件:
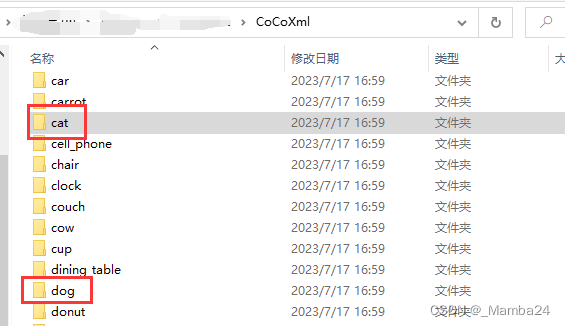

再将需要类别的xml文件整合,得到训练集和验证集xml
2.2.2 将多个xml整合到一个大的txt文件
import os
import random
import xml.etree.ElementTree as ET

import glob


classes = ['person', 'cat', 'dog']

def convert(size, box):
    dw = 1. / size[0]
    dh = 1. / size[1]
    x = (box[0] + box[2]) / 2.0
    y = (box[1] + box[3]) / 2.0
    w = min(size[0],box[2] - box[0])
    h = min(size[1],box[3] - box[1])
    # print(x,y,w,h)
    x = x * dw
    w = w * dw
    y = y * dh
    h = h * dh
    return (x, y, w, h)
def convert_annotation(xml, list_file):
    in_file = open(os.path.join(xml), encoding='utf-8')
    tree = ET.parse(in_file)
    root = tree.getroot()


    xmlsize = root.find('size')
    w = int(xmlsize.find('width').text)
    h = int(xmlsize.find('height').text)
    # print(w,h)

    for obj in root.iter('object'):
        difficult = 0
        if obj.find('difficult') != None:
            difficult = obj.find('difficult').text
        cls = obj.find('name').text
        if cls not in classes or int(difficult) == 1:
            print(cls, "------------------------------------\n")
            continue
        cls_id = classes.index(cls)
        print(cls, cls_id)
        xmlbox = obj.find('bndbox')
        x0 = float(xmlbox.find('xmin').text)
        y0 = float(xmlbox.find('ymin').text)
        x1 = float(xmlbox.find('xmax').text)
        y1 = float(xmlbox.find('ymax').text)
        xmin = min(x0, x1)
        ymin = min(y0, y1)
        xmax = max(x0, x1)
        ymax = max(y0, y1)

        # b = (int(xmin), int(ymin), int(xmax), int(ymax))
        b = (float(xmin), float(ymin), float(xmax), float(ymax))
        # print(b)
        bb = convert((w, h), b)
        # print(bb)

        list_file.write(" "+str(cls_id) +"," + ",".join([str(a) for a in bb]))


if __name__ == "__main__":
    random.seed(0)

    # 图片路径
    cocoImgPath = r'D:\Yolov8\Yolov8_dataset\selfXml\err04'
    # Xml路径
    cocoXmlPath = r'D:\Yolov8\Yolov8_dataset\selfXml\err04'
    #txt保存路径
    txtsavepath = r'D:\Yolov8\ultralytics-main\datasets\mydata\selfv8txt'
    fileWriteTxt = txtsavepath + '\\'+ cocoImgPath.split('\\')[-1] + '_v8.txt'
    xmls = glob.glob(os.path.join(cocoXmlPath, '*.xml'))
    list_file = open(fileWriteTxt, 'w', encoding='utf-8')

    for xml in xmls:
        img = xml.replace(cocoXmlPath, cocoImgPath).replace('.xml', '.jpg')
        if not os.path.exists(img):
            print(img, ' is not exit')
            continue
        list_file.write(img)
        convert_annotation(xml, list_file)
        list_file.write('\n')
    list_file.close()

运行以上代码可得到txt,内容如下:图片路径,xmin,ymin,xmax,ymax,classID
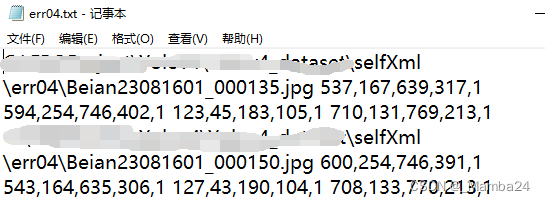
2.2.3 将大的txt分解成多个小txt,txt以图片名字命名
import glob
import os


#批量处理,txt存放文件夹
txtpathdir = r'D:\Yolov8\ultralytics-main\datasets\mydata\selfv8txt\err04_v8.txt'
#保存txt路径
savetxtpath = r'D:\Yolov8\ultralytics-main\datasets\mydata\labels\train'


file = open(txtpathdir,'r',encoding='utf-8')
lines = file.readlines()
for line in lines:
    line = line.split('\n')[0]
    # print(line)
    imgdir = line.split(' ')[0]
    bboxinfo = line.split(' ')[1:]
    # print('imgdir',imgdir)
    savetxtdir = os.path.join(savetxtpath,imgdir.split('\\')[-1].replace('.jpg','.txt'))
    file = open(savetxtdir, 'w', encoding='utf-8')
    # print(savetxtdir)
    for i in range(len(bboxinfo)):
        # print(bboxinfo[i])
        info = bboxinfo[i].split(',')
        # print(info)
        info1 = ' '.join(info)
        print(info1)
        file.write(info1+'\n')
运行以上代码,即得到需要的txt

2.2.4 将txt中对应的路径的图片复制到images/train
(根据自己需求,因为我的图片类别多,存放位置也不同,所以需要找到对应的图片用于训练)
import glob
import os
import shutil

txtpathdir = r'D:\Yolov8\ultralytics-main\datasets\mydata\cocotxt\train2017_v8.txt'
saveimgpath = r'D:\Yolov8\ultralytics-main\datasets\mydata\images\train'
file = open(txtpathdir,'r',encoding='utf-8')
lines = file.readlines()
for line in lines:
    line = line.split('\n')[0]
    imgdir = line.split(' ')[0]
    print('imgdir',imgdir)
    saveimgdir = os.path.join(saveimgpath,imgdir.split('\\')[-1])
    print(saveimgdir)

    shutil.copy(imgdir,saveimgdir)
上述步骤可根据实际情况进行调整,这样就得到了可用于训练的数据,train中存放训练数据,val存放验证集。
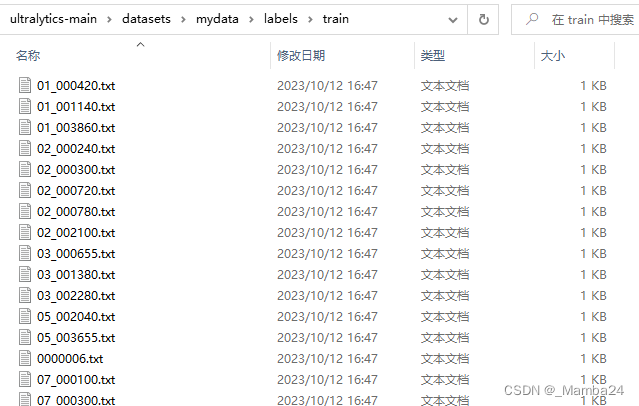
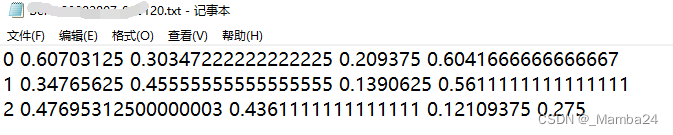
labels中txt存放的数据格式如下(与官方一致):
分别代表:类别、框的中心点xy坐标以及框的宽高(进行了归一化处理)
3、创建配置文件
3.1、设置官方配置文件:default.yaml,可自行修改。
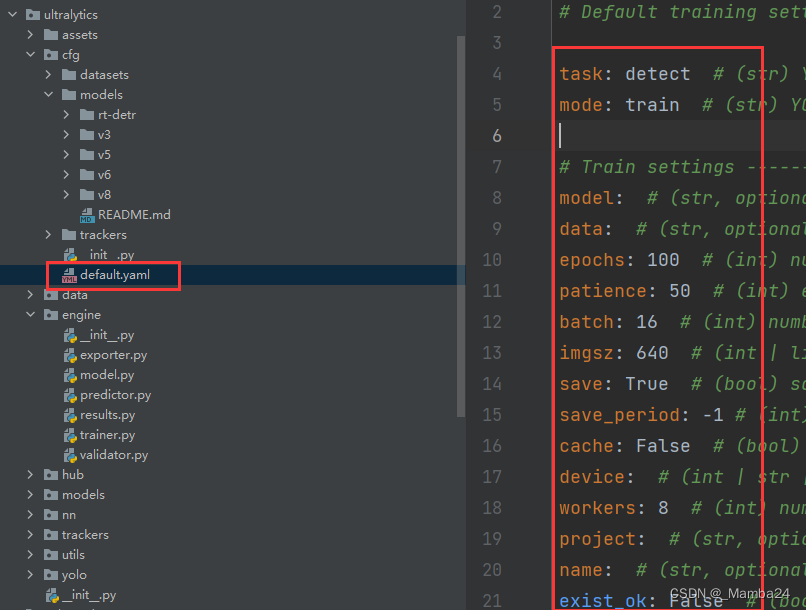
所有参数参见:https://docs.ultralytics.com/usage/cfg/
3.2、设置data.yaml
根据自己的数据集位置进行修改和配置。
path: D:\Yolov8\ultralytics-main\datasets\mydata  # dataset root dir
train: images/train  # train images (relative to 'path') 118287 images
val: images/val  # val images (relative to 'path') 5000 images
#test: test-dev2017.txt  # 20288 of 40670 images, submit to https://competitions.codalab.org/competitions/20794

# Classes
names:
  0: person
  1: cat
  2: dog
nc: 3
3.3、设置yolov8s.yaml
根据自己想使用的权重进行选择,我这里采用的是yolov8s.pt进行训练,类别为3。
# Ultralytics YOLO 🚀, AGPL-3.0 license
# YOLOv8 object detection model with P3-P5 outputs. For Usage examples see https://docs.ultralytics.com/tasks/detect

# Parameters
nc: 3  # number of classes
scales: # model compound scaling constants, i.e. 'model=yolov8n.yaml' will call yolov8.yaml with scale 'n'
  # [depth, width, max_channels]
  s: [0.33, 0.50, 1024]  # YOLOv8s summary: 225 layers, 11166560 parameters, 11166544 gradients,  28.8 GFLOPs


# YOLOv8.0n backbone
backbone:
  # [from, repeats, module, args]
  - [-1, 1, Conv, [64, 3, 2]]  # 0-P1/2
  - [-1, 1, Conv, [128, 3, 2]]  # 1-P2/4
  - [-1, 3, C2f, [128, True]]
  - [-1, 1, Conv, [256, 3, 2]]  # 3-P3/8
  - [-1, 6, C2f, [256, True]]
  - [-1, 1, Conv, [512, 3, 2]]  # 5-P4/16
  - [-1, 6, C2f, [512, True]]
  - [-1, 1, Conv, [1024, 3, 2]]  # 7-P5/32
  - [-1, 3, C2f, [1024, True]]
  - [-1, 1, SPPF, [1024, 5]]  # 9

# YOLOv8.0n head
head:
  - [-1, 1, nn.Upsample, [None, 2, 'nearest']]
  - [[-1, 6], 1, Concat, [1]]  # cat backbone P4
  - [-1, 3, C2f, [512]]  # 12

  - [-1, 1, nn.Upsample, [None, 2, 'nearest']]
  - [[-1, 4], 1, Concat, [1]]  # cat backbone P3
  - [-1, 3, C2f, [256]]  # 15 (P3/8-small)

  - [-1, 1, Conv, [256, 3, 2]]
  - [[-1, 12], 1, Concat, [1]]  # cat head P4
  - [-1, 3, C2f, [512]]  # 18 (P4/16-medium)

  - [-1, 1, Conv, [512, 3, 2]]
  - [[-1, 9], 1, Concat, [1]]  # cat head P5
  - [-1, 3, C2f, [1024]]  # 21 (P5/32-large)

  - [[15, 18, 21], 1, Detect, [nc]]  # Detect(P3, P4, P5)
4、进行训练
上述步骤完成后,即可开始训练。
from ultralytics import YOLO

if __name__ == '__main__':
    # modelpath = r'D:\Yolov8\yolov8-detect-pt\yolov8s.pt'

    model = YOLO('yolov8s.yaml')  # load a pretrained model (recommended for training)
    # Train the model
    model.train(data='data.yaml')
也可以不使用yaml文件,直接读取.pt文件
from ultralytics import YOLO
if __name__ == '__main__':
modelpath = r'G:\\ultralytics-main\yolov8-detect\yolov8s.pt'
model = YOLO(modelpath) # load a pretrained model (recommended for training)
# Train the model
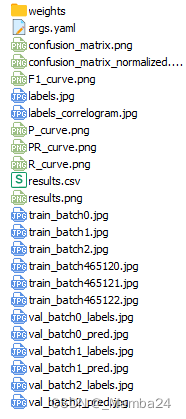
model.train(data='data.yaml')训练过程:
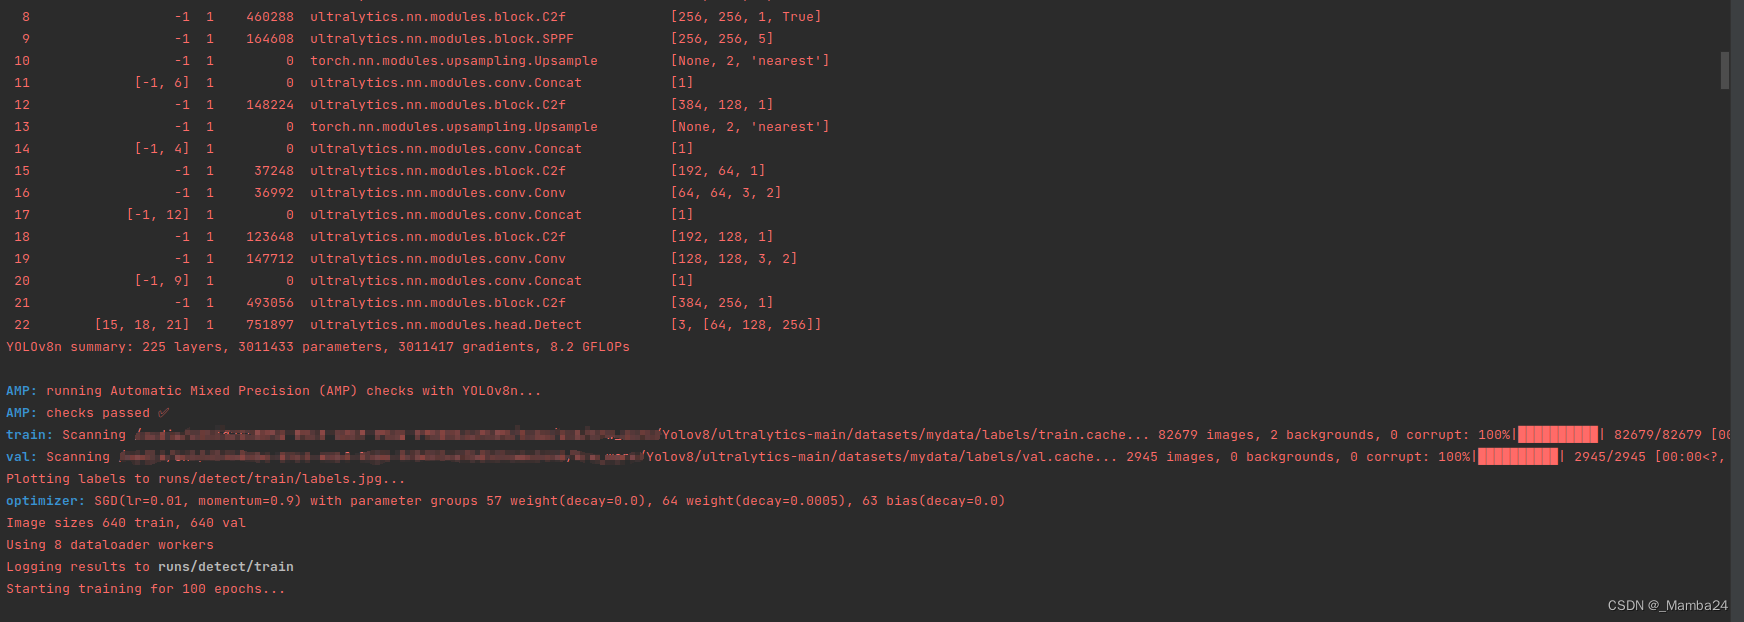
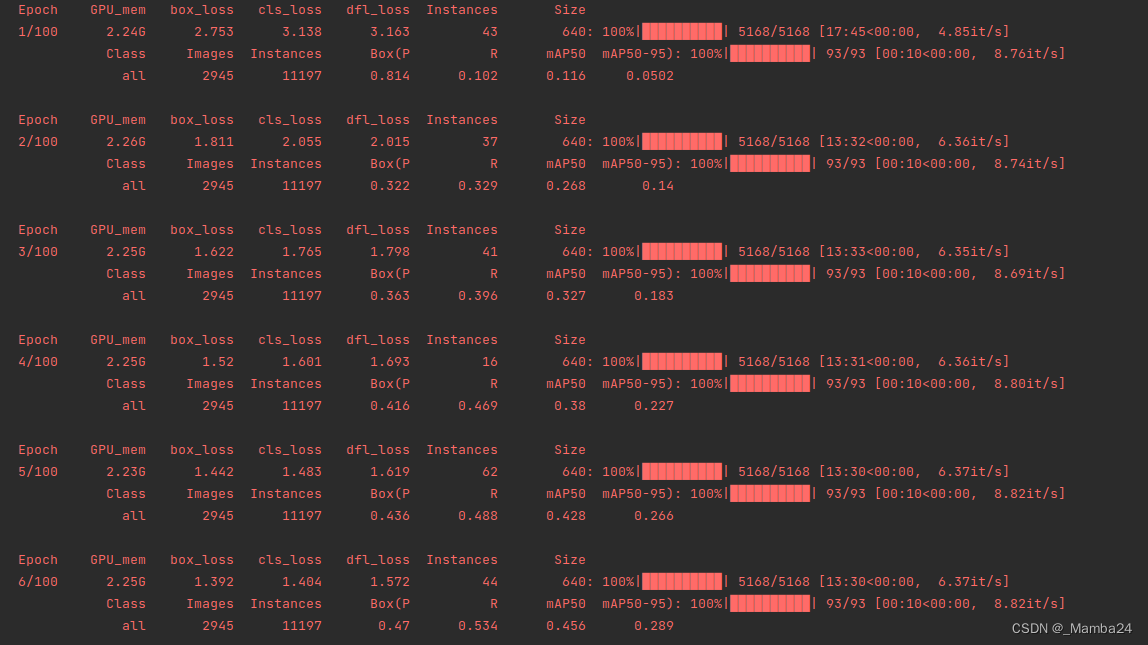
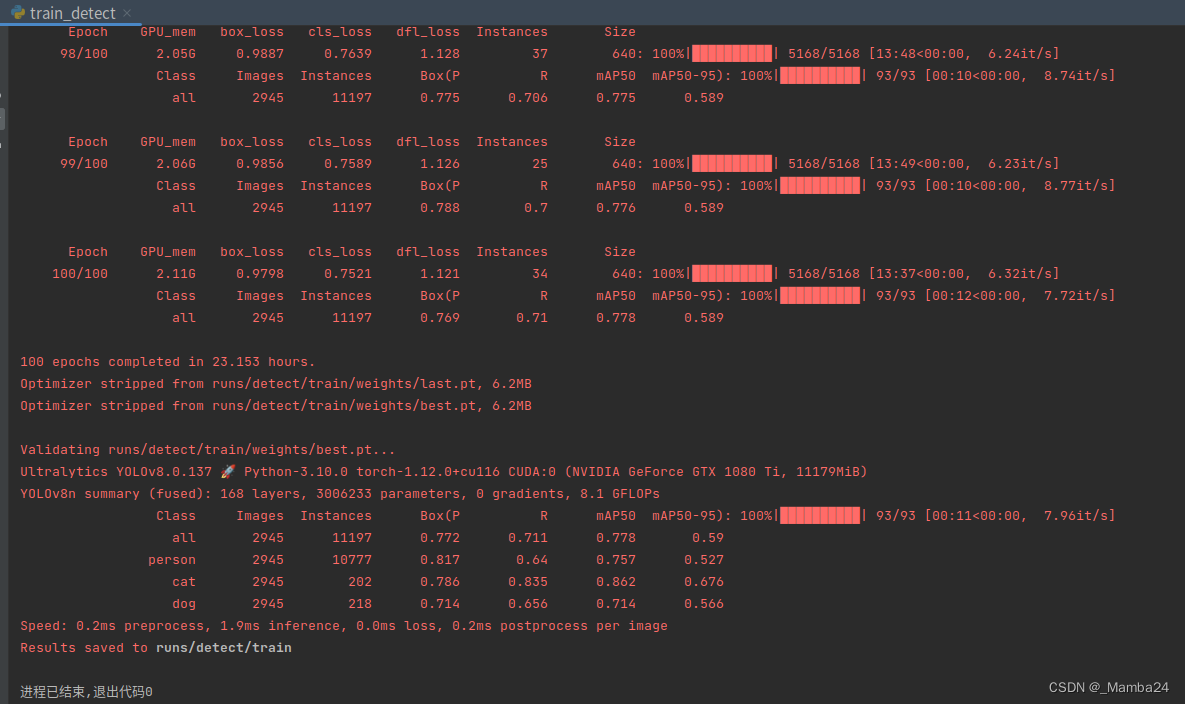
训练过程中会保存以下内容,最后得到两个模型分别是:best.pt、last.pt
5、验证模型
训练进程完毕以后可使用一些验证数据进行模型验证,查看模型的识别效果。
from ultralytics import YOLO
import glob
import os
# Load a model
model = YOLO(r'D:\Yolov8\yolov8-detect-pt\best.pt') # load an official model
# Predict with the model
imgpath = r'D:\Yolov8\ultralytics-main\testimgs'
imgs = glob.glob(os.path.join(imgpath,'*.jpg'))
for img in imgs:
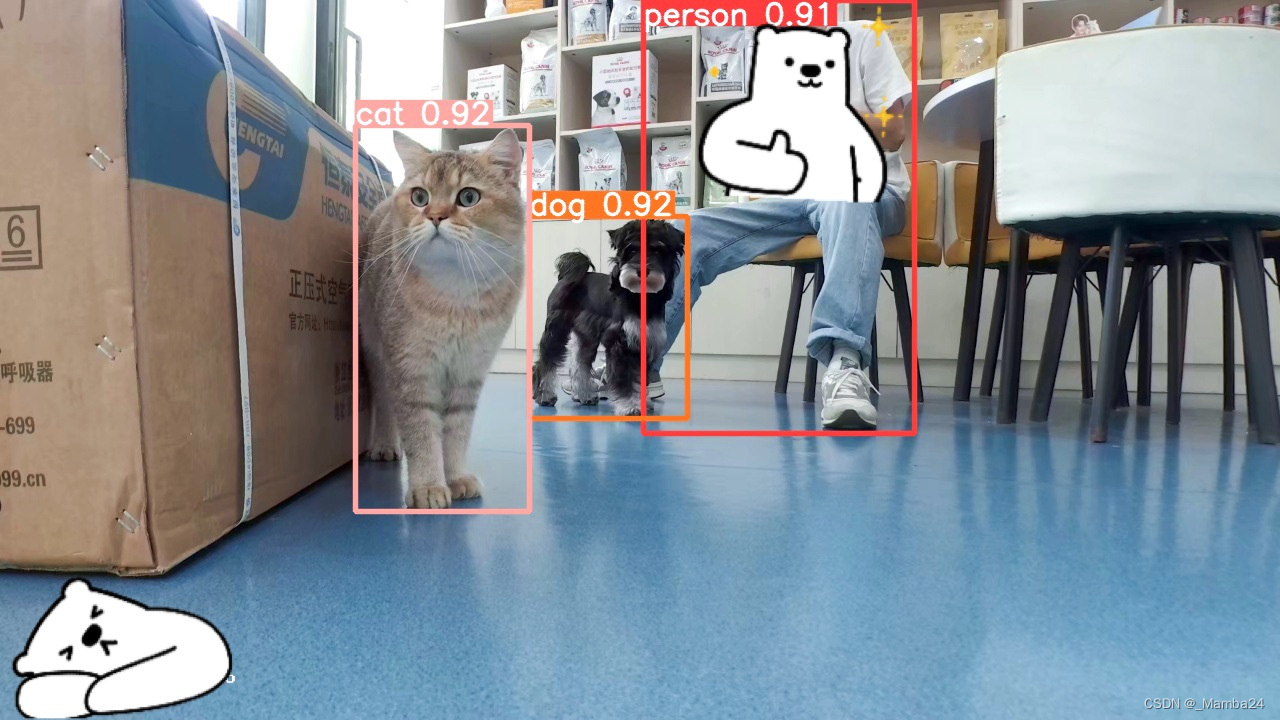
model.predict(img, save=True)预测结果:
6、总结
至此,整个训练预测阶段完成。此过程同样可以在linux系统上进行,在数据准备过程中需要仔细,保证最后得到的数据准确,最好是用显卡进行训练。
有问题评论区见!


 9526
9526


 被折叠的 条评论
为什么被折叠?
被折叠的 条评论
为什么被折叠?
 到【灌水乐园】发言


