


 本文详细介绍TensorFlow中图片缩放函数resize_images的使用方法,包括输入参数、返回结果及实际应用示例,展示了如何调整图片尺寸并保持长宽比。
一、环境
TensorFlow API r1.12
CUDA 9.2 V9.2.148
cudnn64_7.dll
Python 3.6.3
Windows 10
二、官方说明
通过指定的方法 method 来调整输入图像 images 为指定的尺寸 size
https://www.tensorflow.org/api_docs/python/tf/image/resize_images
tf.image.resize_images(
    images,
    size,
    method=ResizeMethod.BILINEAR,
    align_corners=False,
    preserve_aspect_ratio=False
)
输入:
(1)images:输入图片,四维张量 [batch, height, width, channels] 或者三维张量 [height, width, channels]
(2)size:要调整输入图片形状的目标尺寸,一维的整型 int32 型张量:new_height, new_width
(3)method:图片形状调整方法
ResizeMethod.BILINEAR:默认方法,双线性插值
ResizeMethod.NEAREST_NEIGHBOR:最近邻插值
ResizeMethod.BICUBIC:双三次插值
ResizeMethod.AREA:区域插值
(4)align_corners:布尔型参数,默认为False,为True时,输入张量和输出张量的四个角的像素点的中心是对齐的,保留四个角的像素值
(5)preserve_aspect_ratio:布尔型参数,默认为False,设置是否保持输入图片的长、宽比,如果设置为True,输入图像 images 的尺寸将调整为输入 size 的大小,同时保持原始输入图片的长宽比。如果输入 size 的比输入图像 images的尺寸大,将会按照比例放大输入图像 images
返回结果:
(1)如果输入图像 images 为4维,则返回一个四维的浮点型张量,形状为 [batch_size, new_height, new_width, channels]
(2)如果输入图像 images 为3维,则返回一个三维的浮点型张量,形状为 [new_height, new_width, channels]
三、实例
>>> import tensorflow as tf
>>> import matplotlib.pyplot as plt
>>> from tensorflow.examples.tutorials.mnist import input_data
>>> mnist = input_data.read_data_sets("MNIST_data/")
>>> print(sample_image.shape)
# (1, 784)
>>> sample_image = sample_image.reshape(28,28)
print(sample_image.shape)
# (28, 28)
>>> plt.imshow(sample_image, cmap='Greys')
# <matplotlib.image.AxesImage object at 0x000001E9B8A52780>
>>> plt.show()
# 通过 matplotlib 现实原始图像,如下图
>>> sample_image = sample_image.reshape(1,28,28,1)
>>> print(sample_image.shape)
# (1, 28, 28, 1)

# 调整输入图片的尺度大小
>>> resize_image = tf.image.resize_images(images=sample_image, size=(56,56))
>>> print(resize_image)
# Tensor("resize_images/ResizeBilinear:0", shape=(1, 56, 56, 1), dtype=float32)

>>> with tf.Session() as sess:
...     filewriter = tf.summary.FileWriter(logdir='./summary/', graph=sess.graph)
...     result = sess.run(resize_image)
...     result = result.reshape(56,56)    # 转换为 matplotlib.pyplot 中图像显示方法 imshow 支持的格式,二维 (columns, rows)
...     plt.imshow(result, cmap='Greys')
...     plt.show()
...
# 2018-12-27 11:03:10.573212: I tensorflow/core/common_runtime/gpu/gpu_device.cc:1511] Adding visible gpu devices: 0
# 2018-12-27 11:03:10.576503: I tensorflow/core/common_runtime/gpu/gpu_device.cc:982] Device interconnect StreamExecutor with strength 1 edge matrix:
# 2018-12-27 11:03:10.580325: I tensorflow/core/common_runtime/gpu/gpu_device.cc:988]      0
# 2018-12-27 11:03:10.583672: I tensorflow/core/common_runtime/gpu/gpu_device.cc:1001] 0:   N
# 2018-12-27 11:03:10.586138: I tensorflow/core/common_runtime/gpu/gpu_device.cc:1115] Created TensorFlow device (/job:localhost/replica:0/task:0/device:GPU:0 with 6459 MB memory) -> physical GPU (device: 0, name: Quadro M4000, pci bus id: 0000:03:00.0, compute capability: 5.2)
# <matplotlib.image.AxesImage object at 0x000001E9C9A9F160>
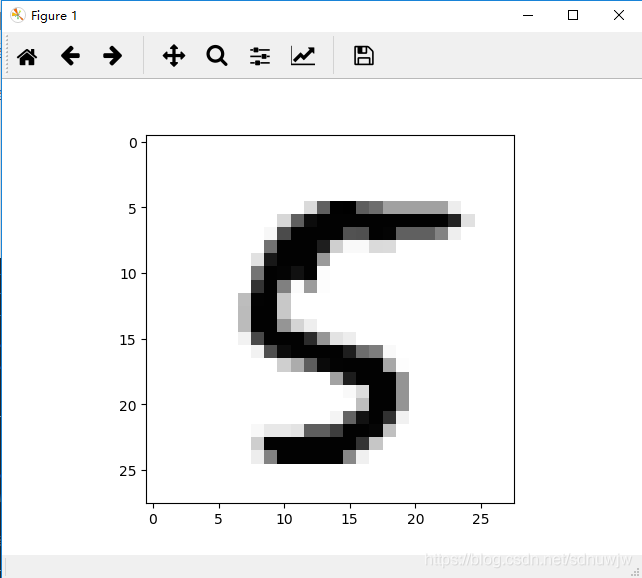
原始的 MNIST 样本图像的尺度 (28, 28)
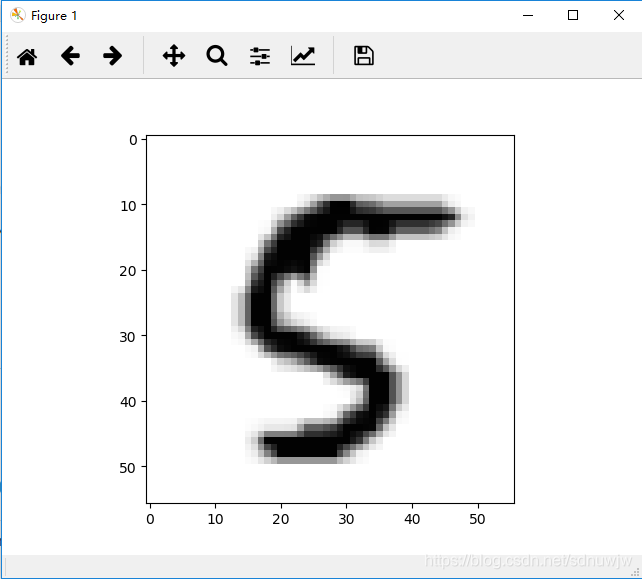
按照目标尺寸调整后的 MNIST图像的尺度(56, 56)
TensorBord 查看
开启一个新的cmd键入命令:tensorboard --logdir="./summary/"
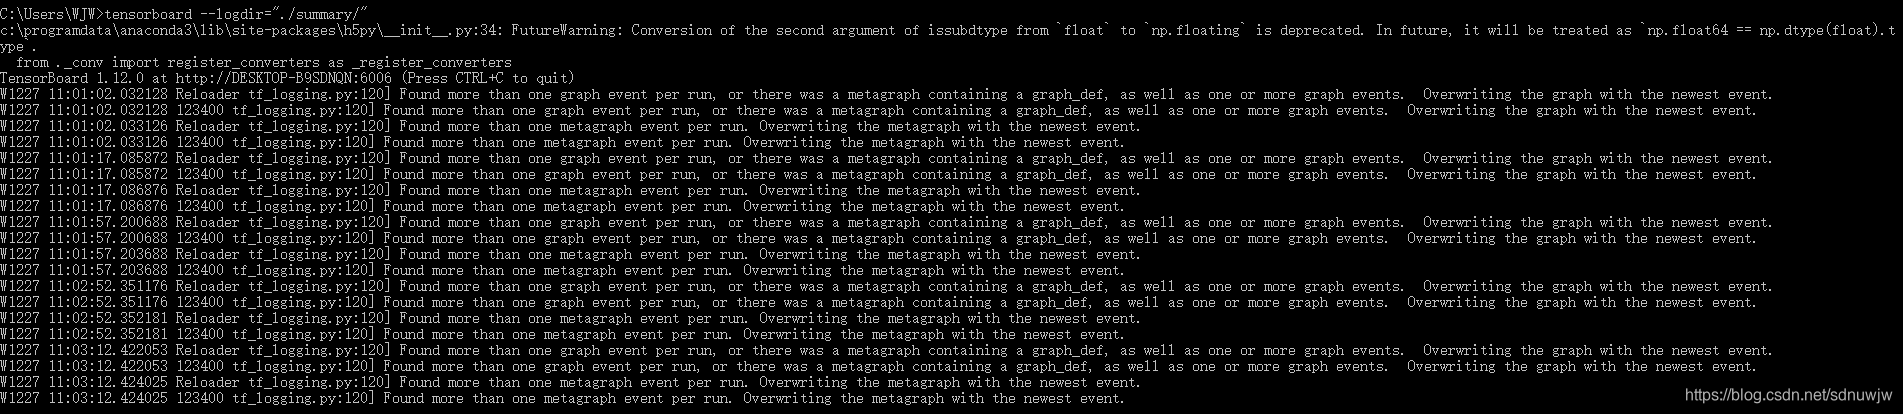
可以看到 tensorboard 在每次 TensorFlow 源程序运行后会自动重载新生成的事件文件“Overwriting the metagraph with the newest event.”,后面每次只需要刷新浏览器即可以查看最新的事件文件
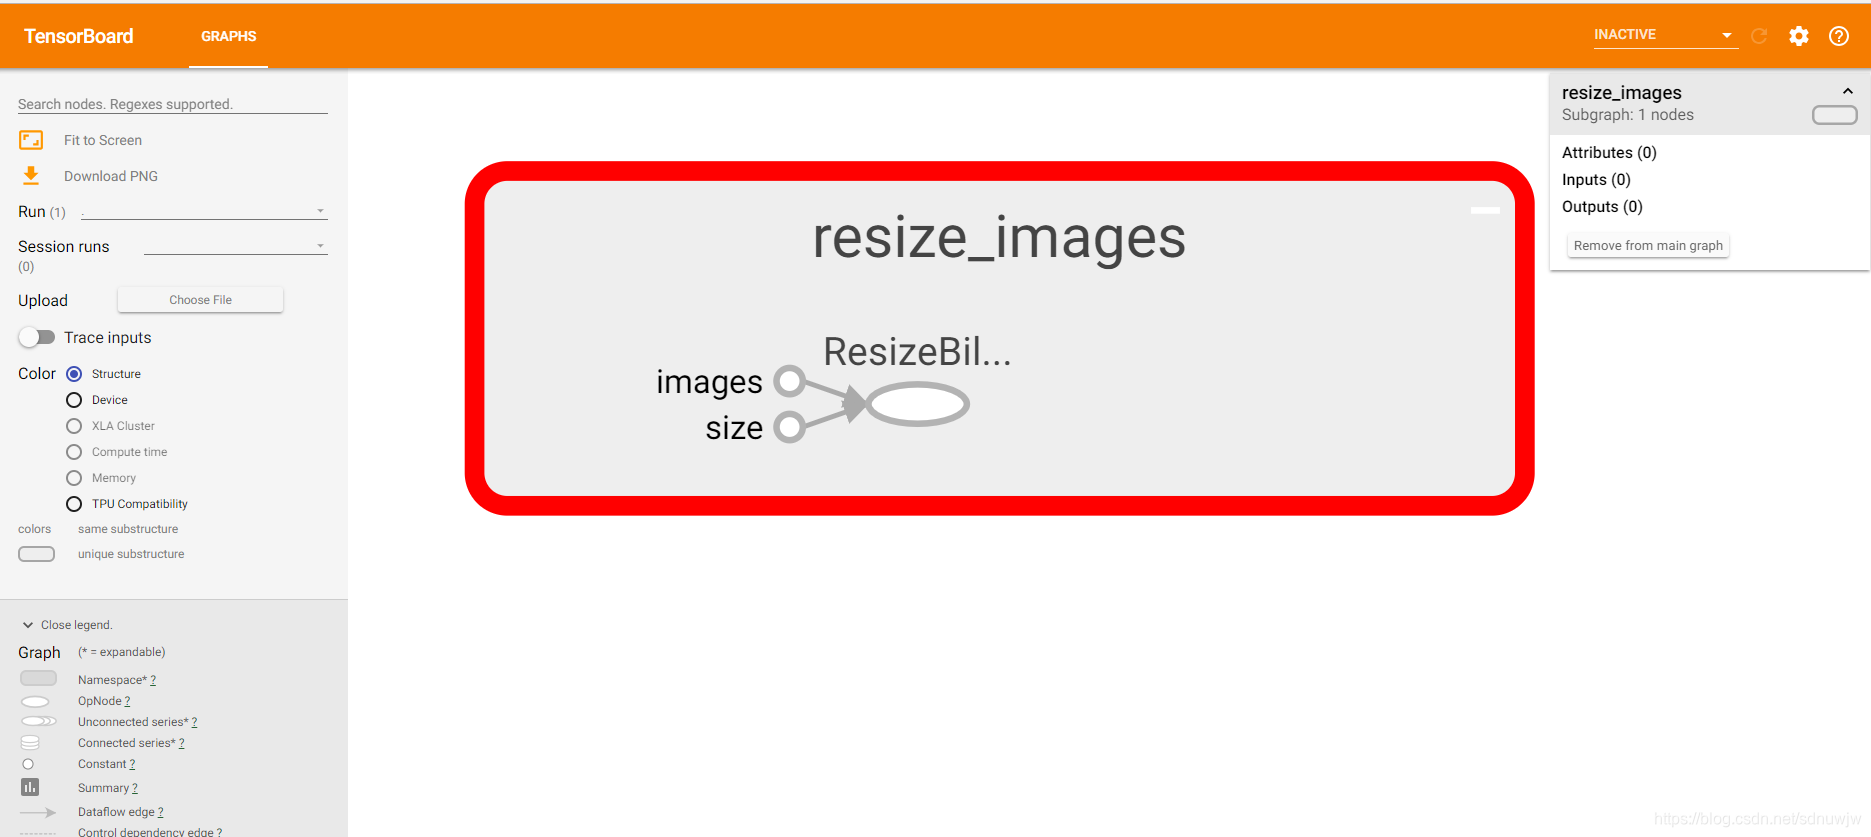
浏览器中查看:


 6万+
6万+

 被折叠的 条评论
为什么被折叠?
被折叠的 条评论
为什么被折叠?
 到【灌水乐园】发言


